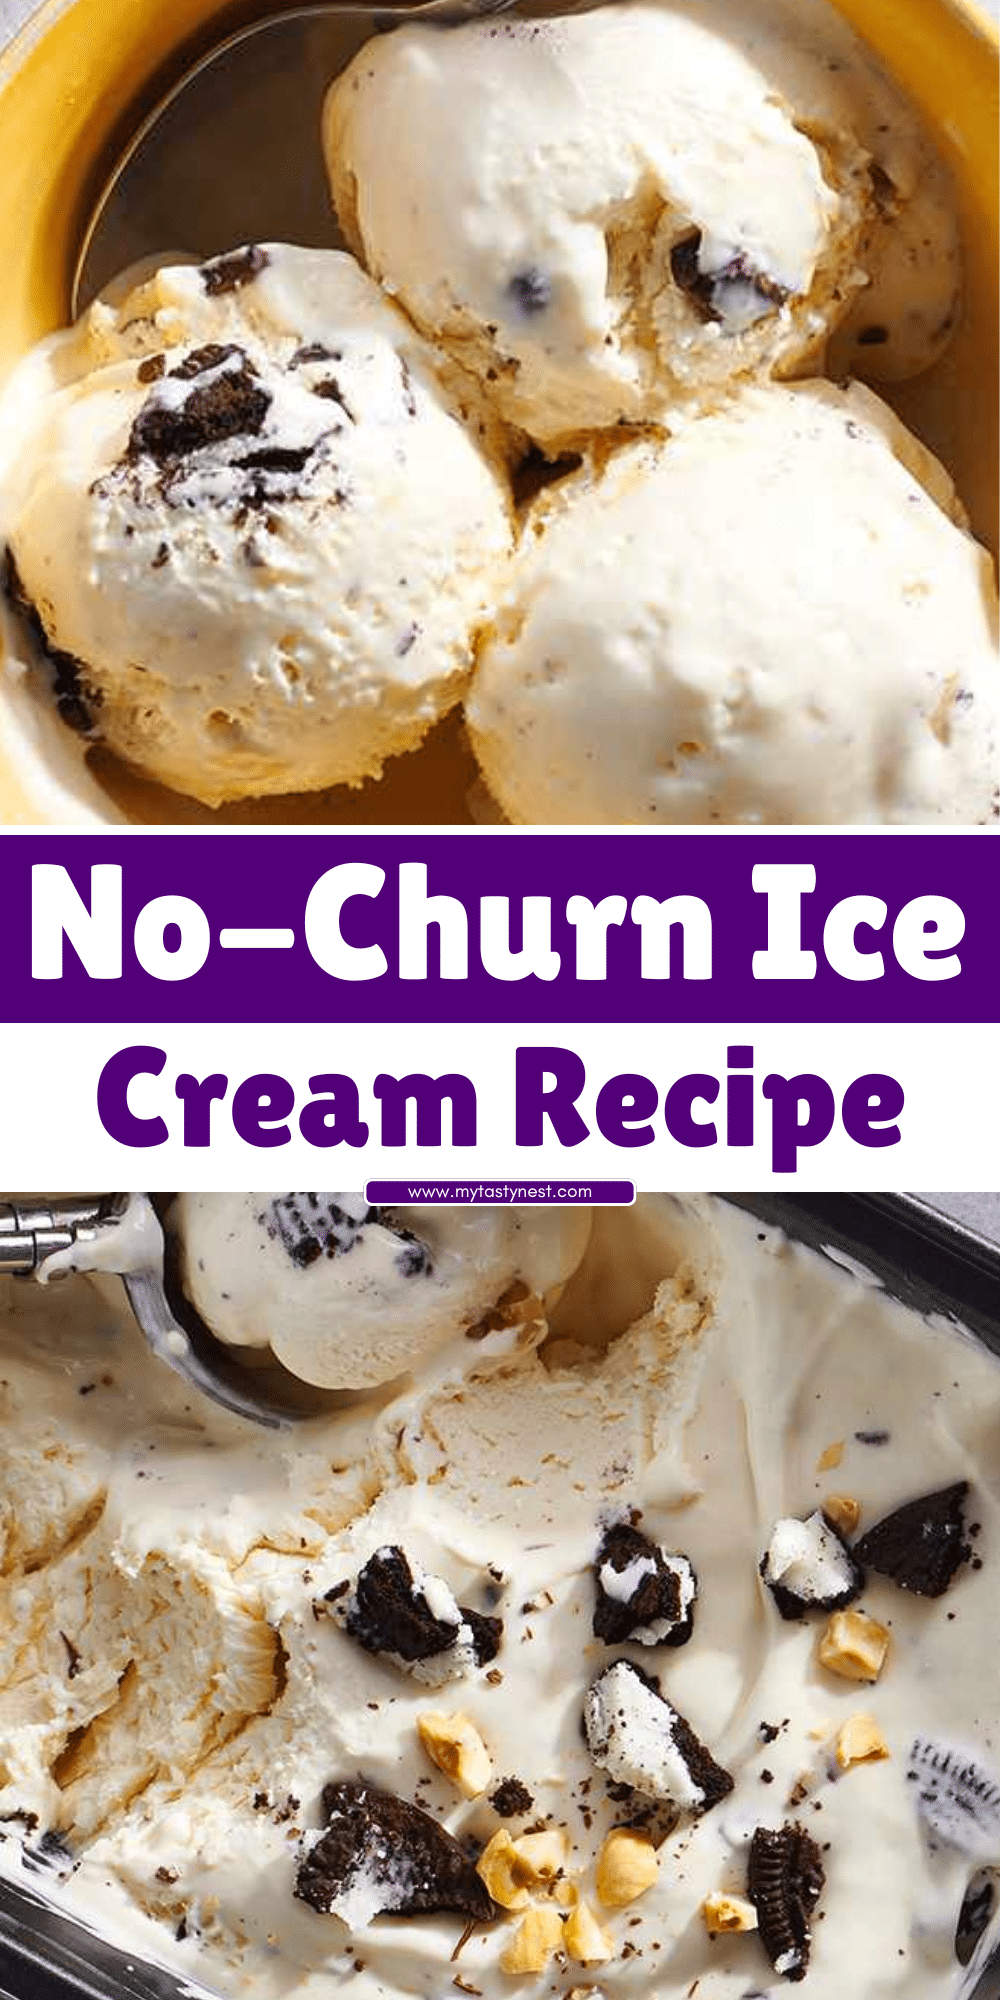
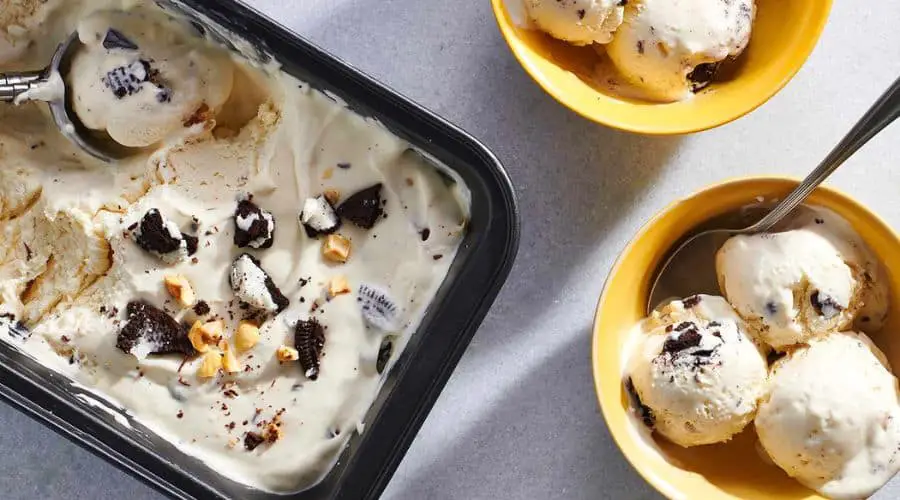
Who doesn’t love a creamy, delicious scoop of ice cream? But what if you could make it at home without needing an ice cream maker? Enter no-churn ice cream, a game-changer in the world of frozen desserts.
This easy, fuss-free method allows anyone to create rich, velvety ice cream in the comfort of their kitchen with just a few simple ingredients and tools.
Whether you’re a dessert enthusiast or a busy home cook looking for a quick treat, this no-churn ice cream recipe is perfect for satisfying your sweet tooth.
It’s endlessly versatile, customizable with your favorite flavors, and, best of all, requires zero advanced techniques.

What Is No-Churn Ice Cream?
No-churn ice cream is exactly what it sounds like: ice cream made without the need for an ice cream maker or any churning.
Unlike traditional ice cream, which relies on constant motion to incorporate air and achieve that creamy texture, no-churn ice cream gets its smooth consistency through the clever use of two key ingredients: sweetened condensed milk and whipped cream.
How It Works
The condensed milk provides sweetness and prevents the mixture from freezing too hard, while the whipped cream introduces air, creating a light and fluffy texture.
Together, these ingredients mimic the results of a churned ice cream machine, giving you a luscious dessert with minimal effort.
Why Choose No-Churn?
- Convenience: No special equipment needed, just a bowl and a mixer.
- Simplicity: Only a few ingredients required, most of which you probably already have in your kitchen.
- Flexibility: Endless opportunities to experiment with flavors, from classic vanilla to adventurous combinations like salted caramel or strawberry basil.
If you’ve ever hesitated to try making ice cream at home, this method is a perfect introduction. It’s quick, reliable, and delivers professional-level results without the complexity of traditional recipes.
Would you like me to write the next section?
Why You’ll Love This No-Churn Ice Cream Recipe
No-churn ice cream is a crowd-pleaser for so many reasons, but here’s why you’re going to fall in love with this recipe:
1. No Special Equipment Needed
Say goodbye to bulky ice cream makers and hello to simplicity. All you need is a bowl and a mixer (or even a whisk, if you’re up for a workout).
2. Quick and Easy to Make
With just 10 minutes of prep time, this recipe is ideal for busy weeknights or last-minute desserts. The hardest part is waiting for it to freeze!
3. Endless Customization
From classic vanilla to bold flavors like mocha or blackberry lavender, the possibilities are endless. Add your favorite mix-ins or swirl in sauces to create your own signature ice cream.
4. Impressively Creamy Texture
You won’t believe this is homemade. The smooth, velvety texture rivals store-bought ice cream, and it scoops beautifully every time.
5. Perfect for Any Occasion
Whether you’re hosting a dinner party, treating the kids, or simply indulging in a midnight snack, this no-churn ice cream fits the bill.
Once you try it, this recipe will undoubtedly become a staple in your dessert repertoire.
Ingredients for No-Churn Ice Cream
This recipe keeps it simple with just a handful of ingredients. Each one plays a key role in creating that creamy, dreamy texture:
Base Ingredients
- Sweetened Condensed Milk: Acts as a sweetener and helps achieve a soft, scoopable texture.
- Heavy Whipping Cream: Whipped to stiff peaks, this is what gives the ice cream its light and airy consistency.
- Vanilla Extract: Adds a subtle, sweet flavor that forms the perfect base for any mix-ins.
Optional Mix-Ins
- Chopped Chocolate: Dark, milk, or white – the choice is yours.
- Fresh Fruit Puree: Like strawberries, mangoes, or peaches for a fruity twist.
- Nuts or Candies: Add texture with chopped almonds, pecans, or mini marshmallows.
- Swirls of Sauce: Caramel, fudge, or even raspberry coulis can elevate your ice cream to gourmet status.
Pro Tip:
Use high-quality ingredients for the best results. Fresh cream and pure vanilla extract make a noticeable difference in flavor.
Would you like to dive into the step-by-step instructions next?
Step-by-Step Instructions

Making no-churn ice cream is as easy as it gets. Follow these simple steps to create a creamy, homemade treat:
Step 1: Gather Your Ingredients and Tools
- Ensure all your ingredients are chilled, especially the heavy whipping cream.
- Grab a large mixing bowl, a hand or stand mixer, a spatula, and a freezer-safe container like a loaf pan.
Step 2: Prepare the Sweetened Base
- In a large mixing bowl, pour 1 can (14 oz) of sweetened condensed milk.
- Add 1-2 teaspoons of vanilla extract (or another flavoring of your choice).
- Stir well until the mixture is smooth and evenly combined.
Step 3: Whip the Cream
- In a separate, chilled bowl, pour 2 cups of heavy whipping cream.
- Using a mixer, beat the cream on medium-high speed until stiff peaks form. This should take about 3-5 minutes.
Step 4: Fold the Mixtures Together
- Gently fold the whipped cream into the sweetened condensed milk mixture using a spatula.
- Be careful not to deflate the whipped cream – fold in a slow, sweeping motion until just combined.
Step 5: Add Mix-Ins (Optional)
- If you’re using mix-ins like chocolate chips, fruit, or nuts, stir them in gently at this stage.
Step 6: Transfer and Freeze
- Pour the mixture into your freezer-safe container. Smooth the top with a spatula and cover tightly with plastic wrap or a lid.
- Place in the freezer for at least 4-6 hours, or until firm.
Step 7: Serve and Enjoy
- Once frozen, scoop the ice cream into bowls or cones, garnish if desired, and enjoy your homemade creation!
Flavor Variations to Try
One of the best parts of no-churn ice cream is how easy it is to customize. Here are some delicious flavor ideas to inspire you:
Classic Favorites
- Chocolate Swirl: Add a swirl of melted chocolate or chocolate fudge to the mixture before freezing.
- Cookies and Cream: Fold in crushed Oreo cookies for a creamy, crunchy treat.
- Strawberry Bliss: Mix in fresh strawberry puree or small chunks of strawberries.
Nutty Delights
- Peanut Butter Cup: Swirl in peanut butter and sprinkle chopped peanut butter cups.
- Pistachio Dream: Add chopped pistachios and a drop of almond extract.
Fruity Twists
- Mango Coconut: Fold in mango puree and shredded coconut for a tropical vibe.
- Raspberry Ripple: Create a ripple effect by swirling in raspberry sauce.
Gourmet Inspirations
- Salted Caramel: Swirl in salted caramel sauce and sprinkle with sea salt flakes.
- Mocha Chip: Add espresso powder and mini chocolate chips for a coffee-lover’s treat.
- Lavender Honey: Infuse the cream with dried culinary lavender and sweeten with honey.
The beauty of this recipe is its adaptability. Feel free to experiment with your favorite flavors, and you’ll discover endless possibilities!
Would you like me to continue with “Tips for Perfect No-Churn Ice Cream”?
Tips for Perfect No-Churn Ice Cream
Making no-churn ice cream is simple, but these tips will ensure the best results every time:
1. Use Cold Ingredients
- For the creamiest texture, make sure your heavy whipping cream is chilled. Consider chilling your mixing bowl and beaters as well for optimal results.
2. Don’t Overwhip the Cream
- Whip the cream just until stiff peaks form. Overwhipping can cause the cream to separate, which may affect the texture of your ice cream.
3. Fold Gently
- When combining the whipped cream with the condensed milk, use a light hand to maintain the airiness of the mixture. This is key to achieving that creamy, scoopable texture.
4. Invest in a Good Freezer-Safe Container
- Use an airtight, freezer-safe container to prevent freezer burn and maintain the freshness of your ice cream. A metal loaf pan covered tightly with plastic wrap works well too.
5. Add Mix-Ins Wisely
- Fold in mix-ins like nuts, candies, or chocolate chips carefully to avoid deflating the mixture. For swirls, like caramel or fruit sauces, use a spoon to create a ripple effect after pouring the base into the container.
6. Let It Soften Before Serving
- For easier scooping, let the ice cream sit at room temperature for 5-10 minutes before serving.
7. Experiment with Flavors
- Don’t be afraid to try new combinations. Whether it’s a dash of cinnamon or a swirl of Nutella, no-churn ice cream is your playground for creativity.
Conclusion
No-churn ice cream is proof that you don’t need fancy equipment or hours of preparation to enjoy a rich, creamy dessert. With just a few ingredients and simple steps, you can create a treat that rivals your favorite store-bought options.
Whether you’re experimenting with new flavors or sticking to a classic vanilla base, this recipe is guaranteed to become a go-to in your dessert repertoire.
So, what are you waiting for? Grab your ingredients, unleash your creativity, and treat yourself to a batch of homemade no-churn ice cream. It’s a recipe that’s as rewarding to make as it is to eat!
Would you like me to format this into a downloadable recipe card or expand on any section further?
Frequently Asked Questions
1. Can I make no-churn ice cream without sweetened condensed milk?
Yes, but sweetened condensed milk is key to achieving the creamy texture and sweetness in no-churn ice cream. If you want a substitute, you can use a homemade version by simmering milk and sugar until thickened. However, the results may differ slightly.
2. How long does no-churn ice cream last in the freezer?
When stored in an airtight container, no-churn ice cream can last for up to 2 weeks in the freezer. Be sure to cover it tightly to prevent freezer burn and maintain its fresh flavor.
3. Why is my no-churn ice cream too hard to scoop?
If your ice cream is freezing too hard, it may be due to over-whipping the cream or an imbalance in the ingredients. Let the ice cream sit at room temperature for 5-10 minutes before serving to soften. Adding a small amount of alcohol (like vodka or liqueur) can also help keep the texture softer.
4. Can I make a dairy-free version of no-churn ice cream?
Absolutely! Replace the heavy cream with coconut cream and use a dairy-free sweetened condensed milk alternative. These substitutions create a creamy, vegan-friendly version of no-churn ice cream.
5. Can I add fresh fruit directly to the base?
Fresh fruit can be added, but for the best texture, puree the fruit and mix it with the base to avoid icy chunks. Alternatively, fold in small, chopped fruit pieces right before freezing for bursts of flavor.

No-Churn Ice Cream
Equipment
- 1 large mixing bowl
- 1 Medium mixing bowl (optional for mix-ins)
- 1 Hand or stand mixer (or whisk)
- 1 spatula
- 1 Freezer-safe container with lid (e.g., metal loaf pan)
Ingredients
- 1 can 14 oz sweetened condensed milk
- 2 cups heavy whipping cream
- 2 teaspoons vanilla extract or your preferred flavoring
Optional mix-ins:
- ½ cup chocolate chips
- ¼ cup fruit puree
- 2-3 tablespoons caramel or fudge sauce
- ¼ cup chopped nuts
Instructions
Prepare the Base:
- In a large mixing bowl, combine the sweetened condensed milk and vanilla extract. Mix until smooth.
Whip the Cream:
- In a chilled mixing bowl, whip the heavy cream using a hand or stand mixer until stiff peaks form.
Fold Together:
- Gently fold the whipped cream into the condensed milk mixture. Use a spatula to combine without deflating the cream.
Add Mix-Ins (Optional):
- If using mix-ins like chocolate chips or fruit puree, gently stir them into the mixture.
Transfer and Freeze:
- Pour the mixture into a freezer-safe container. Smooth the top with a spatula and cover tightly with plastic wrap or a lid. Freeze for 4-6 hours, or until firm.
Serve and Enjoy:
- Once frozen, scoop the ice cream into bowls or cones. Let it sit at room temperature for 5 minutes if it’s too hard to scoop.
Notes
- For Softer Texture: Add 1-2 tablespoons of vodka or liqueur to the base. This helps prevent the ice cream from freezing too hard.
- Dairy-Free Option: Substitute heavy whipping cream with coconut cream and use dairy-free sweetened condensed milk.
- Flavor Suggestions: Swirl in Nutella, peanut butter, or fruit jams for an extra burst of flavor.
- Storage Tips: Store in an airtight container to prevent freezer burn. Consume within 2 weeks for the best taste and texture.


