All products are selected by our editorial team for quality. If you buy through our links, we may earn a small commission at no extra cost to you.
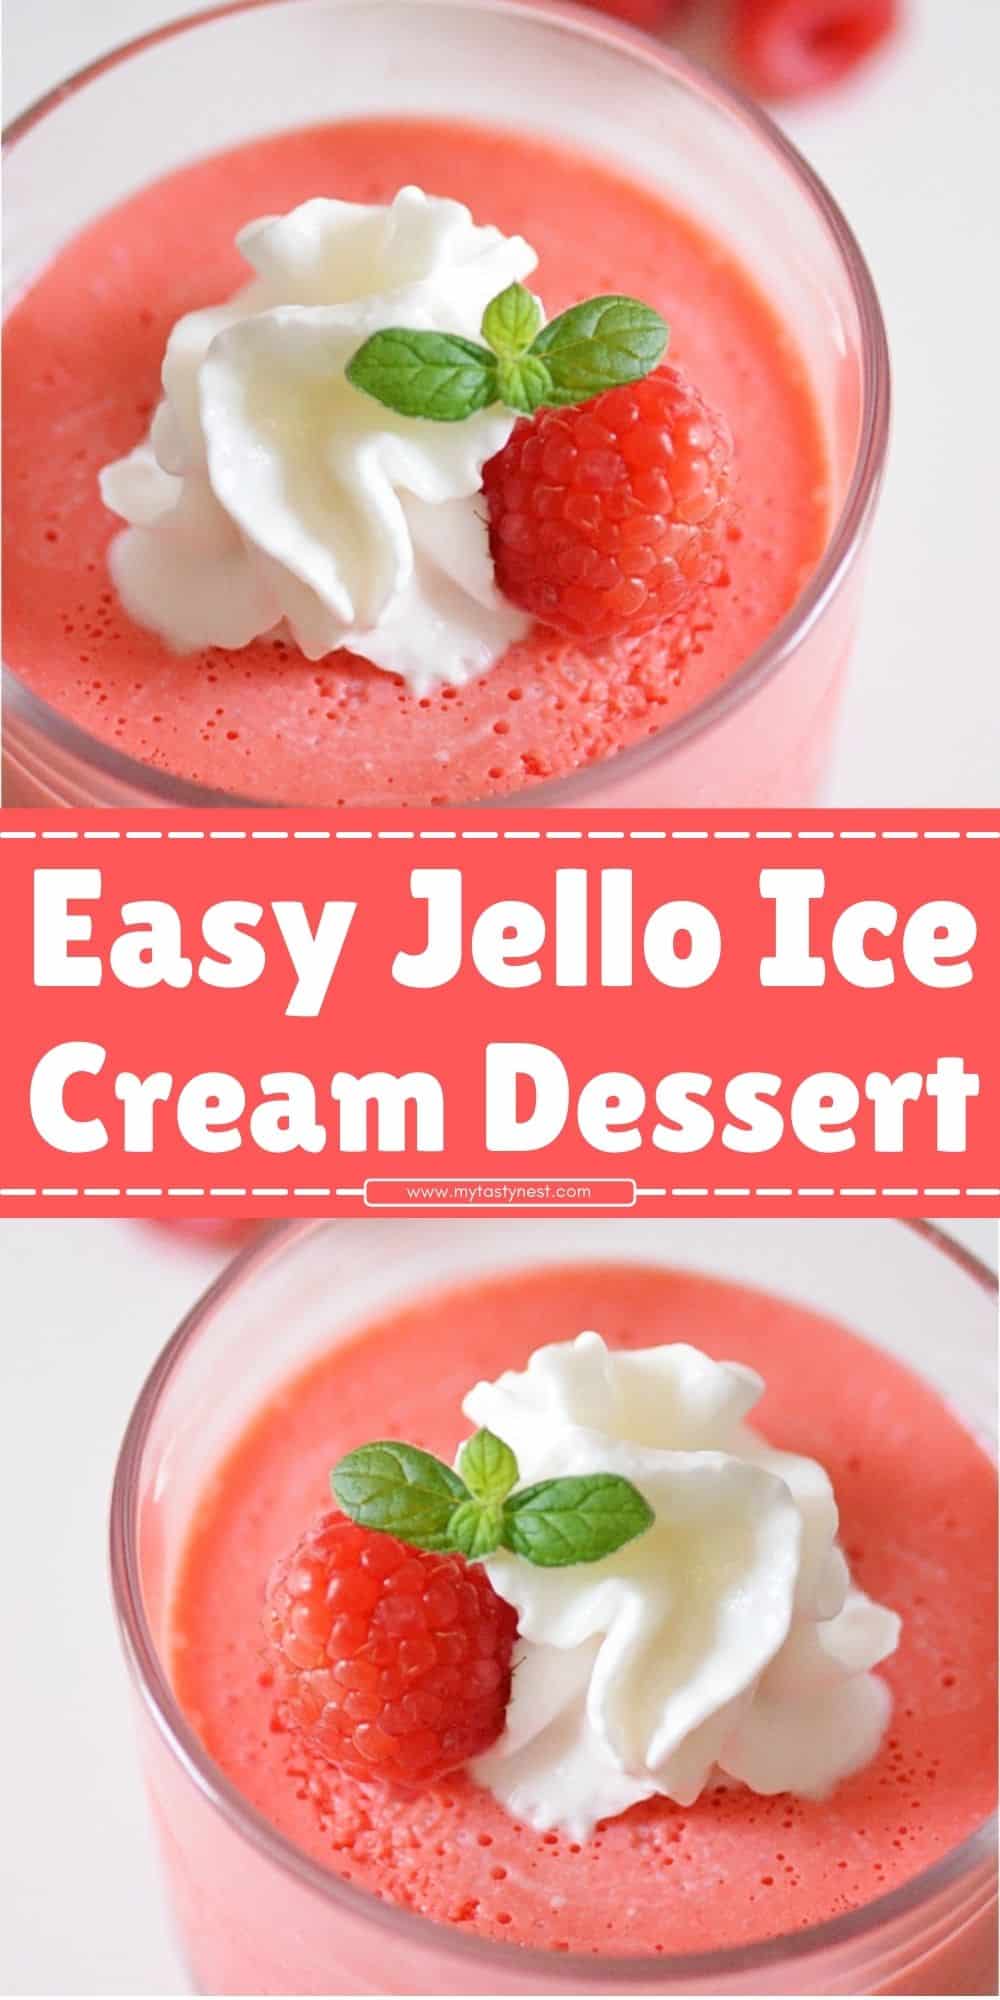
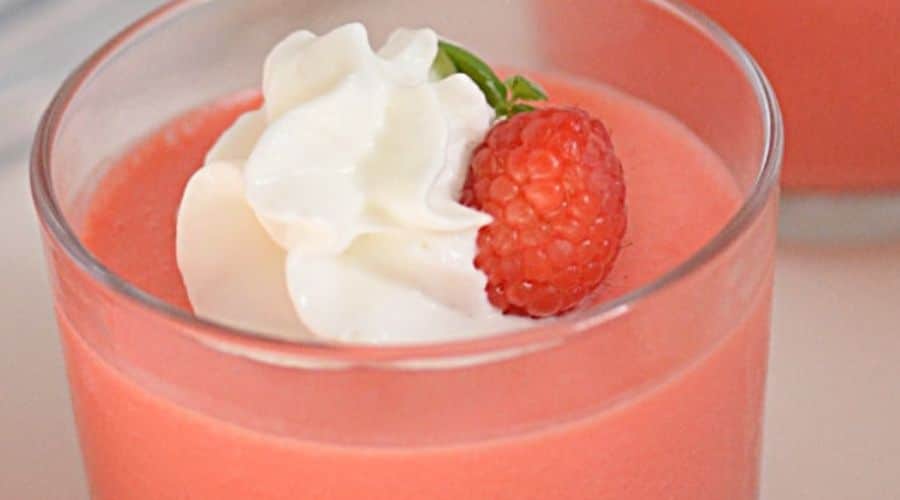
If you’re looking for a dessert that’s both visually striking and deliciously fun, the Jello Ice Cream Dessert is a perfect choice!
This vibrant and whimsical treat brings together the creamy, indulgent goodness of ice cream with the refreshing and wobbly texture of Jello.
Ideal for family gatherings, birthday parties, or any occasion where you want to impress your guests, this dessert is as easy to make as it is to enjoy.
Plus, its colorful layers make it a showstopper on any dessert table.
What’s even better? This recipe is incredibly versatile, so you can customize it to fit your taste preferences or dietary needs.
Whether you’re a fan of fruity flavors, love experimenting with layers, or just want a fun dessert that will leave everyone smiling, the Jello Ice Cream Dessert has you covered.

What is Jello Ice Cream Dessert?
The Jello Ice Cream Dessert is a playful and creative combination of two classic treats—Jello and ice cream.
It typically features colorful layers of gelatin mixed with a creamy ice cream base, creating a dessert that’s not only delicious but also visually stunning.
The gelatin provides a refreshing, jiggly texture, while the ice cream adds richness and creaminess, making each bite a delightful contrast.
This dessert can be customized with a variety of flavors, allowing you to use different Jello colors and ice cream varieties to create a dessert that fits any theme or occasion.
Whether you prefer bright, tropical colors or more subtle hues, the possibilities are endless.
The best part is that it’s super easy to make, requiring only a few ingredients and no baking at all!
Perfect for a warm summer day or as a festive treat for birthdays and holidays, Jello Ice Cream Dessert is a crowd-pleaser that appeals to both kids and adults alike.
Why You Should Try This Jello Ice Cream Dessert Recipe
The Jello Ice Cream Dessert is more than just a treat—it’s a celebration of colors, textures, and flavors.
Here’s why you should give it a try:
- Visually Stunning: The vibrant layers of Jello and ice cream create a beautiful, eye-catching dessert that will steal the show at any gathering.
Whether you’re hosting a party or bringing a dish to a potluck, this dessert will be the talk of the table. - Perfect for Any Occasion: Whether it’s a birthday party, holiday gathering, or a fun family dessert, the Jello Ice Cream Dessert fits every occasion.
It’s easy to make in advance, and it’s always a crowd-pleaser. - Easy and No-Bake: Unlike many complicated desserts, this one requires no baking!
With just a few simple steps, you can assemble a gorgeous dessert that doesn’t take hours in the kitchen. - Endless Flavor Combinations: You can customize this dessert with a variety of ice cream flavors and Jello colors to suit your personal taste or to match a specific theme.
It’s as much about creativity as it is about taste! - Kid-Friendly: If you have young ones at home, this is a fun and interactive recipe to make together.
They’ll love the colorful layers and the soft, creamy texture, making it a hit with kids and adults alike.
Ingredients You’ll Need for Jello Ice Cream Dessert
To make this fun and colorful dessert, you won’t need many ingredients.
Here’s what you’ll need to create the perfect Jello Ice Cream Dessert:
- Ice Cream: Choose your favorite flavor, such as vanilla, strawberry, or chocolate.
You’ll want to pick a creamy, smooth ice cream that can easily be softened and layered.
If you prefer a non-dairy option, coconut milk-based or almond milk ice creams are great substitutes. - Jello (Gelatin): You’ll need a few packs of Jello to create those vibrant layers. Opt for a variety of flavors and colors to make your dessert stand out.
Fruit flavors like strawberry, lime, or raspberry work well, but feel free to get creative with your color scheme. - Whipped Cream or Condensed Milk (Optional): For an extra touch of creaminess and sweetness, you can mix in some whipped cream or condensed milk with the ice cream.
This gives the dessert a smoother texture and an added richness. - Toppings (Optional): Get creative with fun toppings! Fresh fruit like berries, shredded coconut, or chocolate chips can add texture and flavor.
You can also use sprinkles, mini marshmallows, or even gummy bears to make it even more festive.
By using these simple ingredients, you’ll create a dessert that’s not only delicious but also full of possibilities for customization. It’s the perfect combination of creamy, fruity, and fun!
Step-by-Step Instructions to Make Jello Ice Cream Dessert

Making Jello Ice Cream Dessert is simple and fun! Follow these easy steps, and you’ll have a show-stopping dessert in no time:
1. Prepare the Jello Layers
Start by preparing the Jello according to the package instructions.
Typically, you’ll dissolve the Jello powder in boiling water, then add cold water to cool it down.
Let the Jello cool to room temperature before proceeding. For the best results, allow the Jello to set for about 1-2 hours in the fridge.
If you’re using multiple colors and flavors, prepare each Jello layer separately.
2. Soften the Ice Cream
While your Jello is setting, take the ice cream out of the freezer to soften.
Allow it to sit at room temperature for 10-15 minutes until it’s soft enough to spread easily.
Softened ice cream ensures that you can layer it evenly and that it combines well with the Jello.
3. Layer the Jello and Ice Cream
Once your Jello has set (it should be firm but not completely solidified), it’s time to start layering! Using a large glass dish or a baking pan, add a thin layer of softened ice cream as the first layer.
Then, gently pour a layer of Jello over the ice cream, spreading it evenly with a spoon.
Alternate between the ice cream and Jello layers, creating as many layers as you like.
For a more visually appealing dessert, consider using different colored Jello layers to create a rainbow effect.
Be sure to allow each layer to set in the fridge for about 30 minutes before adding the next layer.
This helps to ensure each layer holds its shape.
4. Chill and Set the Dessert
Once all the layers are assembled, cover the dessert with plastic wrap or foil and place it in the refrigerator.
Let the dessert chill for at least 4 hours or overnight to ensure it’s fully set and firm.
If you prefer a more solidified texture, you can freeze it for about 1 hour before serving.
5. Serve and Enjoy
Once the Jello Ice Cream Dessert has set, it’s ready to be served!
Use a sharp knife to slice it into squares or scoops, and serve with your favorite toppings such as whipped cream, fresh fruit, or sprinkles.
Tips and Tricks for the Best Jello Ice Cream Dessert
Here are a few insider tips to make sure your Jello Ice Cream Dessert turns out perfectly every time:
1. Use a Mix of Colors and Flavors
The more colors and flavors you use, the more fun and eye-catching the dessert will be.
Mix and match different fruit-flavored Jellos and ice cream types for a vibrant, multi-layered masterpiece.
Consider using complementary colors (such as strawberry Jello with vanilla ice cream) for a beautiful effect, or go bold with a rainbow of Jello flavors!
2. Work Quickly with Softened Ice Cream
Be sure to soften your ice cream slightly before starting the layering process, but don’t let it melt completely.
The ice cream should be spreadable but not liquid, as too much melting can cause the layers to mix together.
If it melts too much, place it back in the freezer to firm up for a few minutes before continuing.
3. Allow Each Layer to Set
Patience is key when making Jello Ice Cream Dessert. Let each Jello layer set for at least 30 minutes before adding the next layer.
This helps prevent the layers from blending together and ensures that the dessert holds its beautiful, distinct layers when cut.
4. Make Ahead for Convenience
This dessert is perfect for preparing in advance. You can make it the night before your event, and it will have plenty of time to chill and set properly.
This makes it a fantastic dessert for parties, holiday gatherings, or any time you need to save time in the kitchen.
5. Experiment with Toppings
Top your Jello Ice Cream Dessert with more than just whipped cream!
Try fresh berries, shredded coconut, or a drizzle of chocolate syrup for extra flavor and texture.
For a fun twist, you can even add candy pieces, such as mini marshmallows or gummy bears, to make it more festive.
By following these tips and tricks, you’ll create a perfectly layered, smooth, and delicious Jello Ice Cream Dessert that will impress everyone at your next gathering!
Common Mistakes to Avoid When Making Jello Ice Cream Dessert
While making a Jello Ice Cream Dessert is simple, there are a few common mistakes that can affect the final result.
Here’s what to watch out for:
1. Not Allowing Enough Time for Layers to Set
One of the biggest mistakes is rushing the setting process.
Each Jello layer needs time to set properly before you add the next.
If you add layers too quickly, they may mix together and create a messy dessert.
Be patient and allow each layer to set for at least 30 minutes in the fridge before adding the next.
2. Over-Softening the Ice Cream
Ice cream should be softened just enough to spread it easily.
If it becomes too melted, the layers will lose their definition and the texture will become too runny.
Aim for a soft-serve-like consistency, not a soupy one.
3. Using Too Much Jello in Each Layer
While Jello adds color and flavor, using too much Jello in each layer can make the dessert overly gelatinous and less creamy.
Keep your layers thin and balanced, with more ice cream than Jello, for the perfect texture contrast.
4. Skipping the Chilling Process
If you don’t allow the dessert to chill long enough, it won’t set properly.
For best results, let the Jello Ice Cream Dessert rest in the refrigerator for at least 4 hours, or overnight if possible.
If you’re short on time, you can freeze it for about an hour to firm it up.
5. Not Using Enough Ice Cream
Don’t skimp on the ice cream! It’s the creamy base of the dessert, so you want to make sure each layer has a generous portion.
Thin ice cream layers will result in a dessert that’s too gelatinous and won’t have that satisfying creaminess.
Variations and Customizations for Your Jello Ice Cream Dessert
This dessert is as customizable as you want it to be.
Here are a few ways to make it your own:
1. Flavor Variations
You can swap out the classic flavors to suit your tastes. For example:
- Fruit Flavors: Go tropical with pineapple or mango Jello, or use berry-flavored Jello like strawberry, raspberry, or blueberry for a fruity twist.
- Ice Cream Options: Instead of vanilla or chocolate, you could use chocolate chip, mint chocolate chip, or even a fruity sorbet for a dairy-free option.
2. Use Sugar-Free or Low-Sugar Options
If you’re looking to make a healthier version, opt for sugar-free Jello and low-sugar ice cream.
You can also use a non-dairy ice cream substitute, such as coconut milk-based or almond milk ice cream, to create a vegan version.
3. Add-In Extras
Mix things up by adding extra ingredients between the layers, like:
- Chopped Fruit: Small pieces of fresh fruit like strawberries, kiwi, or mango can add flavor and texture.
- Chocolate Chips or Nuts: Add a layer of chocolate chips, mini marshmallows, or chopped nuts for crunch and sweetness.
4. Presentation Style
Serve your Jello Ice Cream Dessert in individual portions for a more personalized touch.
You could use clear cups or small jars to create individual servings, allowing each guest to enjoy their own colorful creation.
5. Themed Desserts
To match a specific theme or occasion, you can change the colors and flavors accordingly. For example:
- For a patriotic dessert, use red (strawberry), white (vanilla), and blue (blueberry) Jello.
- For holidays, add themed sprinkles or mini candy canes for Christmas or use pumpkin-flavored ice cream and orange Jello for Halloween.
Conclusion:
The Jello Ice Cream Dessert is the perfect combination of fun, flavor, and color.
It’s easy to make, looks stunning, and offers endless possibilities for creativity.
Whether you’re hosting a special event or just treating yourself and your family, this dessert will not only satisfy your sweet tooth but also make a lasting impression.
So go ahead, get playful with the layers, flavors, and colors to create your own signature version of this delightful treat!
Frequently Asked Questions (FAQs)
1. Can I use homemade ice cream instead of store-bought?
Yes, you can absolutely use homemade ice cream! Just make sure it’s softened enough to spread easily when layering it with the Jello.
2. How long can I store Jello Ice Cream Dessert?
You can store the dessert in the fridge for up to 2-3 days.
If you want to keep it longer, freezing it for a few days is also a good option.
Just allow it to thaw slightly before serving if frozen.
3. Can I freeze the dessert for later use?
Yes! You can freeze the Jello Ice Cream Dessert if you want to make it ahead of time.
Just ensure it’s tightly covered to prevent freezer burn, and let it thaw for a few minutes before cutting and serving.
4. What if my Jello doesn’t set properly?
If your Jello isn’t setting, it might be due to not enough chilling time or incorrect water measurements.
Ensure you’re following the package instructions carefully and give it enough time in the fridge.
5. Can I use sugar-free Jello and ice cream?
Absolutely! You can substitute sugar-free Jello and low-sugar or dairy-free ice cream to make a healthier version of the dessert.
It will still be delicious and just as fun to make!

Jello Ice Cream Dessert
Equipment
- 1 Large Mixing Bowl (1, 4-6 quart)
- 1 9×13-inch Baking Dish or Glass Dish (1)
- 1 Whisk (1)
- 1 Spoon or Spatula (1)
- 1 Measuring Cup (1, 2-cup capacity)
- 1 Plastic Wrap or Foil (1 roll)
Ingredients
- 1 quart 4 cups Ice Cream (any flavor, softened)
- 3 packs 3 oz Jello (your choice of fruit flavors)
- 1 cup Boiling Water for Jello
- 1 cup Cold Water for Jello
- 1 cup Whipped Cream or Condensed Milk optional, for extra creaminess
Optional Toppings:
- Sprinkles Fresh Berries, Mini Marshmallows, Chocolate Chips, etc.
Instructions
Prepare the Jello:
- In a mixing bowl, dissolve one pack of Jello in 1 cup of boiling water, stirring until fully dissolved. Add 1 cup of cold water and stir well. Let it cool to room temperature for about 10 minutes. Once cooled, place in the fridge to set for 1-2 hours.
Soften the Ice Cream:
- While the Jello is setting, remove your ice cream from the freezer and allow it to soften at room temperature for 10-15 minutes. The ice cream should be soft but not melted.
Layer the Ice Cream and Jello:
- Once the first layer of Jello has set, spread a layer of softened ice cream in the dish. You can spread it with a spatula or spoon to make it even. Then, pour a layer of Jello over the ice cream. Repeat this layering process until all ingredients are used, ensuring each layer of Jello has time to set before adding the next.
Chill:
- Once all layers are assembled, cover the dish with plastic wrap or foil and refrigerate for at least 4 hours, or overnight, to allow the dessert to set completely.
- Serve:
- Once chilled and set, slice the Jello Ice Cream Dessert into squares or serve with a spoon. Optionally, top with whipped cream, fresh berries, or sprinkles.
Notes
- For a quicker option, freeze the Jello Ice Cream Dessert for 1 hour before serving to firm it up faster.
- To add a fun twist, try using multiple Jello flavors and colors to create a rainbow effect.
- If you want to make a healthier version, use sugar-free Jello and low-sugar or dairy-free ice cream.
- You can prepare the dessert the night before your event to save time and ensure it has enough time to set properly.
- Be sure to allow each layer of Jello to set before adding the next to maintain distinct layers.


