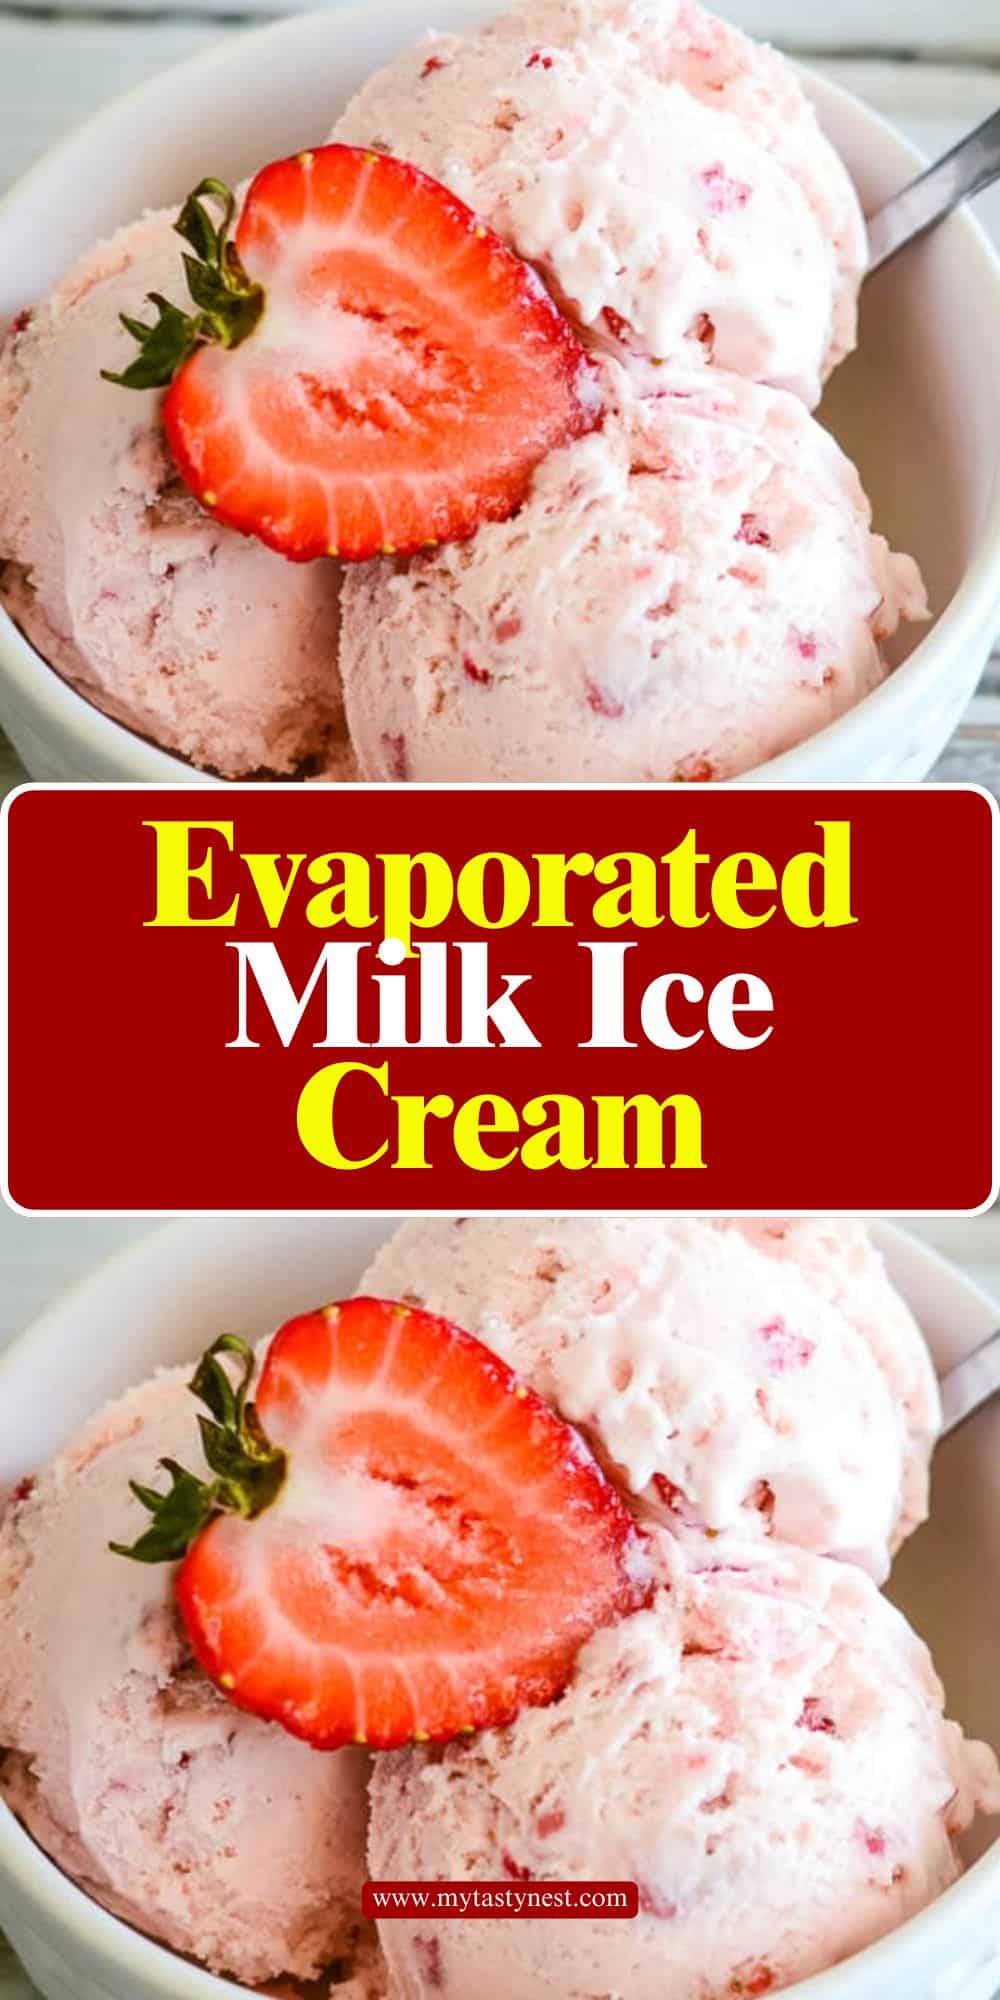
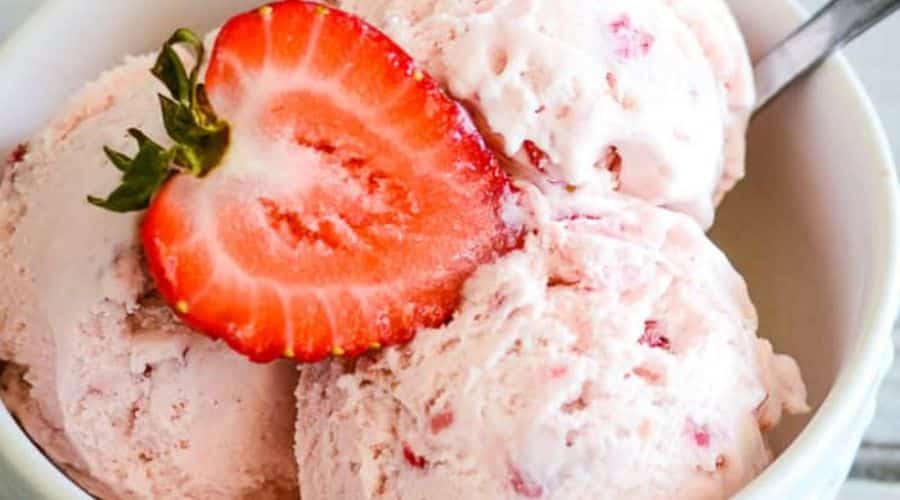
If you’re looking to make homemade ice cream that’s extra creamy and rich, then an evaporated milk ice cream recipe is exactly what you need.
This recipe combines the velvety texture of traditional ice cream with the convenience of a few simple ingredients.
Evaporated milk, in particular, is a game-changer.
It brings a concentrated, creamy flavor to the ice cream base, making it a perfect choice for a smooth and indulgent treat.
What sets evaporated milk ice cream apart from other homemade ice cream recipes is its ease of preparation.
Unlike traditional ice cream recipes that require eggs or long cooking processes, this one is straightforward and beginner-friendly.
You don’t need a lot of time, yet you end up with an irresistibly creamy frozen dessert.
Whether you’re making a classic vanilla base or adding a few creative twists, evaporated milk adds a depth of flavor that elevates any ice cream.
If you’re a fan of simple, no-fuss recipes that don’t compromise on taste or texture, you’re going to love this recipe.

Ingredients You’ll Need for Evaporated Milk Ice Cream
Before you start making your ice cream, let’s take a look at the few simple ingredients you’ll need to create the perfect base for your homemade treat.
Don’t worry—you likely already have most of these in your pantry!
1. Evaporated Milk
This is the key ingredient that makes your ice cream ultra-creamy and rich.
Evaporated milk is regular milk that has been heated to remove about 60% of its water content, resulting in a thicker consistency and a more concentrated flavor.
It’s perfect for homemade ice cream, as it provides that indulgent creamy texture without the need for heavy cream alone.
2. Heavy Cream
Heavy cream adds the perfect amount of smoothness and richness to your ice cream.
It’s the fat in the cream that helps create the luxurious mouthfeel and keeps the texture from becoming icy.
Together with evaporated milk, it forms the foundation of your creamy base.
3. Sweetened Condensed Milk
Sweetened condensed milk is a thicker, sweeter version of regular milk, and it plays two important roles in this recipe.
First, it helps sweeten the ice cream without needing extra sugar.
Secondly, it contributes to the rich and velvety texture.
If you’re aiming for a super creamy and smooth ice cream, sweetened condensed milk is essential.
4. Vanilla Extract
Vanilla extract adds a lovely depth of flavor to your ice cream base.
While vanilla is the most popular flavor, this ingredient can easily be substituted or enhanced with other extracts, depending on your taste preferences.
It provides that classic flavor profile that everyone loves in a homemade ice cream.
5. Sugar (Optional)
Depending on how sweet you like your ice cream, you might want to add a bit of sugar to the mix.
Sweetened condensed milk already provides a lot of sweetness, so be sure to taste your mixture before adding more sugar.
If you prefer a less sweet version, feel free to skip this ingredient or use just a small amount.
Step-by-Step Instructions to Make Evaporated Milk Ice Cream

Making your own ice cream at home is easier than you might think, and with evaporated milk as a key ingredient, you’re guaranteed a rich and creamy result.
Follow these simple steps to make a batch of indulgent, homemade evaporated milk ice cream.
1. Prepare the Ice Cream Base
Start by pouring evaporated milk, heavy cream, and sweetened condensed milk into a large mixing bowl.
Whisk everything together until the mixture is smooth and well-combined.
You should see a creamy, rich base that will be the foundation of your ice cream.
At this point, you can also add vanilla extract for flavor.
If you’re looking to make a plain vanilla ice cream, you’re good to go!
If you’d like a bit more sweetness, add some sugar (to taste), but keep in mind that sweetened condensed milk already brings a lot of sugar to the mix.
2. Customize Your Ice Cream Flavor
This is where you can get creative! If you want to make flavored ice cream, now is the time to incorporate your flavoring ingredients.
For chocolate ice cream, mix in some cocoa powder or melted chocolate into the base.
You could also add fruit purees for flavors like strawberry, mango, or raspberry.
If you’re craving something nutty, stir in chopped nuts or swirl in some peanut butter. The possibilities are endless!
Make sure to mix any added ingredients thoroughly to ensure a uniform flavor throughout.
3. Churn the Mixture
If you have an ice cream maker, this step will be a breeze.
Pour the prepared ice cream base into the machine and follow the manufacturer’s instructions for churning.
Typically, this will take about 20-30 minutes, depending on your machine.
The mixture will gradually thicken into a soft-serve consistency.
No ice cream maker? No problem! You can still make delicious ice cream by using a manual method.
Pour the mixture into a shallow dish and place it in the freezer.
Every 30 minutes, use a fork to scrape and stir the mixture.
This will help break up ice crystals and keep the texture smooth.
After about 2-3 hours, the ice cream will be ready to enjoy.
4. Freeze Until Firm
Once your ice cream has reached the desired consistency (soft serve or thicker, depending on your preference), transfer it to an airtight container.
Cover the surface with plastic wrap or wax paper to prevent ice crystals from forming.
Place the container in the freezer for at least 4 hours, or until the ice cream is firm and scoopable.
Tips for the Best Evaporated Milk Ice Cream
While this recipe is simple and easy to follow, a few expert tips will ensure you make the creamiest, most delicious ice cream possible.
Use Full-Fat Evaporated Milk
For the best creamy texture, always use full-fat evaporated milk.
The richness of the fat is what gives the ice cream that indulgent, velvety mouthfeel.
Low-fat evaporated milk may not produce the same luxurious texture.
Avoid Ice Crystals for a Smooth Texture
One common issue when making homemade ice cream is the formation of ice crystals, which can make the texture grainy.
To avoid this, it’s important to churn the ice cream thoroughly, especially when using the freezer method.
Churning helps break down ice crystals, creating a smoother result.
Using heavy cream and sweetened condensed milk also helps keep the texture creamy and less prone to ice formation.
Chill the Mixture Before Churning
If you have the time, chill the ice cream base in the refrigerator for about 1-2 hours before churning it.
This ensures that the mixture is cold enough to churn properly, resulting in a smoother texture and better consistency.
Don’t Over-Churn
While churning is key to developing the right texture, be careful not to over-churn.
Once the mixture reaches a soft-serve consistency, stop the churning process.
Over-churning can cause the ice cream to become too firm, leading to a less smooth texture.
Storage Tips
Once your ice cream is fully frozen, keep it in an airtight container in the freezer to preserve freshness.
If you plan on keeping it for a long time, be sure to press plastic wrap or wax paper directly against the surface of the ice cream before sealing the container.
This will prevent freezer burn and keep your ice cream creamy for weeks.
Why You’ll Love This Evaporated Milk Ice Cream Recipe
There are plenty of reasons why this evaporated milk ice cream recipe will quickly become your go-to for homemade ice cream.
First and foremost, it’s incredibly easy to make—no complicated steps, no cooking required.
Just mix, churn, and freeze, and you’re left with a luxurious frozen treat.
Another reason this recipe stands out is the creamy, indulgent texture that evaporated milk gives to the ice cream.
You’ll notice a richer mouthfeel compared to some other homemade versions, and that creamy consistency will make every scoop feel like a treat.
Plus, it’s a great base for any flavor combinations you can dream up.
From classic vanilla to chocolate or even tropical fruit, this recipe is incredibly versatile, allowing you to customize it to suit your preferences.
It’s also an affordable option compared to store-bought ice cream, yet you don’t have to compromise on taste or quality.
Whether you’re hosting a summer party, making a special dessert for a family dinner, or just treating yourself, this homemade ice cream will be a hit every time.
Final Thoughts
Making ice cream at home can seem intimidating, but this evaporated milk ice cream recipe simplifies the process, resulting in a rich and creamy dessert everyone will love.
With just a few basic ingredients, you can create a treat that’s not only delicious but also incredibly customizable.
Whether you stick with the classic flavors or add your favorite mix-ins, the sky’s the limit with what you can create!
So go ahead, give this recipe a try, and feel free to get creative.
You’ll be amazed at how easy and satisfying it is to make your own ice cream, and once you taste the creamy result, you won’t want to go back to store-bought again. Happy scooping!
Frequently Asked Questions (FAQs) About Evaporated Milk Ice Cream
1. Can I use evaporated milk for ice cream without a machine?
Absolutely! If you don’t have an ice cream maker, you can still make delicious ice cream by using the freezer method.
Just pour the ice cream mixture into a shallow dish and freeze it, stirring every 30 minutes to break up ice crystals. This will help achieve a smooth texture.
2. How do I make my ice cream more flavorful?
If you want to enhance the flavor of your ice cream, consider adding extracts like almond, mint, or coconut.
You can also mix in fresh fruit, nuts, chocolate chips, or caramel for a more decadent treat.
Experiment with different combinations to find your perfect flavor!
3. Can I use this recipe with lactose-free or plant-based milk?
Yes, you can! If you need a lactose-free version, look for lactose-free evaporated milk or substitute with plant-based milks like almond, coconut, or soy milk.
Be aware that the texture and flavor may vary slightly depending on the type of milk you use, but you’ll still end up with a delicious homemade treat.
4. Why should I use evaporated milk instead of regular milk?
Evaporated milk has a thicker, more concentrated consistency due to the removal of water, which gives the ice cream a creamier texture without the need for as much added fat.
It also imparts a rich, caramelized flavor that regular milk can’t match, making it an ideal choice for homemade ice cream.
5. How long will homemade evaporated milk ice cream last in the freezer?
When stored properly in an airtight container, homemade evaporated milk ice cream will last for about 2-3 weeks in the freezer.
To prevent freezer burn, make sure the ice cream is tightly sealed, and consider pressing a layer of plastic wrap or wax paper against the surface before sealing the container.

Evaporated Milk Ice Cream
Equipment
- 1 Ice Cream Maker (optional, but ideal for smooth texture)
- 1 mixing bowl
- (1) Whisk
- 1 airtight freezer-safe container
- Measuring cups & spoons
Ingredients
- 1 can 12 oz – Evaporated Milk
- 1 cup – Heavy Cream
- 1 can 14 oz – Sweetened Condensed Milk
- 1 teaspoon – Vanilla Extract
- Optional: ½ cup – Sugar adjust to taste
Instructions
Prepare the Ice Cream Base:
- In a large mixing bowl, whisk together the evaporated milk, heavy cream, and sweetened condensed milk until smooth. Add vanilla extract and sugar (if using), then stir until everything is fully incorporated.
Customize Your Flavor (Optional):
- If you’d like to add flavors or mix-ins, this is the time. Stir in cocoa powder, fruit puree, or melted chocolate, or fold in your favorite mix-ins like crushed cookies or chocolate chips.
Churn the Mixture:
- If using an ice cream maker, pour the mixture into the machine and churn according to the manufacturer’s instructions (typically for about 20-30 minutes). The ice cream should have a soft-serve consistency when done.
- If you don’t have an ice cream maker, pour the mixture into a shallow dish and freeze. Stir with a fork every 30 minutes for 2-3 hours to break up ice crystals and create a smooth texture.
Freeze Until Firm:
- Once churned to your liking, transfer the ice cream to an airtight container. Cover the surface with wax paper or plastic wrap, and seal with the lid. Freeze for at least 4 hours, or until firm and scoopable.
Notes
- Chill the mixture before churning: If possible, chill the ice cream base in the refrigerator for about 1-2 hours before churning. This helps improve the texture and makes the churning process faster.
- Storage: Store your homemade ice cream in an airtight container to keep it fresh. If you plan to keep it for a long time, press plastic wrap or wax paper directly against the surface to prevent freezer burn.
- Texture tip: If you want a perfectly smooth and creamy texture, make sure to stir the ice cream every 30 minutes during the freezing process if you’re not using an ice cream maker. This will help break up ice crystals.
- Flavor variations: Feel free to get creative! Try adding cocoa powder for chocolate ice cream, mashed strawberries for a fruity version, or mix in your favorite candy bits and nuts.


