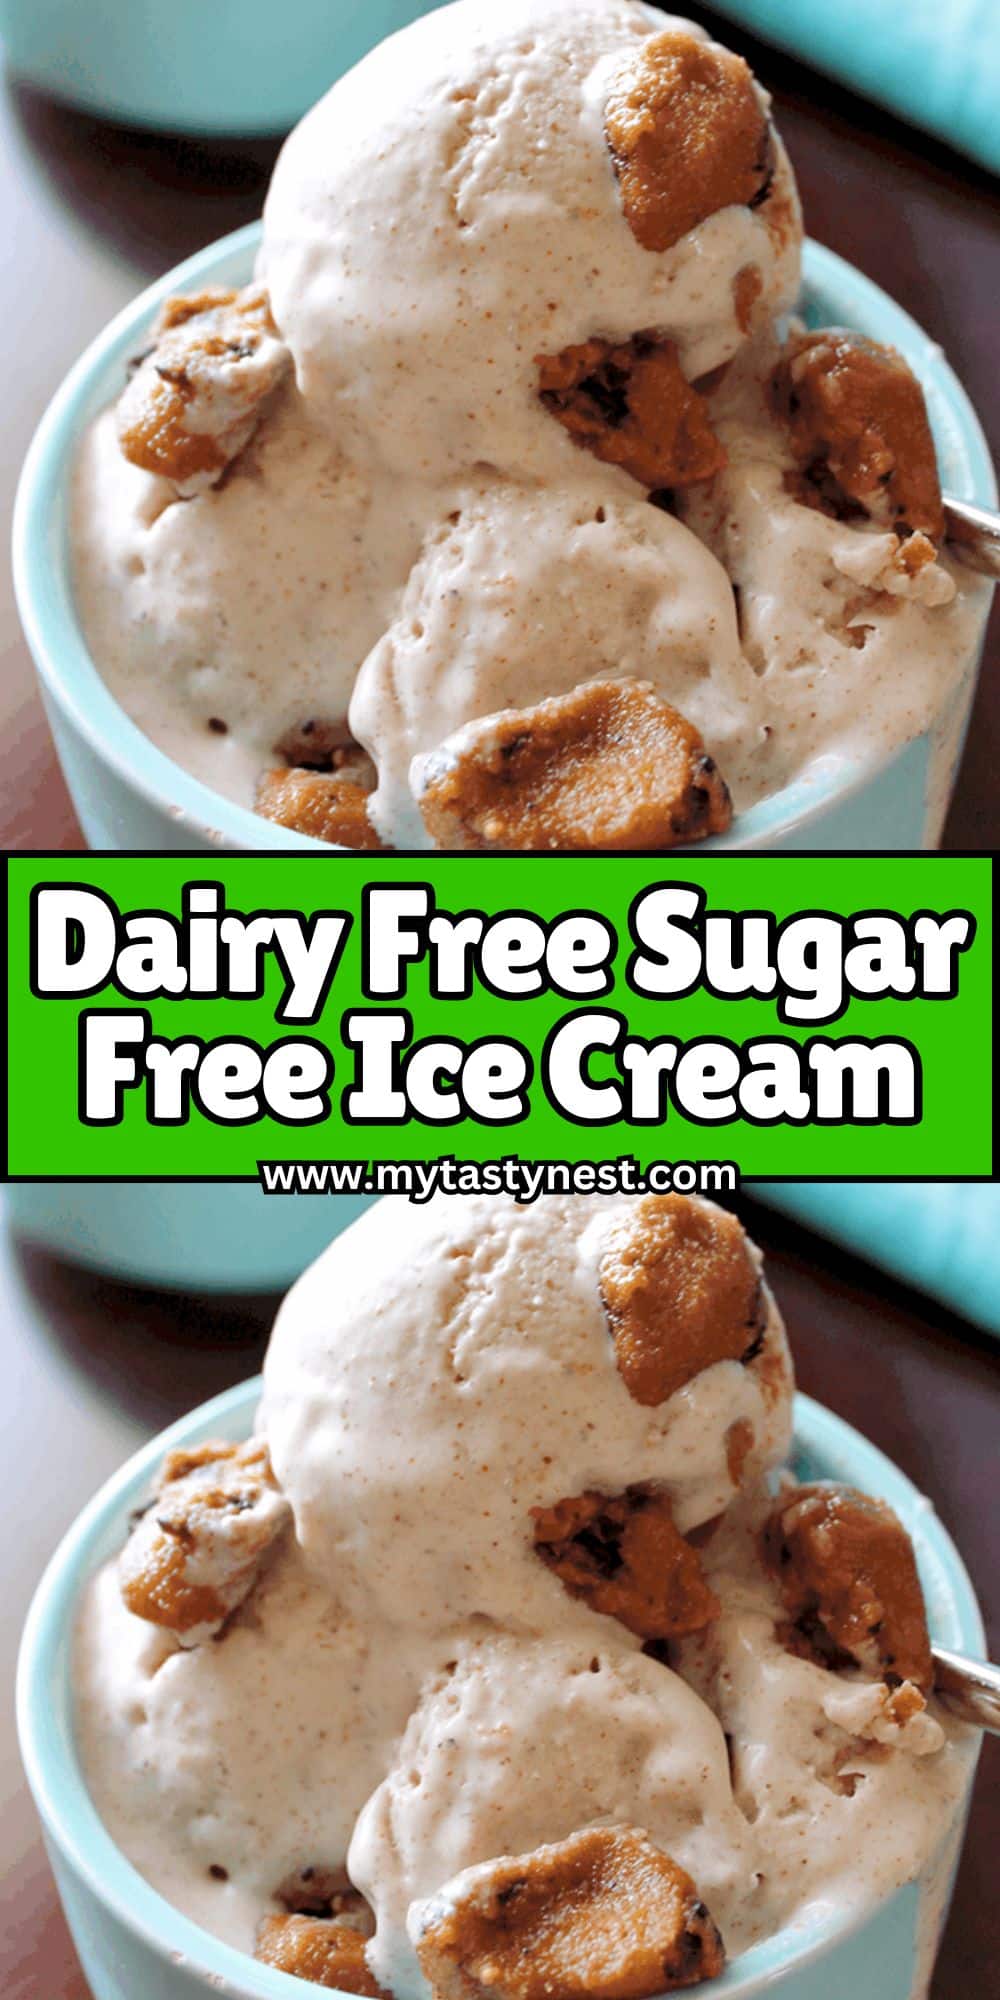
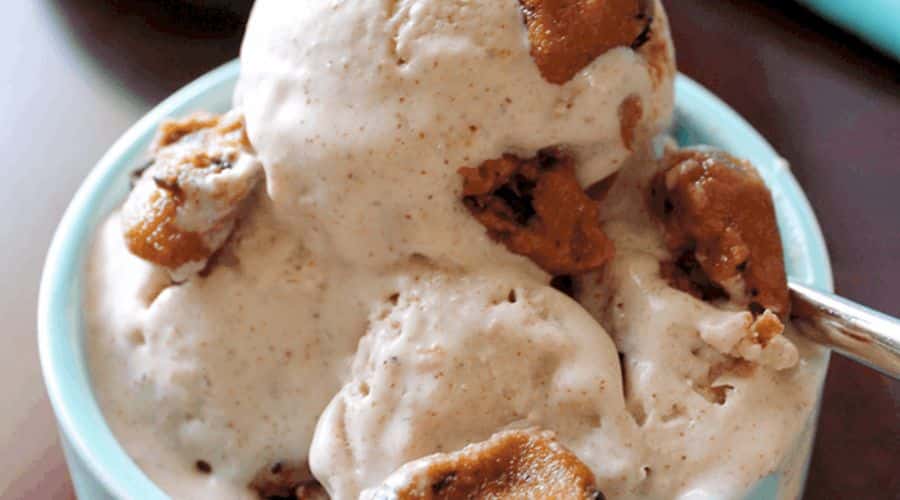
Craving a rich and creamy ice cream but want to avoid dairy and sugar? This Dairy-Free Sugar-Free Ice Cream recipe is the perfect guilt-free indulgence!
Whether you’re following a vegan, keto, paleo, or diabetic-friendly diet, this homemade ice cream delivers all the flavor and texture of traditional ice cream—without the unnecessary additives.
Made with wholesome, natural ingredients, this recipe is incredibly simple to prepare. You don’t need an ice cream maker to achieve a luscious, scoopable consistency.
With just a few easy steps, you’ll have a delicious frozen treat that satisfies your sweet tooth while keeping things light, healthy, and all-natural.
Keep reading to discover why this dairy-free and sugar-free version is a fantastic alternative to store-bought ice cream!

Why Choose Dairy-Free and Sugar-Free Ice Cream?
1. Perfect for Dietary Restrictions and Preferences
Many people struggle with lactose intolerance or simply choose to avoid dairy for ethical or health reasons.
Traditional ice cream is loaded with refined sugars that can cause blood sugar spikes, making it unsuitable for those following low-carb, keto, or diabetic-friendly diets.
This homemade version solves both problems without compromising on taste.
2. Healthier Ingredients, No Artificial Additives
Store-bought ice cream often contains preservatives, artificial flavors, and high-fructose corn syrup.
By making your own, you control what goes in—using natural sweeteners and plant-based ingredients to create a more nutritious and satisfying dessert.
3. Rich and Creamy Without the Dairy
You might wonder if ice cream without dairy can still be creamy. The answer is yes! Ingredients like coconut milk, almond milk, and cashew milk provide a smooth, luscious texture that rivals traditional ice cream. The result? A silky, scoopable frozen dessert that’s just as indulgent as the classic version.
4. Easy to Make at Home
No complicated techniques or fancy machines required! Whether you use an ice cream maker or a simple freezer method, this recipe is designed to be beginner-friendly while delivering deliciously creamy results.
Ready to dive in? Let’s explore the key ingredients that make this dairy-free, sugar-free ice cream so amazing!
Essential Ingredients for Dairy-Free, Sugar-Free Ice Cream
Creating a creamy, flavorful, and naturally sweet ice cream without dairy and refined sugar is easier than you think! The secret lies in using the right combination of plant-based milk, natural sweeteners, and flavor enhancers.
Here’s what you’ll need:
1. The Dairy-Free Base (For Creaminess & Texture)
Since traditional ice cream relies on heavy cream, we need rich alternatives to achieve that smooth, creamy consistency:
- Full-fat coconut milk – The best choice for a rich, velvety texture.
- Almond milk – A lighter option, great when combined with a thicker base.
- Cashew milk – Naturally creamy and mildly sweet, enhancing the overall flavor.
For extra thickness, you can also add coconut cream or a small amount of avocado.
2. Natural Sweeteners (For a Sugar-Free Treat)
Ditch the refined sugar! Instead, use these alternatives to keep your ice cream naturally sweet:
- Stevia – A plant-based sweetener with zero calories.
- Monk fruit sweetener – A keto-friendly option that mimics real sugar.
- Erythritol or allulose – Both are sugar alcohols that add sweetness without spiking blood sugar.
- Mashed banana or dates – A whole-food option for a mild, natural sweetness.
3. Flavor Enhancers (To Make It Extra Delicious)
Once you have the base, it’s time to add some exciting flavors! Consider:
- Vanilla extract – A must-have for a classic, smooth taste.
- Cocoa powder – To create a decadent chocolate version.
- Nut butters – Peanut, almond, or cashew butter for a rich, nutty twist.
- Berries or sugar-free chocolate chips – For added texture and bursts of flavor.
Now that you have all the ingredients ready, let’s get into the step-by-step process of making your ice cream!
Step-by-Step Instructions for Making Dairy-Free Sugar-Free Ice Cream

Making this homemade, healthy ice cream is incredibly easy! Whether you have an ice cream maker or not, follow these simple steps to achieve the perfect creamy texture.
Step 1: Gather and Prepare Your Ingredients
- Measure out your non-dairy milk, sweetener, and flavorings.
- If using fruit or nut butter, blend them until smooth for a consistent texture.
Step 2: Blend the Base
In a blender or food processor, mix:
- Your choice of dairy-free milk
- Sweetener of choice
- Flavoring (vanilla, cocoa, etc.)
Blend until everything is fully combined and smooth. This ensures the flavors are evenly distributed.
Step 3: Chill the Mixture
Pour the blended mixture into a covered bowl and refrigerate for 1-2 hours. This step helps the flavors meld together and improves the final texture.
Step 4: Churn or Freeze
Using an Ice Cream Maker (Best Method)
- Pour the chilled mixture into your ice cream maker.
- Follow the manufacturer’s instructions (typically churning for 20-30 minutes).
- Once it reaches a soft-serve consistency, transfer it to an airtight container.
Without an Ice Cream Maker (No-Churn Method)
- Pour the mixture into a freezer-safe container.
- Stir every 30 minutes for the first 2-3 hours to prevent ice crystals.
- Freeze for 4-6 hours until it reaches the desired firmness.
Step 5: Serve and Enjoy!
- Let the ice cream sit at room temperature for 5 minutes before scooping.
- Serve it as is or top it with nuts, fruit, or sugar-free chocolate sauce.
That’s it! A creamy, delicious dairy-free and sugar-free ice cream made right in your kitchen. Now, let’s explore some exciting flavor variations to try next!
Delicious Variations to Try
One of the best things about this dairy-free, sugar-free ice cream recipe is how easily it can be customized!
Here are some creative and delicious variations to keep things exciting:
1. Creamy Chocolate Delight
If you’re a chocolate lover, this one’s for you!
- Add ¼ cup of unsweetened cocoa powder or melted sugar-free dark chocolate to the base mixture.
- For extra richness, stir in a tablespoon of almond butter or coconut cream.
- Top with sugar-free chocolate chips for a double-chocolate indulgence.
2. Berry Bliss
Fruity and refreshing, this version is perfect for summer!
- Blend in ½ cup of fresh or frozen berries (strawberries, blueberries, or raspberries).
- Add a squeeze of lemon juice to enhance the natural fruit flavors.
- Stir in chopped nuts or coconut flakes for extra texture.
3. Nutty Caramel Swirl (Keto-Friendly!)
A delicious combination of nuts and caramel-like flavors.
- Swirl in sugar-free peanut butter, almond butter, or cashew butter.
- Use a monk fruit caramel syrup for a sweet, gooey touch.
- Sprinkle with crushed pecans or walnuts before serving.
4. Mint Chocolate Chip
A refreshing and classic choice!
- Add ½ teaspoon of peppermint extract to the base mixture.
- Stir in sugar-free chocolate chips or finely chopped dark chocolate.
- For a fun twist, mix in a few spinach leaves while blending (this naturally gives a green tint without artificial coloring!).
5. Tropical Coconut Dream
Take your taste buds on vacation with this tropical-inspired flavor.
- Use coconut milk as the base and add ½ cup of shredded coconut.
- Blend in pineapple or mango for a fruity twist (keep in mind this will add natural sugars).
- Drizzle with sugar-free vanilla syrup or toasted coconut flakes for extra flavor.
Feeling inspired? Now let’s talk about some essential tips to ensure your ice cream turns out perfectly creamy every time!
Tips for the Perfect Dairy-Free Sugar-Free Ice Cream
Making ice cream without dairy and sugar requires a few tricks to get that smooth, scoopable consistency. Follow these expert tips for the best results!
1. Choose the Right Milk Alternative
- For the creamiest texture: Use full-fat coconut milk or cashew milk. These mimic the richness of traditional ice cream best.
- For a lighter option: Almond milk or oat milk work, but they may produce a slightly icier texture. You can balance this by adding a thickener like coconut cream.
2. Use a Blend of Sweeteners for the Best Flavor
Not all sugar-free sweeteners act the same. Combining different types can improve taste and texture:
- Monk fruit + erythritol = A natural sugar-like sweetness with no aftertaste.
- Stevia + allulose = A well-balanced blend that won’t crystallize in the freezer.
- If using fruit (like bananas or dates), blend them thoroughly to avoid chunks.
3. Prevent Ice Crystals for a Smoother Texture
Dairy-free ice cream can become icy if not handled properly. To avoid this:
- Stir the mixture every 30 minutes while freezing (if not using an ice cream maker).
- Adding a small amount of vodka (1 tablespoon) or MCT oil can help prevent iciness without affecting the taste.
- Let the ice cream sit at room temperature for 5 minutes before scooping to soften naturally.
4. Freeze and Store It the Right Way
- Use an airtight, shallow container to prevent freezer burn.
- Place a piece of parchment paper or plastic wrap directly on top of the ice cream before sealing the lid—this helps reduce ice crystals.
- For the best taste and texture, enjoy it within 1–2 weeks.
5. Experiment with Add-Ins for Extra Flavor
- Stir in chopped nuts, sugar-free chocolate chips, or toasted coconut flakes for crunch.
- Swirl in nut butters, fruit purees, or homemade sugar-free syrups for layers of flavor.
- Try using different extracts like almond, coffee, or orange for unique taste variations.
With these tips, you’re all set to make the perfect dairy-free, sugar-free ice cream at home. Ready to dig in? Let’s answer some common questions before you get started!
Final Thoughts
Indulging in a creamy, delicious bowl of ice cream doesn’t have to mean consuming dairy or sugar. With this dairy-free, sugar-free ice cream recipe, you can enjoy a healthier version of your favorite frozen treat—completely guilt-free! Whether you’re following a vegan, keto, paleo, or diabetic-friendly lifestyle, this recipe is easy to customize and packed with flavor.
By using wholesome ingredients, natural sweeteners, and the right freezing techniques, you can achieve a texture and taste just as satisfying as traditional ice cream. Plus, with so many fun variations to try, you’ll never get bored of making your own homemade frozen desserts!
Now it’s your turn! Try this recipe and let us know—what’s your favorite flavor combination? Share your thoughts, tips, and modifications in the comments below!
Frequently Asked Questions (FAQ)
1. Can I make this without an ice cream maker?
Absolutely! If you don’t have an ice cream maker, simply pour the blended mixture into a freezer-safe container, stir every 30 minutes for the first 2–3 hours, and let it freeze for about 4–6 hours. This helps prevent ice crystals and keeps the texture creamy.
2. What’s the best dairy-free milk for making creamy ice cream?
For the richest texture, use full-fat coconut milk or cashew milk. These mimic traditional ice cream’s creamy consistency the best. Almond milk and oat milk work too, but they may create a slightly icier texture.
3. Why is my dairy-free ice cream too hard after freezing?
Dairy-free ice cream tends to freeze harder than regular ice cream. To fix this:
- Let it sit at room temperature for 5–10 minutes before scooping.
- Store it in a shallow, airtight container with plastic wrap directly on the surface.
- Add a tablespoon of vodka or MCT oil to the mixture before freezing to improve scoopability.
4. What are the best sugar-free sweeteners to use?
The best sugar-free sweeteners for ice cream are:
- Monk fruit sweetener (for a natural, sugar-like taste)
- Erythritol or allulose (to prevent iciness)
- Stevia (use sparingly to avoid aftertaste)
For a whole-food option, you can use mashed bananas or dates, but these will add natural sugars.
5. How long does homemade dairy-free ice cream last?
Homemade dairy-free ice cream is best enjoyed within 1–2 weeks. Over time, it may develop ice crystals, but storing it in an airtight container with parchment paper pressed on top will help preserve its texture and flavor.

Dairy Free Sugar Free Ice Cream
Equipment
- 1 – Blender or food processor (for mixing the base)
- 1 – Ice cream maker (optional, for best texture)
- 1 mixing bowl
- 1 – Whisk or spoon
- 1 Freezer-safe container with lid
- 1 spatula
Ingredients
Base Ingredients:
- 1 can 13.5 oz full-fat coconut milk (or cashew milk for creaminess)
- 1/4 cup sugar-free sweetener monk fruit, erythritol, or stevia, adjust to taste
- 1 tsp vanilla extract
- 1 tbsp coconut oil or MCT oil optional, helps prevent ice crystals
- Pinch of sea salt
Flavor Add-Ins (Optional):
- 2 tbsp unsweetened cocoa powder for chocolate flavor
- 1/4 cup sugar-free chocolate chips for added texture
- 1/4 cup pureed berries for a fruity twist
- 1 tbsp peanut butter or almond butter for a nutty taste
Instructions
Step 1: Prepare the Ice Cream Base
- In a blender or mixing bowl, combine coconut milk, sweetener, vanilla extract, and salt.
- Blend or whisk until smooth and well combined.
Step 2: Chill the Mixture (Optional but recommended for best texture)
- Pour the mixture into a covered bowl and refrigerate for 1–2 hours to allow flavors to blend.
Step 3: Churn or Freeze the Ice Cream
- Using an Ice Cream Maker (Best Method)
- Pour the chilled mixture into an ice cream maker and churn according to the manufacturer’s instructions (about 20–30 minutes) until it reaches a soft-serve consistency.
- Transfer to a freezer-safe container, cover, and freeze for 2–3 hours for a firmer texture.
- No-Churn Method (Without an Ice Cream Maker)
- Pour the mixture into a freezer-safe container and place it in the freezer.
- Stir every 30 minutes for the first 2–3 hours to prevent ice crystals from forming.
- Freeze for a total of 4–6 hours, or until set.
Step 4: Serve and Enjoy!
- Remove from the freezer 5–10 minutes before serving for easier scooping.
- Enjoy as is or top with nuts, berries, or sugar-free chocolate chips.
Notes
- For an ultra-creamy texture, use full-fat coconut milk or cashew milk instead of almond milk.
- Adjust sweetness based on your preference by adding more or less sugar-free sweetener.
- To prevent ice crystals, use MCT oil or a tablespoon of vodka (this won’t affect the flavor).
- Storage: Keep in an airtight container in the freezer for up to 2 weeks.
- Flavor variations: Try adding cinnamon, coffee extract, or matcha powder for unique flavors.


