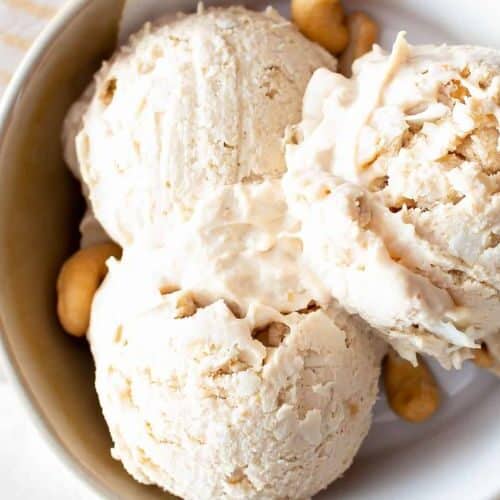
Whole Milk Ice Cream
This Whole Milk Ice Cream Recipe is a creamy and delicious homemade treat made with simple ingredients—without the need for heavy cream. With just whole milk, sugar, and optional egg yolks for extra richness, this recipe is perfect for those looking for a lighter yet still indulgent ice cream. Whether you use an ice cream maker or opt for a no-churn method, this easy recipe delivers smooth, flavorful ice cream that can be customized with your favorite mix-ins and flavors.Nutrition Facts (per serving)Serving Size: 1/2 cup (about 100g), Calories: 200 kcal, Total Fat: 10g, Saturated Fat: 6g, Trans Fat: 0g, Cholesterol: 35mg, Sodium: 40mg, Total Carbohydrates: 25g, Dietary Fiber: 0g, Sugars: 24g, Protein: 4g, Vitamin D: 0%, Calcium: 8%, Iron: 0%, Potassium: 180mgEstimated based on one serving (assuming 6 servings per batch)
Equipment
- 1 × Medium Saucepan – for heating the milk and sugar
- 1 × Mixing Bowl – for whisking egg yolks (if using)
- 1 × Whisk – for mixing ingredients smoothly
- 1 × Ice Cream Maker (or a shallow container for no-churn method)
- 1 × Fine-Mesh Sieve (optional) – for straining out lumps
- 1 × Airtight Container – for storing ice cream
- 1 × Measuring Cups and Spoons – for accurate ingredient measurement
- 1 × Rubber Spatula – for stirring and transferring ice cream
Ingredients
Basic Ice Cream Base:
- 2 cups 480ml whole milk
- ¾ cup 150g granulated sugar
- 1 teaspoon vanilla extract
- Pinch of salt
For Custard-Style Ice Cream (Optional):
- 2 large egg yolks
Optional Mix-ins:
- ½ cup 90g chocolate chips, chopped nuts, or caramel swirls
Instructions
Step 1: Heat the Milk & Sugar
- In a medium saucepan, combine whole milk and sugar over medium heat. Stir occasionally until the sugar is fully dissolved and the milk is warm (but not boiling).
Step 2: (For Custard-Based Ice Cream) Temper the Eggs
- If using egg yolks, whisk them in a separate mixing bowl.
- Slowly add a few tablespoons of the warm milk mixture into the yolks while whisking continuously to temper the eggs.
- Gradually pour the tempered eggs back into the saucepan, stirring constantly.
Step 3: Cook the Custard (Optional Step)
- Cook the mixture on low heat, stirring frequently, until it thickens slightly and coats the back of a spoon (170°F/77°C). Do not let it boil.
- Remove from heat and stir in vanilla extract and a pinch of salt.
Step 4: Chill the Mixture
- Transfer the ice cream base to a bowl and let it cool to room temperature.
- Cover and refrigerate for at least 2–3 hours (or overnight) until well chilled.
Step 5: Churn the Ice Cream
- Pour the chilled mixture into an ice cream maker and churn according to the manufacturer’s instructions (usually 20–30 minutes).
- If adding mix-ins, fold them in during the last 5 minutes of churning.
Step 6: Freeze Until Firm
- Transfer the churned ice cream to an airtight container.
- Freeze for at least 4 hours for a firmer texture.
Step 7: Serve & Enjoy!
- Let the ice cream sit at room temperature for 5 minutes before scooping. Enjoy in a bowl, cone, or sundae!
Notes
- No-Churn Method: Pour the chilled mixture into a shallow container, freeze for 30 minutes, then stir vigorously with a fork. Repeat every 30 minutes until smooth and creamy (~3–4 hours).
- For Extra Creaminess: Add 1 tablespoon of corn syrup or honey to help soften the texture.
- Dairy-Free Option: Use full-fat coconut milk instead of whole milk.
- Flavor Variations: Add ¼ cup of cocoa powder for chocolate ice cream or pureed fruit for a fruity version.
- Storage: Store in an airtight container in the freezer for up to 2–3 weeks.