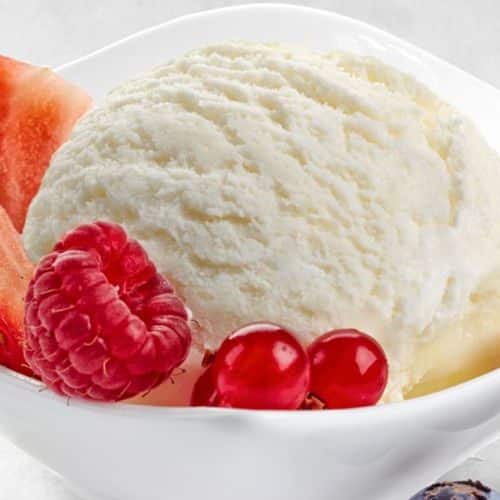
Vegan Vanilla Bean Ice Cream
This vegan vanilla bean ice cream is ultra-creamy, rich, and bursting with real vanilla flavor. Made with coconut milk and naturally sweetened, it’s the perfect dairy-free treat for any occasion. Whether you use an ice cream maker or a no-churn method, this recipe guarantees a smooth and indulgent scoop every time!
Equipment
- 1 High-Speed Blender (for blending the base)
- 1 Medium Saucepan (to heat the mixture)
- 1 Whisk (for stirring the thickener)
- 1 Mixing Bowl (to chill the mixture)
- 1 Ice cream maker (optional, but recommended)
- 1 Freezer-Safe Container (for storing)
- 1 Spatula (to smooth the mixture)
Ingredients
Base Ingredients:
- 2 cans 13.5 oz each full-fat coconut milk
- ½ cup raw cashews soaked & drained (optional for extra creaminess)
- 1 whole vanilla bean pod or 2 tsp pure vanilla extract
- ½ cup maple syrup or agave nectar
- 1 tbsp arrowroot starch or cornstarch
- ¼ tsp sea salt
Optional Add-Ins:
- ¼ cup almond or oat milk for a lighter texture
- ½ cup dairy-free chocolate chips nuts, or cookie dough (for mix-ins)
Instructions
Step 1: Prepare the Vanilla Bean Base
- Slice the vanilla bean pod lengthwise and scrape out the seeds with a knife. Set aside.
- In a blender, combine coconut milk, soaked cashews, maple syrup, vanilla bean seeds (or extract), and sea salt. Blend until smooth.
Step 2: Heat and Thicken the Mixture
- Pour the blended mixture into a saucepan over medium heat.
- Whisk in arrowroot starch (or cornstarch) until fully dissolved.
- Simmer for 3-5 minutes, stirring constantly, until slightly thickened (do not boil).
- Remove from heat and let it cool for 10 minutes before transferring to a mixing bowl.
Step 3: Chill the Ice Cream Base
- Cover the bowl and refrigerate for at least 4 hours (or overnight for the best texture).
Step 4: Churn the Ice Cream (Skip if using the no-churn method)
- Once chilled, pour the mixture into an ice cream maker and churn according to the manufacturer’s instructions (typically 20-30 minutes).
- The ice cream should be thick and creamy, like soft serve.
Step 5: Freeze and Set
- Transfer the churned ice cream into a freezer-safe container. Smooth the top with a spatula.
- Cover with parchment paper (to prevent ice crystals) and freeze for 2-4 hours until firm.
- No-Churn Method (Without an Ice Cream Maker)
- Pour the chilled mixture into a shallow freezer-safe container.
- Freeze for 45 minutes, then stir vigorously with a fork or whisk.
- Repeat this stirring process every 30 minutes for about 3 hours until smooth and creamy.
Step 6: Serve and Enjoy!
- Let the ice cream sit at room temperature for 5-10 minutes before scooping.
- Serve in cones, bowls, or as part of a dessert and enjoy!
Notes
- For a softer texture: Add 1-2 tbsp vodka or coconut nectar to prevent the ice cream from freezing too hard.
- For a nut-free version: Skip the cashews and use extra coconut milk instead.
- Storage: Keep in an airtight container in the freezer for up to 3 weeks.
- Flavor variations: Try adding cinnamon, espresso powder, or fresh fruit swirls for fun twists!