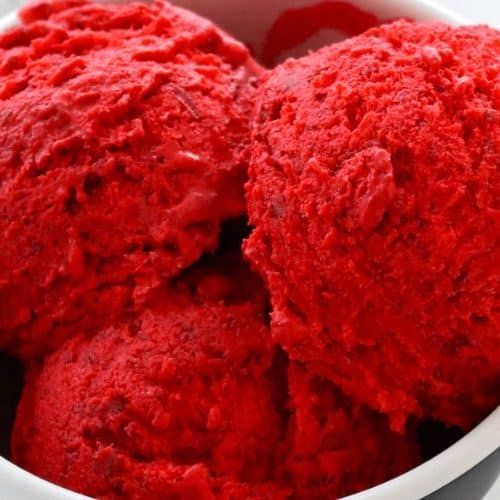
Red Velvet Ice Cream
This Red Velvet Ice Cream combines the classic, beloved flavor of red velvet cake with the creamy texture of homemade ice cream. With hints of cocoa and a creamy swirl of cream cheese, it offers a rich and indulgent treat that’s perfect for any occasion. Whether served in a cone, as a sundae, or alongside a slice of cake, this dessert will impress with its vibrant color and delicious taste.
Equipment
- 1 Ice Cream Maker
- 1 mixing bowl
- 1 Hand Whisk
- 1 spatula
- 1 airtight container (for storing ice cream)
- 1 Measuring cups and spoons
- 1 Electric Mixer (optional for beating cream cheese)
Ingredients
- 1 ½ cups 360 ml Heavy Cream
- 1 ½ cups 360 ml Whole Milk
- ¾ cup 150g Sugar
- 1 box 15.25 oz / 432g Red Velvet Cake Mix (or homemade red velvet flavoring)
- 4 oz 113g Cream Cheese, softened
- 1 tsp 5 ml Vanilla Extract
- 1-2 tsp 5-10 ml Red Food Coloring (optional, for more vibrant color)
Instructions
Prepare the Ice Cream Base:
- In a large bowl, whisk together the heavy cream, whole milk, and sugar until the sugar is completely dissolved.
Add Red Velvet Flavor:
- Stir in the red velvet cake mix (or your homemade red velvet flavoring). If you’re using food coloring, add it now and mix thoroughly. You want the base to have an even red color.
Incorporate Cream Cheese:
- Softly beat the cream cheese until smooth, then gently fold it into the mixture. You should have little swirls of cream cheese throughout the base.
Chill the Mixture:
- Cover the bowl with plastic wrap and refrigerate for at least 2 hours, or preferably overnight. This ensures the base is cold enough to churn in the ice cream maker.
Churn the Ice Cream:
- Once chilled, pour the mixture into your ice cream maker and churn according to the manufacturer's instructions (typically 20-25 minutes until it reaches a soft-serve consistency).
Add Cake Pieces (Optional):
- If desired, gently fold in small pieces of red velvet cake or other add-ins once the ice cream has reached the soft-serve consistency.
Freeze:
- Transfer the ice cream to an airtight container and freeze for 4-6 hours, or until firm.
Serve:
- Scoop and enjoy your homemade red velvet ice cream in a cone, bowl, or atop a red velvet cake or cupcake!
Notes
- Make Ahead: This ice cream can be made up to a week ahead. Simply store it in an airtight container in the freezer.
- No Ice Cream Maker? If you don’t have an ice cream maker, you can use a no-churn method. After mixing and refrigerating the base, pour it into an airtight container, beat it with a hand mixer for 3-5 minutes to incorporate air, and freeze until firm.
- Customization: Add-ins like chocolate chips, nuts, or swirls of fudge can easily be incorporated to personalize your ice cream.
- Vibrancy: The amount of red food coloring can be adjusted based on how deep you want the color to be. Alternatively, you can skip the coloring for a more natural red velvet hue.