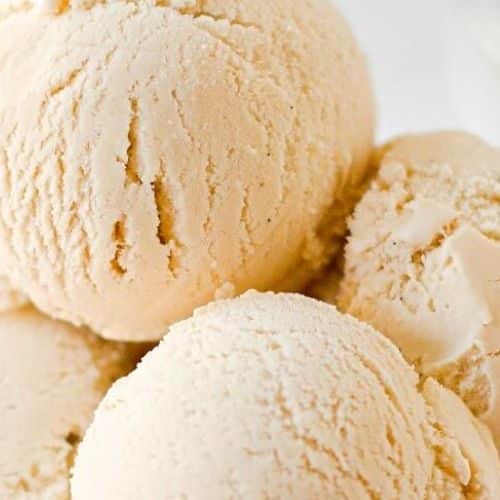
No Egg Vanilla Bean Ice Cream
This No Egg Vanilla Bean Ice Cream offers a simple yet luxurious way to enjoy homemade ice cream. Free from eggs but still creamy and rich, it highlights the natural flavor of vanilla beans. With just a few ingredients, this ice cream can be made in an ice cream maker or without one, making it a versatile treat for any occasion.
Equipment
- Ice Cream Maker (optional) – For churning the ice cream, if you have one.
- Medium saucepan – For heating the cream and milk.
- Whisk – For mixing ingredients.
- Strainer – To remove the vanilla pods and any seeds after steeping.
- Airtight Container – To store the finished ice cream in the freezer.
Ingredients
- 2 cups – Heavy cream
- 1 cup – Whole milk
- 3/4 cup – Granulated sugar
- 2 pods – Vanilla beans or 1 tablespoon vanilla extract
- Pinch – Salt
- 1 teaspoon – Vanilla extract optional, for extra vanilla flavor
Instructions
Prepare the Vanilla Beans:
- Split the vanilla beans lengthwise and scrape the seeds into a small bowl. Set the seeds aside and add the empty pods to your mixture.
Heat the Cream and Milk:
- In a medium saucepan, combine the heavy cream, whole milk, and vanilla bean pods. Heat over medium, stirring occasionally, until it’s warm but not boiling.
Steep the Vanilla:
- Remove the saucepan from heat once it’s warm and let it steep for about 10-15 minutes to infuse the vanilla flavor into the cream and milk.
Add Sugar and Salt:
- Strain the mixture to remove the vanilla pods. Stir in the sugar and a pinch of salt until fully dissolved.
Chill the Mixture:
- Let the mixture cool to room temperature, then cover and refrigerate for 3-4 hours, or until fully chilled.
Churn the Ice Cream:
- Pour the chilled mixture into your ice cream maker and churn according to the manufacturer’s instructions (typically about 20-25 minutes).
Freeze:
- Transfer the churned ice cream to an airtight container and freeze for 2-3 hours, or until the desired consistency is reached.
Serve:
- Scoop the ice cream into bowls or cones and enjoy!
Notes
- Vanilla Beans: The use of real vanilla beans gives this ice cream an authentic and rich flavor. If you don’t have vanilla beans, feel free to substitute with 1 tablespoon of vanilla extract.
- Ice Cream Maker: An ice cream maker will provide a smoother texture, but if you don’t have one, you can still make this ice cream by freezing the mixture and stirring it every 30 minutes to break up ice crystals.
- Add-Ins: You can mix in chocolate chips, crushed cookies, or fruit after churning the ice cream for added texture and flavor.
- Storage: Store the ice cream in an airtight container in the freezer for up to 2-3 weeks. For the creamiest texture, allow it to sit at room temperature for a few minutes before scooping.