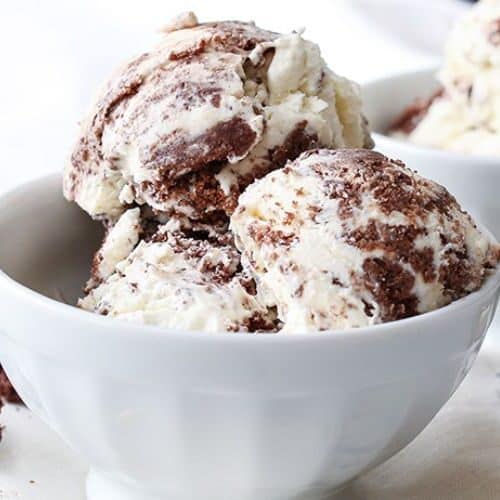
Low Sugar Ice Cream
This homemade low sugar ice cream is a guilt-free treat that doesn’t compromise on taste or texture. Using natural sweeteners like stevia, monk fruit, or erythritol, and creamy dairy or plant-based milk alternatives, you can enjoy a rich, smooth, and satisfying dessert without the extra sugar. Perfect for those on special diets like keto, dairy-free, or low-carb, this ice cream is easy to customize with your favorite flavors and mix-ins.
Equipment
- Ice Cream Maker – 1 unit
- Saucepan - 1 unit
- Whisk: 1 unit
- Mixing Bowls – 2 units
- Fine Mesh Strainer – 1 unit
- Airtight Container (1 unit for storage)
Ingredients
- 1 cup 240 ml Heavy Cream (or coconut cream for dairy-free)
- 1 cup 240 ml Whole Milk (or almond milk for dairy-free)
- 3 large Egg Yolks optional for a custard base
- 1/2 cup 120 ml Low Sugar Sweetener (like erythritol, stevia, or monk fruit)
- 1 tsp Vanilla Extract or other flavorings like almond or mint
- Pinch of Salt
- Optional Mix-ins: Dark chocolate chips crushed nuts, fresh berries, etc.
Instructions
Prepare the Base:
- In a saucepan, combine the heavy cream and milk over medium heat. Stir frequently until the mixture begins to warm (but not boil).
Whisk the Eggs and Sweetener:
- In a separate bowl, whisk together the egg yolks (if using) and sweetener until smooth and pale. Slowly add a small amount of the warm cream mixture to the egg mixture to temper the eggs, stirring constantly. Gradually pour the tempered egg mixture back into the saucepan, whisking to combine.
Cook the Mixture:
- Continue to cook the mixture over low heat, stirring constantly until it thickens slightly. This should take about 5-10 minutes. Be careful not to let it boil.
Strain and Chill:
- Remove the saucepan from the heat. Strain the mixture through a fine mesh strainer to remove any curdled eggs and ensure a smooth texture. Let the mixture cool to room temperature, then refrigerate it for 2-3 hours or overnight.
Churn the Ice Cream:
- Once chilled, pour the base into an ice cream maker and churn according to the manufacturer's instructions. This typically takes 20-30 minutes.
Freeze:
- Transfer the churned ice cream to an airtight container, smooth the top, and cover it with plastic wrap or a lid. Freeze for at least 4-6 hours to firm up.
Serve and Enjoy:
- Once frozen, take the ice cream out of the freezer for a few minutes to soften slightly. Scoop into bowls or cones, and enjoy your creamy, low sugar treat!
Notes
- Sweetener Adjustments: Depending on the sweetener used, you may need to adjust the quantity. Some alternatives are sweeter than sugar, so start with less and taste as you go.
- Vegan/Dairy-Free: Use coconut milk or almond milk instead of whole milk and coconut cream or almond cream instead of heavy cream for a dairy-free option. Ensure your sweetener is vegan-friendly.
- Flavor Customization: You can add fruit, cocoa powder, or even coffee for flavor variations. Add mix-ins like dark chocolate chips, crushed nuts, or fresh berries during the last few minutes of churning.