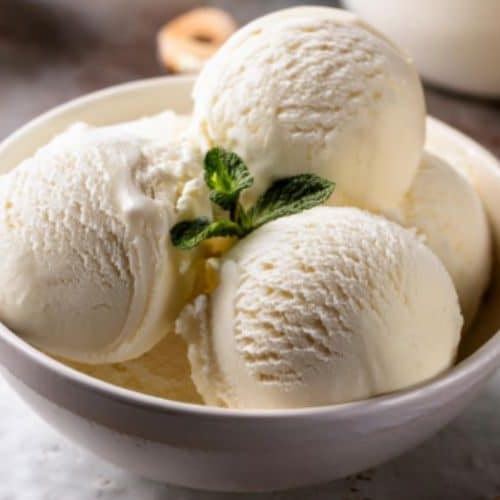
Fresh Milk Ice Cream
This Fresh Milk Ice Cream Recipe is a light, creamy, and refreshing homemade dessert made with simple ingredients. Using only fresh milk, sugar, and a few pantry staples, this recipe creates a smooth and delicious ice cream without the need for heavy cream. Whether you’re looking for a budget-friendly treat or a naturally flavored alternative to store-bought ice cream, this recipe is perfect for all occasions.
Equipment
- Saucepan – For heating and mixing the ingredients.
- Whisk or Wooden Spoon – To stir the mixture and prevent lumps.
- Mixing Bowl – Useful for cooling the mixture before freezing.
- Measuring Cups & Spoons – Ensures accurate ingredient portions.
- Freezer-Safe Container with Lid – For storing the ice cream while it sets.
- Ice Cream Maker (Optional) – Speeds up the churning process for a creamier texture.
Ingredients
Main Ingredients
- 2 cups fresh milk whole milk recommended for a creamier texture
- ½ cup granulated sugar adjust to taste
- 1 tablespoon cornstarch for thickening
- 1 teaspoon vanilla extract for flavor
- 1 pinch salt to enhance taste
Optional Ingredients
- 2 egg yolks for a richer, custard-like texture
- ½ cup fruit puree e.g., strawberry, mango, or banana for a fruity twist
- 2 tablespoons cocoa powder for a chocolate version
- ¼ cup chopped nuts chocolate chips, or cookie crumbs (for added texture)
Instructions
Step 1: Prepare the Ice Cream Base
- Heat the milk – In a saucepan over low-medium heat, add 2 cups of fresh milk and stir occasionally to prevent burning.
- Dissolve the sugar – Add ½ cup of sugar and stir until fully dissolved.
- Thicken the mixture – In a small bowl, mix 1 tablespoon of cornstarch with 2 tablespoons of warm milk to create a smooth paste. Slowly pour this into the saucepan while stirring.
- Simmer gently – Let the mixture cook for 3–5 minutes until slightly thickened. Avoid boiling.
- Add vanilla & salt – Remove from heat and mix in 1 teaspoon of vanilla extract and a pinch of salt.
Step 2: Chill the Mixture
- Pour the mixture into a mixing bowl and let it cool to room temperature.
- Cover and refrigerate for at least 2 hours to ensure a smooth texture.
Step 3: Churn or Freeze
- With an Ice Cream Maker:
- Pour the chilled mixture into an ice cream maker and churn according to the manufacturer’s instructions (usually 15–25 minutes).
- Without an Ice Cream Maker:
- Pour the mixture into a freezer-safe container and freeze.
- Every 30 minutes, stir vigorously with a whisk or fork to break up ice crystals. Repeat this for about 3 hours until the ice cream is smooth and creamy.
Step 4: Final Freezing & Serving
- Once the ice cream reaches a soft-serve consistency, transfer it to a sealed container and freeze for an additional 4–6 hours until firm.
- Let it sit at room temperature for 5–10 minutes before scooping. Serve and enjoy!
Notes
- For a creamier texture, use whole milk instead of low-fat or skim milk.
- If making without an ice cream maker, be patient and stir frequently to prevent large ice crystals from forming.
- Customize the flavor by adding fresh fruit, cocoa powder, or even a swirl of honey or caramel before freezing.
- Dairy-Free Alternative: Substitute fresh milk with coconut milk or almond milk for a lactose-free version.