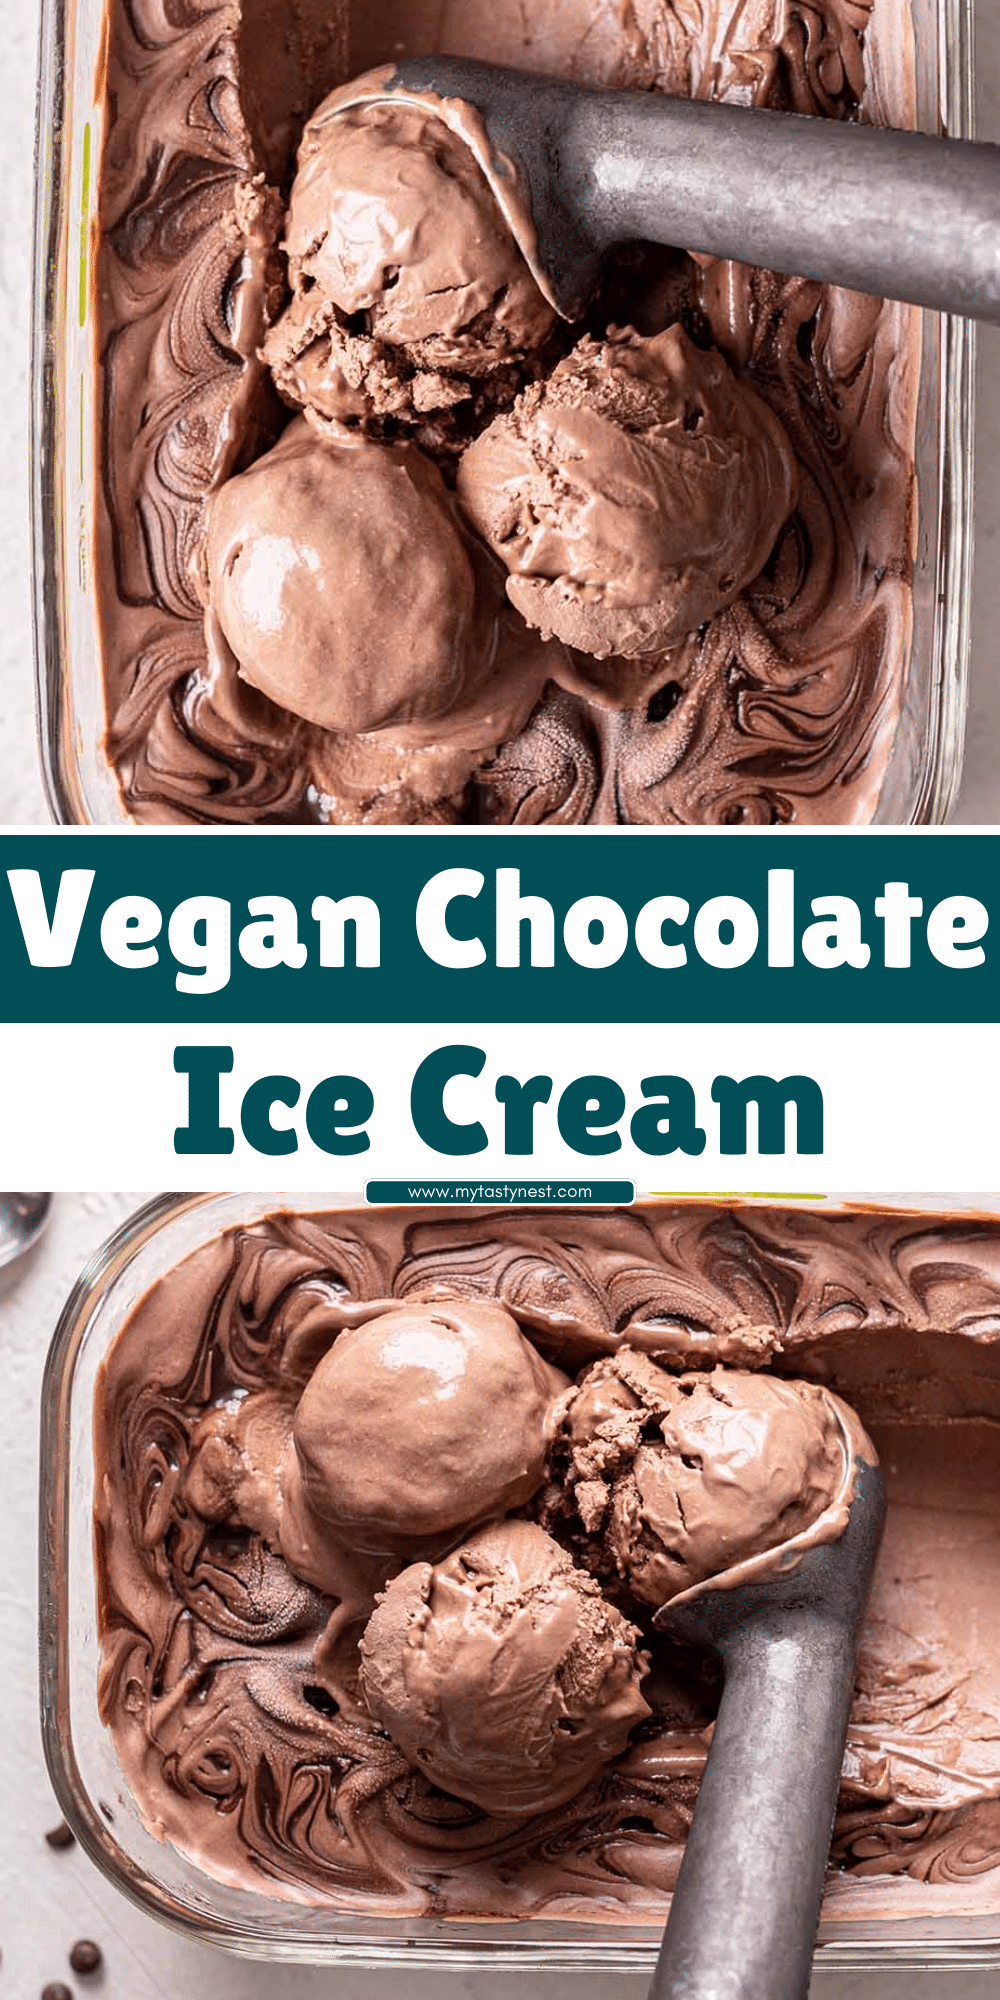
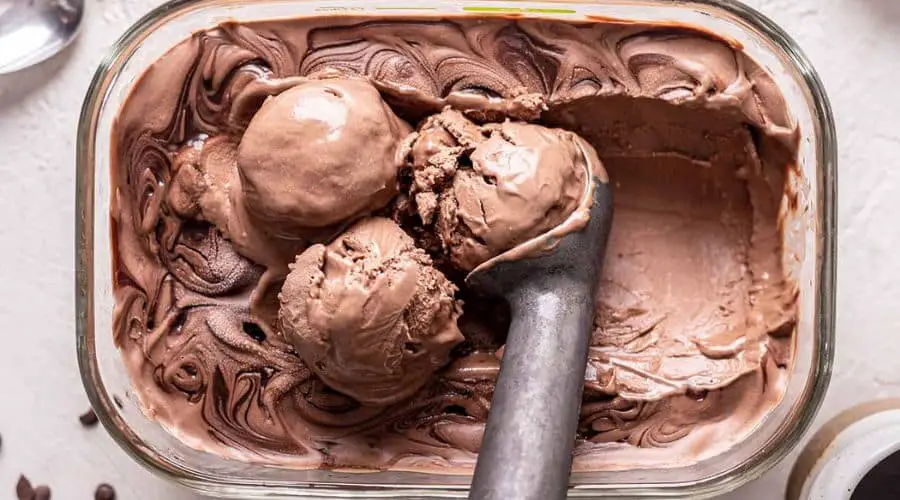
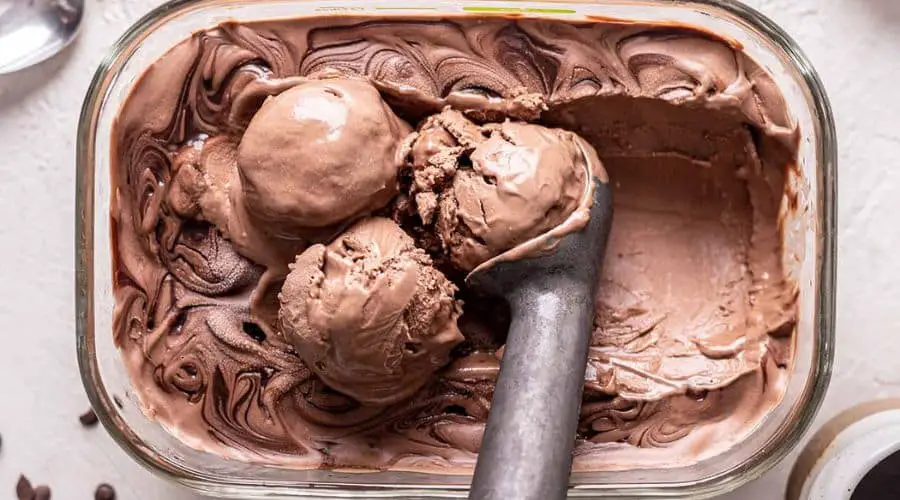
Vegan chocolate ice cream is a luscious, dairy-free treat that offers all the creamy goodness of traditional ice cream, without the milk or eggs.
Whether you follow a plant-based lifestyle or simply want a healthier alternative to satisfy your chocolate cravings, this recipe is the perfect solution.
Rich in flavor and texture, vegan chocolate ice cream is made using plant-based ingredients that will make your taste buds dance with joy.
Unlike store-bought versions that may contain artificial flavors and preservatives, homemade vegan chocolate ice cream allows you to control what goes into your dessert, ensuring it’s as fresh and wholesome as possible.
Plus, it’s just as indulgent as any chocolate ice cream, with the added benefit of being free from dairy and eggs, making it a great option for those with lactose intolerance, vegans, or anyone looking to reduce their intake of animal products.
In this blog post, we’ll walk you through the simple steps to make your own vegan chocolate ice cream, plus some helpful tips and variations to suit your tastes.

Ingredients for Vegan Chocolate Ice Cream
Creating vegan chocolate ice cream doesn’t require a lot of fancy ingredients. In fact, the beauty of this recipe lies in its simplicity.
You can find all the ingredients at your local grocery store or health food shop, and many of them are staples for plant-based cooking.
Base Ingredients
Coconut Milk or Almond Milk: The foundation of any great vegan ice cream is a creamy, plant-based milk.
Coconut milk is a popular choice due to its rich, creamy texture, which mimics the mouthfeel of dairy-based ice cream.
If you prefer a lighter option, almond milk works well too, though it will result in a slightly less creamy texture.
Cocoa Powder: Unsweetened cocoa powder is the key to giving the ice cream its rich chocolate flavor.
It’s what makes this treat undeniably indulgent, and it’s essential for achieving that deep, dark chocolate hue. Choose high-quality cocoa for the best flavor.
Sweetener (Maple Syrup, Agave, or Coconut Sugar): To balance the bitterness of the cocoa, a sweetener is needed.
Maple syrup offers a lovely caramel-like sweetness that pairs well with chocolate, while agave is a milder option.
Coconut sugar is another fantastic choice, adding a hint of toasty caramel flavor.
Vanilla Extract: A touch of vanilla extract enhances the overall flavor of the ice cream and complements the richness of the cocoa.
It’s a small ingredient, but it makes a big difference in creating a harmonious taste.
Optional Ingredients
Dark Chocolate Chips or Chunks: For added texture and extra chocolatey goodness, you can stir in dark chocolate chips or chunks at the end of the churning process. They provide delightful bursts of chocolate in every bite.
Salt: Just a pinch of salt can elevate the chocolate flavor and balance the sweetness. It helps bring out the rich cocoa notes, so don’t skip this ingredient.
Other Flavorings (Espresso, Cinnamon): If you want to experiment, you can add a pinch of espresso powder for a mocha twist or cinnamon for a subtle warm spice.
Both pair beautifully with chocolate and add an extra layer of depth to your ice cream.
With these ingredients, you’ll be able to create a smooth, velvety, and flavor-packed vegan chocolate ice cream that will rival any store-bought version.
Whether you prefer a pure, classic chocolate flavor or a mix of decadent add-ins, this recipe can be customized to suit your tastes.
Step-by-Step Instructions for Making Vegan Chocolate Ice Cream

Making vegan chocolate ice cream is easier than you might think.
With just a few simple steps, you’ll have a homemade dessert that’s both creamy and indulgent.
1. Prepare the Base
Start by creating the chocolate base. In a medium-sized saucepan, combine the coconut milk (or almond milk) with the unsweetened cocoa powder, maple syrup (or your chosen sweetener), and vanilla extract.
Place the saucepan over medium heat and whisk the mixture continuously until the cocoa powder is completely dissolved, and the mixture is smooth and well combined.
Make sure to whisk the ingredients thoroughly, ensuring there are no lumps of cocoa. The sweetener should also be fully dissolved into the mixture.
2. Heat and Mix
Continue heating the mixture, but be careful not to bring it to a boil. Allow the base to warm up, just enough for all the ingredients to blend together, while stirring constantly.
You’ll notice the mixture thickening slightly as it heats, which is perfect for creating that creamy ice cream texture.
Once it’s well combined, remove the saucepan from the heat. Let the mixture cool for a few minutes, but not too long.
You want it to be warm when you begin chilling, so it can cool more evenly.
3. Chill the Mixture
Transfer the chocolate base into a heat-safe container and allow it to cool to room temperature.
Once it’s no longer warm to the touch, cover the container and refrigerate the mixture for at least an hour.
Chilling the mixture ensures that it reaches the ideal temperature for churning, helping it to achieve that smooth, creamy consistency.
If you’re short on time, you can chill it in the freezer for around 30 minutes, but be sure to stir it every 10 minutes to prevent it from freezing solid.
4. Churn the Ice Cream
Once the mixture is chilled, it’s time to churn! Pour it into an ice cream maker and follow the manufacturer’s instructions.
Typically, the mixture will need to churn for about 20-30 minutes until it thickens and reaches a soft-serve consistency.
If you like, you can add dark chocolate chips or chunks during the last few minutes of churning. This will incorporate them into the ice cream for extra bursts of chocolate.
5. Freeze Until Firm
After churning, transfer the ice cream into an airtight container and smooth the top with a spatula.
Cover the container with a lid or plastic wrap and place it in the freezer for at least 4 hours, or overnight. This final step ensures the ice cream firms up and becomes scoopable.
6. Serve and Enjoy
Once the ice cream has hardened to your desired consistency, scoop and serve!
You can enjoy it as is, or pair it with toppings like vegan whipped cream, fresh fruit, or even a drizzle of chocolate sauce.
Tips for Perfect Vegan Chocolate Ice Cream
Creating the perfect vegan chocolate ice cream is all about texture, flavor, and the right techniques.
Here are some tips to help you achieve the best results:
1. Use Full-Fat Coconut Milk
For the creamiest and most decadent vegan chocolate ice cream, opt for full-fat coconut milk.
It provides a rich and velvety texture that mimics traditional dairy-based ice cream. If you use a lighter plant-based milk, your ice cream may not be as creamy.
2. Don’t Skip the Chilling Step
Chilling the base is a crucial step. Not only does it allow the flavors to meld together, but it also ensures the ice cream churns to the correct consistency.
Skipping this step can result in an ice cream that’s harder to churn and lacks the smooth texture we all love.
3. Avoid Overheating
While heating the base, be sure not to overheat it or let it come to a boil.
Overheating can cause the fats to separate, and you might end up with a grainy texture instead of a smooth, creamy ice cream.
4. Churn for the Right Amount of Time
The key to a perfectly smooth and airy texture is churning the ice cream long enough.
If you stop the churn too early, the mixture will be too soft, and if you churn too long, it might freeze too hard.
Stick to the recommended churning time based on your ice cream maker for optimal results.
5. Store Properly
After churning, store your ice cream in an airtight container to avoid ice crystals forming.
You can also place a piece of parchment paper or plastic wrap on the surface of the ice cream before sealing the container to keep it from hardening with a crusty layer on top.
6. Experiment with Flavor Variations
While the basic vegan chocolate ice cream recipe is delicious on its own, don’t be afraid to experiment.
Add-ins like crushed nuts, vegan marshmallows, or a swirl of peanut butter or fruit can elevate your ice cream and give it a fun twist. The possibilities are endless, so let your creativity guide you!
By following these tips, you’ll be well on your way to making the creamiest, most indulgent vegan chocolate ice cream right at home. Enjoy the process and savor every bite!
Common Mistakes to Avoid
When making vegan chocolate ice cream, there are a few common mistakes that can affect the texture and flavor of your treat.
Being aware of these pitfalls can help you achieve the perfect creamy, chocolatey goodness every time.
1. Overheating the Mixture
One of the most common mistakes is overheating the base while cooking the mixture.
If the mixture gets too hot or boils, the fats can separate, leading to a grainy texture and a less smooth result.
To avoid this, make sure to heat the mixture over medium heat and stir constantly, just warming it enough to combine the ingredients.
2. Skipping the Chilling Step
Chilling the ice cream base before churning is essential for achieving the best consistency.
Skipping this step can cause the mixture to churn unevenly, leading to an ice cream that’s too soft or lacks the desired creaminess.
Always give your mixture ample time to chill in the refrigerator before transferring it to the ice cream maker.
3. Not Using Enough Fat
The fat content in your base is what gives the ice cream its rich, creamy texture.
If you use low-fat plant-based milk or skip the coconut milk, the ice cream may turn out icy or overly firm.
Make sure to use full-fat coconut milk or another creamy plant-based alternative for the best results.
4. Churning Too Long or Too Short
It’s important to strike the right balance when churning your ice cream. If you churn for too long, the mixture may freeze too hard, making it difficult to scoop.
On the other hand, if you don’t churn long enough, the texture will be too soft and won’t firm up properly when frozen.
Follow your ice cream maker’s instructions and stop once the mixture reaches a smooth, soft-serve consistency.
5. Storing Ice Cream Incorrectly
After churning, if you don’t store your ice cream properly, it can form ice crystals or get freezer burn.
To avoid this, make sure to store the ice cream in an airtight container.
You can also place a piece of parchment paper on top of the ice cream before sealing the container to minimize air exposure, keeping it smooth and fresh.
6. Using the Wrong Sweetener
Not all sweeteners work the same in vegan chocolate ice cream. Some can cause the texture to be too icy or grainy.
Maple syrup or agave is preferred for their smooth consistency, while coconut sugar can give a slight caramel flavor.
Be cautious if you’re using alternatives like stevia, as they may affect both the texture and flavor.
By being mindful of these common mistakes, you’ll be able to craft the perfect vegan chocolate ice cream every time—smooth, creamy, and full of rich chocolate flavor.
Vegan Chocolate Ice Cream Variations
Once you’ve mastered the basic vegan chocolate ice cream recipe, you can have some fun by experimenting with different flavors and add-ins.
Here are a few delicious variations to try:
1. Chocolate Mint Vegan Ice Cream
For a refreshing twist, add a hint of mint to your vegan chocolate ice cream.
Stir in a few drops of peppermint extract during the mixing process to create a delightful chocolate-mint combo.
You can even add a handful of crushed mint chocolate chips or fresh mint leaves for texture.
2. Chocolate Peanut Butter Swirl
Chocolate and peanut butter are a classic pairing, and they work wonders in vegan ice cream.
To make a peanut butter swirl, gently fold in swirls of creamy peanut butter after churning the ice cream.
This will create pockets of peanut butter throughout the chocolate ice cream, adding a rich, nutty flavor.
3. Chocolate Hazelnut Vegan Ice Cream
For a more indulgent flavor, try adding crushed roasted hazelnuts to your ice cream.
Hazelnuts complement chocolate beautifully, and the crunchy texture provides a delightful contrast to the smoothness of the ice cream.
You could even stir in some hazelnut butter for an extra creamy finish.
4. Chocolate Coffee Vegan Ice Cream
Add a shot of espresso or a teaspoon of instant coffee to your chocolate base for a mocha-flavored ice cream.
The coffee enhances the chocolate flavor, creating a deeper and more complex taste.
This variation is perfect for coffee lovers and pairs beautifully with a drizzle of vegan chocolate sauce.
5. Chocolate Coconut Vegan Ice Cream
For a tropical twist, incorporate shredded coconut into your vegan chocolate ice cream.
Add it during the last few minutes of churning to ensure it’s evenly distributed throughout the ice cream.
The coconut adds a lovely chewiness that pairs wonderfully with the rich chocolate flavor.
6. Chocolate Banana Vegan Ice Cream
If you’re a fan of banana-flavored treats, try adding frozen banana slices to your chocolate ice cream.
Bananas lend a natural sweetness and creamy texture that enhances the ice cream’s consistency.
You can either blend the banana into the chocolate base or stir it in after churning for added texture.
7. Chocolate Almond Vegan Ice Cream
Almonds are another great complement to chocolate. Add roasted almonds or almond butter to your vegan chocolate ice cream for a nutty twist.
You could also sprinkle chopped almonds on top for extra crunch, making it a great choice for those who love nutty textures.
These variations show just how versatile vegan chocolate ice cream can be.
Feel free to experiment with different flavor combinations and mix-ins to create your own signature dessert!
The possibilities are endless, and each variation brings a new way to enjoy this creamy, decadent treat.
How to Serve and Enjoy Your Vegan Chocolate Ice Cream
Once your vegan chocolate ice cream is made and ready to serve, it’s time to enjoy it in the best way possible!
Here are a few ideas for serving your homemade treat:
1. Classic Scoop
The simplest way to serve your ice cream is by scooping it into bowls or cones.
Use an ice cream scoop for perfect, rounded scoops that are easy to share. This classic serving method allows the rich, creamy texture to shine.
2. Top It with Toppings
Take your vegan chocolate ice cream to the next level by adding some delicious toppings.
Here are a few ideas:
- Fresh Fruit: Sliced strawberries, bananas, or berries pair wonderfully with chocolate.
- Nuts and Seeds: Crushed almonds, walnuts, or granola add a satisfying crunch.
- Vegan Whipped Cream: A dollop of coconut whipped cream creates a creamy contrast to the chocolate.
- Vegan Chocolate Chips: Add extra chocolatey goodness with a sprinkle of vegan chocolate chips or chunks.
- Caramel Sauce: Drizzle with vegan caramel sauce for a rich, indulgent finish.
3. Sandwich It
For a fun treat, scoop your vegan chocolate ice cream between two vegan cookies, such as oatmeal, chocolate chip, or even soft gingerbread.
This makes for a delightful ice cream sandwich that’s perfect for summer parties or a sweet snack.
4. Sundae Style
Create a decadent sundae by layering your vegan chocolate ice cream with toppings like crushed nuts, vegan whipped cream, and drizzles of chocolate or caramel sauce. Add a cherry or two for that classic sundae look.
5. Serve in Dessert Cups
For a more elegant presentation, serve your vegan chocolate ice cream in dessert cups or small bowls.
Layer the ice cream with your favorite fruit or a drizzle of chocolate sauce for an Instagram-worthy treat.
6. Enjoy with Vegan Brownies or Cake
Pair your ice cream with a slice of warm vegan brownie or cake.
The contrast between the warm dessert and the cold ice cream creates a delightful experience. It’s the perfect way to elevate your meal for a special occasion.
Conclusion
Making vegan chocolate ice cream at home is a rewarding and delicious experience.
With just a few simple ingredients and the right techniques, you can create a creamy, rich dessert that rivals any store-bought option.
Whether you stick with the classic flavor or experiment with variations, vegan chocolate ice cream is a treat everyone can enjoy, no matter their dietary preferences.
By following the tips and tricks in this guide, you’ll be able to avoid common mistakes and perfect your technique every time.
With endless flavor possibilities, vegan chocolate ice cream offers a creative and customizable dessert that can be enjoyed year-round.
So, next time you’re craving a sweet, chocolatey treat, skip the store-bought options and whip up a batch of your own homemade vegan chocolate ice cream.
It’s a fun and satisfying way to indulge in a creamy, guilt-free dessert that’s sure to impress friends and family alike! Enjoy every scoop, and don’t forget to share the love with those around you!
Frequently Asked Questions (FAQs)
1. Can I make this vegan chocolate ice cream without an ice cream maker?
Yes, you can! If you don’t have an ice cream maker, you can still make delicious vegan chocolate ice cream.
After preparing your ice cream base, pour it into an airtight container and place it in the freezer.
Every 30 minutes, take it out and stir the mixture with a fork to break up any ice crystals.
Continue this process for about 2-3 hours, until the ice cream is smooth and creamy.
2. Can I use a different plant-based milk for the recipe?
Absolutely! While the recipe calls for coconut milk for its rich and creamy texture, you can use any plant-based milk you prefer. Almond milk, cashew milk, or soy milk are all great alternatives.
Just keep in mind that the creaminess may vary depending on the milk you choose, and you might want to add a bit more coconut cream or a thickening agent like cornstarch if using a thinner milk.
3. How do I store leftover vegan chocolate ice cream?
Store your vegan chocolate ice cream in an airtight container in the freezer for up to 2-3 weeks.
To keep it from becoming too icy, cover the surface of the ice cream with parchment paper or plastic wrap before sealing the container.
Make sure to scoop out any air pockets when storing to prevent freezer burn.
4. Can I use a sugar substitute for this recipe?
Yes, you can use a sugar substitute, such as stevia or monk fruit sweetener, if you’re looking to reduce the sugar content.
However, keep in mind that these substitutes may alter the flavor and texture slightly.
You might need to experiment with the amount of sweetener to get the perfect balance.
5. Can I add mix-ins like nuts, fruit, or chocolate chips?
Definitely! Feel free to get creative and add your favorite mix-ins.
Chopped nuts, chocolate chips, or swirls of fruit puree can all be added during the last few minutes of churning (or while stirring if you’re making the ice cream by hand).
Just make sure to mix them in gently to avoid disrupting the creamy texture.

Vegan Chocolate Ice Cream
Equipment
- Ice Cream Maker: 1 (Essential for churning)
- Medium Saucepan: 1 (For heating the base)
- Whisk: 1 (For mixing)
- Measuring cups (1 set)
- Measuring spoons (1 set)
- Airtight Container: 1 (For storing the ice cream)
Ingredients
- 2 cans 13.5 oz Coconut milk (full-fat)
- 1/2 cup Cocoa powder unsweetened
- 3/4 cup Maple syrup or agave syrup
- 1 tsp Vanilla extract
- Pinch Salt
- 1/2 cup Chocolate chips optional, for mix-ins
Instructions
Prepare the Base:
- In a medium saucepan, combine the coconut milk, cocoa powder, maple syrup, vanilla extract, and salt. Whisk the mixture over medium heat until it’s fully combined and warmed (but not boiling). Remove from heat and let cool for about 10 minutes.
Chill the Mixture:
- Transfer the mixture to a bowl and place it in the refrigerator for at least 2-3 hours to chill thoroughly. This helps achieve a smoother consistency when churning.
Churn the Ice Cream:
- Once chilled, pour the mixture into your ice cream maker and churn according to the manufacturer’s instructions (usually about 20-30 minutes). The mixture should reach a soft-serve consistency.
Optional Add-ins:
- If you’re adding chocolate chips or other mix-ins, fold them into the ice cream in the last few minutes of churning.
Freeze the Ice Cream:
- Transfer the ice cream into an airtight container and smooth the top. Place it in the freezer for at least 4 hours to firm up.
Serve and Enjoy:
- Scoop the ice cream into bowls or cones, and enjoy your rich, creamy, vegan chocolate ice cream!
Notes
- Substitute for Coconut Milk: If you’re not a fan of coconut flavor, you can use cashew milk or almond milk, but keep in mind the texture may be slightly different. You may need to add a little more coconut cream to achieve the desired creaminess.
- Sweeteners: Maple syrup works best, but agave syrup or coconut sugar can also be used as a substitute. If you’re using a different sweetener, adjust the amount to taste.
- Storage: Store leftovers in an airtight container in the freezer for up to 2-3 weeks. To prevent ice crystals, place a piece of parchment paper on top of the ice cream before sealing the container.
- Churning Alternatives: If you don’t have an ice cream maker, pour the mixture into a container and freeze, stirring every 30 minutes until it’s frozen and smooth.


