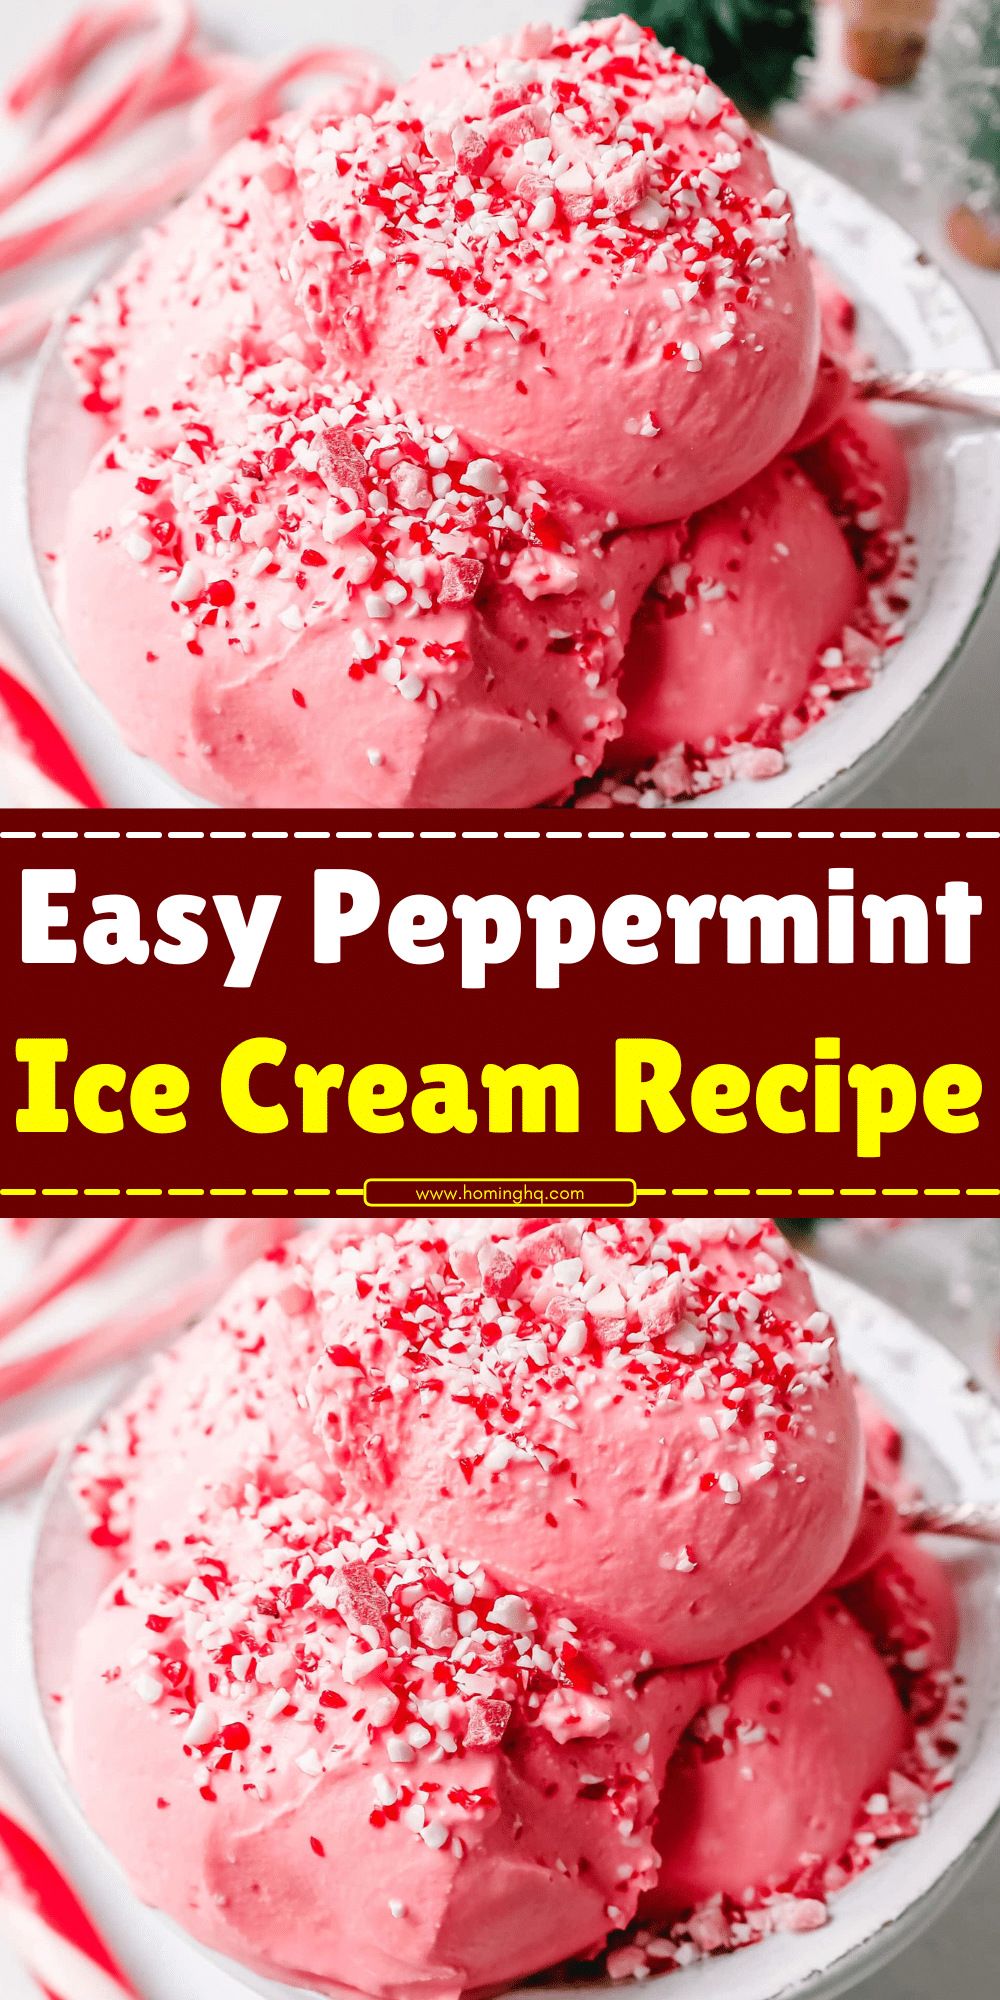
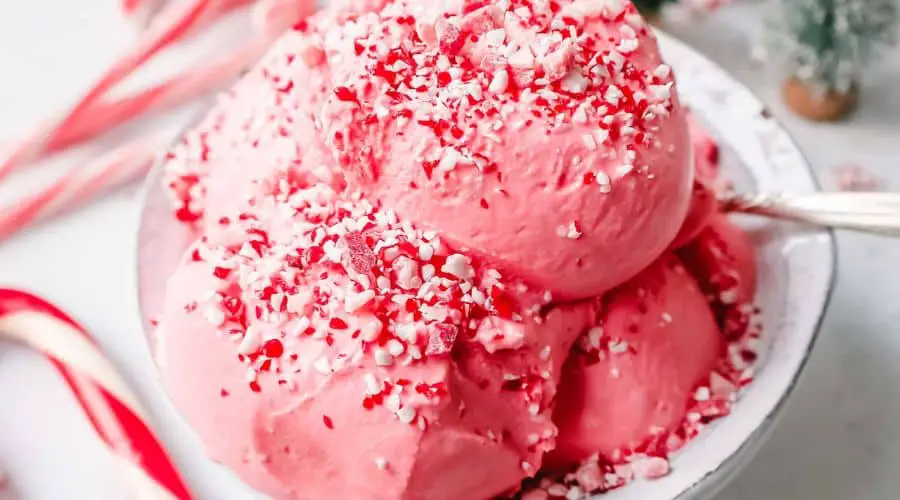
There’s something truly magical about making ice cream at home. Not only do you get to enjoy a freshly churned, creamy treat, but the process also allows you to tailor every ingredient to your liking.
Peppermint ice cream, in particular, brings the refreshing zing of mint paired with the rich creaminess of traditional ice cream—a perfect combination that feels both festive and indulgent.
As the holidays approach, this homemade peppermint ice cream is a treat that will elevate your dessert table.
Whether it’s served in a bowl after a Christmas dinner or as a sweet surprise during a New Year’s Eve celebration, this recipe has the potential to become a family favorite.
The fresh peppermint flavor, along with its smooth texture, is a simple yet delightful way to treat yourself and your loved ones during the colder months.

Why You’ll Love This Peppermint Ice Cream
A Creamy and Decadent Base
One of the best parts about homemade ice cream is the luxurious texture you can achieve.
With heavy cream, whole milk, and a hint of sugar, this peppermint ice cream base is silky-smooth and perfect for those who love indulgent desserts.
Unlike store-bought options, which can sometimes feel icy or artificially flavored, your homemade version will have a rich creaminess that melts perfectly in your mouth.
A Refreshing Peppermint Flavor
What sets this peppermint ice cream apart from others is its vibrant, natural peppermint flavor.
You can use pure peppermint extract or crush up some candy canes to infuse the ice cream with that cool, minty taste that’s both refreshing and invigorating.
The peppermint isn’t overpowering, but it adds just the right amount of zing to balance out the richness of the cream, creating a dessert that feels both light and indulgent.
Customizable to Your Taste
While the classic peppermint flavor is a standout, this recipe is highly customizable.
You can easily add extra mix-ins like chocolate chips, chunks of fudge, or even a swirl of raspberry sauce for an added layer of flavor.
Whether you prefer a minty treat with a hint of chocolate or want to explore other variations, this recipe gives you the freedom to make it exactly as you like.
Perfect for Holiday Gatherings
If you’re looking for a treat that feels festive yet timeless, peppermint ice cream is an excellent choice.
It pairs beautifully with holiday desserts, like gingerbread cookies or a slice of warm pie, and can be enjoyed by guests of all ages.
Plus, it’s an easy-to-make dessert that requires minimal prep time, allowing you to focus on other holiday festivities while still impressing your friends and family with something special.
This section sets the stage by highlighting the joy of making homemade ice cream and then explains the unique qualities of peppermint ice cream—its creamy texture, refreshing flavor, versatility, and seasonal appeal.
Ingredients for Peppermint Ice Cream
To create this delicious homemade peppermint ice cream, you’ll need a few key ingredients that come together to create the perfect balance of creamy and minty flavors.
Whether you’re making a custard-style base or a no-cook version, the following ingredients are essential for a rich and refreshing dessert.
Ice Cream Base Ingredients:
- Heavy Cream: The foundation of any rich ice cream. Heavy cream adds smoothness and a velvety texture.
- Whole Milk: Whole milk helps balance the richness of the cream, ensuring the ice cream is creamy but not overly heavy.
- Granulated Sugar: Sweetness is key! Sugar adds the necessary sweetness to offset the minty peppermint flavor.
- Egg Yolks (Optional, for custard-based ice cream): If you prefer a custard-style ice cream, egg yolks provide richness and help create a creamy texture. They also help the mixture thicken as it cooks.
Peppermint Flavoring:
- Peppermint Extract: For the most straightforward peppermint flavor, pure peppermint extract is perfect. It provides that fresh, minty zing.
- Crushed Candy Canes (Optional, for added texture): Crushed candy canes not only enhance the peppermint flavor but also add a delightful crunch and festive touch to the ice cream.
- Green Food Coloring (Optional): For a bit of extra holiday flair, you can add a few drops of green food coloring to give your ice cream a classic minty hue.
Step-by-Step Instructions for Making Peppermint Ice Cream

Now that you have all your ingredients ready, let’s dive into the process of making your homemade peppermint ice cream.
Whether you’re making a custard-based or a no-cook version, we’ll guide you through each step to ensure a smooth and creamy result.
Step 1: Preparing the Ice Cream Base
Start by combining your heavy cream, whole milk, and granulated sugar in a large mixing bowl.
If you’re using a custard base (which is recommended for an extra creamy texture), separate the egg yolks and whisk them with a little bit of sugar in a small bowl until smooth and slightly pale.
In a medium saucepan, heat the milk and cream mixture over medium heat until it just begins to steam—don’t let it boil.
Once it’s warmed up, slowly temper the egg yolks by adding a small amount of the warm cream mixture to the yolks while whisking constantly.
Gradually whisk in the rest of the cream mixture.
Then, return the whole mixture to the saucepan and cook over low heat, stirring constantly until it thickens slightly (about 5-8 minutes).
You’ll know it’s ready when it coats the back of a spoon.
Step 2: Adding Peppermint Flavor
Once your ice cream base is ready (whether custard-based or no-cook), it’s time to add the peppermint extract.
For a bold peppermint flavor, add about 1 to 1.5 teaspoons of peppermint extract.
If you want a more subtle flavor, adjust the amount to your preference.
If you’re adding crushed candy canes, stir them into the base now for a sweet, crunchy surprise throughout the ice cream.
If you’re looking to make your ice cream look extra festive, feel free to add a couple of drops of green food coloring.
Stir gently to achieve an even color throughout.
Step 3: Chilling the Mixture
After your peppermint mixture is flavored and well-mixed, pour it into a clean bowl, cover with plastic wrap, and refrigerate it for at least 4 hours, or preferably overnight.
Chilling the base before churning ensures a smoother texture and helps prevent ice crystals from forming.
The colder the mixture, the better the results!
Step 4: Churning the Ice Cream
Once your base is thoroughly chilled, it’s time to churn! If you’re using an ice cream maker, follow the manufacturer’s instructions.
Pour the chilled mixture into the machine, and churn for about 20-25 minutes until it reaches a soft-serve consistency.
If you don’t have an ice cream maker, you can still make this recipe. Pour the chilled base into a shallow pan and place it in the freezer.
Every 30 minutes, use a fork to scrape and stir the mixture until it becomes creamy and firm, about 3-4 hours.
This method works well, but it requires a bit more patience.
Step 5: Freezing and Firming the Ice Cream
Once your ice cream has reached the consistency of soft serve, transfer it into an airtight container.
Press a piece of plastic wrap directly onto the surface of the ice cream to prevent ice crystals from forming.
Seal the container with its lid and place it in the freezer for at least 4 hours, or overnight, to firm up.
Tips for Perfect Peppermint Ice Cream Every Time
Making homemade ice cream can feel like an art, but with a few helpful tips, you can ensure your peppermint ice cream is perfect every time.
Whether you’re a first-time maker or a seasoned pro, these suggestions will guide you through the process.
Use Fresh Ingredients
The quality of your ingredients has a huge impact on the final result.
Opt for fresh heavy cream, whole milk, and pure peppermint extract for the best flavor.
Fresh ingredients not only contribute to the taste but also help achieve that smooth, creamy texture.
Chill the Base Thoroughly
For the creamiest ice cream, make sure your base is well-chilled before churning.
This helps prevent the formation of ice crystals and gives the ice cream a smooth, velvety consistency.
If you’re in a hurry, you can speed up the chilling process by placing the bowl in an ice bath.
Don’t Over-Churn
Churning the ice cream in your ice cream maker is crucial for achieving the right texture, but be careful not to over-churn.
Once the ice cream reaches a soft-serve consistency, stop churning to avoid a grainy texture.
If you’re unsure, aim for a creamy, thick texture that holds its shape but isn’t completely frozen yet.
Add Peppermint Gradually
While peppermint is the star of this recipe, be mindful of how much you add.
Start with the recommended amount of peppermint extract and taste the mixture before adding more.
It’s easy to overpower the flavor if you’re not careful.
If you’re using crushed candy canes, add them gradually to control the crunch and flavor balance.
Store Properly
For the best storage, make sure your ice cream is in an airtight container with plastic wrap pressed directly on top of the surface before sealing.
This will prevent ice crystals from forming and keep your ice cream at the ideal consistency.
For best results, consume within a week or two for optimal freshness.
Conclusion
There’s no denying that homemade peppermint ice cream is a delicious treat that brings joy to any occasion.
Whether you’re enjoying a quiet night at home or celebrating the holidays with loved ones, this recipe delivers a refreshing and creamy dessert everyone will love.
By following these easy steps and incorporating your favorite tweaks, you’ll have a delightful homemade ice cream that’s sure to become a family favorite.
So, grab your ice cream maker, start churning, and indulge in the magical flavor of peppermint!
Frequently Asked Questions About Peppermint Ice Cream
1. Can I use peppermint essential oil instead of peppermint extract?
While peppermint essential oil can provide a strong peppermint flavor, it’s much more concentrated than extract.
If you choose to use essential oil, make sure to use it sparingly (just a drop or two).
We recommend peppermint extract for a more balanced flavor, as it’s specifically designed for culinary use.
2. How can I make peppermint ice cream without an ice cream maker?
Yes! If you don’t have an ice cream maker, you can still make this peppermint ice cream.
After preparing the ice cream base, pour it into a shallow dish and place it in the freezer.
Every 30 minutes, stir and scrape the mixture with a fork to break up any ice crystals until it reaches a creamy, smooth consistency.
This method will require some patience, but it works great!
3. Can I add other mix-ins, like chocolate chips or fudge?
Absolutely! Adding chocolate chips, chopped chocolate, or a swirl of hot fudge is a wonderful way to enhance the flavor and texture of your peppermint ice cream.
Just be sure to fold in any mix-ins gently after churning to avoid disrupting the texture of the ice cream.
4. How long can I store peppermint ice cream in the freezer?
For the best texture and flavor, store your homemade peppermint ice cream in an airtight container in the freezer for up to two weeks.
Be sure to press plastic wrap against the surface of the ice cream to minimize ice crystals.
5. Can I make this peppermint ice cream recipe vegan or dairy-free?
Yes! You can easily make this recipe dairy-free by swapping the heavy cream and whole milk with coconut milk or almond milk.
There are also vegan-friendly substitutes for sugar and peppermint extract, so you can make a refreshing, creamy treat that everyone can enjoy, no matter their dietary restrictions.

Peppermint Ice Cream
Equipment
- Ice Cream Maker: 1 (recommended for best results, but optional for no-churn version)
- Saucepan: 1 medium (for cooking the custard base if using)
- Mixing Bowl: 1 large (for combining ingredients)
- Whisk: 1 (for tempering egg yolks)
- Airtight Container – 1 (for freezing the ice cream)
- Measuring Cups and Spoons: 1 set (for accuracy)
- Plastic Wrap: 1 roll (to prevent ice crystals from forming)
Ingredients
- 2 cups 480 ml Heavy Cream
- 1 cup 240 ml Whole Milk
- ¾ cup 150 g Granulated Sugar
- 4 large Egg Yolks optional, for custard base
- 1 to 1 ½ teaspoons Peppermint Extract
- ¼ cup 30 g Crushed Candy Canes (optional, for texture)
- A few drops Green Food Coloring optional, for a festive touch
Instructions
Prepare the Ice Cream Base:
- In a large mixing bowl, whisk together heavy cream, whole milk, and granulated sugar. If using egg yolks for a custard base, separate the egg yolks and whisk them in a separate bowl with 2 tablespoons of sugar until smooth.
Heat the Mixture:
- In a medium saucepan, heat the milk and cream mixture over medium heat until it begins to steam (don’t let it boil). For custard, slowly add the warm mixture to the egg yolks while whisking constantly, then return to the pan and cook over low heat until the mixture thickens slightly.
Add Peppermint Flavor:
- Once the base is ready, remove it from the heat and stir in peppermint extract. If using, fold in the crushed candy canes and green food coloring.
Chill the Base:
- Pour the mixture into a clean bowl, cover with plastic wrap, and refrigerate for at least 4 hours (overnight is best) to chill.
Churn the Ice Cream:
- Once the base is chilled, pour it into an ice cream maker and churn according to the manufacturer’s instructions (about 20–25 minutes) until it reaches a soft-serve consistency.
Freeze the Ice Cream:
- Transfer the ice cream to an airtight container. Press plastic wrap against the surface to prevent ice crystals from forming, and freeze for at least 4 hours or until firm.
Serve and Enjoy:
- Scoop and serve your homemade peppermint ice cream in bowls or cones. Enjoy the refreshing mint flavor and creamy texture!
Notes
- Chill Time is Key: Make sure to chill the base thoroughly before churning to achieve a creamy texture. Skipping this step may result in ice crystals.
- Egg-Free Option: If you prefer an egg-free version, you can omit the egg yolks and simply mix the cream, milk, and sugar. This will give you a lighter, simpler ice cream, but it won’t have the custard-style richness.
- Vegan & Dairy-Free: For a vegan version, swap the heavy cream and whole milk for coconut milk or almond milk. Ensure that you also use a plant-based sugar and peppermint extract to keep the recipe fully dairy-free.
- Add-Ins: Feel free to experiment by adding chocolate chips, chopped cookies, or a fudge swirl to make the ice cream even more indulgent.
- Storage: Store the ice cream in an airtight container in the freezer for up to 2 weeks for optimal freshness.


