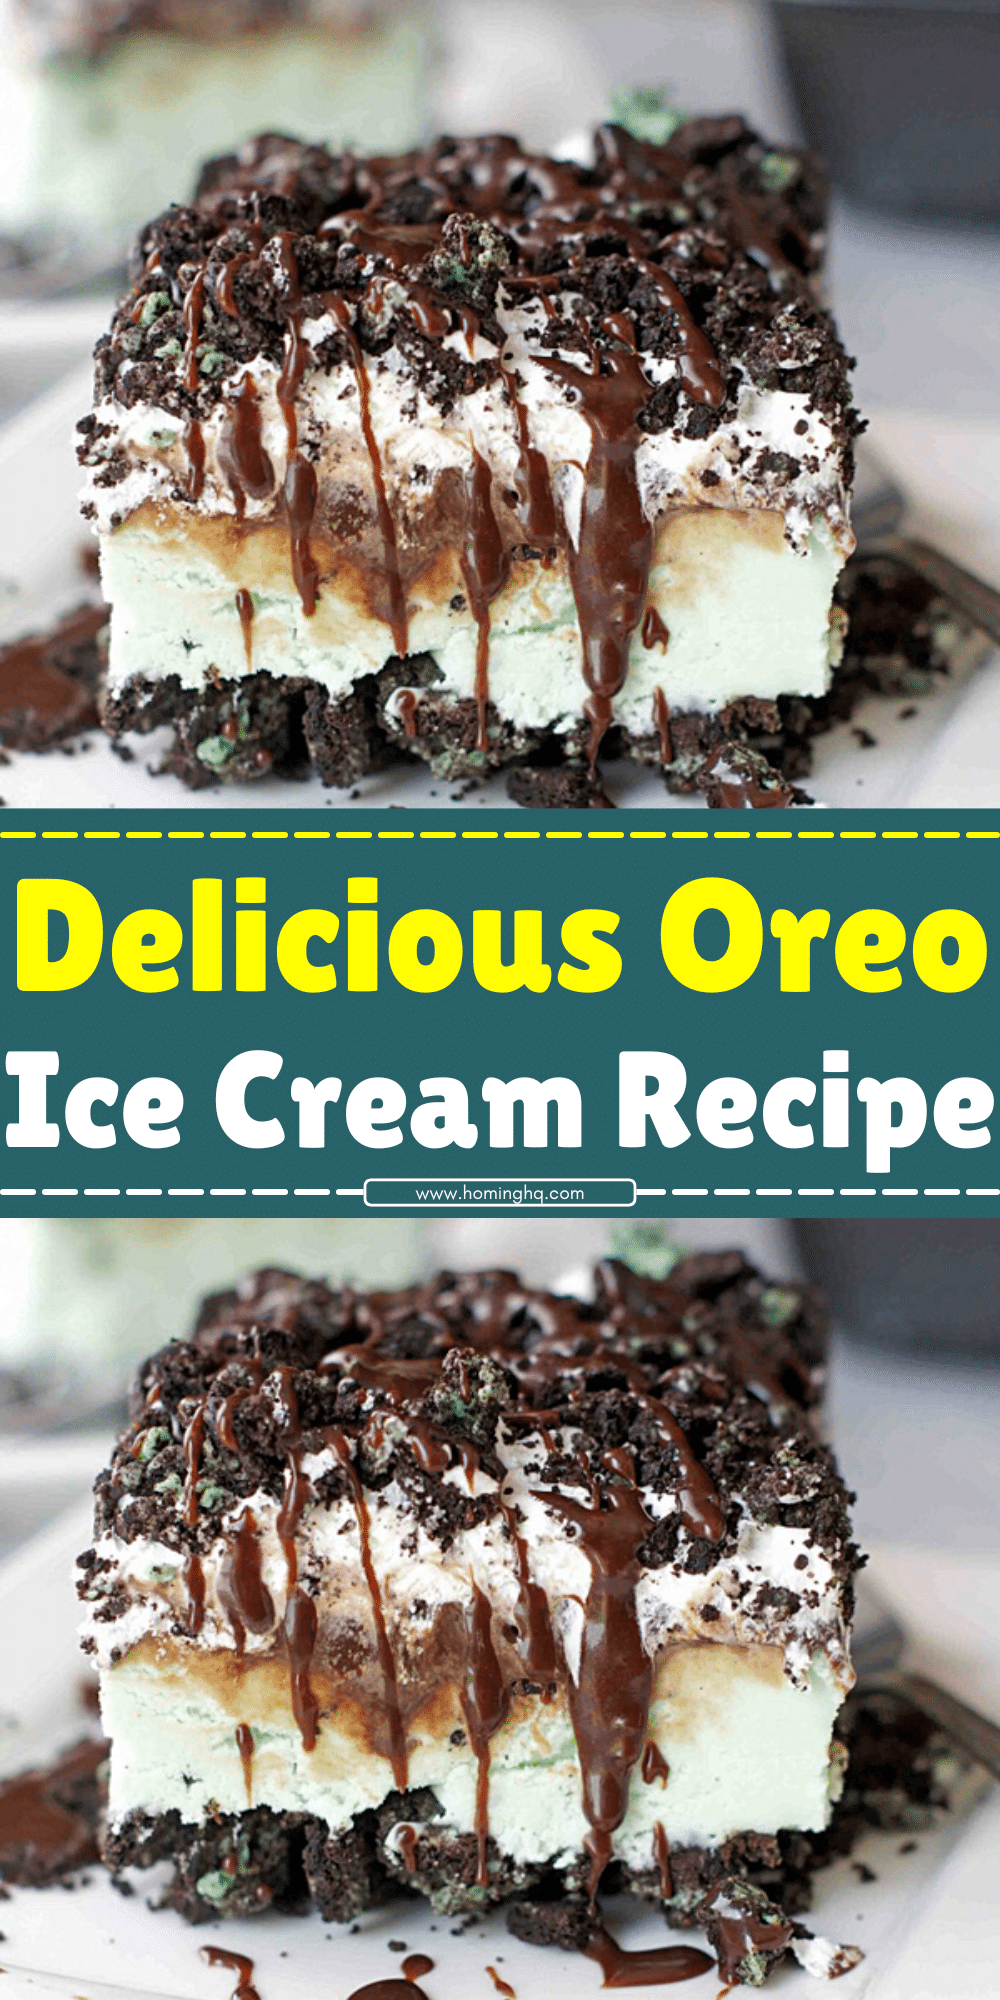
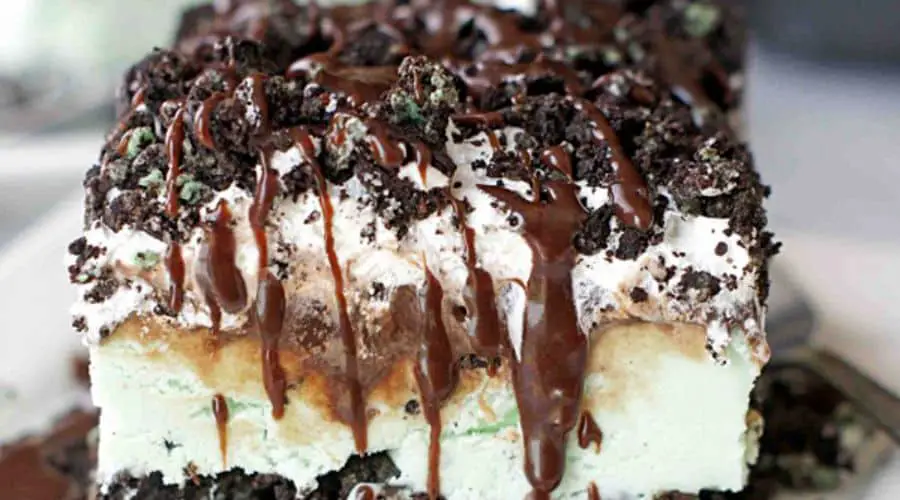
There’s something magical about the combination of Oreo cookies and creamy ice cream.
Whether you’re a fan of the iconic cookie or simply love the idea of a decadent frozen treat, this Oreo Ice Cream recipe is sure to hit the spot.
The rich, velvety ice cream base mixed with crunchy, sweet Oreo chunks creates a perfect harmony of textures and flavors.
It’s the ideal dessert to whip up for a family gathering, summer BBQ, or any occasion that calls for a delicious and easy-to-make treat.
What makes this recipe even more irresistible is how simple it is to prepare.
You don’t need to be a seasoned chef to make this mouthwatering ice cream.
With just a handful of ingredients and a little time, you can indulge in this homemade frozen delight.
The best part? It’s customizable! Whether you want a soft, scoopable ice cream or a firmer, almost cake-like texture, this recipe will guide you through every step of the process.
Get ready to dive into the world of creamy, dreamy Oreo ice cream – a dessert everyone will love!

Ingredients for Oreo Ice Cream
Before you start making your Oreo ice cream, gather the following ingredients.
This simple recipe calls for basic ingredients you likely already have at home.
Here’s what you’ll need:
Essential Ingredients
- Heavy Cream – 2 cups
The key to a rich and creamy ice cream base, heavy cream will give your ice cream that perfect velvety texture. - Whole Milk – 1 cup
Whole milk provides a smooth base, helping the ice cream freeze evenly without becoming too hard. - Granulated Sugar – 3/4 cup
Sweetness is crucial in balancing the creaminess of the ice cream and the crunchiness of the Oreos. You can adjust this based on your preference for sweetness. - Vanilla Extract – 1 tablespoon
A dash of vanilla enhances the overall flavor and elevates the taste of the cream base. - Oreo Cookies – 12-15 large cookies
The stars of the show! Crushed Oreo cookies provide that signature crunch and chocolatey goodness. You can either use regular-sized Oreos or mini ones for a different texture.
Optional Ingredients
- Chocolate Chips – 1/2 cup
If you love extra chocolate, feel free to add some chocolate chips into the mix for an added layer of flavor. - Sweetened Condensed Milk – 1/4 cup (for a creamier version)
For an extra rich and indulgent version of Oreo ice cream, sweetened condensed milk can be added to the mixture.
Once you have all your ingredients ready, you’re just a few steps away from enjoying this simple yet scrumptious homemade ice cream.
Let’s move on to the next part of this Oreo ice cream adventure!
Essential Equipment You’ll Need
Before diving into the process of making your Oreo ice cream, it’s helpful to have the right tools on hand.
These kitchen essentials will ensure that your homemade ice cream turns out perfectly every time.
Don’t worry—most of these items are probably already in your kitchen!
1. Ice Cream Maker (Optional but Recommended)
While an ice cream maker isn’t strictly necessary, it does make the process faster and more foolproof.
If you already have one, it will help you achieve that perfect creamy consistency by churning the ice cream base as it freezes.
If you don’t have an ice cream maker, don’t worry—there’s a no-churn method that works just as well!
2. Mixing Bowls
You’ll need a couple of mixing bowls—one for combining the ice cream base ingredients and another for crushing the Oreos.
Make sure they are large enough to accommodate all your ingredients comfortably.
3. Measuring Cups and Spoons
To get the proportions just right, use measuring cups and spoons for accuracy.
This is especially important for the sugar, milk, and heavy cream measurements to ensure the perfect ice cream base.
4. Spatula or Whisk
A spatula will come in handy for folding in the crushed Oreos, ensuring that they are evenly distributed throughout the ice cream.
A whisk will help mix the ice cream base ingredients thoroughly.
5. Food Processor or Rolling Pin (For Crushing Oreos)
For a quick and even crush, a food processor works best, turning the Oreos into fine crumbs or larger chunks.
If you don’t have a food processor, you can also place the cookies in a plastic bag and crush them with a rolling pin for a more hands-on approach.
6. Storage Container
Once your ice cream is ready, you’ll need an airtight container to store it in while it freezes.
A shallow, freezer-safe container is ideal for even freezing. You can also use a loaf pan if you prefer.
With these simple tools, you’re all set to make your own Oreo ice cream at home.
Now, let’s get started with the step-by-step process!
Step-by-Step Instructions for Making Oreo Ice Cream

Making Oreo ice cream from scratch is a breeze!
Follow these easy steps, and you’ll have a batch of delicious homemade ice cream ready to freeze in no time.
Here’s how to do it:
1. Prepare the Oreo Crumbs
To start, you’ll need to crush your Oreo cookies.
You can choose how fine or chunky you want the crumbs, depending on your personal preference.
- Using a Food Processor: Place the Oreo cookies into the food processor and pulse until they are broken down into small crumbs. If you want bigger chunks for extra texture, stop pulsing when you have some larger pieces.
- Using a Rolling Pin: If you don’t have a food processor, you can crush the cookies by placing them in a large zip-top bag and rolling over them with a rolling pin. This method works just as well and is a fun way to get your hands a little involved!
Once your Oreos are crushed, set them aside for later.
2. Make the Ice Cream Base
In a mixing bowl, combine the heavy cream, whole milk, granulated sugar, and vanilla extract.
- Whisk together the ingredients until the sugar is completely dissolved, and the mixture is smooth. This will create the base of your ice cream, which should be creamy and well-combined.
At this stage, you can adjust the sweetness by tasting and adding a little more sugar if desired.
3. Fold in the Crushed Oreos
Once your ice cream base is ready, it’s time to add the Oreo crumbs!
- Gently fold in the crushed Oreos with a spatula, making sure they are evenly distributed throughout the mixture. You don’t want to stir too aggressively, as this might cause the cookies to break down too much, but a gentle fold ensures a good balance of creaminess and crunch.
4. Churn the Ice Cream (If Using an Ice Cream Maker)
If you’re using an ice cream maker, pour the mixture into the machine and follow the manufacturer’s instructions.
Most ice cream makers take around 20-25 minutes to churn the mixture to the desired consistency.
The mixture should thicken and begin to resemble soft serve ice cream.
If you don’t have an ice cream maker, no worries! Simply skip this step and move on to the freezing part.
5. Freeze Until Firm
After churning, transfer your Oreo ice cream to an airtight container and smooth the top.
Place the container in the freezer and let it freeze for at least 4 hours, or preferably overnight.
The longer it freezes, the firmer and scoopable it will become.
If you skipped the ice cream maker, simply pour the mixture into a container and place it in the freezer.
You may want to stir it every 30 minutes for the first 2-3 hours to help break up any ice crystals and ensure a smooth, creamy texture.
Once your ice cream has fully frozen and is firm to the touch, it’s ready to be served!
Tips for the Best Oreo Ice Cream
To ensure your Oreo ice cream turns out perfectly, consider these helpful tips.
They’ll elevate your homemade treat, ensuring a smooth texture and the most flavorful result.
1. Use Fresh Oreos for Optimal Flavor
Using fresh Oreo cookies will give your ice cream the best flavor and texture.
Stale cookies can affect the crunchiness, so opt for a freshly opened package for that perfect Oreo bite.
2. Don’t Overmix the Ice Cream Base
When making the ice cream base, be careful not to overmix the heavy cream and milk with the sugar.
Overmixing can cause the cream to turn into butter, resulting in a less creamy texture.
A gentle mix will keep it smooth and creamy.
3. Adjust the Consistency by Churning or Freezing
If you’re using an ice cream maker, churn your mixture just until it reaches the consistency of soft-serve ice cream.
Don’t over-churn, as this can make the ice cream too dense.
If you’re not using an ice cream maker, you can still achieve a creamy texture by stirring the mixture every 30 minutes while it freezes.
4. Consider Extra Mix-ins
While Oreos are the star of this recipe, you can add other mix-ins for a fun twist.
Try adding chocolate chips, marshmallows, or even a swirl of peanut butter or fudge to enhance the flavor profile.
5. Let the Ice Cream Sit for a Few Minutes Before Serving
When you’re ready to serve, take the ice cream out of the freezer for 5-10 minutes before scooping.
This helps it soften slightly, making it easier to scoop and giving it a creamier texture.
6. Don’t Skip the Freezing Time
It’s tempting to dive into your homemade Oreo ice cream right away, but be patient!
Allowing it to freeze for at least 4 hours (or longer) helps the flavors meld together and gives the ice cream the perfect firm, scoopable texture.
How to Serve Oreo Ice Cream
Once your Oreo ice cream is ready to enjoy, it’s time to get creative with your presentation!
Here are a few ideas to serve this indulgent treat:
1. Classic Ice Cream Cone
For a traditional approach, serve your Oreo ice cream in a cone.
Whether you prefer a sugar cone, waffle cone, or a classic cake cone, the crunchy base pairs perfectly with the creamy ice cream.
2. Ice Cream Sundae
Transform your Oreo ice cream into an over-the-top sundae.
Start with a generous scoop of ice cream in a bowl, and top with whipped cream, chocolate syrup, sprinkles, or even more crushed Oreos for extra crunch.
3. Ice Cream Bowls
For a more casual and easy-to-eat option, serve the ice cream in small bowls.
You can add toppings like chopped nuts, a drizzle of caramel sauce, or a sprinkle of sea salt for a sweet-salty combo.
4. Oreo Ice Cream Sandwiches
Take your Oreo ice cream to the next level by turning it into an ice cream sandwich.
Use two cookies (you can even use double-stuffed Oreos) and scoop a generous portion of ice cream between them.
Freeze for a bit to set, and you’ll have an Oreo ice cream sandwich ready to enjoy.
5. Milkshake or Ice Cream Float
Blend Oreo ice cream with some milk and a splash of vanilla extract for a creamy milkshake.
You can also create a fun float by topping your ice cream with root beer or cola, adding a fizzy twist to your dessert.
6. Serve with a Side of Fresh Fruit
For a light and refreshing contrast, serve a scoop of Oreo ice cream alongside fresh fruit such as strawberries, raspberries, or banana slices.
The fruit adds a bit of brightness and balances the richness of the ice cream.
7. Garnish with Crushed Oreos
For an extra touch, sprinkle some extra crushed Oreos on top of the ice cream just before serving. It not only adds texture but also makes the dessert look extra tempting.
Conclusion
There’s no denying that Oreo ice cream is a universally loved treat, and making it from scratch only adds to its appeal.
With just a few simple ingredients and easy steps, you can create a creamy, indulgent dessert that’s perfect for any occasion.
Whether you’re serving it in a classic cone, turning it into a sundae, or enjoying it in its pure form, homemade Oreo ice cream is a guaranteed crowd-pleaser.
Not only will you impress your family and friends with this treat, but you’ll also savor the satisfaction of making it yourself.
The best part? You can customize the recipe to your tastes, add fun mix-ins, and enjoy a dessert that’s tailored just for you.
So, why not indulge and treat yourself to a bowl (or cone) of this delectable Oreo ice cream today?
Enjoy the sweet, creamy goodness—made with love and lots of Oreos!
Frequently Asked Questions (FAQ)
1. Can I use low-fat milk or other milk alternatives?
Yes! While whole milk creates the creamiest base, you can substitute it with other milk alternatives like almond milk, oat milk, or coconut milk.
Keep in mind that using these alternatives may slightly alter the texture and flavor of your ice cream, but it’s a great option for those with dietary restrictions.
2. How long does homemade Oreo ice cream last in the freezer?
Homemade Oreo ice cream can last in the freezer for about 2-3 weeks when stored in an airtight container.
To keep it at its best, ensure it’s tightly sealed to prevent freezer burn and preserve its creamy texture.
3. Can I substitute Oreos with other cookies or add-ins?
Absolutely! If you prefer a different cookie, feel free to swap out the Oreos for other cookies like chocolate chip, peanut butter, or even graham crackers.
Just make sure the cookies are sturdy enough to hold their texture when mixed into the ice cream.
4. Is there a dairy-free version of this Oreo ice cream recipe?
Yes! To make this recipe dairy-free, simply substitute the heavy cream and milk with dairy-free alternatives such as coconut cream, almond milk, or oat milk.
You can also use dairy-free versions of Oreos to ensure the entire recipe is free of dairy.
5. Can I make this ice cream without an ice cream maker?
Yes, you can! If you don’t have an ice cream maker, you can still make this Oreo ice cream.
After mixing the ingredients and folding in the Oreos, pour the mixture into a shallow, freezer-safe container.
Stir the ice cream every 30 minutes for the first 2-3 hours to break up any ice crystals and create a smooth texture.
Let it freeze for at least 4 hours or overnight until firm.

Oreo Ice Cream
Equipment
- Ice cream maker (Optional)
- 2 Mixing Bowls
- Spatula
- Whisk
- Food Processor or Rolling Pin (for crushing Oreos)
- Measuring Cups and Spoons
- Airtight Storage Container
Ingredients
- 2 cups Heavy Cream
- 1 cup Whole Milk
- 3/4 cup Granulated Sugar
- 1 tablespoon Vanilla Extract
- 12-15 Oreo Cookies crushed
- 1/2 cup Chocolate Chips optional
- 1/4 cup Sweetened Condensed Milk optional
Instructions
Crush the Oreos:
- Place the Oreo cookies in a food processor and pulse until they are crushed into fine crumbs, or you can place them in a zip-top bag and crush them with a rolling pin if you don’t have a processor. Set aside.
Prepare the Ice Cream Base:
- In a large mixing bowl, combine the heavy cream, whole milk, granulated sugar, and vanilla extract. Whisk the ingredients until the sugar is fully dissolved, and the mixture is smooth.
Fold in the Crushed Oreos:
- Gently fold the crushed Oreo cookies into the ice cream base using a spatula, ensuring the crumbs are evenly distributed throughout the mixture.
Churn the Ice Cream (If Using an Ice Cream Maker):
- Pour the mixture into your ice cream maker and churn according to the manufacturer’s instructions (typically for about 20-25 minutes). The mixture should thicken and reach a soft-serve consistency.
Freeze Until Firm:
- Transfer the ice cream to an airtight container, smooth the top, and freeze for at least 4 hours or overnight to firm up.
Serve and Enjoy:
- Allow the ice cream to sit at room temperature for a few minutes before scooping to make it easier to serve. Scoop into bowls or cones and enjoy!
Notes
- Ice Cream Maker Optional: If you don’t have an ice cream maker, simply pour the mixture into a freezer-safe container and stir every 30 minutes for the first few hours to break up ice crystals and maintain a creamy texture.
- Customization: Feel free to add extra ingredients like chocolate chips, crushed nuts, or marshmallows for extra flavor.
- Storage: Store the ice cream in an airtight container in the freezer for up to 2-3 weeks. For best results, let it sit at room temperature for a few minutes before scooping.


