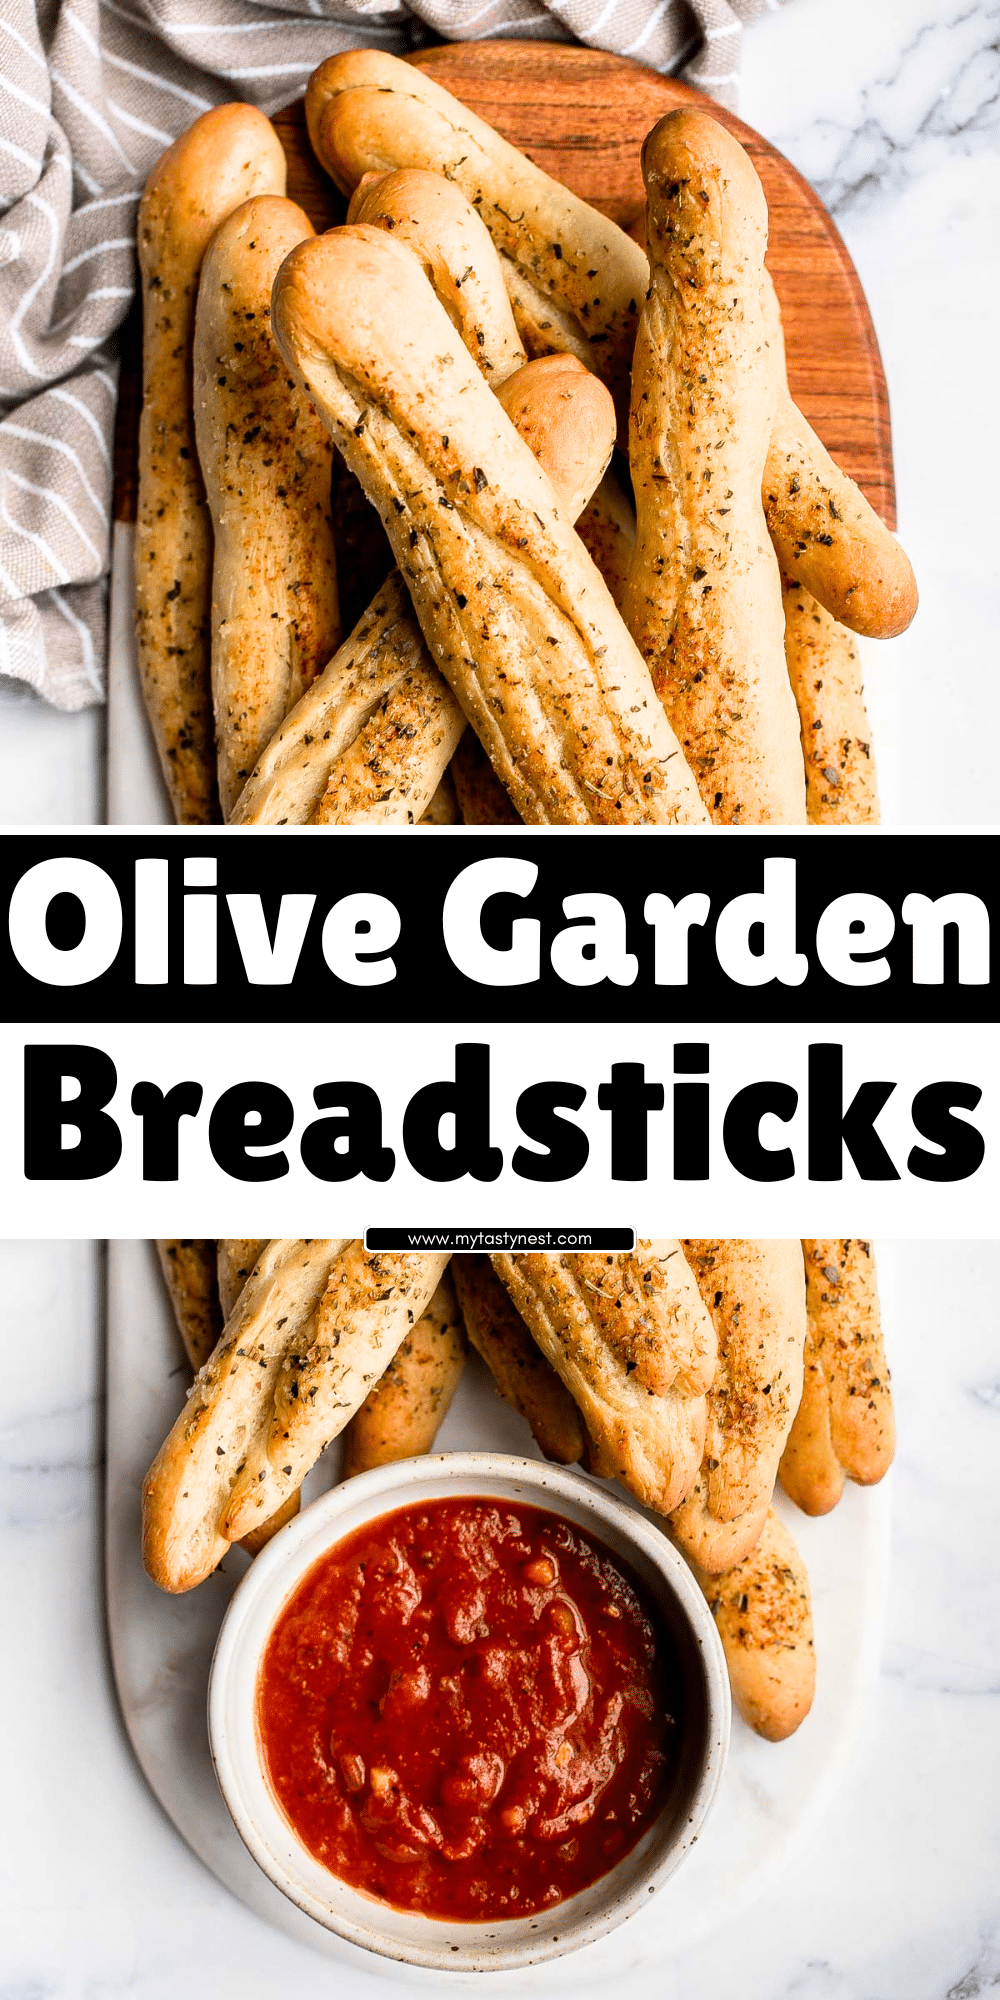
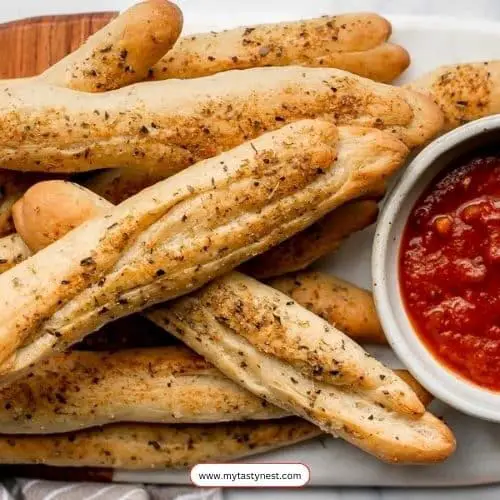
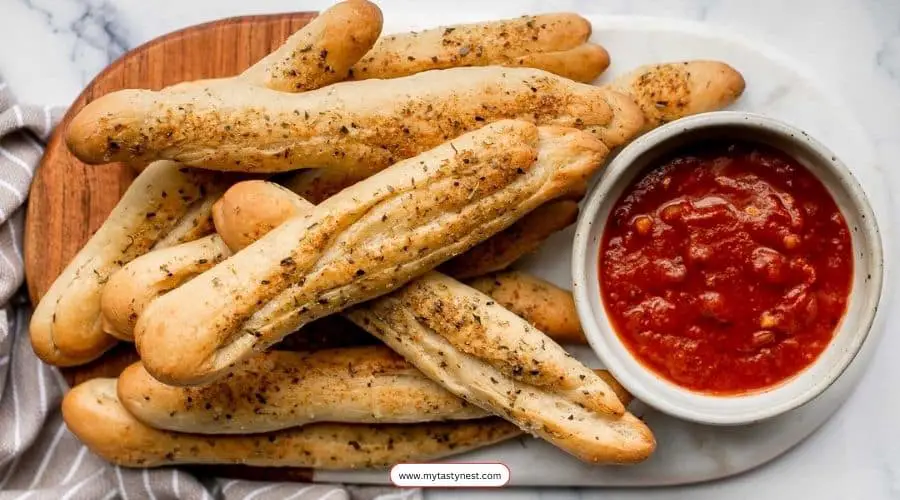
If you’ve ever dined at Olive Garden, you know that their warm, buttery breadsticks are nothing short of irresistible.
Soft on the inside, lightly crisp on the outside, and coated with a perfect blend of garlic and butter, they complement any meal beautifully.
Now, you can recreate that same magic in your own kitchen with this easy and foolproof Olive Garden breadsticks recipe.
There’s something incredibly satisfying about baking these breadsticks from scratch—the aroma that fills your kitchen, the golden-brown perfection fresh out of the oven, and that first bite of soft, pillowy goodness.
Whether you’re serving them alongside a hearty pasta dish, dipping them into soup, or enjoying them on their own, these homemade breadsticks will bring the flavors of your favorite Italian restaurant straight to your table.

Why You’ll Love This Recipe
There are plenty of reasons to fall in love with this copycat Olive Garden breadsticks recipe, but here are a few highlights:
- Authentic Flavor & Texture – Soft, chewy, and perfectly seasoned, just like the restaurant version.
- Simple Ingredients – Made with pantry staples you likely already have at home.
- Budget-Friendly – No need to head to the restaurant when you can make a whole batch at a fraction of the cost.
- Easy to Make – With straightforward instructions, even beginner bakers can achieve perfect results.
- Versatile & Customizable – Serve them as a side, appetizer, or snack with your favorite dips and spreads.
Whether you’re hosting a dinner party, planning a cozy night in, or just craving a delicious homemade treat, these breadsticks are guaranteed to impress.
Get ready to enjoy the mouthwatering goodness of Olive Garden breadsticks—without ever leaving home!
Ingredients You’ll Need
Making Olive Garden-style breadsticks at home requires just a handful of simple ingredients, most of which you probably already have in your pantry.
Each ingredient plays a crucial role in achieving the soft, chewy texture and delicious buttery flavor that makes these breadsticks so irresistible.
For the Dough:
- 2 ¼ teaspoons active dry yeast – Helps the dough rise and gives it a light, airy texture.
- 1 ½ cups warm water (110°F/45°C) – Activates the yeast; ensure it’s warm but not too hot.
- 2 tablespoons granulated sugar – Feeds the yeast and adds a touch of sweetness.
- 2 tablespoons unsalted butter, softened – Adds richness and tenderness to the dough.
- 4 cups all-purpose flour – The base of the dough, providing structure and chewiness.
- 1 ¾ teaspoons salt – Enhances the flavor of the breadsticks.
For the Garlic Butter Topping:
- 4 tablespoons unsalted butter, melted – Brushed over the breadsticks for a rich, buttery finish.
- 1 teaspoon garlic powder – Infuses the breadsticks with a savory garlic flavor.
- ½ teaspoon salt – Adds a touch of seasoning to the buttery topping.
- ½ teaspoon Italian seasoning (optional) – For an extra burst of flavor.
Step-by-Step Instructions
Creating these delicious breadsticks from scratch is easier than you think! Just follow these simple steps to achieve that classic Olive Garden taste and texture.
Step 1: Preparing the Dough
- Activate the Yeast – In a large mixing bowl, combine the warm water, sugar, and yeast. Stir gently and let it sit for about 5–10 minutes, until it becomes frothy and bubbly. This indicates that the yeast is activated.
- Mix the Ingredients – Add the softened butter, salt, and flour to the yeast mixture. Stir until the dough starts to come together.
- Knead the Dough – Transfer the dough to a lightly floured surface and knead for 8–10 minutes, until it becomes smooth and elastic. If the dough feels too sticky, add a little more flour, one tablespoon at a time.
Step 2: Letting the Dough Rise
- Place the dough in a lightly greased bowl, cover it with a clean kitchen towel, and let it rise in a warm place for 1–1.5 hours, or until it has doubled in size.
- Once risen, punch down the dough to release excess air and prepare for shaping.
Step 3: Shaping the Breadsticks
- Divide the dough into 12 equal portions and roll each piece into a rope, about 7–9 inches long.
- Arrange the shaped dough on a parchment-lined baking sheet, leaving space between each breadstick to allow for expansion.
Step 4: Second Rise
- Cover the shaped dough with a towel and let it rise for another 30–45 minutes, until they become puffy.
- Meanwhile, preheat your oven to 400°F (200°C).
Step 5: Baking the Breadsticks
- Bake the breadsticks in the preheated oven for 12–15 minutes, or until they turn golden brown on top.
- Remove from the oven and immediately brush with the melted butter topping mixture.
Step 6: Adding the Garlic Butter Topping
- In a small bowl, mix the melted butter, garlic powder, salt, and Italian seasoning.
- Generously brush the warm breadsticks with the garlic butter mixture, ensuring an even coating for that signature flavor.
Once coated in buttery garlic goodness, your homemade Olive Garden breadsticks are ready to be served! Enjoy them fresh and warm, paired with your favorite soup, salad, or pasta dish.
Tips for the Perfect Olive Garden Breadsticks
Achieving that signature soft, chewy texture and buttery garlic flavor of Olive Garden breadsticks at home requires a few key techniques.
Here are some expert tips to help you make the perfect batch every time.
1. Use Fresh Yeast for the Best Rise
Always check the expiration date on your yeast to ensure it’s fresh. Old or expired yeast may not activate properly, resulting in dense or flat breadsticks. If you’re unsure, proof the yeast by dissolving it in warm water with sugar and waiting for a foamy reaction.
2. Don’t Skip the Second Rise
Allowing the shaped dough to rise a second time is crucial for achieving a light and airy texture. This step helps the breadsticks become soft and fluffy inside while maintaining a slight crispness on the outside.
3. Measure Flour Correctly
Too much flour can make your breadsticks dense and dry. Use the spoon-and-level method to measure flour accurately—spoon it into the measuring cup and level it off with a knife. Avoid packing the flour directly into the cup.
4. Brush Butter While Hot
For maximum flavor absorption, brush the garlic butter mixture onto the breadsticks as soon as they come out of the oven. The warmth helps the butter soak in, enhancing both taste and texture.
5. Keep the Dough Soft and Slightly Sticky
A slightly sticky dough results in softer breadsticks. If the dough is too dry, add a teaspoon of water at a time while kneading to achieve the right consistency.
Frequently Asked Questions (FAQ)
1. Can I make these breadsticks ahead of time?
Yes! You can prepare the dough ahead and refrigerate it for up to 24 hours before shaping and baking.
Alternatively, bake the breadsticks, store them in an airtight container, and reheat them before serving.
2. How do I store leftover breadsticks?
Store leftover breadsticks in an airtight container at room temperature for up to 2 days.
For longer storage, refrigerate them for up to a week, or freeze for up to 3 months.
3. How can I reheat the breadsticks without drying them out?
To maintain their softness, wrap the breadsticks in foil and reheat in a 350°F (175°C) oven for 5–7 minutes, or microwave them with a damp paper towel for about 20 seconds.
4. Can I make these breadsticks gluten-free?
Yes! Substitute all-purpose flour with a gluten-free 1:1 flour blend. Keep in mind that the texture might be slightly different, but they will still taste delicious.
5. What if I don’t have a stand mixer?
No problem! You can knead the dough by hand on a lightly floured surface. It might take a little longer, around 8–10 minutes, but you’ll still achieve a soft and elastic dough.

Olive Garden Breadsticks
Equipment
- 1 large mixing bowl
- 1 stand mixer (optional, for kneading)
- 1 measuring cup set
- 1 measuring spoon set
- (1) Baking sheet
- Parchment paper
- 1 kitchen towel
- 1 pastry brush
- 1 dough scraper (optional)
Ingredients
For the Dough:
- 2 ¼ teaspoons 1 packet active dry yeast
- 1 ½ cups warm water 110°F/45°C
- 2 tablespoons granulated sugar
- 2 tablespoons unsalted butter softened
- 4 cups all-purpose flour
- 1 ¾ teaspoons salt
For the Garlic Butter Topping:
- 4 tablespoons unsalted butter melted
- 1 teaspoon garlic powder
- ½ teaspoon salt
- ½ teaspoon Italian seasoning optional
Instructions
Step 1: Activate the Yeast
- In a large mixing bowl, combine warm water, sugar, and yeast. Stir gently and let sit for 5–10 minutes, until foamy.
Step 2: Prepare the Dough
- Add softened butter, salt, and flour to the yeast mixture. Mix until combined.
- Knead the dough for 8–10 minutes, until smooth and elastic. If using a stand mixer, knead on low speed.
Step 3: First Rise
- Transfer the dough to a greased bowl, cover with a towel, and let rise in a warm place for 1–1.5 hours, or until doubled in size.
Step 4: Shape the Breadsticks
- Divide the dough into 12 equal portions and roll each into a 7–9 inch rope.
- Place on a parchment-lined baking sheet, leaving space for expansion.
Step 5: Second Rise
- Cover with a towel and let the dough rise again for 30–45 minutes, until puffy.
- Preheat the oven to 400°F (200°C).
Step 6: Bake the Breadsticks
- Bake for 12–15 minutes, or until golden brown.
Step 7: Add the Garlic Butter Topping
- In a bowl, mix melted butter, garlic powder, salt, and Italian seasoning.
- Brush the warm breadsticks generously with the garlic butter mixture.
Step 8: Serve and Enjoy
- Serve warm and enjoy with your favorite soup or pasta!
Notes
- Storage: Store leftovers in an airtight container at room temperature for up to 2 days, or freeze for up to 3 months.
- Reheating Tips: Warm in the oven at 350°F (175°C) for 5–7 minutes, or microwave with a damp paper towel for about 20 seconds.
- Customization: Add grated Parmesan cheese or fresh parsley for an extra burst of flavor.
- Make-Ahead Tip: The dough can be prepared in advance and refrigerated overnight for baking the next day.


