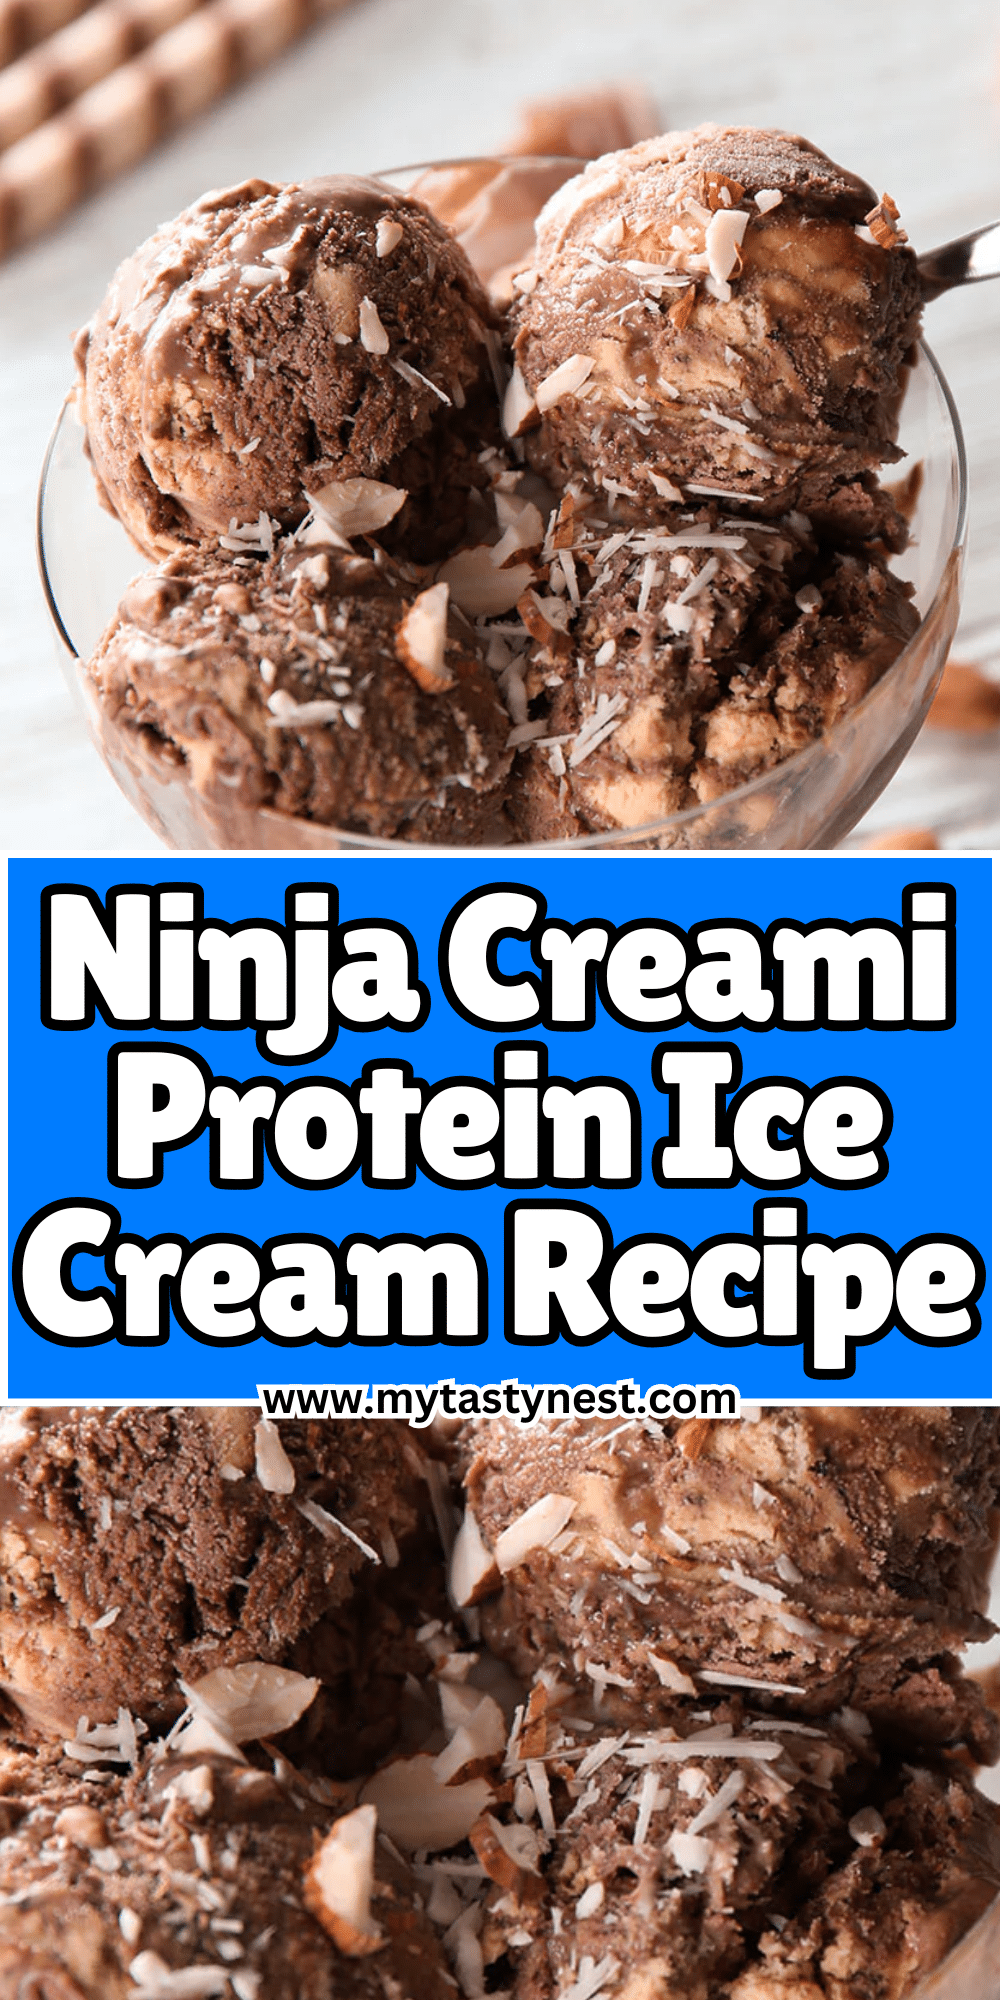
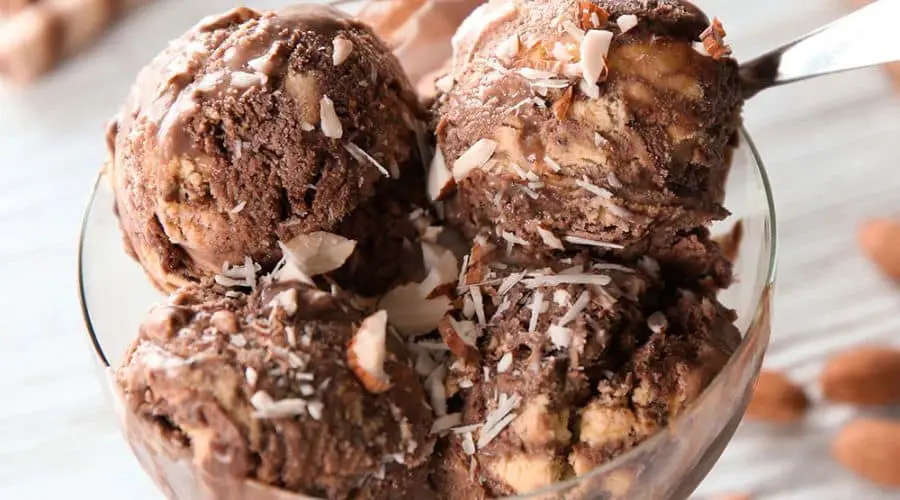
If you’re on the lookout for a dessert that satisfies your sweet tooth while fueling your body, this Ninja Creami Protein Ice Cream is the perfect treat for you.
Whether you’re working towards fitness goals or simply want a healthier alternative to traditional ice cream, this protein-packed dessert will hit the spot.
Easy to make and deliciously creamy, it combines the indulgence of ice cream with the benefits of protein, making it a great addition to your nutrition plan.
In just a few simple steps, you’ll have a batch of homemade ice cream that you can enjoy guilt-free, any time you crave a cool, creamy dessert.

Why You’ll Love This Ninja Creami Protein Ice Cream
There’s a lot to love about this protein ice cream, and here are just a few reasons why it’ll become a go-to treat in your kitchen:
- Packed with Protein: Unlike traditional ice creams that are high in sugar and fat, this version is packed with protein. It’s the perfect way to satisfy your cravings while supporting muscle recovery and keeping you fuller for longer.
- Customizable Flavors: With the Ninja Creami machine, you can get creative! Choose your favorite protein powder and add your choice of flavoring, whether it’s chocolate, vanilla, or fruit-infused. The possibilities are endless, making this ice cream a treat that you can adapt to your preferences.
- Low in Calories: If you’re watching your calorie intake, this protein ice cream is a great choice. It’s a lighter alternative to store-bought ice cream, so you can enjoy it without feeling guilty.
- No Need for an Ice Cream Maker: The Ninja Creami makes the process so much easier. It’s designed to take the hard work out of making ice cream, offering a smooth and creamy texture without the need for complicated machinery.
- Healthy Indulgence: Whether you’re on a fitness journey or simply looking for a healthier treat, this protein ice cream gives you the best of both worlds—a creamy indulgence with health benefits.
Essential Ingredients for Protein Ice Cream
Creating the perfect protein ice cream starts with the right ingredients.
Here’s what you’ll need to get started:
- Protein Powder: The star ingredient! Choose a high-quality protein powder that suits your dietary preferences. You can opt for whey protein, plant-based protein, or any other variety you like. Vanilla or chocolate protein powder are great options, but feel free to experiment with different flavors.
- Milk or Milk Alternative: For a creamy texture, you’ll need a liquid base. Dairy milk works well, but you can also use almond milk, oat milk, or any other milk alternative if you’re looking for a dairy-free version.
- Sweetener: To give your protein ice cream a little sweetness, add a natural sweetener like honey, maple syrup, or stevia. If you prefer, you can even skip the sweetener or use sugar-free alternatives.
- Greek Yogurt (Optional): For an extra boost of creaminess and a tangy flavor, Greek yogurt can be added. This will also increase the protein content, making the ice cream even more satisfying.
- Vanilla Extract or Flavoring: A splash of vanilla extract or any flavorings you like will elevate the taste. You can use almond extract, cinnamon, or even a bit of cocoa powder to customize the flavor profile.
- Mix-ins (Optional): If you want to make your ice cream even more indulgent, consider adding mix-ins like chocolate chips, crushed nuts, or berries. These add texture and flavor, making your protein ice cream extra special.
Tools You’ll Need
Making protein ice cream is simple and doesn’t require a lot of specialized tools.
However, there are a few essentials that will make the process smoother and more efficient:
- Ninja Creami Machine: The key tool for this recipe, the Ninja Creami, is designed to churn your protein mixture into a perfectly creamy and smooth texture. This machine does the hard work for you, so you get restaurant-quality ice cream in minutes.
- Blender or Mixer: To blend your ingredients together smoothly, you’ll need a blender or a hand mixer. This helps combine your protein powder, liquid base, and any other ingredients into a smooth mixture before freezing.
- Ice Cream Containers: You’ll need a container to store your mixture before freezing. Make sure it’s suitable for freezing and easy to transfer into the Ninja Creami machine once the mixture has set.
- Measuring Cups and Spoons: Precision is key in making sure your ice cream turns out just right. Use measuring cups and spoons to get the right balance of ingredients.
- Spatula or Spoon: After the Ninja Creami works its magic, use a spatula or spoon to scrape out the creamy goodness and serve it in bowls or cones. This ensures you get every last bit of your delicious homemade treat!
Step-by-Step Ninja Creami Protein Ice Cream Recipe

Follow these simple steps, and you’ll have a creamy, protein-packed dessert in no time.
- Prepare the Base Mixture:
Start by combining your chosen protein powder, milk (or milk alternative), sweetener, and any flavorings in a blender or using a hand mixer. Blend until the mixture is smooth and well-combined. If you’re adding Greek yogurt, mix it in at this stage. - Freeze the Mixture:
Pour the protein mixture into an ice cream container. Ensure the container is level and that there is some room for expansion as the ice cream freezes. Place the container in the freezer and let it freeze for at least 4 hours or overnight. - Process in the Ninja Creami:
Once your base is frozen solid, remove it from the freezer and insert it into the Ninja Creami machine. Select the “Ice Cream” setting on the machine, and let it work its magic. The Ninja Creami will churn the frozen mixture into a smooth and creamy texture. - Check the Consistency:
After the first cycle, check the consistency. If it’s too hard or icy, you can add a splash of milk and run the “Re-spin” function until it’s creamy. If it’s just right, you’re ready to scoop! - Serve and Enjoy:
Scoop out the protein ice cream into bowls or cones and enjoy immediately. You can also add toppings like fresh fruit, chocolate chips, or crushed nuts for an extra indulgent touch.
Flavor Variations to Try
While the classic protein ice cream recipe is delicious on its own, you can easily customize it with different flavors.
Here are some fun and tasty variations to try:
- Chocolate Peanut Butter Protein Ice Cream:
Add 2 tablespoons of peanut butter to your base mixture for a rich, nutty flavor. For an extra chocolatey twist, mix in a tablespoon of cocoa powder. You can even add chopped peanuts or chocolate chips as a mix-in for extra crunch. - Berry Protein Ice Cream:
Blend in fresh or frozen berries like strawberries, blueberries, or raspberries for a fruity and refreshing protein ice cream. You can also swirl in some berry puree or add whole berries after the ice cream is processed for added texture. - Mint Chocolate Chip Protein Ice Cream:
Add a few drops of peppermint extract to your base and mix in a handful of chocolate chips once the ice cream has been processed. The minty flavor pairs perfectly with the creamy base for a refreshing treat. - Coffee Protein Ice Cream:
For a coffee-flavored boost, add a tablespoon of instant coffee or brewed espresso to your mixture. It’s perfect for coffee lovers who want to enjoy their favorite caffeine kick in ice cream form. - Chocolate Banana Protein Ice Cream:
Blend in a small ripe banana (or banana slices) into your base mixture for a naturally sweet, creamy flavor. Add a tablespoon of cocoa powder to bring in that chocolate taste, creating a dreamy chocolate-banana protein ice cream. - Cinnamon Roll Protein Ice Cream:
For a cozy dessert, add a teaspoon of cinnamon and a drizzle of maple syrup to the base mixture. Swirl in chopped pecans or oats for a cinnamon roll-inspired treat.
Each of these variations is just as easy to make as the original, and they provide endless options for your protein ice cream adventures!
Pro Tips for Perfect Protein Ice Cream Every Time
Making protein ice cream at home is simple, but there are a few pro tips that can take your dessert to the next level, ensuring it’s always smooth, creamy, and delicious:
- Use a High-Quality Protein Powder:
The protein powder you choose plays a big role in the final taste and texture. Go for a clean, high-quality protein that dissolves easily. Whey protein often gives the creamiest texture, but plant-based proteins work well too—just be aware that they might produce a slightly grainier texture. - Ensure the Base is Fully Frozen:
For the best texture, your protein ice cream base needs to be completely frozen solid. This usually takes at least 4 hours, but freezing it overnight ensures a firmer, better-churning mixture. The Ninja Creami works best when the ice cream base is completely solid. - Add Liquid Gradually:
If your ice cream mixture feels too thick after blending, add your liquid (milk or milk alternative) slowly. This way, you can adjust the consistency to your liking without making it too watery. It’s easier to add a little liquid than to fix a mixture that’s too runny. - Don’t Skip the Re-spin Function:
If your ice cream isn’t as creamy as you’d like after the first Ninja Creami cycle, use the “Re-spin” function. This helps break down any ice crystals and gives you that silky smooth texture you’re looking for. - Play with Mix-ins After Processing:
For the best texture, add any mix-ins (chocolate chips, nuts, fruit) after processing the ice cream. This way, the Ninja Creami works its magic on the base, and your mix-ins stay intact and don’t get over-churned. - Freeze the Ice Cream in Small Batches:
If you’re making a large batch, consider freezing your ice cream in smaller portions. This can help the base freeze more evenly and ensures better results when processed in the Ninja Creami. - Let the Ice Cream Sit at Room Temperature:
If your protein ice cream is too hard straight out of the freezer, let it sit for a few minutes before scooping. This will soften it slightly, making it easier to scoop and enjoy!
Nutritional Benefits of This Protein Ice Cream
This protein ice cream isn’t just a tasty treat—it’s also packed with nutritional benefits that make it a great choice for anyone looking to satisfy their sweet tooth while staying healthy:
- High in Protein:
One of the biggest benefits of this recipe is the high protein content. Depending on the type and amount of protein powder you use, each serving can provide 15–30 grams of protein. Protein is essential for muscle repair and growth, making this ice cream a great post-workout treat or a healthy snack to keep you fuller for longer. - Lower in Sugar:
Unlike traditional ice cream, this protein version is naturally lower in sugar. You control the amount of sweetener added, allowing you to make it as sweet or as mild as you prefer. Many recipes also use natural, low-calorie sweeteners like stevia or monk fruit to cut down on sugar without compromising flavor. - Rich in Healthy Fats:
If you add ingredients like peanut butter, nuts, or coconut, you’ll also be getting healthy fats that are great for heart health and provide lasting energy. Healthy fats help with hormone production and nutrient absorption, which makes them an essential part of any balanced diet. - Packed with Calcium and Other Nutrients:
Depending on your choice of milk (dairy or plant-based), your ice cream can provide a good source of calcium, essential for strong bones and teeth. Greek yogurt, if used, adds additional probiotics, which support gut health. - Customizable for Your Diet:
This recipe can easily be adjusted to fit various dietary preferences. Whether you’re vegan, gluten-free, or following a keto diet, you can swap ingredients (like using almond milk, plant-based protein, or a low-carb sweetener) to suit your needs. - Lower in Calories:
Compared to traditional ice cream, this protein ice cream is typically much lower in calories. By using healthier ingredients and controlling the portion size, you can enjoy a satisfying dessert without the guilt.
This protein ice cream is not only a delicious treat but also a great way to get extra nutrients, especially for those looking to increase their protein intake or enjoy a more balanced dessert!
Common Mistakes to Avoid
While making protein ice cream is fairly simple, a few common mistakes can affect the texture and flavor.
Here are some things to keep in mind:
- Not Freezing the Base Long Enough:
One of the most common mistakes is not allowing the ice cream base to freeze long enough. If the mixture isn’t completely solidified before processing, the Ninja Creami won’t be able to churn it properly, resulting in a watery or icy texture. - Using Low-Quality Protein Powder:
Not all protein powders are created equal. Low-quality protein powders may not dissolve well, leaving behind a grainy texture. Always choose a high-quality, easy-to-mix protein for the smoothest results. - Adding Too Much Liquid:
Adding too much liquid to your base can lead to a thinner consistency. Always add the liquid gradually, and avoid overdoing it, so the base stays thick and creamy. - Skipping the Re-spin Function:
If your ice cream comes out a bit icy or chunky, don’t skip the “Re-spin” function on the Ninja Creami. This step is crucial for getting a smoother, creamier texture, so don’t rush through it. - Overloading the Base with Mix-ins:
While mix-ins like chocolate chips, nuts, or fruit add delicious flavor, adding too many can disrupt the smooth texture of your ice cream. Add them after processing to keep your base nice and creamy.
Conclusion
Making protein ice cream with the Ninja Creami is a fun, easy, and healthy way to satisfy your cravings.
Whether you’re looking for a post-workout treat or simply a guilt-free dessert, this protein-packed ice cream is customizable to fit your tastes and dietary needs.
With a few simple ingredients, the right tools, and some creativity, you can enjoy a creamy, delicious frozen treat anytime you want.
The best part? You can feel good about what you’re eating, knowing it’s full of protein, lower in sugar, and rich in beneficial nutrients.
So, next time you’re in the mood for something sweet, ditch the store-bought ice cream and try your hand at making your own nutritious, homemade protein ice cream. You won’t be disappointed!
Frequently Asked Questions (5)
Can I make this protein ice cream without a Ninja Creami?
Yes, while the Ninja Creami creates the best texture, you can still make protein ice cream by freezing your base mixture in an airtight container and stirring it every 30 minutes until it reaches a smooth consistency.
Alternatively, using an ice cream maker can also work, but the Ninja Creami is the quickest and easiest method.
Can I use any protein powder?
Yes, you can use any type of protein powder you like.
Whey protein, plant-based protein, and even collagen powder work well.
Just keep in mind that different types of protein powder may affect the texture and taste slightly, so feel free to experiment with what works best for you.
How long will the protein ice cream last in the freezer?
This ice cream is best enjoyed within a week or two of making it, as homemade ice cream can become harder and lose its smooth texture the longer it’s frozen.
Be sure to store it in an airtight container to prevent freezer burn.
Can I make this recipe dairy-free?
Absolutely! You can substitute dairy milk with almond milk, oat milk, or any other dairy-free milk alternative.
Also, use plant-based protein powder and skip the Greek yogurt, or substitute it with a dairy-free alternative.
Can I add mix-ins to the ice cream?
Yes, mix-ins like chocolate chips, crushed nuts, or berries can be added after the ice cream is processed.
Add them in after the “Ice Cream” setting to maintain a smooth texture while enjoying extra flavor and crunch!

Ninja Creami Protein Ice Cream
Equipment
- 1 Ninja Creami Machine
- 1 Blender or hand mixer
- 1 Ice cream container (about 4 cups)
- 1 Measuring cups and spoons
- 1 – Spatula or spoon
Ingredients
- 1 scoop approx. 30g protein powder (whey or plant-based)
- 1 cup 240ml milk or milk alternative (almond milk, oat milk, etc.)
- 1 tbsp 15g sweetener (honey, maple syrup, stevia, or sweetener of choice)
- 1/2 tsp 2.5ml vanilla extract (or flavor of choice)
- 1/4 cup 60g Greek yogurt (optional, for extra creaminess)
- 1/4 cup 40g mix-ins (chocolate chips, nuts, fruit, optional)
Instructions
Prepare the Base Mixture:
- In a blender or using a hand mixer, combine the protein powder, milk (or milk alternative), sweetener, and vanilla extract. Blend until smooth and well-combined. If using Greek yogurt, add it to the mixture and blend again.
Freeze the Mixture:
- Pour the mixture into an airtight ice cream container. Make sure it’s level and there’s room for expansion. Freeze for at least 4 hours or overnight until completely solid.
Process in the Ninja Creami:
- Once frozen solid, remove the container from the freezer and insert it into the Ninja Creami. Use the “Ice Cream” setting to churn the mixture into a smooth and creamy consistency.
Check Consistency:
- If the ice cream is too hard, run the “Re-spin” function for a creamier texture. If it’s just right, you’re ready to serve!
Serve and Enjoy:
- Scoop out the protein ice cream into bowls or cones. You can add mix-ins like chocolate chips, crushed nuts, or berries for added flavor and texture.
Notes
- Sweetener Adjustments: Adjust the sweetness to your preference. If you prefer a more natural option, opt for honey or maple syrup. For a low-calorie version, try stevia or monk fruit sweetener.
- Texture Tip: For the creamiest texture, ensure the base is completely frozen before processing in the Ninja Creami. If it feels too hard or icy after the first cycle, use the “Re-spin” function to smooth it out.
- Dairy-Free Option: You can make this recipe dairy-free by using plant-based protein powder and a non-dairy milk alternative like almond or oat milk. You can also skip the Greek yogurt or use a dairy-free version.
- Mix-ins: If you’re adding mix-ins like nuts, chocolate chips, or fruit, make sure to add them after the ice cream has been processed to keep the texture smooth.


