All products are selected by our editorial team for quality. If you buy through our links, we may earn a small commission at no extra cost to you.
If you’ve been on the hunt for a simple, healthy, and absolutely delicious homemade ice cream recipe, you’re in for a treat!
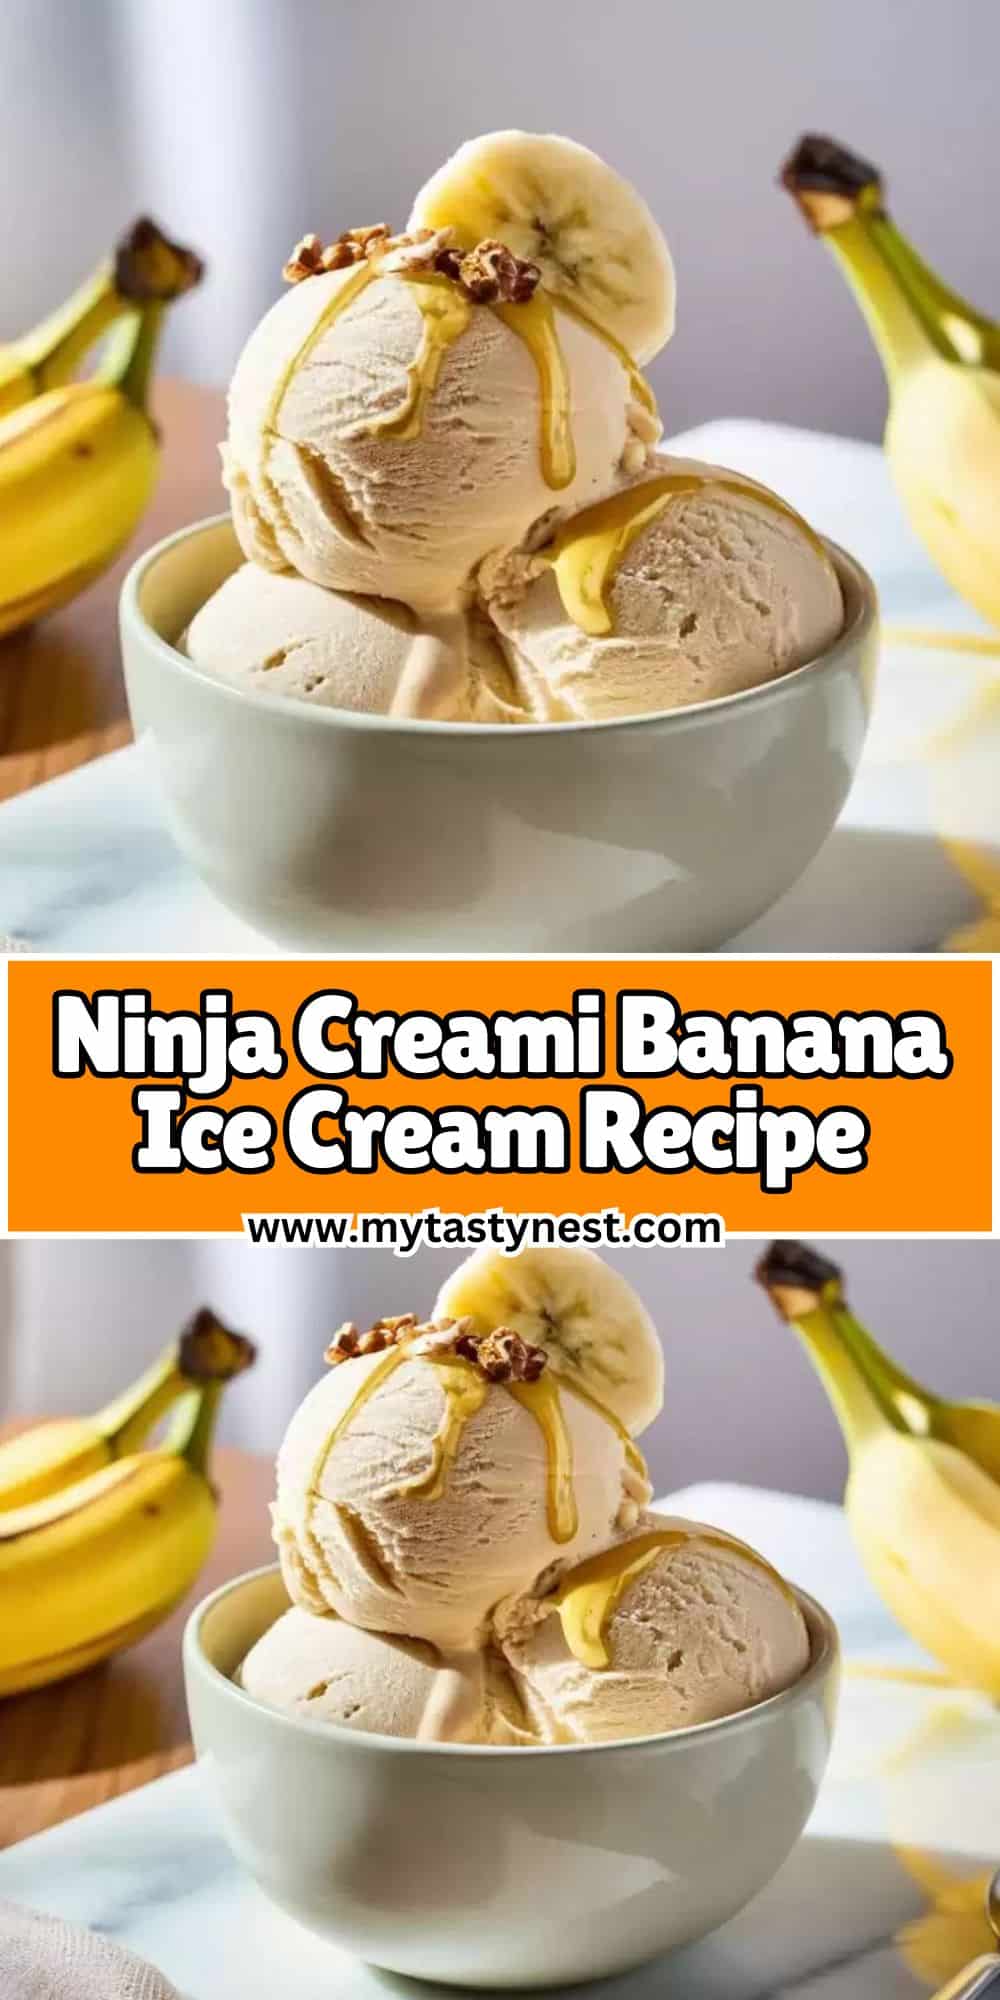
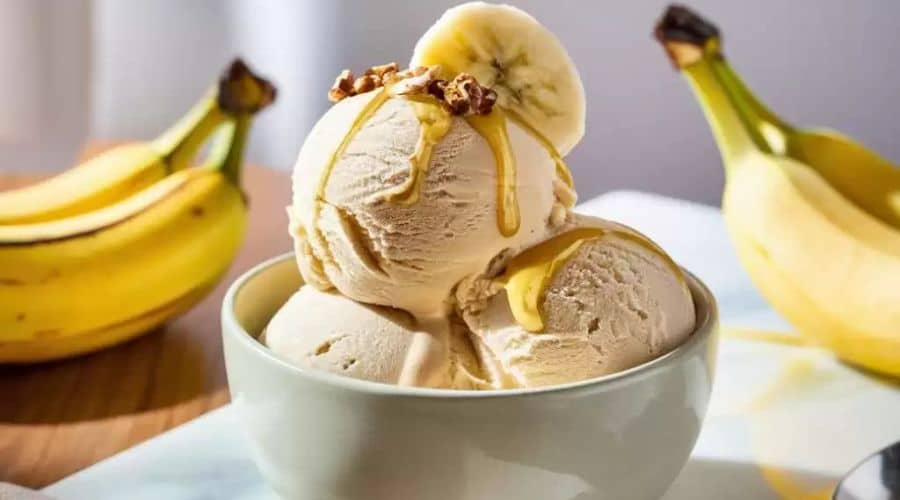
This Ninja Creami Banana Ice Cream Recipe is a game-changer for dessert lovers who crave something indulgent yet guilt-free.
with naturally sweet ripe bananas and minimal ingredients, this recipe offers a smooth, creamy texture that rivals your favorite store-bought ice creams.
What makes this recipe even better is the magic of the Ninja Creami, a device designed to turn ordinary frozen fruits into extraordinary frozen treats.
Whether you’re looking for a quick dessert after dinner, a refreshing afternoon snack, or a healthy alternative to traditional ice cream, this recipe checks all the boxes.
Let’s dive into what makes this banana ice cream so special and why you’ll want to make it again and again!

Why You’ll Love This Ninja Creami Banana Ice Cream Recipe
- It’s Healthy and Wholesome
This banana ice cream is naturally sweetened with the sugars from ripe bananas, making it free from added refined sugars.
It’s also dairy-free if you opt for plant-based milk, making it suitable for vegans and those with lactose intolerance. - Easy to Make
With just a few simple ingredients and the Ninja Creami, you’ll have a luscious ice cream ready in minutes.
There’s no need for complicated techniques or lengthy preparation. - Customizable to Your Taste
One of the best things about this recipe is its versatility.
Whether you prefer the classic banana flavor or want to mix in chocolate chips, peanut butter, or even a splash of vanilla, the options are endless. - A Creamy Texture Like No Other
The Ninja Creami’s unique technology ensures a perfectly creamy and scoopable texture every time.
No icy or gritty bits—just smooth, velvety banana goodness. - Perfect for Any Occasion
Whether you’re hosting a dinner party, surprising your kids with a fun treat, or simply satisfying your own sweet tooth, this recipe delivers a crowd-pleasing dessert.
Are you ready to transform simple bananas into a dessert masterpiece? Let’s get started!
Ingredients for Ninja Creami Banana Ice Cream
To make this delicious and creamy banana ice cream, you only need a handful of ingredients.
The beauty of this recipe lies in its simplicity!
Basic Ingredients
- Ripe Bananas: 3-4 medium-sized bananas, peeled and sliced. Ensure they are fully ripe for maximum sweetness and flavor.
- Milk (Optional): A splash of milk, either dairy or plant-based (like almond, coconut, or oat milk), to enhance creaminess.
Optional Add-Ins
- Vanilla Extract: 1 teaspoon for a hint of classic vanilla flavor.
- Sweetener: Honey, maple syrup, or agave nectar (only if you prefer extra sweetness).
- Mix-Ins: Chocolate chips, crushed nuts, or a swirl of peanut butter to take your ice cream to the next level.
Feel free to get creative with your add-ins—this recipe is a perfect canvas for personalization!
How to Make Ninja Creami Banana Ice Cream

Making banana ice cream with the Ninja Creami is as easy as 1-2-3.
Follow these simple steps for a perfect, creamy treat every time.
Step 1: Prepare the Bananas
- Peel and slice the ripe bananas into thin pieces.
- Place the slices in an airtight container or freezer-safe bag. Arrange them in a single layer to prevent clumping.
- Freeze the bananas for at least 12 hours or overnight for the best results.
Step 2: Blend the Frozen Base
- Remove the frozen banana slices from the freezer and place them in the Ninja Creami container.
- If desired, add a splash of milk for a creamier consistency and your choice of vanilla extract or sweetener.
Step 3: Process with the Ninja Creami
- Insert the container into the Ninja Creami and lock it into place.
- Select the “Ice Cream” function and let the machine blend the frozen bananas into a smooth and creamy texture. This typically takes a couple of minutes.
Step 4: Customize with Add-Ins
- Once the base is ready, create your own flavor masterpiece! Add your favorite mix-ins, like chocolate chips, crushed nuts, or a swirl of peanut butter.
- Use the “Mix-In” function on the Ninja Creami to evenly distribute the additions throughout the ice cream.
Step 5: Serve and Enjoy
- Scoop the banana ice cream into bowls, cones, or dessert dishes.
- Garnish with a drizzle of chocolate syrup, a sprinkle of cinnamon, or extra toppings if desired.
- Serve immediately and savor the creamy, dreamy banana goodness!
This easy-to-follow process delivers a dessert that’s not only delicious but also healthy and customizable. Ready to take a bite? 😊
Tips for the Best Ninja Creami Banana Ice Cream
Making the perfect banana ice cream with the Ninja Creami is easy, but these tips will ensure you get the best results every time:
1. Use Fully Ripe Bananas
- Choose bananas with a few brown spots on the peel. They’re naturally sweeter and create a creamier base.
2. Freeze the Bananas Properly
- Slice the bananas into small pieces before freezing. This helps them process more easily in the Ninja Creami. Arrange them in a single layer to prevent clumping.
3. Don’t Overdo the Liquid
- While a splash of milk can enhance the creaminess, adding too much can make the ice cream overly soft or runny. Start small and adjust as needed.
4. Experiment with Flavors
- Add a teaspoon of vanilla extract, a pinch of cinnamon, or even a bit of cocoa powder for fun variations.
5. Chill the Container Before Use
- If possible, pre-chill the Ninja Creami container to keep the ice cream at an optimal temperature while processing.
6. Customize the Texture
- If the ice cream comes out too firm or crumbly, simply reprocess it with a touch of milk.
7. Serve Immediately for Best Texture
- The ice cream is best enjoyed right after processing, while it’s smooth and creamy.
Common Questions About Ninja Creami Banana Ice Cream
1. Can I Make This Recipe Without the Ninja Creami?
Yes! While the Ninja Creami delivers unmatched texture, you can use a high-powered blender or food processor. Blend the frozen banana slices until smooth, scraping down the sides as needed.
2. Do I Need to Add Milk to the Recipe?
No, milk is optional. Bananas are naturally creamy when blended, so you can skip the milk for a pure banana flavor. Add a small splash only if you prefer a softer texture.
3. Can I Store Leftovers?
Yes, but the texture may change slightly when refrozen. Store in an airtight container and let it thaw for 5-10 minutes before eating to soften it.
4. How Can I Add More Protein to the Recipe?
You can add a scoop of protein powder or blend in Greek yogurt with the frozen bananas. Use the “Mix-In” function to combine these additions evenly.
5. What Other Fruits Can I Use with This Recipe?
While bananas are the star, you can mix in frozen mango, strawberries, or blueberries for a tropical twist. For best results, ensure the fruit is frozen and sliced.
6. How Do I Avoid Ice Crystals in the Ice Cream?
Properly freezing the bananas and using the Ninja Creami’s “Ice Cream” function will reduce ice crystals. Avoid adding too much liquid to maintain the creamy texture.
7. Is This Recipe Vegan-Friendly?
Absolutely! Use plant-based milk (if adding any), and the recipe becomes 100% vegan and dairy-free.
With these tips and answers, you’re all set to make the perfect Ninja Creami Banana Ice Cream every time!
Variations and Add-Ons for Ninja Creami Banana Ice Cream
One of the best things about this recipe is its flexibility. You can experiment with countless variations and add-ons to create your dream dessert. Here are some ideas to get you started:
1. Flavor Variations
- Chocolate Banana Ice Cream: Add 1-2 tablespoons of cocoa powder or a handful of chocolate chips to the mix for a rich, chocolatey treat.
- Peanut Butter Banana Ice Cream: Swirl in a tablespoon of creamy peanut butter for a nutty twist.
- Berry Banana Ice Cream: Mix in a handful of frozen strawberries, blueberries, or raspberries for a fruity burst.
- Coconut Banana Ice Cream: Add a tablespoon of shredded coconut or a splash of coconut milk for a tropical vibe.
2. Mix-Ins
- Crunchy Toppings: Stir in chopped nuts like almonds, walnuts, or pecans for added texture.
- Sweet Add-Ins: Incorporate mini chocolate chips, caramel swirls, or crushed cookies.
- Healthy Boosts: Mix in chia seeds, flaxseeds, or granola for a nutritious twist.
3. Creative Serving Ideas
- Banana Split: Serve your ice cream with sliced bananas, a drizzle of chocolate syrup, and a cherry on top.
- Ice Cream Sandwiches: Use cookies or waffles to sandwich a scoop of ice cream for a fun dessert.
- Smoothie Bowl Base: Blend with a touch of milk and top with fresh fruit and granola for a refreshing breakfast bowl.
These variations and add-ons allow you to enjoy a new version of banana ice cream every time you make it!
Why the Ninja Creami is Perfect for This Recipe
The Ninja Creami is more than just an ice cream maker—it’s a dessert revolution. Here’s why it’s the ideal tool for crafting banana ice cream:
1. Seamless Texture Creation
The Ninja Creami’s powerful processing ensures a creamy, scoopable texture, turning frozen bananas into a silky dessert without chunks or ice crystals.
2. Versatility for Customization
The Ninja Creami features multiple functions, like “Mix-In” and “Re-Spin,” which allow you to incorporate flavors and adjust the consistency to your liking.
3. Effortless Operation
With intuitive settings and minimal prep work, the Ninja Creami makes creating gourmet ice cream at home a breeze—even for beginners.
4. Healthier Dessert Options
Unlike traditional ice cream makers that rely on heavy creams and sugars, the Ninja Creami works perfectly with whole, natural ingredients like bananas.
5. Minimal Cleanup
The device’s removable parts are easy to clean, so you can spend more time enjoying your dessert and less time washing up.
6. Great for Small Batches
Whether you’re making a single serving or a small batch, the Ninja Creami is designed for efficient, no-waste dessert preparation.
The Ninja Creami transforms simple ingredients into decadent desserts, making it an essential appliance for anyone who loves experimenting with homemade frozen treats!
Pairings and Serving Suggestions
Ninja Creami Banana Ice Cream is a delightful treat on its own, but pairing it with complementary flavors can elevate your dessert experience. Here are some pairing and serving ideas to try:
1. Classic Pairings
- Warm Desserts: Serve the ice cream alongside a slice of warm banana bread, brownies, or apple pie for a comforting combination.
- Cookies: Pair with chocolate chip, oatmeal, or shortbread cookies for a classic ice cream sandwich or side treat.
2. Fruity Complements
- Fresh Fruit: Garnish your ice cream with sliced strawberries, kiwi, or blueberries for a burst of freshness.
- Fruit Sauces: Drizzle with a homemade berry compote or mango puree for a tropical twist.
3. Decadent Touches
- Chocolate Lovers: Top with hot fudge, chocolate shavings, or cocoa nibs for a rich, indulgent experience.
- Nutty Notes: Sprinkle with crushed nuts or drizzle with almond or hazelnut butter for added flavor and crunch.
4. Creative Serving Styles
- Ice Cream Float: Add a scoop to a glass of cold brew coffee or root beer for a refreshing float.
- Parfaits: Layer the ice cream with granola and yogurt in a glass for a visually stunning dessert.
- Waffles and Pancakes: Add a scoop on top of warm waffles or pancakes and drizzle with syrup for a special breakfast treat.
Whether you keep it simple or go all out, these pairings and serving ideas will make every bite memorable.
Conclusion
Making Ninja Creami Banana Ice Cream is an easy and rewarding way to enjoy a healthy, homemade dessert that doesn’t skimp on flavor or fun. With just a few ingredients and the power of the Ninja Creami, you can create a creamy, versatile ice cream that’s perfect for any occasion.
From experimenting with mix-ins and add-ons to pairing it with your favorite treats, the possibilities are endless. Whether you’re looking for a guilt-free indulgence or a customizable dessert experience, this recipe is a must-try for banana lovers and ice cream enthusiasts alike.
Frequently Asked Questions About Ninja Creami Banana Ice Cream
1. Can I Use Unripe Bananas for This Recipe?
It’s not recommended. Unripe bananas lack the natural sweetness and creamy texture of ripe bananas, which are essential for the best flavor and consistency in this recipe.
2. How Long Do I Need to Freeze the Bananas?
For optimal results, freeze the banana slices for at least 6 hours, but overnight is ideal. This ensures they’re firm enough for the Ninja Creami to process into a creamy dessert.
3. Can I Use a Different Sweetener?
Absolutely! While bananas are naturally sweet, you can add honey, maple syrup, or sugar substitutes like stevia or monk fruit to suit your taste preferences.
4. Is This Recipe Suitable for a Vegan Diet?
Yes, this recipe is vegan-friendly as long as you don’t use any dairy-based add-ins. Stick to plant-based milks, like almond or oat milk, for a 100% vegan dessert.
5. What’s the Best Way to Store Leftovers?
Store any leftover ice cream in an airtight container in the freezer. To serve, let it sit at room temperature for 5–10 minutes to soften before scooping. Re-spin in the Ninja Creami if needed for the best texture.

Ninja Creami Banana Ice Cream
Equipment
- 1 Ninja Creami Machine
- 1 Freezer-Safe Container
- 1 cutting board
- 1 knife
Ingredients
- 2 medium-sized bananas ripe and sliced
- 1 1–2 tablespoons plant-based or regular milk optional
- Optional add-ins: 1 teaspoon vanilla extract 1 tablespoon cocoa powder, or 1 tablespoon peanut butter
Instructions
Prepare the Bananas
- Peel the bananas and slice them into small, even pieces.
- Place the banana slices in a freezer-safe container, spreading them out to avoid clumping.
- Freeze for at least 6 hours or overnight.
Process in the Ninja Creami
- Remove the frozen bananas from the freezer and place them in the Ninja Creami container.
- Attach the container to the machine and select the “Ice Cream” setting.
- If the texture is crumbly, add 1–2 tablespoons of milk and use the “Re-Spin” function until smooth and creamy.
Customize (Optional)
- Add any mix-ins, such as vanilla extract, cocoa powder, or peanut butter, and reprocess using the “Mix-In” function.
Serve and Enjoy
- Scoop the banana ice cream into bowls and serve immediately for the best texture.
- Optionally, garnish with toppings like nuts, fruit, or chocolate chips.
Notes
- Banana Ripeness: Ensure the bananas are fully ripe with brown spots for maximum sweetness.
- Storage: Store leftovers in an airtight container in the freezer. Allow it to thaw slightly or re-spin before serving.
- Variations: Experiment with flavors like cinnamon, matcha, or fruit purees for endless options.
- Vegan Option: Use plant-based milk to keep the recipe dairy-free.


