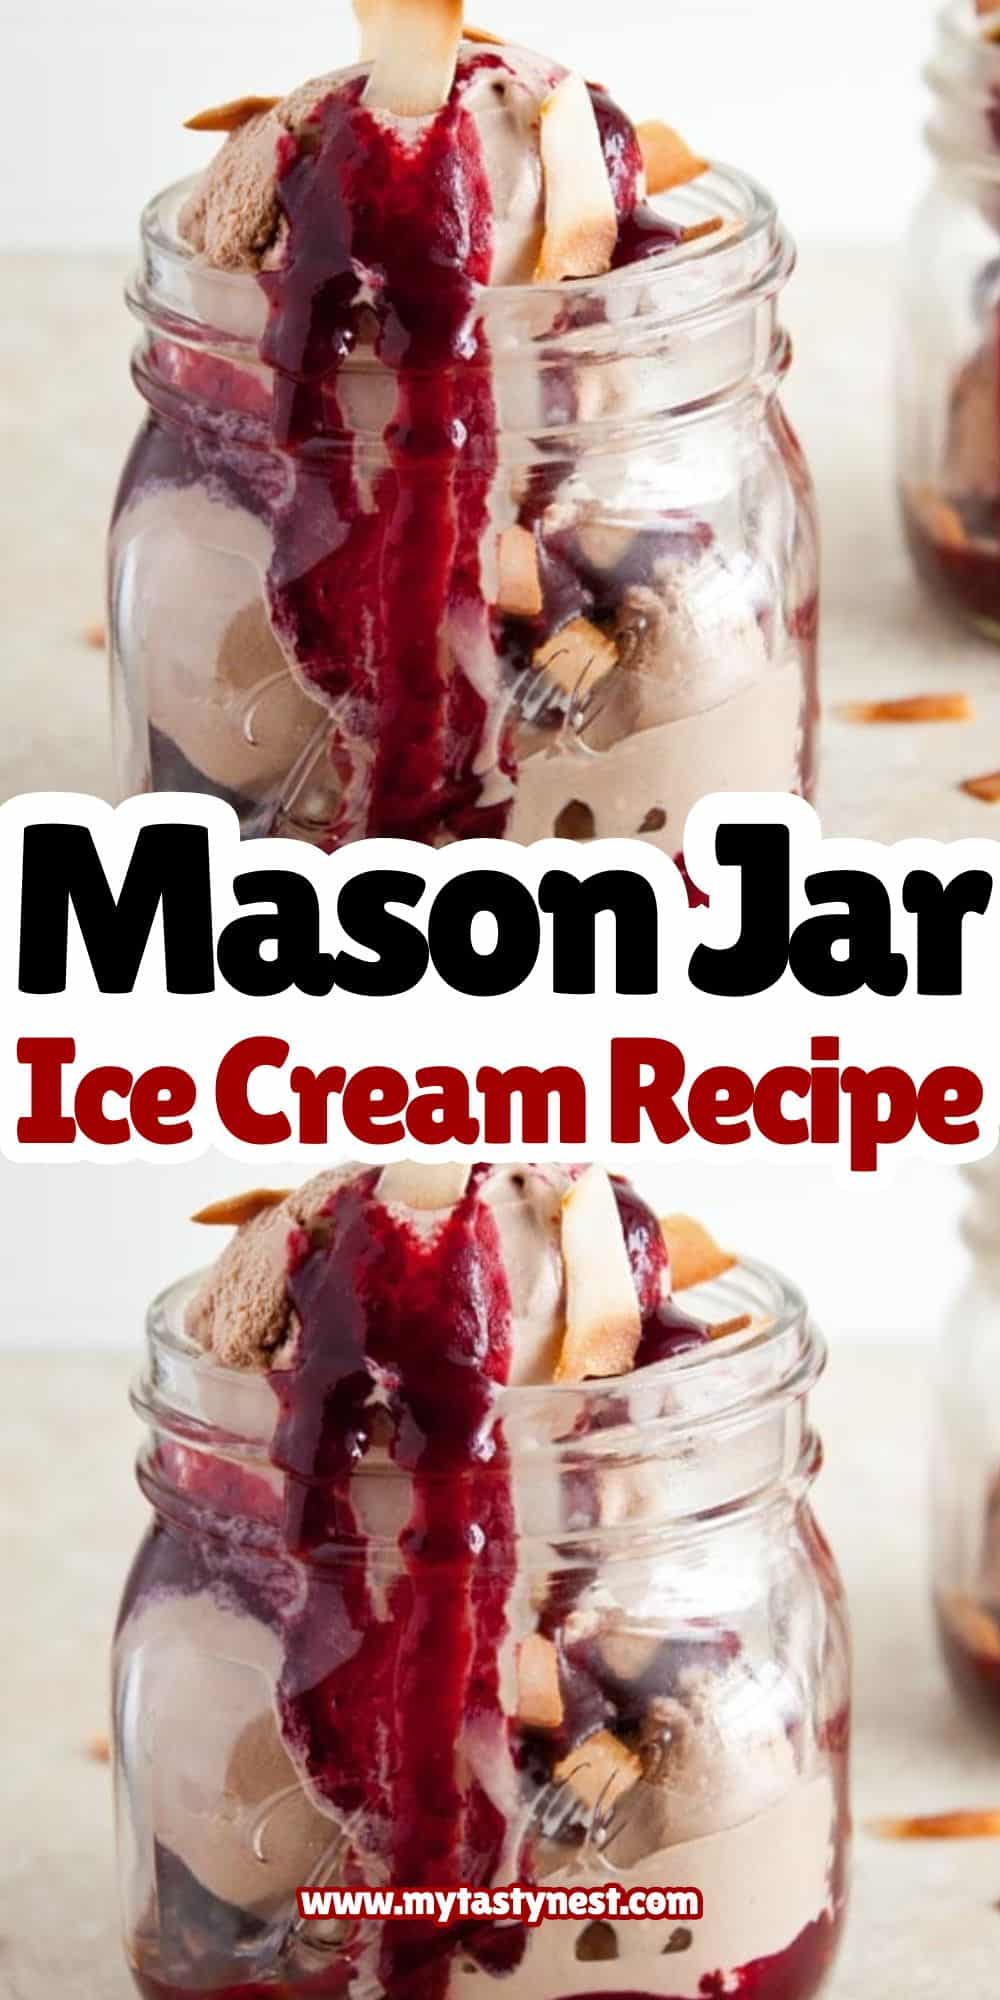
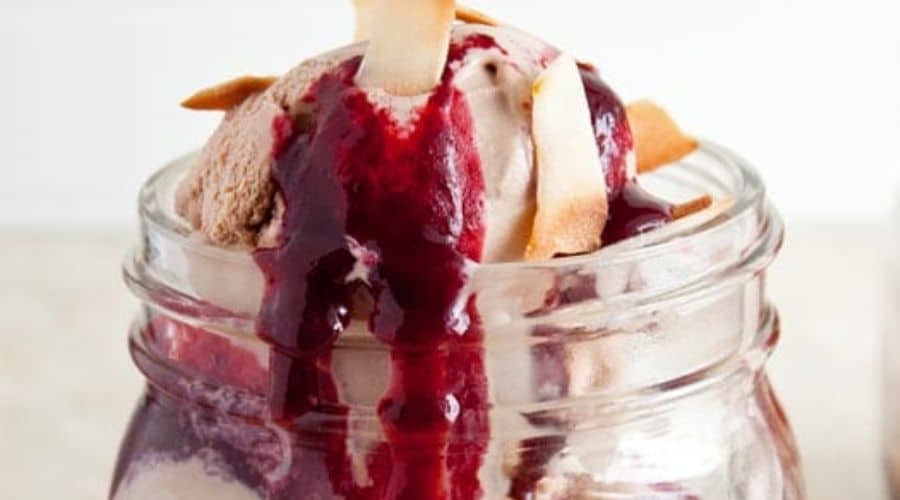
Craving homemade ice cream but don’t have an ice cream maker?
No problem! This Mason Jar Ice Cream Recipe is the easiest way to whip up a creamy, delicious frozen treat with minimal effort.
With just four basic ingredients and a mason jar, you can create rich, velvety ice cream in no time—no churning, no fancy equipment, and no hassle.
This method is perfect for small batches, making it ideal for when you want a quick dessert without the commitment of a full tub.
Plus, it’s a fun and engaging activity for both kids and adults.
Whether you’re experimenting with new flavors or just looking for a simple way to satisfy your sweet tooth, this mason jar ice cream recipe is about to become your go-to frozen treat.

Why You’ll Love This Mason Jar Ice Cream Recipe
There’s a reason this method has become a favorite for ice cream lovers everywhere.
Here’s what makes it so special:
1. No Ice Cream Maker Needed
Traditional ice cream recipes often require a bulky machine, but this version eliminates the need for special equipment.
All you need is a mason jar and a little arm strength!
2. Just a Few Simple Ingredients
You probably already have everything you need in your kitchen.
With just heavy cream, sugar (or sweetened condensed milk), vanilla extract, and your favorite mix-ins, you’re ready to create magic.
3. Quick & Easy to Make
From start to finish, the preparation takes less than 10 minutes.
The hardest part? Waiting for it to freeze!
4. Fun for All Ages
Shaking the jar is not just part of the process—it’s part of the fun!
This makes it a perfect kitchen activity for kids, allowing them to get hands-on with their dessert.
5. Endless Customization
Love chocolate? Add cocoa powder. Want a fruity twist? Swirl in some fresh berries.
The possibilities are endless, and you can experiment with different flavors every time.
6. Small-Batch & Portion-Controlled
Unlike traditional recipes that yield large amounts, this mason jar ice cream is perfect for individual servings, helping you enjoy a treat without overindulging.
This method proves that you don’t need complicated tools or expensive ingredients to make rich, creamy ice cream at home.
Now, let’s dive into the simple steps to make your own!
Ingredients You’ll Need
Before you start shaking your way to homemade ice cream, gather these simple ingredients.
This recipe keeps it classic with a vanilla base, but you can easily customize it with mix-ins and flavors.
Basic Ingredients:
- 1 cup heavy cream – The key to a rich, creamy texture.
- 1 ½ tablespoons granulated sugar – Adds the perfect touch of sweetness.
- ½ teaspoon vanilla extract – Enhances flavor and aroma.
- A pinch of salt – Balances the sweetness and brings out the flavors.
Optional Mix-Ins for Customization:
- Chocolate chips, crushed cookies, or brownie chunks for a fun texture.
- Cocoa powder or melted chocolate for a chocolatey twist.
- Fruit purees or jam for a fruity swirl.
- Nut butters or caramel sauce for added richness.
Now that you have everything ready, let’s dive into the step-by-step process of making this easy mason jar ice cream!
Step-by-Step Guide to Making Mason Jar Ice Cream

Making ice cream in a mason jar is as simple as shake, freeze, and enjoy. Here’s how to do it:
Step 1: Prepare Your Ingredients & Jar
Start by choosing a 16-ounce (pint-sized) mason jar with a tight-fitting lid.
This size is ideal because it allows enough space for shaking while holding just the right portion of ice cream.
Pour heavy cream, sugar, vanilla extract, and salt into the mason jar. If you’re adding mix-ins, wait until after shaking to stir them in.
Step 2: Shake Until Thickened
Secure the lid tightly and shake the jar vigorously for 3-5 minutes.
The mixture will increase in volume and thicken, resembling the consistency of melted ice cream.
If you shake too little, it may not set properly; if you overdo it, you might end up with butter!
Tip: If you’re making this with kids, set a timer and make it a fun game to keep shaking until the time’s up!
Step 3: Freeze Until Firm
Once the mixture has thickened, place the jar in the freezer and let it set for at least 3-4 hours. For the best texture, let it sit overnight.
Step 4: Add Mix-Ins & Enjoy!
When the ice cream is frozen, remove it from the freezer and let it sit for a couple of minutes to soften slightly.
Stir in any extra toppings, scoop, and enjoy your homemade mason jar ice cream!
Now that you know the basics, let’s explore fun variations and creative mix-ins to take your ice cream to the next level.
Flavor Variations & Fun Mix-Ins
One of the best things about this Mason Jar Ice Cream Recipe is how easy it is to customize.
Whether you’re craving something chocolatey, fruity, or nutty, you can mix and match flavors to create your own perfect blend.
Here are some delicious variations to try:
1. Classic Chocolate
For a rich and creamy chocolate version, add:
- 2 tablespoons cocoa powder (mixed with the cream before shaking)
- ¼ cup mini chocolate chips (stir in before freezing)
2. Cookies & Cream
If you love the classic cookies & cream ice cream, try:
- ¼ cup crushed Oreos or chocolate sandwich cookies
- A drizzle of melted white chocolate for extra sweetness
3. Strawberry Swirl
For a fruity, refreshing twist, mix in:
- 2 tablespoons strawberry puree or jam (swirled in before freezing)
- Chopped fresh strawberries for texture
4. Peanut Butter Cup
A dreamy combination of peanut butter and chocolate:
- 1 tablespoon peanut butter (melted for easier mixing)
- ¼ cup chopped peanut butter cups
5. Caramel Pecan Delight
If you love caramel and nuts, try this indulgent variation:
- 1 tablespoon caramel sauce (swirled in before freezing)
- 2 tablespoons toasted pecans (stirred in for crunch)
6. Mint Chocolate Chip
For a refreshing, minty treat, add:
- ½ teaspoon peppermint extract
- ¼ cup mini chocolate chips
- A few drops of green food coloring (optional)
7. Espresso Fudge Swirl
Perfect for coffee lovers, this version includes:
- 1 teaspoon instant espresso powder (dissolved in the cream)
- A swirl of chocolate fudge sauce before freezing
These are just a few ideas—get creative and try different combinations to find your favorite!
Expert Tips for the Best Homemade Mason Jar Ice Cream
Want to make sure your mason jar ice cream turns out creamy and perfect every time?
Follow these expert tips:
1. Use Heavy Cream for the Best Texture
Heavy cream (or heavy whipping cream) is essential for achieving that rich, smooth consistency. Avoid using milk, as it won’t thicken properly when shaken.
2. Shake Long Enough—but Not Too Long!
Shaking the jar for 3-5 minutes is the sweet spot. If the mixture isn’t thickening, keep shaking.
If you go beyond 5 minutes, you might end up making butter instead of ice cream!
3. Keep the Freezer Time in Mind
For the best results, let the ice cream freeze for at least 3-4 hours.
If you prefer a firmer texture, let it sit overnight.
4. Let It Soften Before Serving
Homemade ice cream can freeze very hard. Let it sit at room temperature for a few minutes before scooping to get that perfect creamy texture.
5. Choose the Right Mason Jar Size
A 16-ounce (pint-sized) jar works best.
It allows room for shaking while still fitting in a standard freezer.
Avoid overfilling, as the ice cream needs space to expand.
6. Add Mix-Ins at the Right Time
Some ingredients, like cocoa powder or extracts, should be added before shaking.
Others, like chocolate chips, nuts, and cookie pieces, should be stirred in after freezing to maintain their texture.
7. Experiment with Sweeteners
You can replace granulated sugar with honey, maple syrup, or sweetened condensed milk for different flavor profiles.
Just adjust the amount to taste!
By following these simple tips, you’ll master the art of making mason jar ice cream like a pro.
Up next, let’s talk about how to store and serve your homemade treat for the best experience!
Serving & Storing Your Mason Jar Ice Cream
Once you’ve made your mason jar ice cream, you’ll want to enjoy it as soon as possible.
Here’s how to serve and store your ice cream for the best experience:
Serving Your Ice Cream
To serve, simply take the mason jar out of the freezer and let it sit for 5-10 minutes at room temperature.
This will soften it just enough to scoop. If you prefer, you can transfer the ice cream into bowls or cones.
For a fun twist, serve it directly from the jar for a cute and rustic presentation!
For a creamy texture, use a warm spoon (run it under hot water and wipe it dry) to scoop the ice cream, as it will glide through the ice cream more smoothly.
If you made a fun flavor with mix-ins, make sure to dig deep to get a bite of everything!
Storing Your Mason Jar Ice Cream
If you have leftovers (which is rare!), keep your ice cream stored in the mason jar with the lid tightly sealed.
For the best flavor and texture, try to enjoy it within 2-3 weeks.
Homemade ice cream can get icy over time, so it’s best to consume it relatively quickly.
If you prefer a firmer texture, you can store the jar upside down in the freezer to prevent the ice cream from expanding too much.
This helps prevent freezer burn and keeps the ice cream fresh for a longer period.
Final Thoughts
Making ice cream in a mason jar is one of the easiest, most fun ways to enjoy homemade frozen treats.
Whether you’re shaking up a quick dessert for yourself, making a fun family activity, or customizing your flavors with endless variations, this simple recipe is sure to impress.
It’s perfect for when you’re craving something sweet without needing special equipment or a complicated process.
Now that you know how to make mason jar ice cream, the possibilities are endless.
Try different flavors, share it with friends and family, or even experiment with mix-ins.
This little jar of happiness is guaranteed to be a crowd-pleaser. Enjoy, and happy shaking!
Frequently Asked Questions
1. Can I use milk instead of heavy cream?
Using milk instead of heavy cream will result in a thinner texture, and the ice cream might not be as creamy or rich.
Heavy cream is key to achieving the right consistency, so if you want a lighter version, try using half-and-half instead of full-fat cream.
2. How can I make mason jar ice cream dairy-free?
You can substitute the heavy cream with a coconut cream or almond milk base.
Also, use a dairy-free sweetener, such as coconut sugar, and make sure to select plant-based mix-ins.
3. What if my ice cream is too hard after freezing?
If your ice cream is too hard, let it sit at room temperature for a few minutes to soften.
You can also stir it once it’s partially softened to bring some air into the mixture, which will help it become creamier.
4. How do I prevent freezer burn?
To prevent freezer burn, ensure the mason jar is sealed tightly.
Store it upside down to minimize air exposure, and make sure there are no gaps in the lid.
If you have a larger batch, consider transferring it into smaller jars to reduce exposure each time you open it.
5. Can I double the recipe?
Yes, you can double the recipe if you have a larger mason jar.
Just make sure to shake the jar thoroughly to incorporate all the ingredients.
For larger batches, you may need to shake a bit longer, but be careful not to overdo it.

Mason Jar Ice Cream
Equipment
- 1 16-ounce mason jar (with lid)
- 1 tablespoon measuring spoon
- 1 teaspoon measuring spoon
- 1 large spoon for stirring
- 1 small bowl (optional for mix-ins)
Ingredients
- 1 cup heavy cream
- 1 ½ tablespoons granulated sugar
- ½ teaspoon vanilla extract
- A pinch salt
- Optional mix-ins such as chocolate chips, crushed cookies, or fruit puree
Instructions
Prepare the Mason Jar:
- Start by selecting a 16-ounce mason jar and ensuring the lid fits securely.
Combine Ingredients:
- Pour the heavy cream, sugar, vanilla extract, and a pinch of salt into the mason jar. If you’re using any mix-ins (like chocolate chips or crushed cookies), you can add them in later.
Shake the Jar:
- Seal the mason jar tightly, then shake vigorously for 3-5 minutes until the mixture thickens and begins to resemble the consistency of melted ice cream.
Freeze:
- Place the jar in the freezer and let it freeze for at least 3-4 hours or overnight for the best texture.
Add Mix-ins:
- Once the ice cream is frozen, you can stir in your mix-ins (such as chocolate chips, crushed Oreos, or fruit) before serving.
Serve:
- Allow the ice cream to soften for a few minutes before scooping. Scoop into bowls or enjoy straight from the mason jar!
Notes
- Shaking Tip: For the best consistency, make sure to shake the jar for the full 3-5 minutes. If you stop early, the ice cream may not thicken properly.
- Mix-In Ideas: Get creative! Try adding mini marshmallows, fruit swirls, or chopped candy bars to personalize your ice cream.
- Freezing Tip: For the creamiest texture, try not to let your ice cream sit in the freezer for too long before eating. Homemade ice cream can freeze hard, so allow it to soften a little before serving.
- No Ice Cream Machine? No Problem: This recipe requires no special equipment, making it perfect for when you’re craving ice cream but don’t want to invest in an ice cream maker.


