All products are selected by our editorial team for quality. If you buy through our links, we may earn a small commission at no extra cost to you.
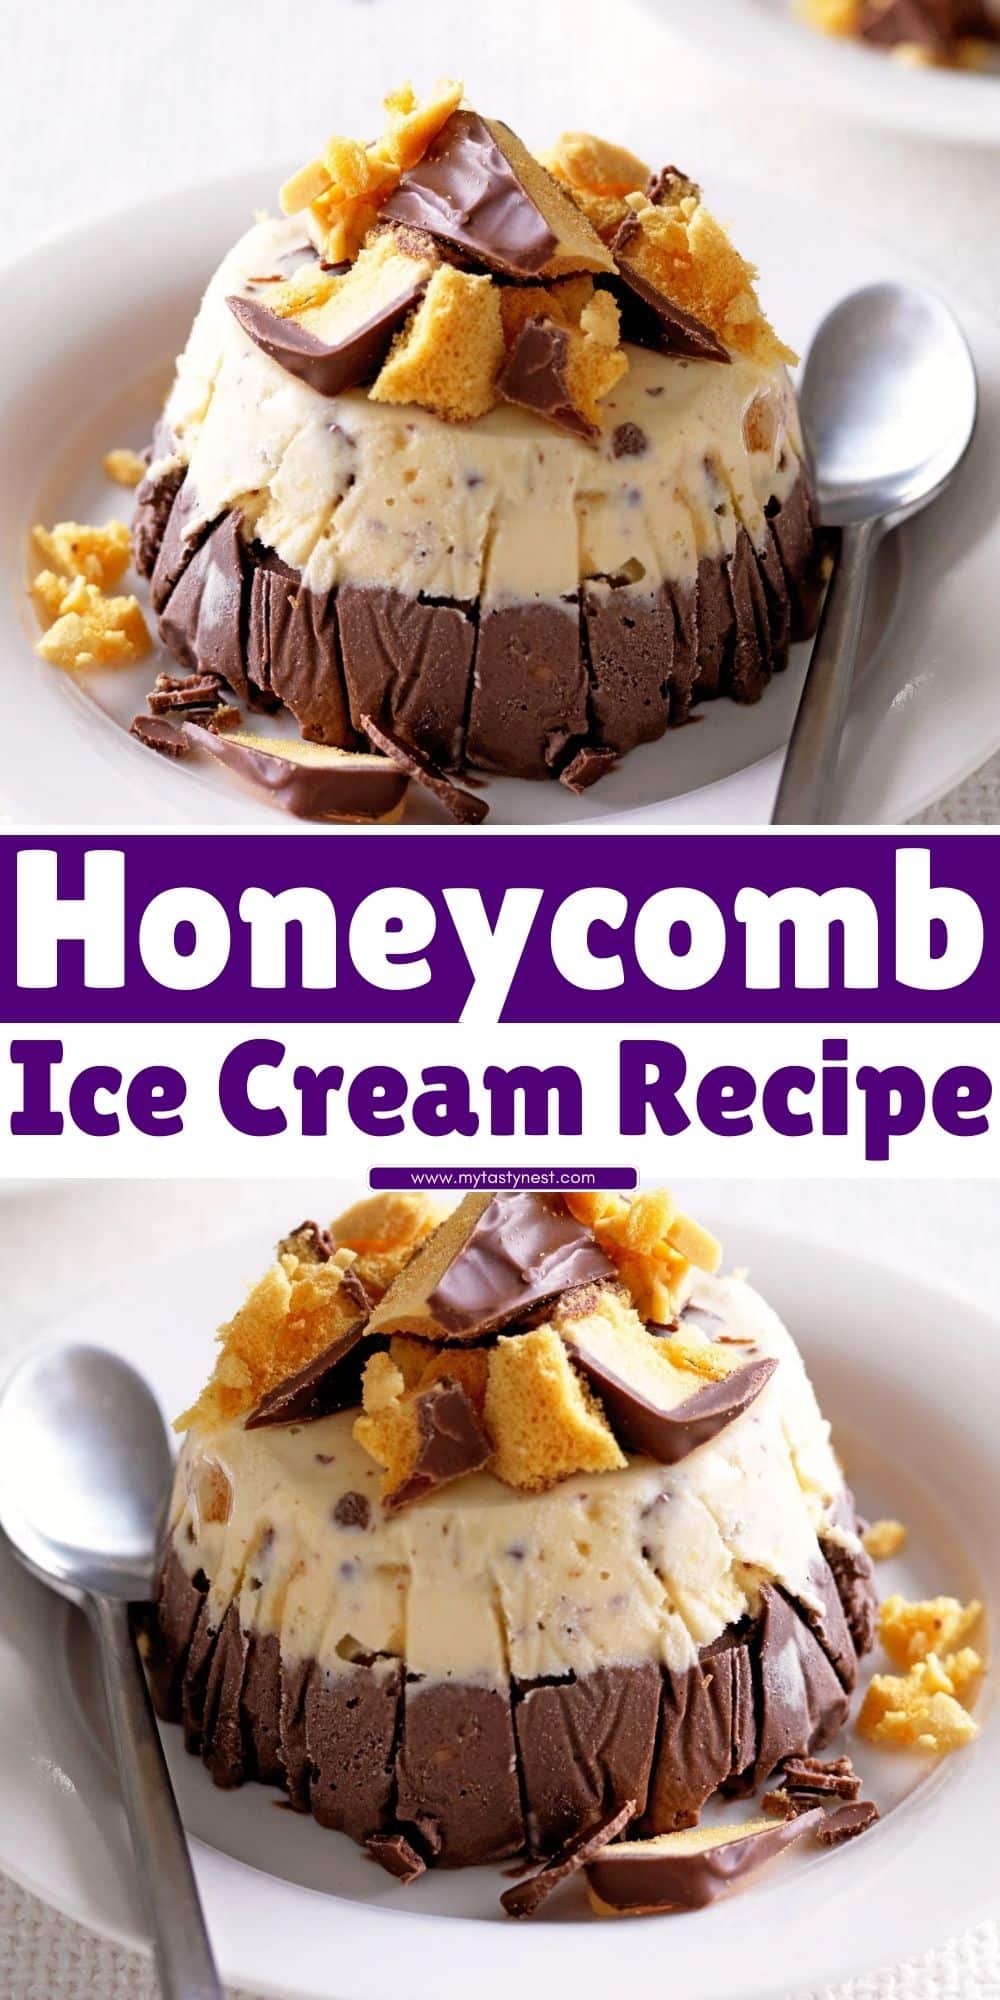
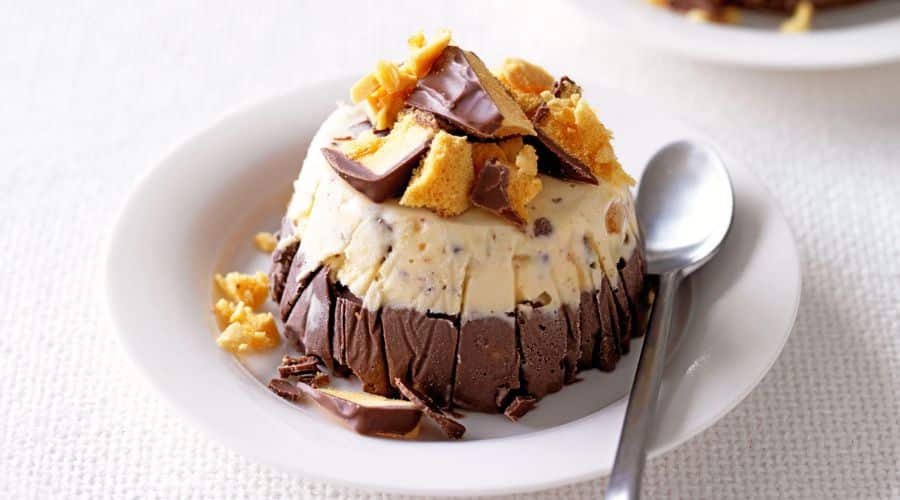
Honeycomb ice cream is a delightful combination of creamy, velvety ice cream and the irresistible crunch of homemade honeycomb candy.
This dessert is perfect for those who crave a balance of textures and flavors—rich, smooth creaminess paired with the light, crunchy sweetness of honeycomb.
If you’ve ever had the pleasure of tasting honeycomb candy, you’ll know it has a unique crispy texture with a toasty caramelized flavor.
When mixed into ice cream, it creates a dreamy contrast that’s hard to resist.
Making honeycomb ice cream at home can be surprisingly easy and incredibly rewarding.
With a few simple ingredients and some patience, you can create this indulgent treat and enjoy it whenever you like.
Whether you’re hosting a gathering or treating yourself, this homemade honeycomb ice cream will never disappoint.
In this recipe, we’ll guide you through each step to make the perfect honeycomb ice cream, from crafting the honeycomb candy to churning the ice cream base.
Let’s dive in and discover how to make this sweet, crunchy masterpiece!

What Is Honeycomb Ice Cream?
Honeycomb ice cream is a unique and exciting dessert that combines two key elements: a rich ice cream base and chunks of homemade honeycomb candy.
The ice cream itself is typically made with a creamy custard or no-churn base, while the honeycomb provides the defining texture and flavor contrast.
Honeycomb candy, which is also known as cinder toffee or sponge toffee in some places, is a light, airy candy made by caramelizing sugar and adding baking soda, which causes the mixture to puff up and create bubbles.
The result is a crispy, crunchy treat with a slightly bitter-sweet caramel flavor that pairs wonderfully with the smooth and creamy texture of the ice cream.
The honeycomb candy is often broken into small chunks and folded into the ice cream, creating pockets of sweetness and crunch that every bite offers.
The sweetness from the honeycomb and the richness of the ice cream come together in a way that is both satisfying and refreshing, making it an irresistible option for any dessert lover.
While it may seem like a complicated treat to make, honeycomb ice cream is surprisingly simple.
The hardest part is waiting for the honeycomb to cool and breaking it up to add to the creamy ice cream base.
Once made, it’s a treat you’ll want to have on repeat during the warmer months or whenever you’re in the mood for something indulgent.
Ingredients for Honeycomb Ice Cream
For the Honeycomb
To create the signature crunchy texture of honeycomb ice cream, you’ll need the following ingredients:
- Sugar: Granulated sugar is the primary ingredient for the candy base. It caramelizes to form that golden, toasty flavor that makes honeycomb so delicious.
- Golden Syrup: This syrup provides sweetness and helps create the signature texture of the honeycomb. It also helps prevent the sugar from crystallizing during the cooking process.
- Baking Soda: The baking soda is essential to the honeycomb’s airy texture. When mixed into the hot sugar syrup, it causes the mixture to bubble and expand, creating a light, crispy structure.
- Water: A small amount of water helps dissolve the sugar before it is heated and caramelized.
For the Ice Cream
The ice cream base is where the magic happens! Here are the ingredients for a creamy and smooth ice cream:
- Heavy Cream: The foundation of any great ice cream, heavy cream adds richness and smoothness.
- Whole Milk: This adds creaminess without being overly heavy, balancing the richness of the cream.
- Eggs: Egg yolks create a custard-style base, providing thickness and richness. You can also use a simple no-churn method, though a custard base creates the smoothest ice cream texture.
- Sugar: Granulated sugar is used to sweeten the ice cream base and balance the flavors.
- Vanilla Extract: Pure vanilla extract enhances the overall flavor of the ice cream, adding depth to the creamy base.
Optional:
- Salt: Just a pinch of salt can help enhance the flavors and balance out the sweetness.
- Milk Powder: Some people add milk powder for an extra creamy texture, but this is entirely optional and not essential to the recipe.
Equipment Needed for Honeycomb Ice Cream
To make honeycomb ice cream from scratch, you’ll need a few essential pieces of equipment.
Here’s what you’ll need:
Ice Cream Maker: While you can make honeycomb ice cream without an ice cream maker, it’s highly recommended for the best texture.
An ice cream maker helps churn the mixture to prevent ice crystals from forming, giving you that smooth, creamy result.
Mixing Bowls: You’ll need a few good-sized mixing bowls to prepare the ice cream base and separate the eggs.
Whisk: A whisk is essential for whisking the egg yolks and for mixing the ice cream base to ensure smoothness and prevent curdling.
Saucepan: You’ll need a saucepan for melting and caramelizing the sugar for the honeycomb. A heavy-bottomed saucepan helps prevent the sugar from burning.
Baking Sheet and Parchment Paper: After making the honeycomb, you’ll need a baking sheet lined with parchment paper to cool the mixture before breaking it into chunks.
Thermometer (optional): A candy thermometer is helpful when making the honeycomb to ensure the sugar reaches the correct temperature before adding the baking soda.
However, this is optional if you’re comfortable with cooking it by sight.
Food Processor or Rolling Pin: To break up the cooled honeycomb into chunks, you can use a food processor, or simply place it in a sealed bag and crush it with a rolling pin.
How to Make Honeycomb Ice Cream

Step 1: Prepare the Honeycomb
The first step in making honeycomb ice cream is to make the honeycomb candy itself.
Begin by lining a baking sheet with parchment paper.
This will be where the hot honeycomb mixture will set once it’s ready.
In a saucepan, combine the sugar, golden syrup, and water.
Heat the mixture over medium heat, stirring occasionally, until the sugar has dissolved completely. Once dissolved, increase the heat to high and bring it to a boil.
Let it boil without stirring until the mixture reaches a deep amber color—around 300°F (150°C) on a candy thermometer.
If you don’t have a thermometer, look for the mixture to turn a rich golden color and thicken slightly.
Once it reaches the right temperature, immediately remove the saucepan from the heat and whisk in the baking soda.
The mixture will bubble up dramatically, so be cautious! Stir until the baking soda is fully incorporated, and the mixture has expanded.
Pour the honeycomb mixture onto the prepared baking sheet and allow it to cool and harden for at least 30 minutes.
Once set, break it into large chunks, but don’t crush it too finely—large, irregular pieces are ideal for adding texture to your ice cream.
Step 2: Make the Ice Cream Base
To prepare the ice cream base, start by heating the milk and cream in a saucepan over medium heat. Stir occasionally until it’s warm but not boiling.
Meanwhile, whisk the egg yolks and sugar in a separate bowl until they become light and pale.
Once the milk and cream mixture is warm, gradually pour it into the egg mixture while whisking continuously to temper the eggs.
This prevents them from curdling. Return the entire mixture to the saucepan and cook over low heat, stirring constantly until the mixture thickens and coats the back of a spoon.
You’re aiming for a custard-like consistency.
Remove the pan from the heat and strain the mixture into a clean bowl to remove any cooked egg bits.
Allow the custard to cool slightly, then stir in the vanilla extract.
Let the mixture cool completely, either by placing it in the fridge or using an ice bath.
Step 3: Churn the Ice Cream
Once your custard base has cooled, it’s time to churn it. Pour the custard into your ice cream maker and churn according to the manufacturer’s instructions.
This usually takes about 20-25 minutes, and the mixture should become thick and creamy.
Step 4: Mix in the Honeycomb
Just before the ice cream is finished churning, gently fold in the chunks of honeycomb candy.
Be sure to mix it in carefully so that the honeycomb doesn’t dissolve into the ice cream, but rather remains as crispy, crunchy pieces throughout.
Step 5: Freeze and Set
Transfer the ice cream to an airtight container, spreading it out evenly.
Cover it with plastic wrap or parchment paper to prevent ice crystals from forming on top.
Freeze the ice cream for at least 4 hours or overnight to allow it to set fully.
Once it’s frozen and firm, your honeycomb ice cream is ready to serve!
Enjoy the rich, creamy texture paired with the delightful crunch of the honeycomb pieces.
Tips for the Perfect Honeycomb Ice Cream
Making honeycomb ice cream can be a bit tricky, but with the right approach, you’ll create a perfect batch every time.
Here are some essential tips to ensure your honeycomb ice cream turns out smooth and delicious:
Don’t Overcook the Sugar for the Honeycomb: When caramelizing the sugar, keep a close eye on the temperature.
If the sugar gets too dark, it can taste bitter. Aim for a rich amber color—this will give your honeycomb the perfect flavor without burning.
Let the Honeycomb Cool Completely: After you’ve made the honeycomb, make sure it cools completely and hardens before breaking it into chunks.
If it’s still warm or soft, it will crumble too easily, and you’ll lose that perfect crunchy texture.
Use Full-Fat Dairy for Creaminess: For the richest, creamiest ice cream base, always use full-fat heavy cream and whole milk.
These ingredients provide the body and smoothness that give your ice cream its luxurious texture.
Churn the Ice Cream Properly: To achieve a smooth consistency, avoid overchurning or underchurning your ice cream.
Churn until it thickens to the point where it holds its shape, but don’t let it become too firm or icy.
Fold Honeycomb in Gently: When adding the honeycomb to the ice cream, gently fold it in during the last few minutes of churning or when the ice cream is almost fully set.
This prevents the honeycomb from dissolving and ensures you get the perfect balance of smooth ice cream and crunchy pieces.
Troubleshooting Common Issues
Even though honeycomb ice cream is simple to make, there are a few common problems you might encounter.
Here’s how to solve them:
Honeycomb Is Too Soft or Sticky: If your honeycomb is sticky or doesn’t harden properly, it’s likely that the sugar syrup wasn’t cooked to the right temperature.
Be sure to use a thermometer and aim for the correct 300°F (150°C) range to get that perfect crunchy texture.
If it remains soft, you can try re-melting it and cooking it a bit longer to firm it up.
Ice Cream Is Too Icy: If your ice cream turns out icy instead of creamy, it may not have been churned enough, or it may not have been cooled properly before churning.
To avoid this, make sure your ice cream base is chilled completely before adding it to the ice cream maker, and be patient while churning to ensure a smooth, creamy consistency.
Honeycomb Dissolved in Ice Cream: If the honeycomb is dissolving into the ice cream, you may have added it too early or mixed it too vigorously.
Ensure that the honeycomb is added toward the end of churning or after the ice cream has thickened.
Ice Cream is Too Hard to Scoop: If your ice cream is too hard to scoop after freezing, it could be a result of over-churning or not using enough fat in the base.
Allow the ice cream to sit at room temperature for a few minutes before serving, or reduce the freezing time if you prefer a softer consistency.
Conclusion
Honeycomb ice cream is the perfect treat for anyone who loves the contrast of smooth creaminess with a bit of crunch.
It combines two of the best elements of dessert—rich ice cream and a deliciously sweet, crispy honeycomb—and brings them together in a fun and easy-to-make dessert.
With the right techniques, you can make this indulgent treat at home and impress your family and friends.
By following the simple steps outlined here and keeping a few helpful tips in mind, you’ll be well on your way to mastering this recipe.
Whether you’re making it for a special occasion or as a summer treat, honeycomb ice cream is a dessert that’s guaranteed to satisfy your sweet tooth.
Frequently Asked Questions (FAQ)
How long does honeycomb ice cream last in the freezer?
Honeycomb ice cream can last in the freezer for up to 2-3 weeks if stored properly in an airtight container.
Make sure to wrap the surface of the ice cream with plastic wrap to prevent freezer burn.
Can I make honeycomb ice cream without an ice cream maker?
Yes! If you don’t have an ice cream maker, you can still make honeycomb ice cream by following the no-churn method.
Simply whip the cream until stiff peaks form, then fold it into a sweetened condensed milk and vanilla mixture.
Add the honeycomb chunks, and freeze until firm.
Can I substitute the heavy cream for a lighter option?
You can substitute lighter cream or half-and-half, but be aware that this may result in a less creamy texture.
For the best results, stick with full-fat heavy cream for a rich and indulgent ice cream.
What can I use instead of golden syrup in the honeycomb?
If you don’t have golden syrup, you can use corn syrup or light agave syrup as a substitute.
However, golden syrup has a unique flavor that contributes to the overall taste of the honeycomb, so the substitution might alter the flavor slightly.
Can I make the honeycomb in advance?
Yes, you can make the honeycomb up to a week ahead of time. Just make sure to store it in an airtight container to keep it fresh and crunchy.
Avoid storing it in humid areas, as moisture can cause it to soften.

Honeycomb Ice Cream
Equipment
- 1 Ice Cream Maker
- 1 medium saucepan
- 1 large mixing bowl
- (1) Whisk
- (1) Baking sheet
- 1 Parchment paper
- 1 Candy thermometer (optional)
- 1 Food processor or rolling pin (for breaking honeycomb into chunks)
Ingredients
For the Honeycomb:
- 1 cup 200g Granulated sugar
- 1/4 cup 60g Golden syrup
- 1 tablespoon 15ml Water
- 1 teaspoon 5g Baking soda
For the Ice Cream:
- 2 cups 475ml Heavy cream
- 1 cup 240ml Whole milk
- 4 large Egg yolks
- 3/4 cup 150g Granulated sugar
- 2 teaspoons 10ml Vanilla extract
- Pinch of Salt optional
Instructions
Step 1: Prepare the Honeycomb
Make the honeycomb:
- In a medium saucepan, combine the sugar, golden syrup, and water. Heat over medium, stirring occasionally until the sugar dissolves. Once dissolved, increase the heat and bring to a boil. Let it cook without stirring until the mixture reaches a deep amber color (about 300°F or 150°C).
Add baking soda:
- Remove from heat and whisk in the baking soda. Be careful as the mixture will bubble up. Stir until fully combined.
Cool the honeycomb:
- Pour the honeycomb mixture onto a baking sheet lined with parchment paper and allow it to cool completely (about 30 minutes). Once it’s firm, break it into chunks.
Step 2: Make the Ice Cream Base
Heat the milk and cream:
- In a medium saucepan, combine the milk and cream. Heat over medium heat until warm but not boiling.
Whisk egg yolks and sugar:
- In a separate bowl, whisk together the egg yolks and sugar until pale and thick.
Temper the eggs:
- Slowly pour the warm milk mixture into the egg yolk mixture while whisking constantly to temper the eggs. Return the mixture to the saucepan and cook over low heat, stirring constantly until it thickens and coats the back of a spoon (about 5-7 minutes).
Strain and cool:
- Strain the custard into a clean bowl to remove any cooked bits of egg. Stir in vanilla extract and a pinch of salt, then allow the custard to cool to room temperature. Refrigerate the custard for at least 4 hours or overnight.
Step 3: Churn the Ice Cream
Churn the ice cream:
- Once the custard has cooled, pour it into an ice cream maker and churn according to the manufacturer’s instructions (usually about 20-25 minutes).
Step 4: Add Honeycomb and Freeze
Add the honeycomb:
- Gently fold the honeycomb chunks into the churned ice cream, ensuring they’re evenly distributed.
Freeze:
- Transfer the ice cream to an airtight container and freeze for at least 4 hours or until fully set.
Notes
- Storage: Store the honeycomb ice cream in an airtight container in the freezer for up to 2-3 weeks. If you make extra honeycomb, it can be stored separately in a sealed container for about a week.
- Dairy-Free Option: Use full-fat coconut milk or almond milk in place of dairy cream and milk for a dairy-free version. You can also substitute coconut cream for the heavy cream.
- Texture Tip: If you want a softer texture, allow the ice cream to sit out for a few minutes before scooping.
- Honeycomb Variations: Add a pinch of cinnamon, ginger, or vanilla bean to the honeycomb mixture for a different flavor profile.


