Every product is independently reviewed and selected by our editors. If you buy something through our links, we may earn an affiliate commission at no extra cost to you.
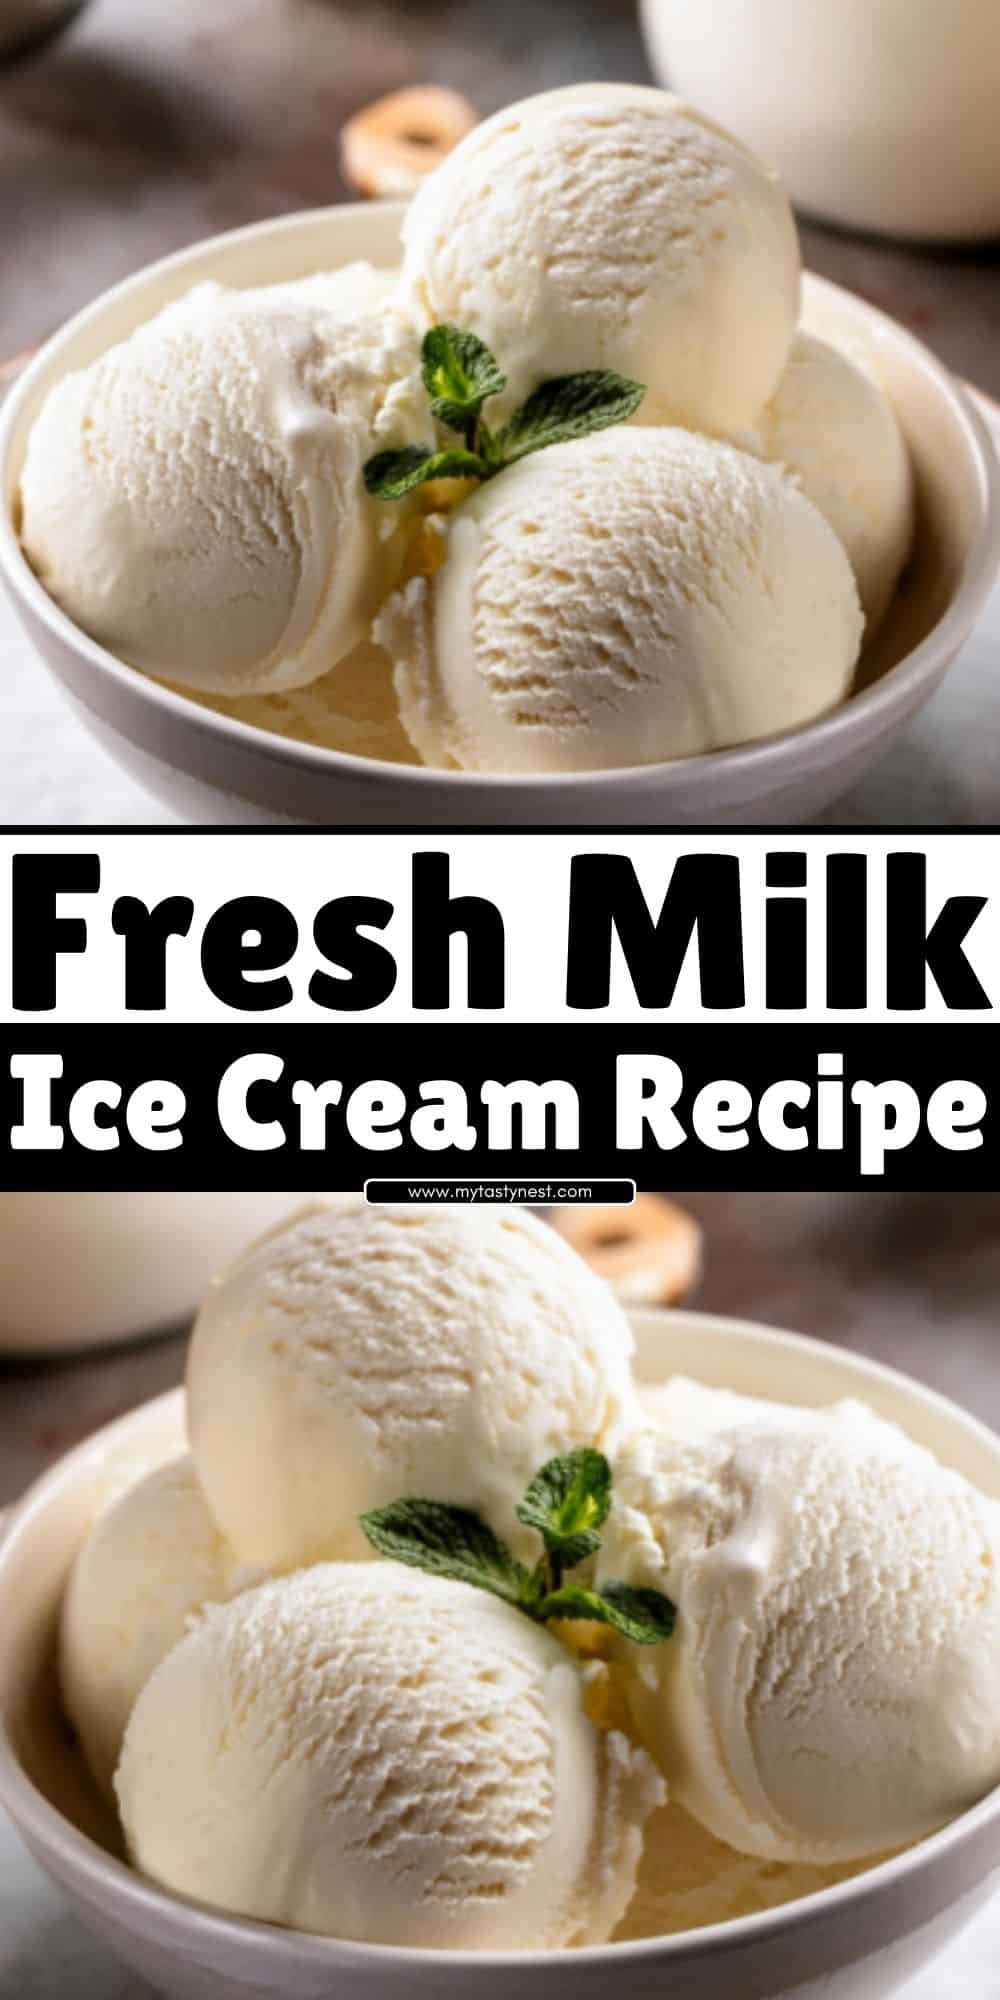
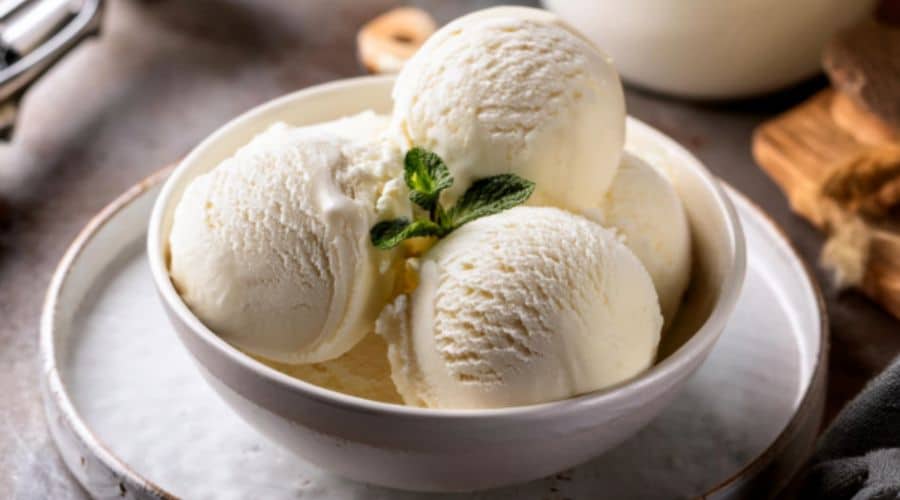
There’s nothing quite like the rich, creamy taste of homemade fresh milk ice cream.
Unlike store-bought varieties filled with additives and stabilizers, this homemade version is pure, simple, and incredibly delicious.
With just a few basic ingredients, you can create a smooth, refreshing dessert that’s perfect for any season.
Making ice cream at home also allows you to control the sweetness, flavor, and texture, ensuring a treat that suits your personal preferences.
Whether you’re making it for a family gathering, a weekend indulgence, or just to cool off on a hot day, this fresh milk ice cream recipe is sure to be a hit.
Best of all, you don’t need fancy equipment—just fresh milk and a little patience!

Why Make Ice Cream with Fresh Milk?
1. Healthier and More Natural
Fresh milk ice cream contains no artificial flavors, preservatives, or unnecessary additives.
You’re using pure, wholesome ingredients, making it a healthier option for you and your family.
2. Light Yet Creamy Texture
Unlike heavy cream-based ice creams, fresh milk ice cream has a lighter consistency while still offering a rich and satisfying taste.
It’s perfect for those who want a less fatty alternative without compromising on flavor.
3. Budget-Friendly and Customizable
Making ice cream at home with fresh milk is much more affordable than buying premium brands.
Plus, you can tweak the recipe to suit your taste—add fruit, chocolate, or even a hint of coffee for a gourmet touch.
4. No Special Equipment Needed
Many ice cream recipes call for an ice cream maker, but fresh milk ice cream can be made with simple tools like a whisk, a saucepan, and a freezer-safe container.
With a few tricks, you can achieve a smooth texture even without a machine.
By making your own fresh milk ice cream, you get a delicious, preservative-free dessert that’s easy to prepare and customize. Now, let’s dive into the simple ingredients you’ll need!
Ingredients You’ll Need
The beauty of fresh milk ice cream lies in its simplicity. You only need a handful of ingredients to create a creamy, refreshing dessert.
Here’s what you’ll need:
Main Ingredients
- Fresh Milk (2 to 3 cups) – The base of the ice cream; whole milk works best for a creamier texture.
- Sugar (½ to ¾ cup) – Adds sweetness; adjust based on preference.
- Cornstarch (1 tablespoon) – Helps thicken the mixture for a smoother consistency.
- Vanilla Extract (1 teaspoon) – Enhances flavor with a subtle sweetness.
Optional Additions
- Egg Yolks (2, whisked) – For extra richness and a custard-like texture.
- Honey or Maple Syrup – Natural sweetener alternatives.
- Cocoa Powder (2 tablespoons) – If you want a chocolatey version.
- Fruit Puree (½ cup, blended and strained) – Strawberry, mango, or banana for a fruity twist.
Now that you have your ingredients, let’s look at the basic equipment you’ll need to make this homemade ice cream.
Equipment Needed
Basic Kitchen Tools
- Saucepan – For heating and combining ingredients.
- Whisk or Wooden Spoon – To mix and prevent lumps.
- Mixing Bowl – Useful for cooling the mixture before freezing.
- Measuring Cups and Spoons – Ensures accuracy in ingredients.
For Freezing & Churning
- Ice Cream Maker (Optional) – Speeds up the freezing process and ensures a smoother texture.
- Freezer-Safe Container – A sturdy container with a lid to store the ice cream.
- Hand Mixer or Blender (if no ice cream maker) – Helps incorporate air for a creamier result.
With your ingredients and equipment ready, it’s time to start making your fresh milk ice cream from scratch! Let’s dive into the step-by-step process.
Step-by-Step Guide to Making Fresh Milk Ice Cream

Making fresh milk ice cream at home is easy and rewarding.
Follow these simple steps to create a smooth and creamy treat from scratch.
Step 1: Preparing the Ice Cream Base
- Heat the Milk – In a saucepan, pour 2 to 3 cups of fresh milk and place it over low-medium heat. Stir occasionally to prevent scorching.
- Dissolve the Sugar – Add ½ to ¾ cup of sugar and stir until fully dissolved. Taste and adjust sweetness if needed.
- Thicken the Mixture – In a small bowl, mix 1 tablespoon of cornstarch with a few tablespoons of warm milk to make a smooth paste. Gradually pour this into the saucepan, stirring continuously.
- Simmer Gently – Let the mixture cook for 3–5 minutes until slightly thickened. Do not boil.
Step 2: Infusing Flavors
- Add Vanilla Extract – Remove the saucepan from heat and stir in 1 teaspoon of vanilla extract (or any other preferred flavoring).
- Enhance with Optional Ingredients – If using fruit puree, cocoa powder, or other flavor enhancers, mix them in now.
Step 3: Chilling the Mixture
- Cool to Room Temperature – Pour the mixture into a bowl and let it cool completely.
- Refrigerate for at Least 2 Hours – For best results, cover and chill the mixture until it’s completely cold. This helps improve the ice cream’s texture.
Step 4: Churning the Ice Cream
If using an ice cream maker:
- Pour the chilled mixture into your ice cream maker and churn according to the manufacturer’s instructions (usually 15–25 minutes).
If making without an ice cream maker:
- Pour the mixture into a freezer-safe container and place it in the freezer.
- Every 30 minutes, stir or whisk the mixture vigorously to break up ice crystals. Repeat this process for about 3 hours until it reaches a smooth consistency.
Step 5: Freezing & Serving
- Transfer to a Storage Container – Once the ice cream reaches a soft-serve consistency, transfer it to a freezer-safe container.
- Freeze for 4–6 Hours – Let it firm up for the perfect scoopable texture.
- Serve & Enjoy! – Scoop into bowls or cones and top with fresh fruit, chocolate syrup, or nuts.
Now that you know the basic recipe, let’s explore some fun ways to customize your fresh milk ice cream!
Variations & Customizations
One of the best things about homemade ice cream is the ability to experiment with flavors and textures.
Here are some delicious variations to try:
1. Chocolate Fresh Milk Ice Cream
- Add 2 tablespoons of cocoa powder to the milk while heating.
- For an extra chocolatey taste, mix in melted dark chocolate before chilling.
2. Fruity Fresh Milk Ice Cream
- Blend ½ cup of fruit puree (strawberries, mango, banana, or blueberries) and mix it into the base after chilling.
- For a chunkier texture, fold in finely chopped fruit pieces before freezing.
3. Dairy-Free Alternative
- Replace fresh milk with coconut milk, almond milk, or oat milk for a non-dairy version.
- Use maple syrup or agave instead of sugar for a healthier twist.
4. Coffee or Mocha Ice Cream
- Stir in 1 tablespoon of instant coffee or espresso powder into the warm milk.
- For a mocha version, combine with cocoa powder.
5. Nutty & Crunchy Additions
- Fold in chopped almonds, cashews, or walnuts before freezing.
- Swirl in peanut butter or Nutella for extra richness.
6. Classic Cookies & Cream
- Crush chocolate sandwich cookies and mix them into the ice cream after churning.
With endless possibilities, you can get creative and make a fresh milk ice cream that perfectly suits your taste. Now, let’s move on to the best ways to store your homemade ice cream for long-lasting freshness!
Storage Tips
Proper storage is key to keeping your fresh milk ice cream smooth, creamy, and flavorful for as long as possible.
Here’s how to store it correctly:
1. Use an Airtight Container
- Transfer the ice cream to a freezer-safe, airtight container to prevent ice crystals from forming.
- A shallow, wide container allows for quicker freezing and easier scooping.
2. Cover the Surface
- To minimize freezer burn, press a layer of plastic wrap or parchment paper directly onto the ice cream’s surface before sealing the lid.
3. Maintain the Right Freezer Temperature
- Keep your freezer at 0°F (-18°C) or lower for the best texture.
- Avoid placing the ice cream near the freezer door, as frequent temperature changes can make it icy.
4. Let It Soften Before Scooping
- Homemade ice cream tends to freeze harder than store-bought versions. Let it sit at room temperature for 5–10 minutes before scooping for a smoother texture.
5. Best Consumption Period
- For optimal taste and texture, enjoy your fresh milk ice cream within 1–2 weeks. While it’s still safe to eat after this, the texture may become grainy over time.
Conclusion
Homemade fresh milk ice cream is a simple yet satisfying treat that anyone can make.
By using fresh milk and natural ingredients, you get a healthier, preservative-free alternative to store-bought ice cream.
Whether you enjoy it plain, add mix-ins, or experiment with flavors, this recipe is endlessly customizable.
Now that you know how to make and store it properly, it’s time to grab your ingredients and start churning!
Don’t forget to share your experience in the comments—what flavors did you try? Did you discover a new favorite combination? Happy ice cream making!
Frequently Asked Questions (FAQs)
1. Can I make fresh milk ice cream without an ice cream maker?
Yes! Simply freeze the mixture in a container and stir it every 30 minutes for 3 hours to break up ice crystals.
This method helps create a smooth, creamy texture without an ice cream maker.
2. How can I make my ice cream creamier without using heavy cream?
You can add a small amount of cornstarch (1 tablespoon) or egg yolks (2 whisked yolks) to thicken the mixture.
Another trick is to blend the mixture after it has partially frozen to improve the texture.
3. Why is my ice cream too icy instead of creamy?
This usually happens if the mixture isn’t churned properly or if there’s too much water content.
To fix this, make sure to chill the base completely before freezing and stir it frequently if you’re not using an ice cream maker.
4. Can I use skim or low-fat milk for this recipe?
Yes, but keep in mind that lower-fat milk will result in a less creamy texture.
You can compensate by adding a little evaporated milk, cornstarch, or egg yolks to improve the richness.
5. What are the best toppings for fresh milk ice cream?
There are endless possibilities! Try fresh fruits, chocolate syrup, caramel drizzle, crushed cookies, nuts, or sprinkles to elevate the flavor and texture of your homemade ice cream.

Fresh Milk Ice Cream
Equipment
- Saucepan – For heating and mixing the ingredients.
- Whisk or Wooden Spoon – To stir the mixture and prevent lumps.
- Mixing Bowl – Useful for cooling the mixture before freezing.
- Measuring Cups & Spoons – Ensures accurate ingredient portions.
- Freezer-Safe Container with Lid – For storing the ice cream while it sets.
- Ice Cream Maker (Optional) – Speeds up the churning process for a creamier texture.
Ingredients
Main Ingredients
- 2 cups fresh milk whole milk recommended for a creamier texture
- ½ cup granulated sugar adjust to taste
- 1 tablespoon cornstarch for thickening
- 1 teaspoon vanilla extract for flavor
- 1 pinch salt to enhance taste
Optional Ingredients
- 2 egg yolks for a richer, custard-like texture
- ½ cup fruit puree e.g., strawberry, mango, or banana for a fruity twist
- 2 tablespoons cocoa powder for a chocolate version
- ¼ cup chopped nuts chocolate chips, or cookie crumbs (for added texture)
Instructions
Step 1: Prepare the Ice Cream Base
- Heat the milk – In a saucepan over low-medium heat, add 2 cups of fresh milk and stir occasionally to prevent burning.
- Dissolve the sugar – Add ½ cup of sugar and stir until fully dissolved.
- Thicken the mixture – In a small bowl, mix 1 tablespoon of cornstarch with 2 tablespoons of warm milk to create a smooth paste. Slowly pour this into the saucepan while stirring.
- Simmer gently – Let the mixture cook for 3–5 minutes until slightly thickened. Avoid boiling.
- Add vanilla & salt – Remove from heat and mix in 1 teaspoon of vanilla extract and a pinch of salt.
Step 2: Chill the Mixture
- Pour the mixture into a mixing bowl and let it cool to room temperature.
- Cover and refrigerate for at least 2 hours to ensure a smooth texture.
Step 3: Churn or Freeze
- With an Ice Cream Maker:
- Pour the chilled mixture into an ice cream maker and churn according to the manufacturer’s instructions (usually 15–25 minutes).
- Without an Ice Cream Maker:
- Pour the mixture into a freezer-safe container and freeze.
- Every 30 minutes, stir vigorously with a whisk or fork to break up ice crystals. Repeat this for about 3 hours until the ice cream is smooth and creamy.
Step 4: Final Freezing & Serving
- Once the ice cream reaches a soft-serve consistency, transfer it to a sealed container and freeze for an additional 4–6 hours until firm.
- Let it sit at room temperature for 5–10 minutes before scooping. Serve and enjoy!
Notes
- For a creamier texture, use whole milk instead of low-fat or skim milk.
- If making without an ice cream maker, be patient and stir frequently to prevent large ice crystals from forming.
- Customize the flavor by adding fresh fruit, cocoa powder, or even a swirl of honey or caramel before freezing.
- Dairy-Free Alternative: Substitute fresh milk with coconut milk or almond milk for a lactose-free version.


