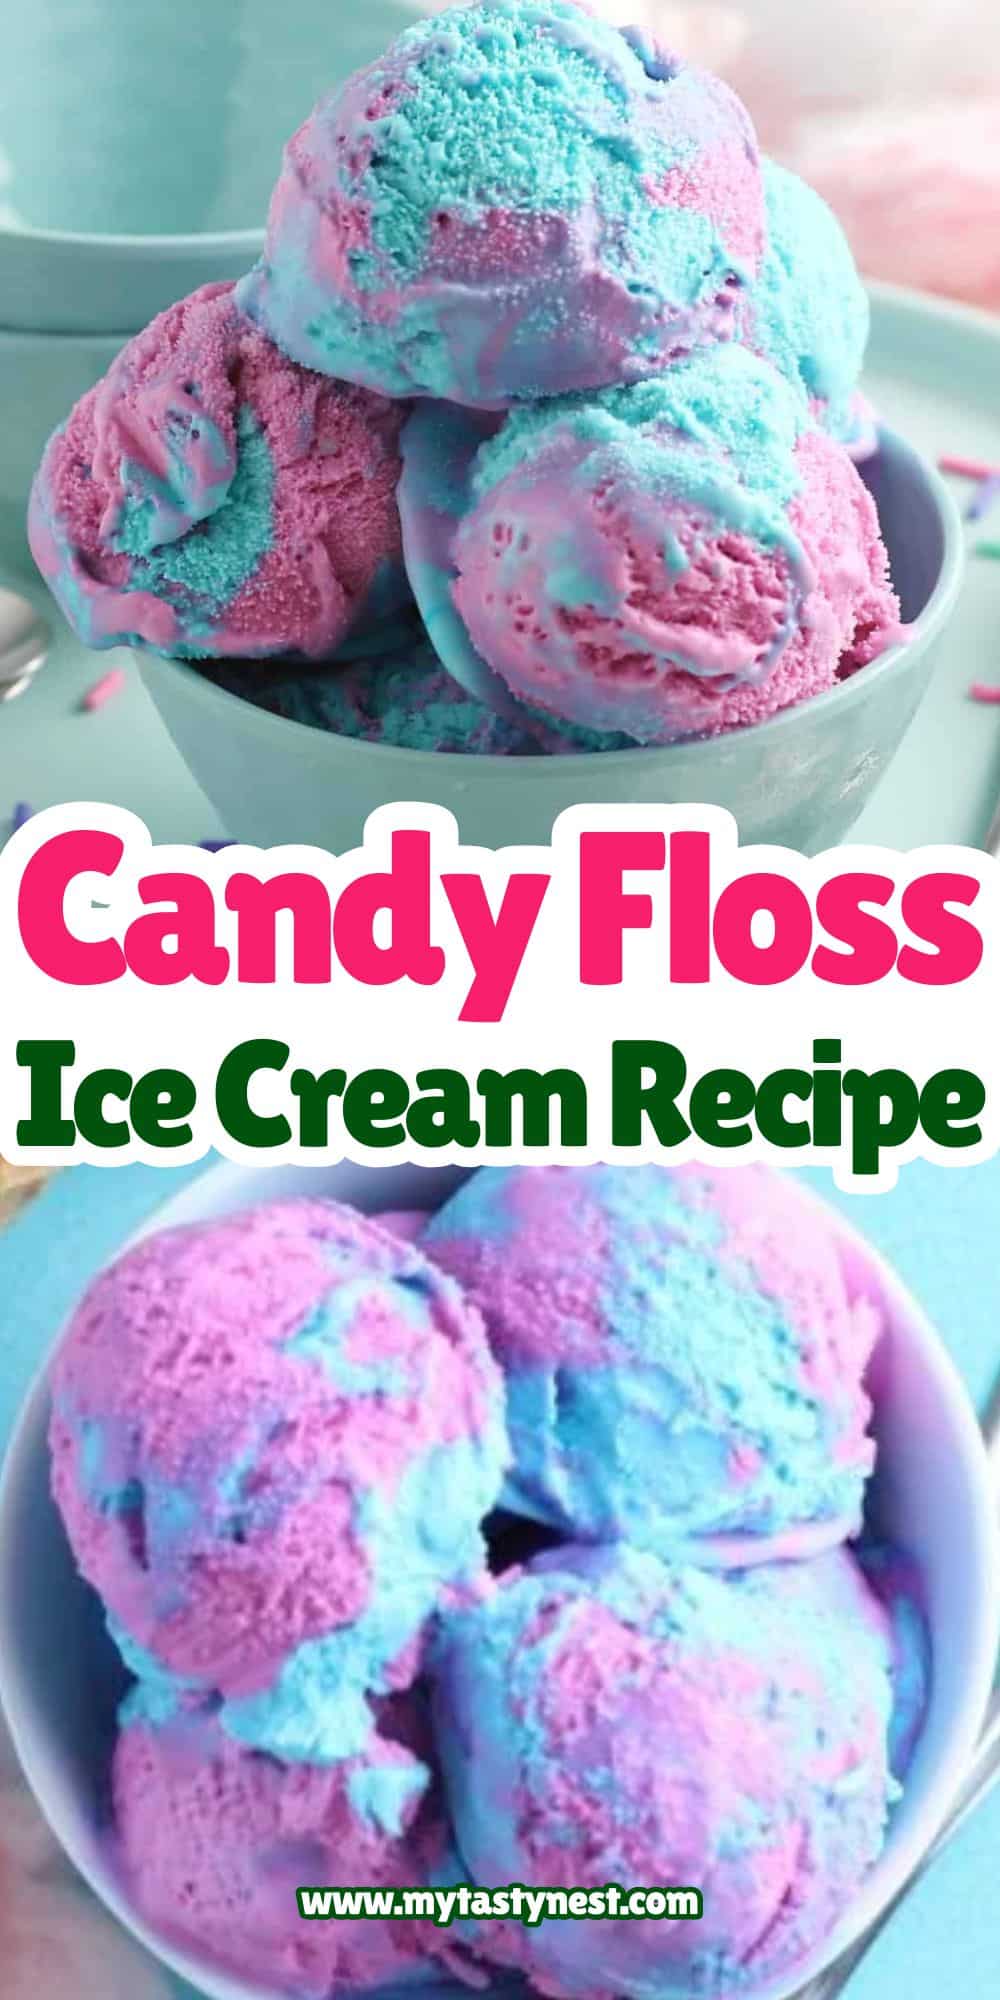
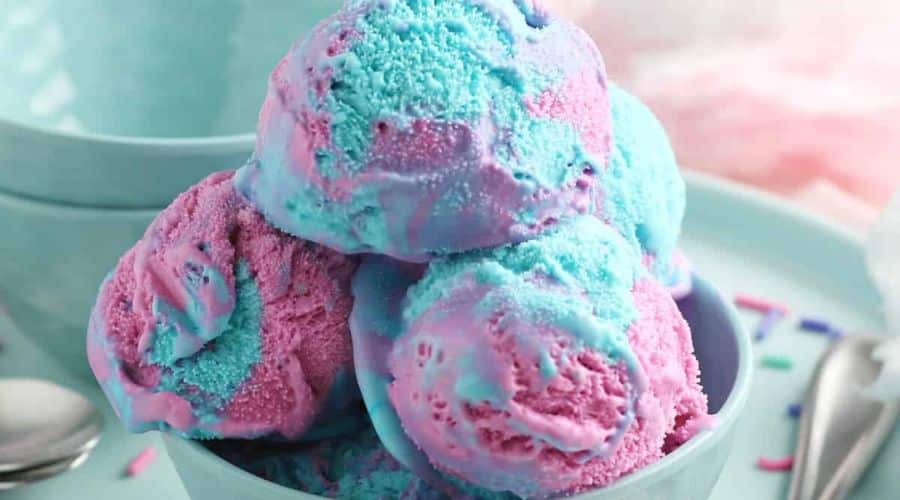
Imagine the sweet, airy taste of candy floss melting into a scoop of rich, creamy ice cream.
That’s exactly what this Candy Floss Ice Cream Recipe delivers—a delightful fusion of nostalgia and indulgence.
Whether you call it candy floss or cotton candy, this dessert captures the essence of carnival fun in a frozen treat.
This homemade ice cream is perfect for those who love light, fluffy flavors with a whimsical touch. The best part? It’s incredibly easy to make and requires just a few simple ingredients.
No ice cream maker? No problem! This recipe is no-churn, meaning you can whip it up without any fancy equipment.
With its soft pastel colors and irresistible sweetness, this candy floss ice cream is a guaranteed hit for birthday parties, summer gatherings, or just a fun weekend treat.
Let’s dive into the magic of making it at home!

Why You’ll Love This Candy Floss Ice Cream
There are plenty of reasons to fall in love with this homemade candy floss ice cream.
Here’s why it deserves a spot in your dessert rotation:
1. No Ice Cream Maker Needed
You don’t need any special equipment—just a bowl, a whisk (or hand mixer), and a freezer. This makes it an accessible and hassle-free treat for everyone.
2. Nostalgic, Fairground Flavors
One bite of this ice cream brings back memories of childhood visits to the fair, with the light, sugary taste of spun candy in every spoonful.
3. Beautiful Aesthetic & Customizable Colors
Its dreamy pastel shades make it visually stunning, perfect for Instagram-worthy desserts. You can play around with colors to create a unicorn or rainbow effect.
4. Creamy & Smooth Texture
Even without an ice cream maker, this recipe delivers a smooth, melt-in-your-mouth consistency thanks to the perfect balance of heavy cream and condensed milk.
5. A Fun Treat for All Ages
Kids love it for the flavor and colors, while adults appreciate the nostalgic throwback to their childhood. It’s a dessert that brings joy to everyone.
Now that you know why this ice cream is so special, let’s move on to the simple yet delicious ingredients you’ll need!
Ingredients Needed
To create this Candy Floss Ice Cream, you’ll need just a handful of simple ingredients. Each one plays a key role in achieving the perfect balance of sweetness, creaminess, and that signature cotton candy flavor.
Main Ingredients:
- 2 cups (500ml) heavy cream – This gives the ice cream a rich, creamy texture.
- 1 can (14 oz/400g) sweetened condensed milk – Acts as a sweetener and keeps the ice cream smooth.
- 1 teaspoon candy floss (cotton candy) flavoring – Essential for that nostalgic fairground taste.
- Pink and/or blue food coloring (optional) – Adds a fun pastel hue for a magical look.
- Candy floss for garnish (optional) – A perfect finishing touch for added whimsy.
Optional Add-ins for Extra Fun:
- Sprinkles – For a crunchy, colorful contrast.
- White chocolate chips – A creamy addition that pairs beautifully with the cotton candy flavor.
- Swirls of different colors – For a unicorn or rainbow effect.
Now that we have everything ready, let’s dive into the step-by-step process of making this dreamy ice cream!
Step-by-Step Instructions

Step 1: Prepare the Ice Cream Base
- In a large mixing bowl, pour in the heavy cream.
- Using a hand mixer (or whisk), beat the cream on medium-high speed until stiff peaks form. This should take about 3–5 minutes.
Step 2: Add the Sweetness & Flavor
- Gently fold in the sweetened condensed milk, being careful not to deflate the whipped cream.
- Add the candy floss flavoring and mix until well incorporated.
Step 3: Add Color & Create Swirls (Optional)
- If using food coloring, divide the mixture into two bowls.
- Add pink coloring to one bowl and blue coloring to the other, mixing gently.
- Spoon the two colors alternately into a freezer-safe container, then use a skewer or knife to swirl them together for a beautiful marbled effect.
Step 4: Freeze the Ice Cream
- Smooth the surface of the ice cream mixture and cover the container with plastic wrap or a lid.
- Place in the freezer and let it set for at least 6 hours or overnight for best results.
Step 5: Serve & Enjoy!
- When ready to serve, let the ice cream sit at room temperature for a few minutes to soften slightly.
- Scoop into bowls or cones and top with real candy floss for a fun and airy garnish.
- Enjoy the magical, melt-in-your-mouth goodness of homemade candy floss ice cream!
Up next: helpful tips to make your ice cream even better! 🍦✨
Conclusion
Making your own Candy Floss Ice Cream at home is easier than you might think, and the results are absolutely magical! With its creamy texture, fun pastel colors, and nostalgic fairground flavor, this homemade treat is perfect for kids and adults alike.
Whether you’re whipping up a batch for a party, a summer dessert, or just because you love cotton candy, this recipe guarantees a sweet and dreamy experience.
So, grab your ingredients, follow the simple steps, and indulge in this whimsical frozen delight.
Don’t forget to experiment with colors, swirls, and toppings to make it uniquely yours!
If you try this recipe, share your creation in the comments or tag us on social media—we’d love to see your candy floss ice cream masterpiece!
Tips for the Best Candy Floss Ice Cream
Want to make sure your Candy Floss Ice Cream turns out extra smooth, creamy, and full of flavor?
Here are some expert tips to guarantee success!
1. Use High-Quality Heavy Cream
The key to a creamy, no-churn ice cream is properly whipped heavy cream. Make sure it’s cold before whipping, as this helps create the best texture.
2. Don’t Overmix the Base
When folding in the sweetened condensed milk, mix gently to maintain the airiness of the whipped cream. Overmixing can make the ice cream dense instead of light and fluffy.
3. Adjust the Flavoring to Your Taste
Candy floss flavoring can vary in strength depending on the brand. Start with 1 teaspoon and add a little more if you prefer a stronger taste.
4. Get Creative with Colors
If you want the classic cotton candy look, use a combination of pink and blue food coloring. Swirl them together before freezing for a beautiful marbled effect.
5. Let the Ice Cream Sit Before Scooping
After freezing, allow the ice cream to sit at room temperature for 5 minutes before serving. This makes scooping easier and gives you a creamier texture.
6. Store Properly for Best Freshness
To prevent ice crystals, store your ice cream in an airtight container and press a layer of plastic wrap directly onto the surface before sealing with a lid.
Fun Variations to Try
Want to put your own spin on this Candy Floss Ice Cream? Try these creative variations for even more delicious fun!
1. Unicorn Candy Floss Ice Cream
- Use pastel pink, blue, and purple food coloring for a magical unicorn swirl.
- Top with rainbow sprinkles and edible glitter for extra sparkle.
2. Bubblegum & Candy Floss Mix
Add ½ teaspoon of bubblegum extract along with the candy floss flavoring.
- Mix in mini marshmallows or gumdrop pieces for extra chewiness.
3. Chocolate Drizzle Delight
- Swirl in melted white or milk chocolate before freezing.
- Drizzle more chocolate on top when serving for a rich, sweet contrast.
4. Carnival Confetti Ice Cream
- Fold in colorful sprinkles before freezing for a funfetti effect.
- Add crushed waffle cones for an extra crunchy texture.
5. Dairy-Free Cotton Candy Ice Cream
- Use full-fat coconut cream instead of heavy cream.
- Swap sweetened condensed coconut milk for the regular condensed milk.
- The result? A delicious vegan-friendly version with a tropical twist!
Frequently Asked Questions
1. Can I make this ice cream without food coloring?
Absolutely! The food coloring is purely for aesthetic purposes and doesn’t affect the flavor. If you prefer a more natural look, simply skip the coloring, and you’ll still get the delicious candy floss taste.
2. How long does homemade candy floss ice cream last?
Stored in an airtight container, this ice cream stays fresh for up to 2 weeks in the freezer. However, it’s best enjoyed within the first week for the creamiest texture.
3. Can I use real cotton candy in the ice cream mixture?
You can, but it melts very quickly when mixed with liquid. If you’d like to add real cotton candy, it’s best used as a topping just before serving rather than mixed into the base.
4. What if I don’t have candy floss flavoring?
If you can’t find candy floss flavoring, you can substitute it with a mix of vanilla extract and raspberry or strawberry flavoring to mimic the sweet and fruity taste of cotton candy.
5. Can I make this recipe dairy-free?
Yes! Swap the heavy cream for full-fat coconut cream and use a dairy-free sweetened condensed milk alternative. The texture may be slightly different, but it will still be delicious and creamy.

Candy Floss Ice Cream
Equipment
- 1 large mixing bowl
- 1 hand mixer or whisk
- (1) Rubber spatula
- 1 Freezer-safe container with lid
- 1 measuring cup
- 1 measuring spoon
Ingredients
Ice Cream Base:
- 2 cups 500ml heavy cream
- 1 can 14 oz/400g sweetened condensed milk
- 1 teaspoon candy floss cotton candy flavoring
- Pink and/or blue food coloring optional
Toppings (Optional):
- ½ cup cotton candy for garnish
- Sprinkles or white chocolate chips for extra fun!
Instructions
Step 1: Whip the Cream
- In a large mixing bowl, pour the heavy cream and beat with a hand mixer until stiff peaks form (about 3-5 minutes).
Step 2: Add the Sweetened Condensed Milk & Flavoring
- Gently fold in the sweetened condensed milk using a rubber spatula, mixing until smooth.
- Stir in the candy floss flavoring, ensuring it’s evenly distributed.
Step 3: Color & Swirl (Optional)
- If using food coloring, divide the mixture into two bowls. Add pink to one and blue to the other.
- Spoon the two colors alternately into a freezer-safe container, then use a skewer or knife to create a marbled effect.
Step 4: Freeze the Ice Cream
- Cover the container with plastic wrap or a lid and place it in the freezer. Let it set for at least 6 hours or overnight.
Step 5: Serve & Enjoy
- Once frozen, let the ice cream sit at room temperature for 5 minutes before scooping.
- Serve in cones or bowls, topped with real cotton candy, sprinkles, or white chocolate chips for extra fun!
Notes
- No Ice Cream Maker? No Problem! This is a no-churn recipe, meaning no special equipment is needed.
- Want a stronger candy floss flavor? Increase the flavoring to 1 ½ teaspoons for a bolder taste.
- For extra texture, add white chocolate chips or crushed wafer cookies before freezing.
- Dairy-Free Alternative: Substitute coconut cream for heavy cream and use dairy-free condensed milk.


