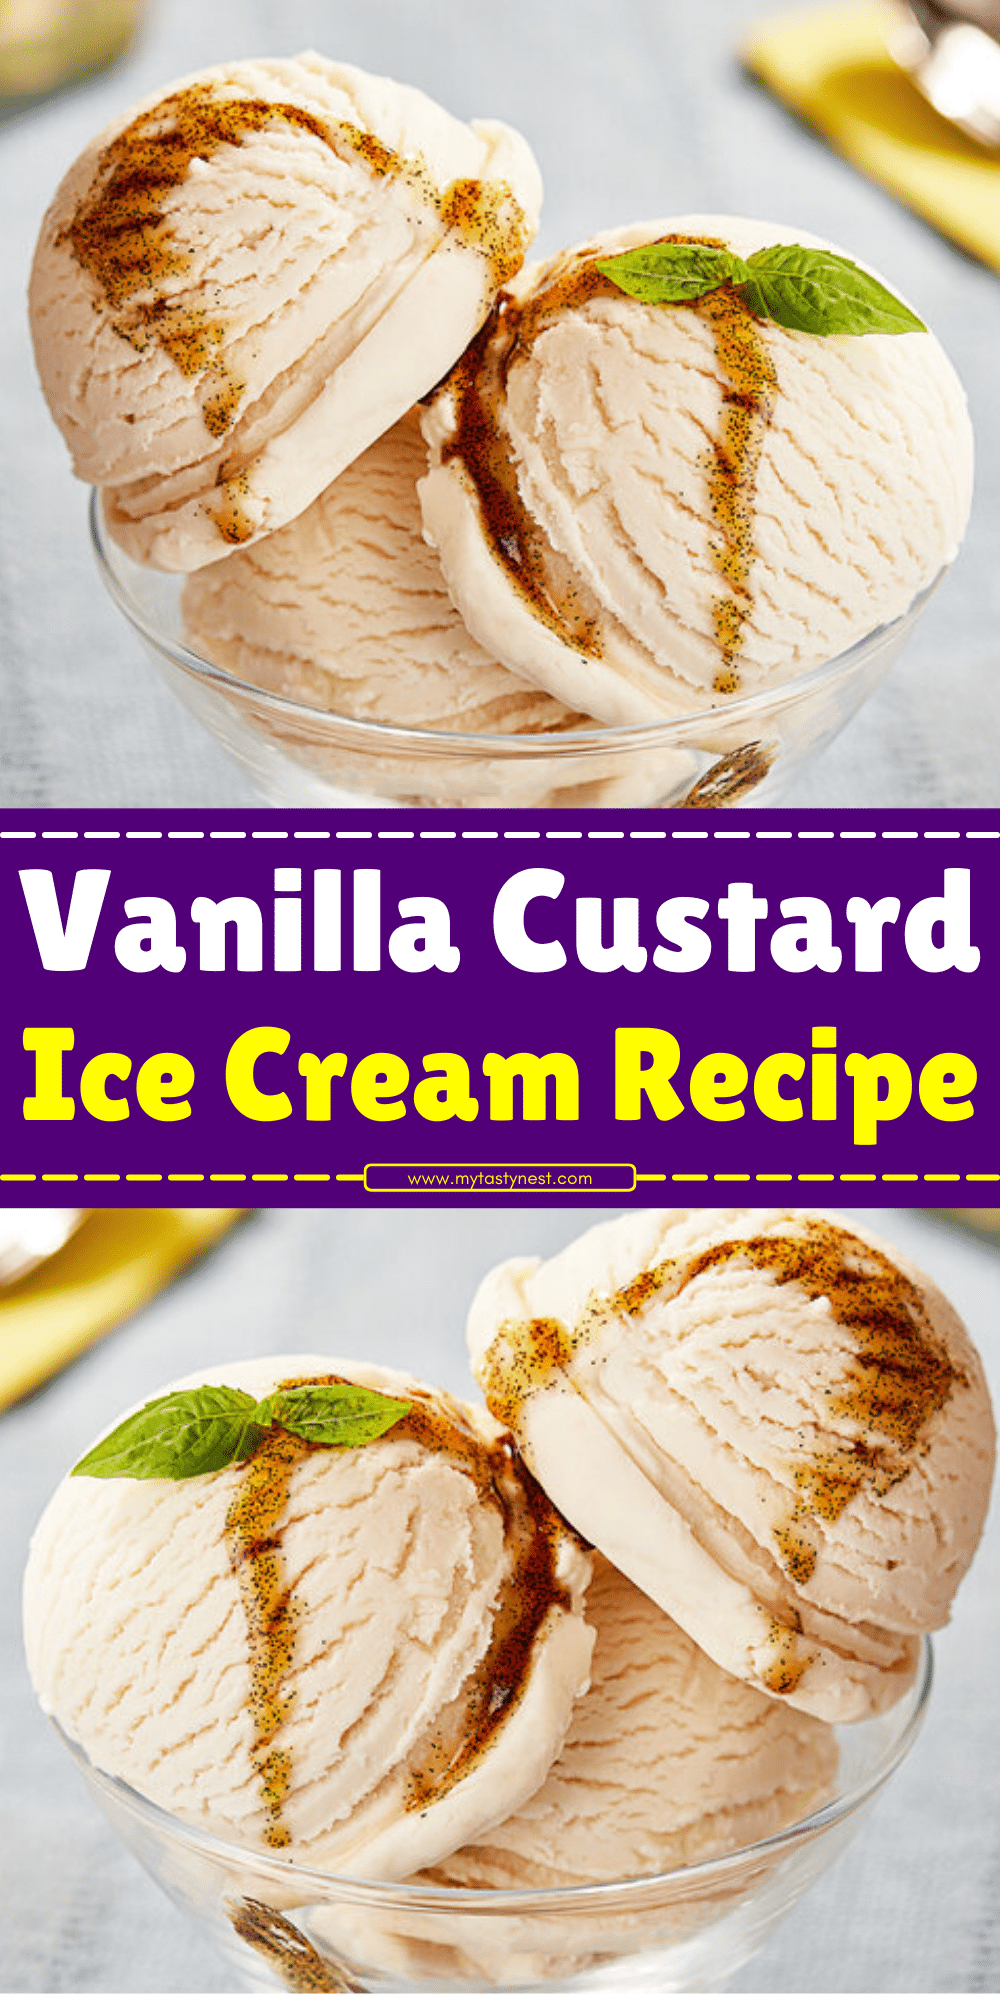
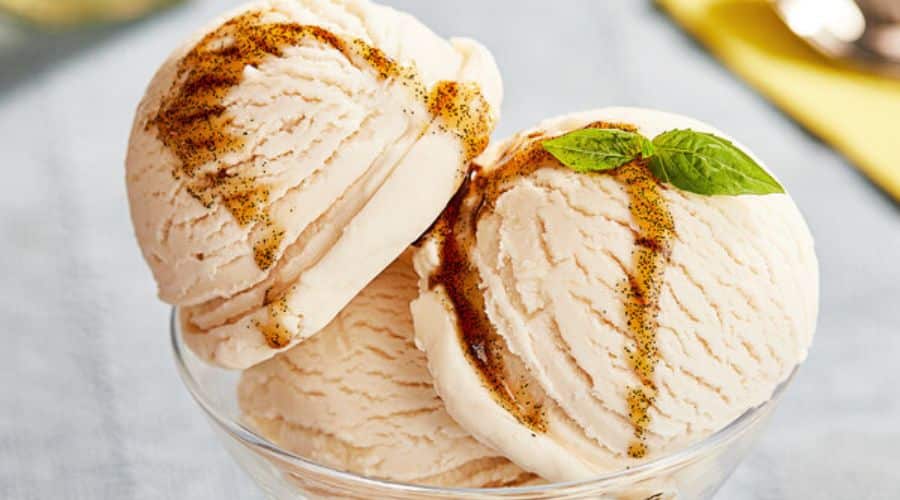
There’s something truly magical about homemade vanilla custard ice cream—a dessert that’s both simple and indulgent.
Unlike regular ice cream, which often relies on a basic mix of cream and sugar, custard-based ice cream uses egg yolks to create an ultra-creamy, velvety texture.
If you’ve ever wondered why premium ice cream tastes richer and smoother, the secret lies in the custard base.
The combination of eggs, cream, and real vanilla results in a perfectly balanced, melt-in-your-mouth experience that store-bought versions can’t quite match.
This vanilla custard ice cream recipe is perfect for anyone who loves classic flavors with a luxurious twist.
Whether you serve it on its own, pair it with warm desserts, or use it as a base for creative mix-ins, this homemade treat will quickly become a favorite in your kitchen.

What Is Vanilla Custard Ice Cream?
Vanilla custard ice cream is a traditional ice cream made with a cooked custard base consisting of egg yolks, cream, and sugar.
The eggs act as a natural emulsifier, giving the ice cream a thick, creamy consistency that’s richer than regular ice cream.
Custard vs. Philadelphia-Style Ice Cream
There are two main types of ice cream bases:
- Custard-Based Ice Cream – This recipe includes egg yolks, which add smoothness and depth of flavor.
- Philadelphia-Style Ice Cream – Made without eggs, resulting in a lighter, sometimes icier texture.
Custard-based ice cream takes a little extra effort because it requires cooking, but the reward is worth it. The final result is a silky-smooth, luxurious texture with deep vanilla notes that linger on your palate.
Why Vanilla Custard Ice Cream Is Special
- Richer & Creamier Texture: The eggs make it extra smooth.
- Deep, Natural Vanilla Flavor: Using real vanilla beans or high-quality vanilla extract enhances the taste.
- Perfect for Pairing: Its classic flavor complements pies, cakes, and fruit-based desserts beautifully.
Now that you know what makes vanilla custard ice cream so special, let’s dive into the ingredients and step-by-step process to make it at home!
Essential Ingredients for Vanilla Custard Ice Cream
The beauty of vanilla custard ice cream lies in its simplicity—just a handful of high-quality ingredients come together to create a rich, velvety dessert.
Each component plays a crucial role in achieving the perfect balance of flavor and texture.
1. Whole Milk
Whole milk provides structure and prevents the ice cream from becoming too heavy.
Skimping on fat content can result in an icy texture, so avoid using low-fat milk.
2. Heavy Cream
For that luxurious, creamy consistency, heavy cream is essential.
It adds richness and ensures a smooth, melt-in-your-mouth experience.
3. Egg Yolks
Egg yolks are what make this a custard-based ice cream.
They act as a natural emulsifier, creating a thicker, silkier texture while also adding a subtle richness.
4. Sugar
Granulated sugar not only sweetens the ice cream but also helps lower the freezing point, keeping the final product soft and scoopable.
5. Vanilla Bean or Vanilla Extract
For the best flavor, real vanilla beans (or vanilla bean paste) are highly recommended.
They add depth and aroma that artificial vanilla can’t replicate.
However, a good-quality vanilla extract works beautifully as well.
6. Salt
A pinch of salt enhances the flavor by balancing sweetness and highlighting the vanilla notes.
It’s a small but powerful ingredient.
Equipment You’ll Need
To make vanilla custard ice cream at home, you don’t need a professional setup—just a few essential kitchen tools to ensure smooth results.
1. Saucepan
A medium-sized, heavy-bottomed saucepan is necessary for gently heating the milk and cream and cooking the custard without scorching.
2. Whisk
A good whisk is essential for mixing the egg yolks and sugar and preventing lumps when cooking the custard.
3. Mixing Bowls
You’ll need a bowl to mix the eggs and sugar and another for chilling the custard before churning.
4. Fine-Mesh Sieve
Straining the custard ensures a silky-smooth ice cream by removing any bits of cooked egg.
5. Ice Cream Maker
While there are no-churn methods available, an ice cream maker produces the best texture by incorporating air and preventing ice crystals.
6. Freezer-Safe Container
Once churned, you’ll need a container to store your ice cream in the freezer.
A shallow, airtight container works best to keep it fresh and easy to scoop.
Step-by-Step Instructions to Make Vanilla Custard Ice Cream

Making vanilla custard ice cream requires a little patience, but the result is a rich, creamy dessert that’s worth the effort.
Follow these steps to achieve a silky-smooth, perfectly balanced ice cream.
Step 1: Heat the Milk and Cream
- In a medium saucepan, combine 2 cups heavy cream, 1 cup whole milk, and ½ cup sugar.
- If using a vanilla bean, split it lengthwise and scrape out the seeds. Add both the seeds and the pod to the mixture.
- Heat over medium-low heat, stirring occasionally, until the mixture is steaming but not boiling.
Step 2: Prepare the Egg Yolk Mixture
- In a separate bowl, whisk 5 large egg yolks with ¼ cup sugar until the mixture becomes pale and slightly thickened.
- This step helps dissolve the sugar and prepares the eggs for tempering.
Step 3: Temper the Egg Yolks
- Slowly ladle about ½ cup of the hot milk mixture into the egg yolks, whisking constantly to prevent scrambling.
- Gradually add another ½ cup, continuing to whisk.
- Once combined, slowly pour the egg mixture back into the saucepan, stirring continuously.
Step 4: Cook the Custard
- Reduce the heat to low and cook the mixture, stirring constantly with a wooden spoon or silicone spatula.
- The custard is ready when it thickens and coats the back of the spoon, about 170-175°F (77-80°C).
- Tip: To test, run your finger across the back of the spoon—if the line holds, it’s ready.
Step 5: Strain and Chill the Custard
- Remove from heat and strain the custard through a fine-mesh sieve into a clean bowl to remove any lumps.
- Stir in 2 teaspoons of vanilla extract (if not using a vanilla bean).
- Cover and chill in the refrigerator for at least 4 hours, or overnight for best results.
Step 6: Churn the Ice Cream
- Once the custard is fully chilled, pour it into your ice cream maker and churn according to the manufacturer’s instructions (usually 20-25 minutes).
- The ice cream should have a soft-serve consistency when done.
Step 7: Freeze and Serve
- Transfer the churned ice cream to a freezer-safe container and smooth the top.
- Press a layer of plastic wrap against the surface to prevent ice crystals from forming.
- Freeze for at least 4 hours to firm up before serving.
- Scoop, serve, and enjoy your homemade vanilla custard ice cream!
Pro Tips for the Best Vanilla Custard Ice Cream
Want to take your homemade ice cream to the next level?
Here are some expert tips to ensure the creamiest, most flavorful vanilla custard ice cream.
1. Use High-Quality Vanilla
- Vanilla beans or vanilla bean paste provide the richest, most authentic flavor. If using extract, choose pure vanilla extract, not imitation.
2. Don’t Rush the Chilling Process
- Allow the custard to chill at least 4 hours (preferably overnight). This step enhances flavor and improves the texture.
3. Temper the Eggs Slowly
- Pour the hot milk into the egg yolks gradually while whisking to prevent scrambling. Rushing this step can result in a grainy texture.
4. Stir Constantly While Cooking
- Keep the heat low and steady while cooking the custard to avoid curdling. If you overheat it, the eggs will scramble.
5. Strain the Custard for a Smooth Texture
- Always strain the cooked custard through a fine-mesh sieve to remove any tiny bits of cooked egg.
6. Freeze in a Shallow, Airtight Container
- A shallow container helps the ice cream freeze evenly and prevents large ice crystals from forming.
7. Let It Sit Before Scooping
- If the ice cream is too firm, let it sit at room temperature for 5-10 minutes before scooping for a perfect creamy texture.
With these tips, you’ll master the art of making homemade vanilla custard ice cream like a pro.
Next up—how to customize your ice cream with fun mix-ins and flavors!
How to Store and Serve Vanilla Custard Ice Cream
Once your vanilla custard ice cream is churned and frozen, the next step is to store it properly so it stays as fresh and creamy as possible.
Storing Vanilla Custard Ice Cream
- Freezer-safe container: After churning, transfer your ice cream to a shallow, airtight container to preserve its smooth texture and prevent freezer burn.
- Plastic wrap trick: To prevent ice crystals from forming on the surface, place a piece of plastic wrap directly on top of the ice cream before sealing the container.
- Storage duration: Homemade vanilla custard ice cream can be stored in the freezer for up to 2-3 weeks. After that, it may begin to lose its creamy texture and flavor.
Serving Vanilla Custard Ice Cream
- Scoop with warm water: To make scooping easier, dip your ice cream scoop in warm water before serving. This softens the ice cream just enough for perfect scoops.
- Let it sit: If the ice cream is too firm after being in the freezer, allow it to sit at room temperature for 5-10 minutes to soften slightly before serving.
- Creative toppings: Serve with a drizzle of caramel or chocolate sauce, fresh fruit, or even crushed cookies for extra flavor and texture.
Final Thoughts
Making your own vanilla custard ice cream is not only a rewarding experience but also the best way to enjoy an indulgent treat without any of the artificial additives found in store-bought versions.
The silky texture, rich flavor, and the deep vanilla aroma make it a truly unforgettable dessert.
Whether you choose to enjoy it on its own or pair it with pies, cakes, or brownies, this homemade ice cream is sure to become a favorite in your household.
With the right ingredients, a bit of patience, and some simple tips, you’ll have the most luxurious vanilla ice cream that’s perfect for any occasion.
Frequently Asked Questions
1. Can I make this ice cream without an ice cream maker?
Yes, it’s possible! If you don’t have an ice cream maker, you can freeze the custard mixture in a shallow container and stir it vigorously every 30 minutes for the first 2-3 hours of freezing.
This will help break up ice crystals and mimic the churning process.
2. How do I prevent ice crystals from forming in my homemade ice cream?
The key to preventing ice crystals is to churn the ice cream properly and store it in a shallow, airtight container.
The plastic wrap trick can also help minimize ice crystals on the surface.
3. Can I use alternative milk or sweeteners?
Yes, you can substitute dairy-free milk (such as almond or coconut milk) for whole milk and heavy cream, but keep in mind that it may affect the creaminess of the final product.
As for sweeteners, you can use alternatives like honey, maple syrup, or stevia, but this might change the flavor slightly.
4. How do I know when my custard is thick enough?
The custard is ready when it coats the back of a spoon and you can draw a line through it with your finger.
You can also use a thermometer—when it reaches 170-175°F (77-80°C), it’s thickened enough to be strained and chilled.
5. Can I make variations of this recipe?
Absolutely! This vanilla custard ice cream can be customized with various mix-ins like chocolate chips, fruit, nuts, or swirls of caramel or fudge.
Feel free to get creative and make it your own!

Vanilla Custard Ice Cream
Equipment
- Medium Saucepan – 1
- Whisk (1)
- Mixing bowls (2)
- Fine-mesh sieve – 1
- Ice Cream Maker (1)
- Freezer-Safe Container: 1
Ingredients
- 2 cups – Heavy cream
- 1 cup – Whole milk
- ½ cup – Granulated sugar
- 5 large – Egg yolks
- ¼ cup – Granulated sugar for egg mixture
- 2 teaspoons – Vanilla extract or 1 vanilla bean
- Pinch – Salt
Instructions
Heat the Milk and Cream:
- In a medium saucepan, combine the heavy cream, whole milk, and ½ cup sugar. If using a vanilla bean, split it and scrape the seeds into the mixture, adding the pod as well. Heat over medium-low heat until the mixture is steaming, but not boiling.
Prepare the Egg Yolk Mixture:
- In a separate bowl, whisk the egg yolks and ¼ cup sugar until pale and slightly thickened.
Temper the Egg Yolk Mixture:
- Gradually ladle about ½ cup of the hot milk mixture into the egg yolks, whisking constantly to avoid curdling. Repeat this process with another ½ cup of the hot mixture.
Cook the Custard:
- Slowly pour the egg mixture back into the saucepan. Stir continuously over low heat until the custard thickens and coats the back of a spoon. The temperature should reach 170-175°F (77-80°C).
Strain and Cool the Custard:
- Strain the custard through a fine-mesh sieve into a clean bowl to remove any cooked egg bits. Stir in the vanilla extract (or vanilla seeds) and pinch of salt. Allow it to cool at room temperature for 15 minutes, then refrigerate for at least 4 hours.
Churn the Ice Cream:
- Once chilled, pour the custard into an ice cream maker and churn according to the manufacturer’s instructions (usually for 20-25 minutes).
Freeze and Serve:
- the churned ice cream to a freezer-safe container, smooth the top, and press plastic wrap against the surface to prevent ice crystals. Freeze for at least 4 hours until firm. Scoop, serve, and enjoy!
Notes
- Vanilla: For a richer vanilla flavor, use real vanilla beans. Scrape the seeds from a whole bean for the best results.
- Egg Yolk Substitution: If you prefer a lighter custard, you can reduce the egg yolks, but the texture might not be as creamy.
- Storage: Store the ice cream in an airtight container in the freezer for up to 2-3 weeks. To prevent freezer burn, cover the surface of the ice cream with plastic wrap before sealing the container.
- Add-ins: Get creative by adding chocolate chips, crushed cookies, or caramel swirls during the last few minutes of churning!


