All products are selected by our editorial team for quality. If you buy through our links, we may earn a small commission at no extra cost to you.
Imagine a scoop of creamy, citrusy, and refreshingly sweet ice cream that instantly transports you to a tropical paradise.
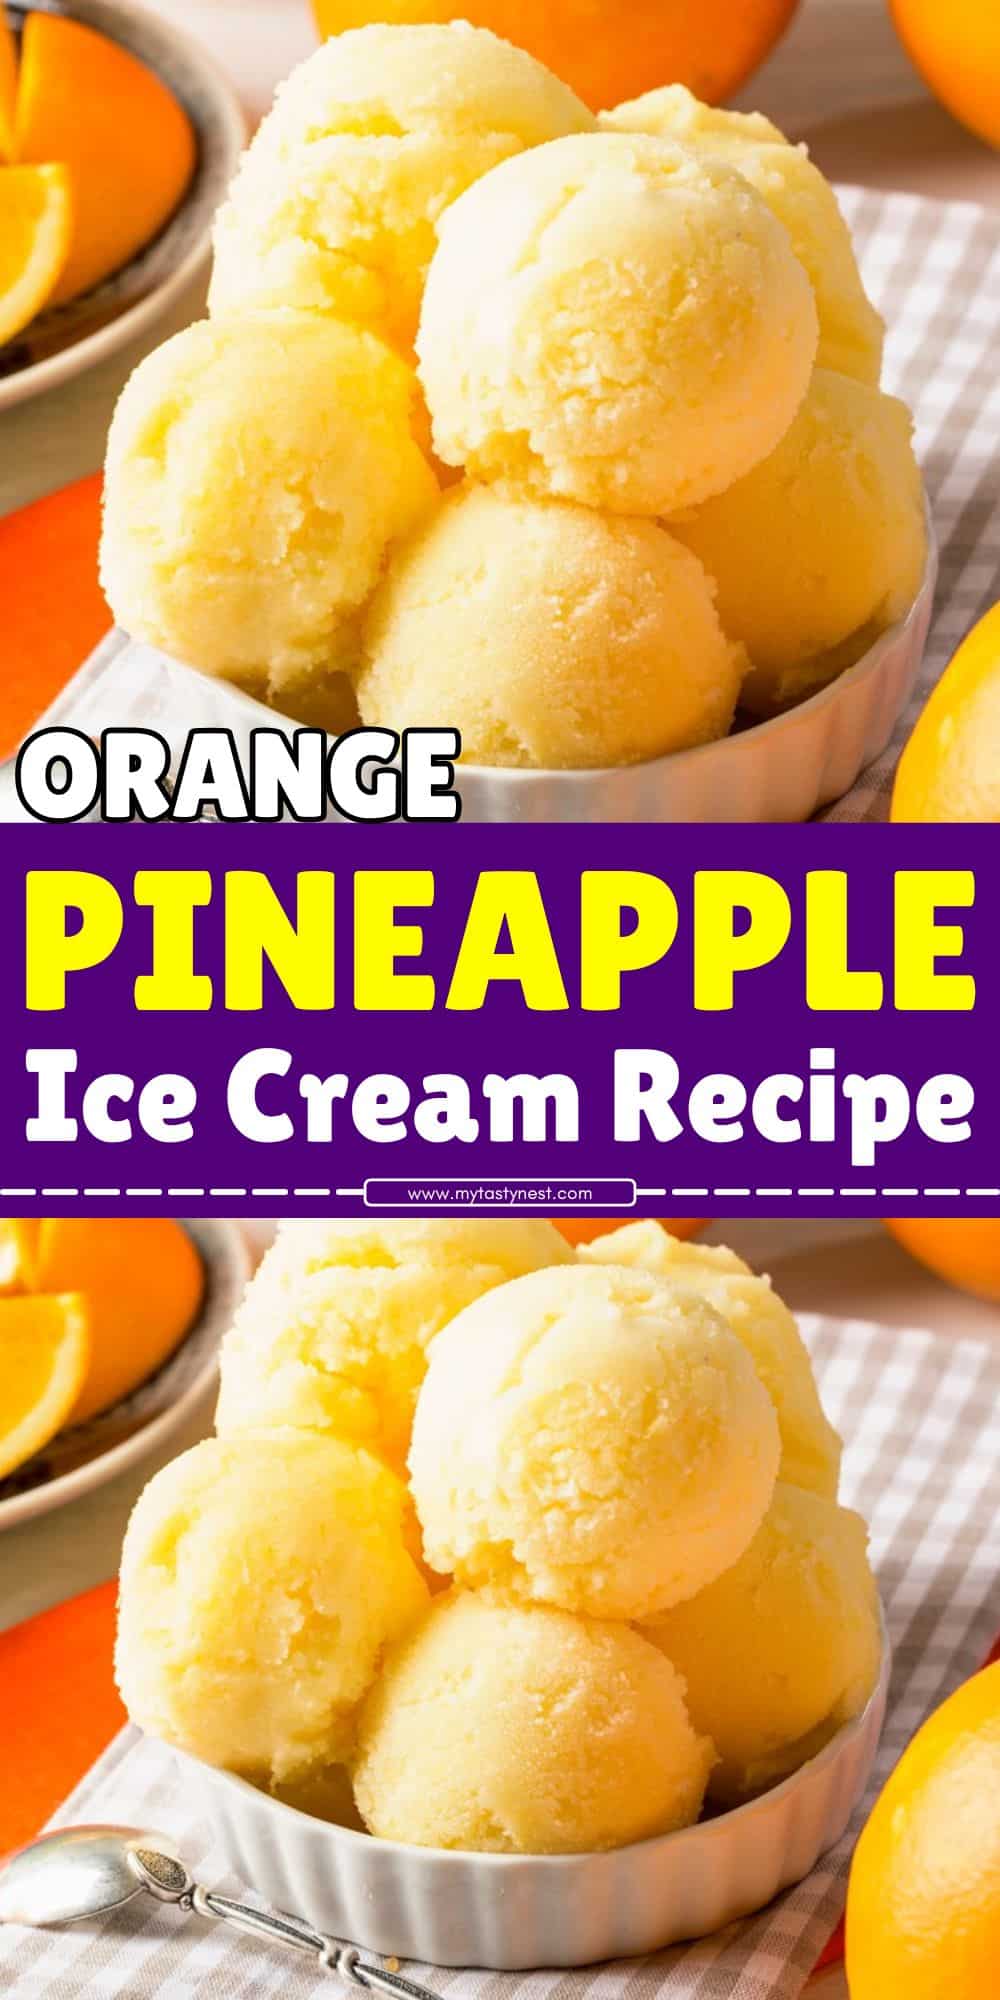
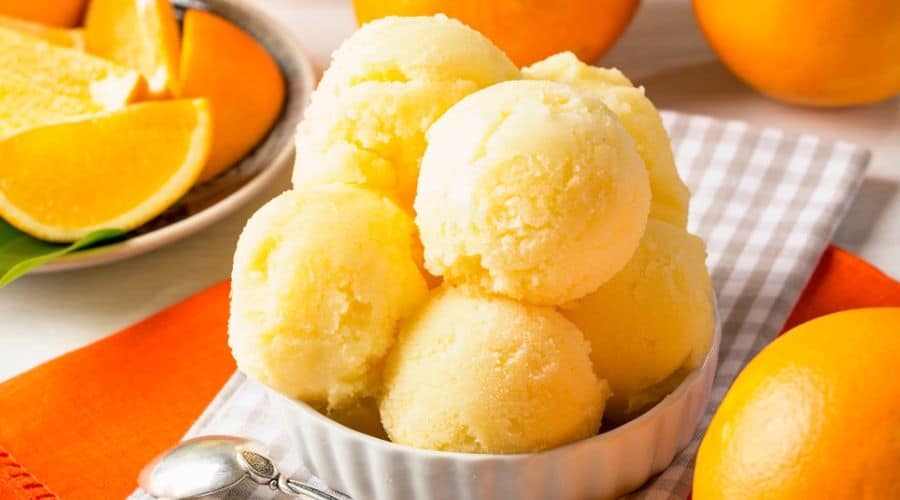
This Orange Pineapple Ice Cream is the perfect blend of juicy oranges and tangy pineapples, creating a balance of sweet and tart flavors in every bite.
Unlike store-bought options, this homemade version is free of artificial flavors and preservatives, ensuring a natural, fresh taste.
Whether you’re making it for a summer treat, a poolside party, or just to satisfy your ice cream cravings, this recipe is simple to prepare and guaranteed to impress.

Why You’ll Love This Recipe
- Bursting with Tropical Flavors – The combination of oranges and pineapples gives a refreshing and fruity twist that’s both sweet and slightly tangy.
- Creamy Yet Light – The smooth texture of this ice cream is rich without being overly heavy, making it a perfect treat for warm days.
- Easy to Make – With just a few ingredients and simple steps, you can create a delicious homemade ice cream without hassle.
- Customizable – Whether you prefer a dairy-free version or want to add mix-ins like coconut or white chocolate, this recipe is versatile enough to suit different tastes.
Ingredients Needed
To make this delicious Orange Pineapple Ice Cream, you’ll need a few fresh and simple ingredients:
Main Ingredients
- Fresh Pineapple – Adds natural sweetness and a slight tartness. You can use canned pineapple, but fresh provides a brighter flavor.
- Fresh Orange Juice & Zest – Enhances the citrusy notes and adds a fragrant aroma.
- Heavy Cream – Gives the ice cream its smooth and creamy texture. Substitute with coconut milk for a dairy-free option.
- Whole Milk – Helps balance the richness of the cream. You can use almond or oat milk for a lighter alternative.
- Granulated Sugar – Sweetens the mixture and helps maintain a smooth consistency. Honey or maple syrup can be used as natural sweeteners.
- Vanilla Extract – Brings depth and warmth to the flavor profile.
Optional Add-ins
- Egg Yolks – If you prefer a custard-style ice cream, adding egg yolks will make it extra rich and creamy.
- Shredded Coconut – For an added tropical twist.
- White Chocolate Chips – A sweet contrast to the fruity flavors.
With these simple ingredients, you’re well on your way to making a deliciously refreshing homemade ice cream that’s perfect for any occasion.
Equipment You’ll Need
Making homemade Orange Pineapple Ice Cream is simple, and you don’t need any fancy tools.
Here’s what you’ll need:
Essential Equipment
- Ice Cream Maker – The easiest way to achieve a smooth, creamy texture. If you don’t have one, don’t worry! I’ll share a no-churn method too.
- Blender or Food Processor – To puree the pineapple and orange juice for a silky-smooth consistency.
- Mixing Bowls – For combining ingredients before chilling.
- Whisk or Electric Mixer – Helps blend the cream and sugar smoothly.
- Fine Mesh Strainer (Optional) – If you want an ultra-smooth fruit purée without pulp.
- Freezer-Safe Container – A lidded container to store the ice cream while it firms up in the freezer.
Now that you have everything ready, let’s move on to the fun part—making the ice cream!
Step-by-Step Instructions

Step 1: Prepare the Fruit
- Peel and chop the fresh pineapple into small chunks.
- Blend the pineapple with freshly squeezed orange juice until smooth.
- If you prefer a super smooth ice cream, strain the purée through a fine mesh sieve to remove any fibers or pulp.
- Stir in orange zest for an extra boost of citrus flavor.
Step 2: Make the Ice Cream Base
- In a medium saucepan over low heat, combine heavy cream, milk, and sugar. Stir until the sugar fully dissolves.
- If using eggs, whisk the yolks in a separate bowl. Slowly pour in a small amount of the warm cream mixture, whisking constantly to temper the eggs. Then, return the mixture to the pan and cook until slightly thickened.
- Remove from heat and stir in vanilla extract and the prepared fruit purée.
Step 3: Chill the Mixture
- Pour the mixture into a bowl and let it cool to room temperature.
- Cover and chill in the refrigerator for at least 4 hours or overnight for the best texture and flavor.
Step 4: Churn the Ice Cream
- Pour the chilled mixture into your ice cream maker and churn according to the manufacturer’s instructions. This usually takes 20-25 minutes.
- If using the no-churn method, whip 1 cup of heavy cream until stiff peaks form, then gently fold in the chilled fruit mixture.
Step 5: Freeze and Serve
- Transfer the churned ice cream to a freezer-safe container and smooth the top.
- Cover with plastic wrap or an airtight lid to prevent ice crystals from forming.
- Freeze for at least 4 hours before serving.
- Scoop, serve, and enjoy your refreshing homemade Orange Pineapple Ice Cream!
Tips for the Best Orange Pineapple Ice Cream
- Use ripe, fresh fruit – The natural sweetness and acidity of fresh oranges and pineapples enhance the flavor.
- Chill everything before churning – A well-chilled base ensures a smoother texture. Even chilling your ice cream maker’s bowl in advance can help!
- Avoid excess liquid – Too much juice can lead to an icy texture. If using canned pineapple, drain it well before blending.
- Add mix-ins at the right time – If adding coconut flakes or chocolate chips, fold them in during the last few minutes of churning.
- Let it sit before scooping – For the best texture, let the ice cream sit at room temperature for 5-10 minutes before serving.
Variations & Substitutions
One of the best things about this Orange Pineapple Ice Cream is its flexibility!
Whether you have dietary preferences or just want to switch things up, here are some delicious variations and easy substitutions:
Dairy-Free & Vegan Option
- Swap heavy cream with full-fat coconut milk for a creamy, dairy-free alternative.
- Use almond, oat, or cashew milk instead of whole milk.
- Replace sugar with maple syrup or agave nectar for a naturally sweetened vegan-friendly treat.
Sorbet Version (No Dairy, No Eggs)
- Skip the milk and cream altogether.
- Use only pineapple, orange juice, and a bit of honey or sugar for sweetness.
- Blend, freeze, and stir every few hours to prevent ice crystals from forming.
No-Churn Method (No Ice Cream Maker)
- Whip 1 cup of heavy cream until stiff peaks form.
- Fold in the chilled orange-pineapple mixture.
- Pour into a freezer-safe container and freeze for at least 6 hours.
Flavor Boosters & Mix-Ins
- Add shredded coconut for a tropical twist.
- Stir in white chocolate chips for a sweet contrast.
- Mix in a splash of rum extract for a piña colada-inspired flavor.
Serving Suggestions
This Orange Pineapple Ice Cream is delicious on its own, but you can make it even more exciting with these serving ideas:
Classic Ways to Enjoy
- Scoop it into a waffle cone or sugar cone for a fun summer treat.
- Serve in a chilled bowl with a sprig of mint for a fresh touch.
Fun Dessert Ideas
- Ice Cream Float – Add a scoop to a glass of sparkling soda or lemon-lime soda for a fizzy, tropical float.
- Tropical Sundae – Top with whipped cream, toasted coconut, and caramel drizzle for a decadent dessert.
- Ice Cream Sandwich – Spread between two buttery shortbread cookies for a fruity, creamy sandwich.
Pairing Suggestions
- Enjoy alongside a slice of coconut cake or pineapple upside-down cake.
- Serve with grilled pineapple slices for a smoky-sweet contrast.
- Add a scoop on top of warm banana bread for a delightful hot-and-cold combo.
Storage & Shelf Life
How to Store Homemade Ice Cream
To keep your Orange Pineapple Ice Cream fresh and creamy:
- Use an airtight container – This prevents ice crystals from forming.
- Press plastic wrap directly onto the surface before sealing the lid to maintain a smooth texture.
- Store in the coldest part of your freezer, away from the door, to avoid temperature fluctuations.
How Long Does It Last?
- Best enjoyed within 1-2 weeks for the freshest flavor and texture.
- Can last up to a month in the freezer, but it may develop slight iciness over time.
Preventing Ice Crystals
- Avoid frequent thawing and refreezing – Take out only what you need and return the container to the freezer immediately.
- Use a shallow container rather than a deep one for even freezing.
Final Thoughts
There’s nothing quite like the joy of enjoying a homemade Orange Pineapple Ice Cream on a warm day.
It’s the perfect balance of tropical flavors, creamy texture, and refreshing sweetness that everyone will love.
Whether you’re serving it at a summer party, enjoying it after a family barbecue, or simply indulging in a sweet treat, this ice cream will bring a little sunshine to any occasion.
The best part? You can easily adjust the ingredients to suit your tastes, and with just a few simple steps, you’ll have a delicious homemade dessert that’s miles better than store-bought options.
So, gather your ingredients, fire up the ice cream maker (or just grab a mixing bowl for the no-churn version), and get ready to dive into this refreshing tropical delight!
Frequently Asked Questions (FAQs)
1. Can I make this ice cream without an ice cream maker?
Yes! If you don’t have an ice cream maker, you can still make this delicious treat using the no-churn method.
Simply whip heavy cream until stiff peaks form, then fold in the fruit mixture.
Freeze it in a container for a few hours, and you’ll have a creamy, dreamy ice cream.
2. Can I use canned pineapple instead of fresh?
Absolutely! While fresh pineapple gives a brighter flavor, canned pineapple works just as well.
Be sure to drain it well to avoid excess liquid, which could affect the texture.
3. Can I make this ice cream dairy-free?
Yes! Swap the heavy cream and milk with coconut milk or any other plant-based milk like almond or oat milk.
For sweetness, use maple syrup or agave nectar instead of sugar to keep it vegan-friendly.
4. How can I prevent ice crystals in homemade ice cream?
To reduce ice crystals, ensure your base is chilled before churning, and store your ice cream in an airtight container.
Try not to open the freezer frequently to avoid temperature fluctuations.
If using the no-churn method, whip the cream well to incorporate more air, which helps with a smoother texture.
5. Can I add mix-ins like chocolate chips or coconut?
Yes! Adding mix-ins like chocolate chips, toasted coconut, or even chopped fruit can add a fun twist.
Just add them in the final stages of churning (if using an ice cream maker) or fold them into the no-churn mixture before freezing.

Orange Pineapple Ice Cream
Equipment
- Ice Cream Maker – 1 (Optional for no-churn method)
- Blender or Food Processor (1)
- Mixing bowls (2)
- Whisk or Electric Mixer – 1
- Saucepan (1)
- Fine Mesh Strainer – 1 (optional)
- Freezer-Safe Container: 1
Ingredients
- 1 ½ cups Heavy Cream
- ½ cup Whole Milk
- 1 cup Fresh Pineapple chopped
- 1 ½ cups Fresh Orange Juice about 3-4 oranges
- 1 tbsp Orange Zest
- ¾ cup Granulated Sugar
- 1 tsp Vanilla Extract
Optional:
- 2 Egg Yolks for custard-style, if desired
Instructions
Prepare the Fruit:
- Chop the fresh pineapple into chunks.
- Blend the pineapple with fresh orange juice until smooth. If desired, strain the mixture through a fine mesh strainer to remove excess pulp. Stir in the orange zest.
Make the Ice Cream Base:
- In a medium saucepan, combine heavy cream, milk, and sugar. Heat over low heat, stirring constantly, until the sugar dissolves completely.
- If using egg yolks for a richer base, whisk the yolks in a bowl. Slowly pour a small amount of the warm cream mixture into the yolks, whisking continuously to temper them. Then return the mixture to the saucepan and cook until it thickens slightly.
- Remove the base from heat, and stir in the vanilla extract and fruit purée.
Chill the Mixture:
- Allow the mixture to cool to room temperature.
- Cover the bowl and refrigerate for at least 4 hours or overnight to ensure it is well-chilled.
Churn the Ice Cream:
- Pour the chilled mixture into your ice cream maker and churn according to the manufacturer’s instructions (usually 20-25 minutes).
- If you don't have an ice cream maker, whip 1 cup of heavy cream until stiff peaks form, then fold in the chilled fruit mixture. Freeze for at least 6 hours.
Freeze and Serve:
- Transfer the churned ice cream into a freezer-safe container. Smooth the top and cover with plastic wrap or an airtight lid.
- Freeze for at least 4 hours before serving.
Serve:
- Scoop the ice cream into bowls or cones and enjoy your tropical treat!
Notes
- Fresh Fruit vs. Canned: Fresh pineapple and oranges give the best flavor, but canned pineapple can work as a substitute. Be sure to drain canned pineapple thoroughly to avoid extra liquid.
- Dairy-Free Option: Replace heavy cream and whole milk with coconut milk or another plant-based milk of your choice. Use maple syrup instead of granulated sugar for a dairy-free and vegan treat.
- No Ice Cream Maker? No Problem: Use the no-churn method by folding whipped cream into the fruit mixture for an easy, no-fuss alternative.
- For a Creamier Texture: Using egg yolks in the base creates a custard-style ice cream that’s rich and smooth.


