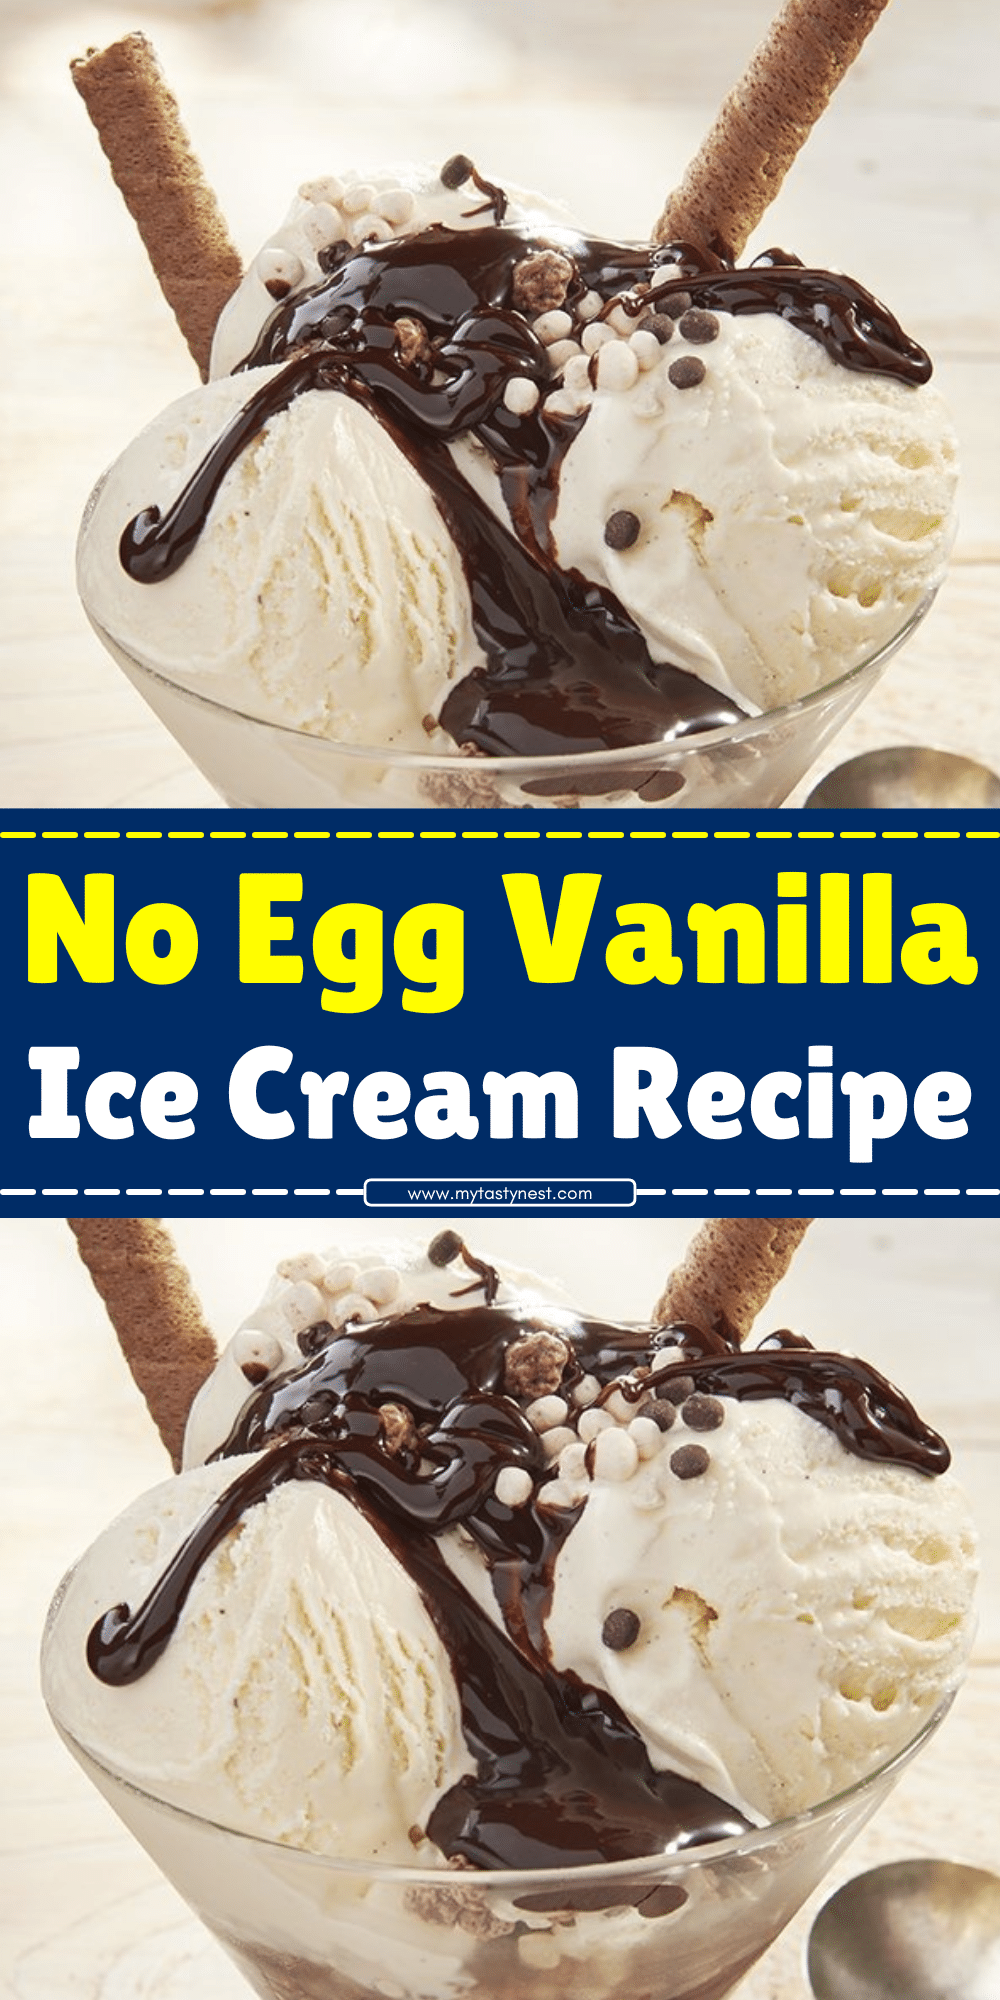
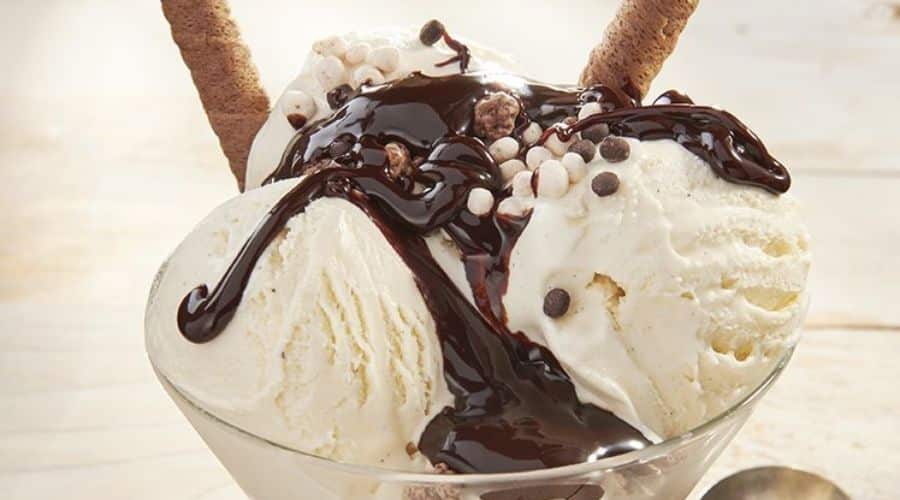
When it comes to classic desserts, few can rival the simple yet indulgent pleasure of vanilla ice cream.
However, for those with dietary restrictions or preferences, traditional ice cream recipes that call for eggs can be a challenge.
Thankfully, this No Egg Vanilla Ice Cream Recipe offers all the deliciousness of the classic treat, minus the eggs.
Whether you’re following a vegan lifestyle, have an egg allergy, or simply want to try something different, this eggless vanilla ice cream is a perfect choice.
Not only is it creamy and rich, but it’s also incredibly easy to make with just a few basic ingredients.
The result? A smooth, velvety dessert that’s perfect for any occasion.
This recipe doesn’t just skip eggs; it focuses on creating an ice cream that is just as satisfying, if not more so, than the traditional kind.
Without eggs, the flavor profile is all about the deep, comforting vanilla, and the texture is so creamy, you won’t even miss the eggs!
Plus, it’s customizable—you can add in your favorite mix-ins to make it your own.

Ingredients for No Egg Vanilla Ice Cream
Creating the perfect no-egg vanilla ice cream is surprisingly simple, and you probably already have most of the ingredients in your kitchen.
The key is to use high-quality, full-flavored ingredients that will create a creamy texture without the need for eggs.
Essential Ingredients
Full-Fat Coconut Milk or Heavy Cream
The foundation of this eggless ice cream is a rich, creamy base.
You can use full-fat coconut milk for a dairy-free version or heavy cream for an ultra-creamy, traditional taste.
Both create a luxurious texture that mimics the mouthfeel of custard-based ice cream, without the need for eggs.
Whole Milk
A combination of full-fat coconut milk or cream and whole milk strikes the perfect balance in terms of richness and texture.
Whole milk also helps to smooth out the ice cream base, ensuring it’s not too heavy or greasy.
Granulated Sugar
Sugar is essential for sweetening the ice cream and helping it freeze smoothly.
While granulated sugar is the standard, you can also experiment with alternatives such as maple syrup or agave syrup if you’re looking for a refined-sugar-free version.
Pure Vanilla Extract
Vanilla is the star of this ice cream.
A good-quality vanilla extract adds depth and flavor, transforming the base into a decadent treat.
You can also use vanilla beans for a more intense, natural flavor.
A Pinch of Salt
A small amount of salt helps to balance out the sweetness and enhances the overall flavor of the ice cream.
It’s a subtle but important ingredient that makes all the difference.
Optional Ingredients for Variations
Cornstarch
For those looking to thicken the base without eggs, a small amount of cornstarch can help improve the texture.
It prevents the ice cream from becoming too icy by stabilizing the mixture.
Sweetened Condensed Milk
For an extra creamy and rich ice cream, you can swap some of the sugar and milk for sweetened condensed milk.
This ingredient helps create a smooth and dense consistency that’s perfect for indulgent desserts.
Add-ins and Flavor Variations
Want to get creative? Feel free to mix in your favorite ingredients, such as chocolate chips, crushed nuts, or fruit purees, during the last stages of churning.
This is where you can add your personal twist to the recipe and create a unique flavor each time!
How to Make No Egg Vanilla Ice Cream: Step-by-Step Guide

Making homemade no-egg vanilla ice cream is easier than you think!
Follow this simple step-by-step guide to create a smooth, creamy, and delicious treat.
Whether you have an ice cream maker or not, you’ll be able to enjoy a scoop of homemade goodness in no time.
Step 1: Prepare the Ice Cream Base
Begin by gathering all your ingredients. In a medium saucepan, combine:
- 2 cups of heavy cream (or full-fat coconut milk for a dairy-free version)
- 1 cup of whole milk
- ¾ cup of granulated sugar
- A pinch of salt
Heat the mixture over medium heat, stirring continuously until the sugar dissolves completely.
Make sure not to bring it to a boil—just warm it enough to combine the ingredients.
Step 2: Infuse the Vanilla Flavor
Once the mixture is warm and well-mixed, remove it from the heat. Stir in:
- 1 tablespoon of pure vanilla extract
For an even richer vanilla flavor, you can use a vanilla bean pod.
Simply slice it open, scrape out the seeds, and add both the seeds and the pod to the warm mixture.
Let it steep for 10–15 minutes before straining it out.
Step 3: Chill the Ice Cream Base
Allow the mixture to cool slightly before transferring it to the refrigerator.
Cover the bowl and let it chill for at least 4 hours or preferably overnight.
This step is essential, as it helps develop the flavors and ensures a smoother ice cream texture.
Step 4: Churn the Mixture
Using an Ice Cream Maker
- Pour the chilled mixture into your ice cream maker and churn according to the manufacturer’s instructions (usually about 20–25 minutes).
- Once it reaches a soft-serve consistency, transfer it to an airtight container.
Without an Ice Cream Maker (Hand-Churn Method)
- Pour the mixture into a shallow, freezer-safe container.
- Freeze for 30 minutes, then stir vigorously with a fork or whisk to break up ice crystals.
- Repeat this process every 30 minutes for about 3–4 hours until the mixture becomes creamy and fully frozen.
Step 5: Freeze Until Firm
Once churned, transfer the ice cream into a freezer-safe container, smoothing out the top.
Cover tightly and freeze for at least 4 hours until it firms up completely.
When ready to serve, let it sit at room temperature for a few minutes to soften slightly before scooping.
Tips for the Perfect Eggless Vanilla Ice Cream
Achieving a smooth, creamy, and flavorful egg-free vanilla ice cream is all about technique.
Here are some expert tips to ensure the best results:
1. Use Full-Fat Ingredients for Creaminess
Eggless ice cream lacks the emulsifying properties of eggs, so using full-fat dairy (or coconut milk for a dairy-free version) is crucial.
Skimping on fat can lead to an icy texture rather than a rich and smooth consistency.
2. Don’t Skip the Chilling Step
Refrigerating the ice cream base for several hours before churning allows the mixture to thicken slightly and ensures that the ice cream freezes evenly.
A well-chilled base also helps create a smoother texture.
3. Prevent Ice Crystals with Proper Storage
- Store the ice cream in an airtight container to avoid ice crystal formation.
- Press a piece of parchment paper or plastic wrap directly onto the surface of the ice cream before sealing the lid to minimize air exposure.
- Always keep your freezer temperature stable at 0°F (-18°C) or lower.
4. Experiment with Mix-Ins and Variations
This basic vanilla recipe is a great starting point for creativity! Try adding:
- Chocolate chips or chunks
- Crushed cookies
- Caramel or fruit swirls
- Chopped nuts
For best results, fold in these mix-ins during the last few minutes of churning or just before transferring to the freezer.
5. Allow the Ice Cream to Soften Before Scooping
Homemade ice cream tends to freeze harder than store-bought varieties.
Let it sit at room temperature for 5–10 minutes before scooping for the best texture.
By following these tips, you’ll be able to enjoy a luscious, homemade no-egg vanilla ice cream that’s just as rich and satisfying as traditional versions—if not better!
Serving Suggestions
Now that you’ve made a batch of creamy, homemade no-egg vanilla ice cream, it’s time to enjoy it!
Whether you prefer it on its own or paired with other treats, here are some delicious ways to serve your ice cream.
1. Classic Scoop in a Cone or Bowl
Enjoy your ice cream the traditional way—scooped into a bowl or cone.
Add a drizzle of chocolate sauce, a sprinkle of nuts, or some fresh berries for extra flavor.
2. Ice Cream Sandwiches
Make homemade ice cream sandwiches by placing a scoop of ice cream between two soft cookies.
Chocolate chip cookies, oatmeal cookies, or even brownies work perfectly.
3. Topped with Fresh Fruits
Balance the sweetness of vanilla ice cream with the natural tartness of fresh fruits.
Sliced strawberries, mangoes, raspberries, or caramelized bananas make great toppings.
4. Vanilla Ice Cream Affogato
For a sophisticated dessert, pour a shot of hot espresso over a scoop of vanilla ice cream.
This Italian-style affogato is a perfect blend of creamy and bold coffee flavors.
5. Paired with Warm Desserts
No egg vanilla ice cream is an excellent companion to warm desserts like:
- Apple pie
- Chocolate lava cake
- Warm brownies
- Peach cobbler
The contrast between the warm dessert and cold ice cream makes for an irresistible combination.
Conclusion
Making No Egg Vanilla Ice Cream at home is easier than you think, and the results are just as creamy and delicious as traditional ice cream.
This simple recipe is perfect for those with dietary restrictions or anyone looking for a fuss-free way to enjoy homemade ice cream.
With a smooth texture, rich vanilla flavor, and endless ways to customize, this eggless ice cream will quickly become a favorite treat.
Whether you enjoy it plain, with toppings, or as part of a dessert, it’s a guaranteed crowd-pleaser.
Now that you have the perfect recipe, why not give it a try?
Don’t forget to share your homemade creations and experiment with fun flavors and add-ins!
Frequently Asked Questions (FAQ)
1. Can I Make This Recipe Without an Ice Cream Maker?
Yes! You can use the hand-churn method by freezing the mixture in a shallow container and stirring it every 30 minutes for a few hours until it reaches the desired consistency.
2. How Do I Keep My Ice Cream from Becoming Too Hard?
Homemade ice cream tends to freeze harder than store-bought versions.
To keep it soft, store it in an airtight container and place a layer of plastic wrap directly on top of the ice cream before sealing.
Let it sit at room temperature for 5–10 minutes before scooping.
3. Can I Make This Ice Cream Dairy-Free?
Absolutely! Swap out the heavy cream and milk for full-fat coconut milk or almond milk.
Just keep in mind that different dairy-free options may slightly alter the texture.
4. How Long Does Homemade No Egg Vanilla Ice Cream Last?
When stored properly in an airtight container, this ice cream can last for up to 2 weeks in the freezer.
However, it’s best enjoyed within the first few days for the creamiest texture.
5. Can I Use a Sugar Substitute?
Yes, you can use alternatives like honey, maple syrup, or a sugar substitute like erythritol.
Keep in mind that the texture may change slightly depending on the sweetener used.

No Egg Vanilla Ice Cream
Equipment
- Medium saucepan – For heating the ice cream base.
- Whisk – To mix the ingredients smoothly.
- Mixing bowl – For cooling and chilling the ice cream mixture.
- Measuring cups and spoons – To ensure accurate ingredient portions.
- Ice cream maker (optional) – For a quicker and smoother churning process.
- Shallow freezer-safe container – To store and freeze the ice cream.
- Plastic wrap or parchment paper – To cover the ice cream and prevent ice crystals.
Ingredients
- 2 cups heavy cream or full-fat coconut milk for a dairy-free option
- 1 cup whole milk
- ¾ cup granulated sugar
- 1 tablespoon pure vanilla extract
- 1 pinch salt
- 1 tablespoon cornstarch optional, for a creamier texture
Instructions
Step 1: Heat the Ice Cream Base
- In a medium saucepan, combine heavy cream, whole milk, sugar, and salt over medium heat.
- Stir continuously until the sugar dissolves completely, but do not let the mixture boil.
- If using cornstarch, mix it with 2 tablespoons of milk separately to create a slurry, then stir it into the saucepan. Cook for another minute until slightly thickened.
Step 2: Add the Vanilla & Cool the Mixture
- Remove from heat and stir in the vanilla extract.
- Allow the mixture to cool to room temperature, then cover and refrigerate for at least 4 hours or overnight.
Step 3: Churn the Ice Cream
- With an Ice Cream Maker:
- Pour the chilled mixture into an ice cream maker and churn according to the manufacturer’s instructions (about 20–25 minutes).
- Once it reaches a soft-serve consistency, transfer it to a freezer-safe container.
- Without an Ice Cream Maker:
- Pour the mixture into a shallow freezer-safe container.
- Freeze for 30 minutes, then stir vigorously with a fork or whisk.
- Repeat this stirring process every 30 minutes for about 3–4 hours until it reaches a creamy consistency.
Step 4: Freeze Until Firm & Serve
- Cover the ice cream with plastic wrap or parchment paper to prevent ice crystals.
- Freeze for at least 4 hours or until firm.
- Let it sit at room temperature for 5–10 minutes before scooping. Serve and enjoy!
Notes
- For a Dairy-Free Version: Use full-fat coconut milk instead of heavy cream and whole milk.
- For Extra Creaminess: Adding 1 tbsp of cornstarch helps achieve a smooth texture without eggs.
- Sweetener Alternatives: You can replace granulated sugar with honey, maple syrup, or a sugar substitute.
- Storage Tip: Store in an airtight container in the freezer for up to 2 weeks. Press plastic wrap directly onto the ice cream surface to prevent ice crystals.
- Flavor Variations: Add chocolate chips, fruit purees, or caramel swirls during the last minutes of churning for unique flavors.


