Every product is independently reviewed and selected by our editors. If you buy something through our links, we may earn an affiliate commission at no extra cost to you.
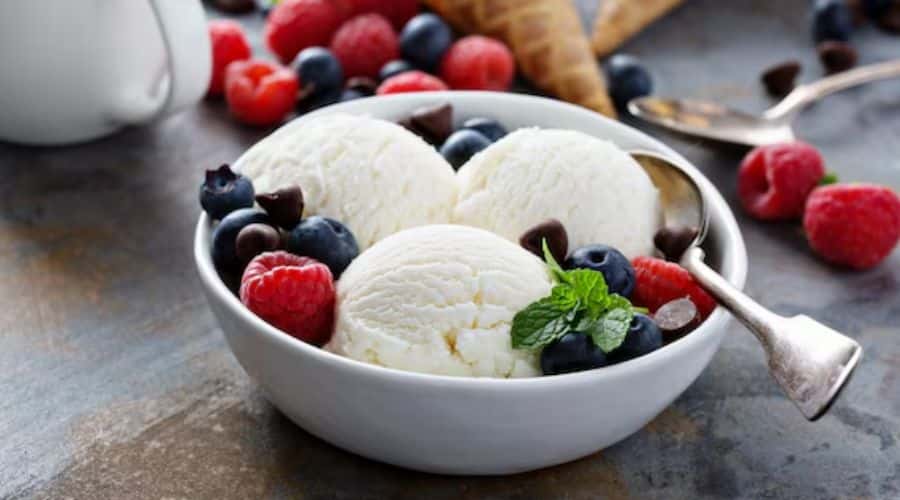
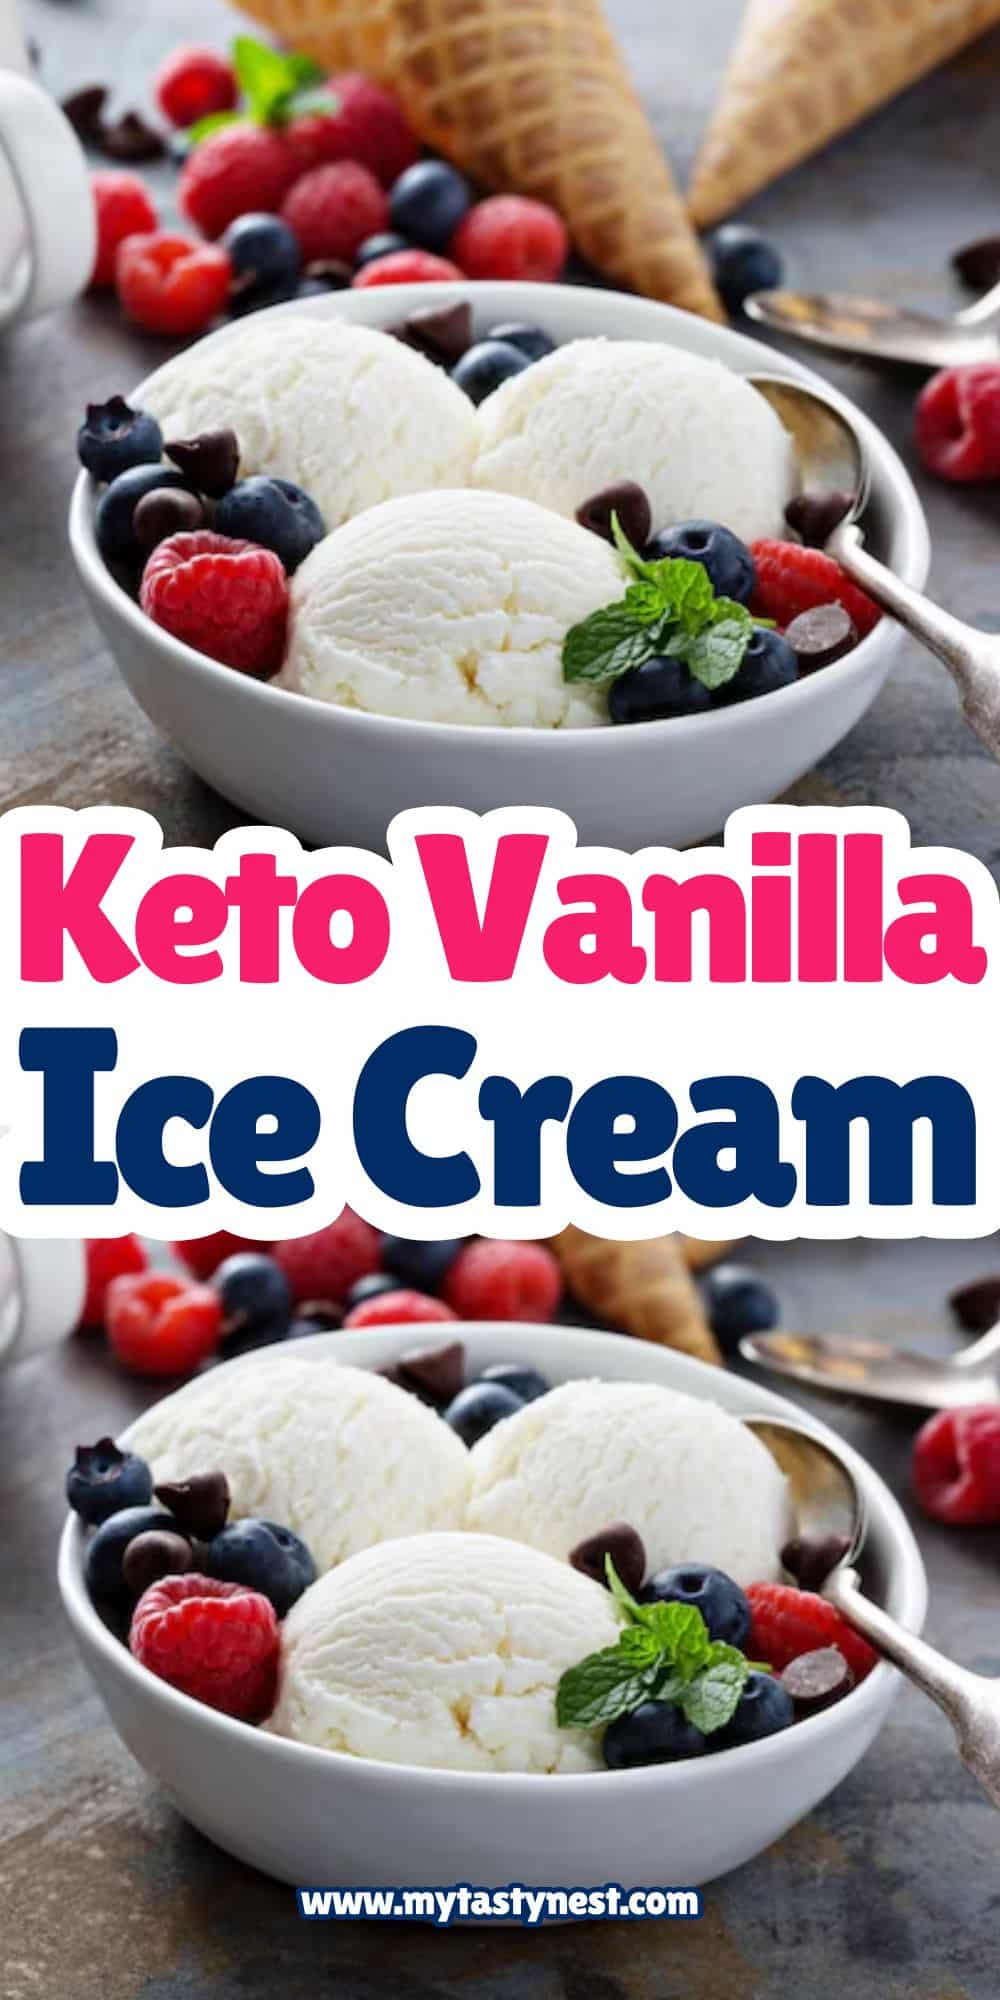
Nothing beats a scoop of rich, creamy vanilla ice cream—especially when it’s keto-friendly, sugar-free, and absolutely delicious.
This keto vanilla ice cream recipe delivers everything you love about classic vanilla ice cream without the carbs or guilt.
Made with real vanilla extract, heavy cream, and a touch of keto-approved sweetener, this homemade ice cream is smooth, indulgent, and packed with flavor.
Whether you’re craving a sweet treat on a hot day or looking for the perfect low-carb dessert, this recipe is a must-try.
The best part? It’s easy to make, with or without an ice cream maker!
So, let’s dive into making the ultimate keto vanilla ice cream that’s just as creamy and satisfying as the traditional version—but completely sugar-free.
Why You’ll Love This Keto Vanilla Ice Cream
1. Rich, Creamy, and Indulgent
This ice cream is made with full-fat ingredients, giving it a luscious texture that rivals any store-bought version.
You won’t believe it’s low-carb!
2. 100% Keto-Friendly and Sugar-Free
Traditional vanilla ice cream is loaded with sugar, but this version swaps it out for a keto-approved sweetener like erythritol, monk fruit, or allulose.
That means you can enjoy it without spiking your blood sugar.
3. Simple and Easy to Make
You don’t need any fancy equipment—just a few ingredients and a little patience. Whether you have an ice cream maker or not, this recipe works perfectly either way.
4. No Unwanted Additives or Preservatives
Unlike store-bought keto ice creams that sometimes have artificial flavors or unnecessary fillers, this homemade version is all-natural and made with wholesome, clean ingredients.
5. Customizable for Endless Variations
Want to mix things up? Add sugar-free chocolate chips, swirl in some keto caramel, or even blend in fresh berries. The possibilities are endless!
This keto vanilla ice cream is everything you could ask for—simple, creamy, and downright delicious. Ready to make your own? Let’s get started! 🚀 🍦
Ingredients Needed for Keto Vanilla Ice Cream
Creating the perfect keto vanilla ice cream starts with high-quality, low-carb ingredients.
Each component plays a crucial role in achieving that smooth, creamy texture and rich vanilla flavor without the sugar.
Main Ingredients:
- Heavy Cream (2 cups) – The base of the ice cream, giving it a rich, creamy texture and high fat content essential for keto diets.
- Unsweetened Almond Milk (½ cup) – Lightens the mixture slightly while keeping it low in carbs. You can also use coconut milk for a dairy-free version.
- Egg Yolks (4 large) – Act as a natural thickener, creating a custard-like consistency that makes the ice cream ultra-smooth.
- Keto Sweetener (⅓ cup, adjust to taste) – Allulose is the best option for a softer texture, but erythritol or monk fruit can also work.
- Pure Vanilla Extract (2 teaspoons) – The key to deep, authentic vanilla flavor. Use vanilla bean paste or real vanilla beans for an even more intense taste.
- Salt (¼ teaspoon) – Enhances the flavor and balances the sweetness.
Optional Add-Ins for Extra Creaminess:
- Xanthan Gum (¼ teaspoon) – Helps prevent ice crystals and gives the ice cream a smoother consistency.
- MCT Oil or Vodka (1 tablespoon) – Lowers the freezing point, keeping the ice cream from turning rock-hard.
Now that you have your ingredients ready, let’s move on to making this delicious homemade keto vanilla ice cream! 🍦
Step-by-Step Instructions – How to Make Keto Vanilla Ice Cream

Making keto vanilla ice cream is easier than you think! Whether you’re using an ice cream maker or a no-churn method, these step-by-step instructions will guide you through the process.
Step 1: Prepare the Ice Cream Base
- In a medium saucepan, combine the heavy cream and almond milk over medium heat. Heat until it’s warm but not boiling.
- In a separate mixing bowl, whisk together the egg yolks and sweetener until smooth and slightly pale.
- Slowly pour about ½ cup of the warm cream mixture into the egg yolks, whisking constantly. This process, called tempering, prevents the eggs from scrambling.
- Gradually add the tempered egg mixture back into the saucepan, stirring continuously.
Step 2: Cook the Custard
- Continue cooking the mixture on low heat, stirring gently until it thickens slightly. The ideal temperature is around 170°F–175°F (use a kitchen thermometer for accuracy).
- Remove from heat and stir in the vanilla extract and salt. If using xanthan gum, whisk it in now for extra creaminess.
- Strain the mixture through a fine-mesh sieve into a clean bowl to remove any cooked egg bits.
- Let the custard cool to room temperature, then refrigerate for at least 2–4 hours, or until fully chilled.
Step 3: Churn and Freeze
With an Ice Cream Maker:
- Pour the chilled custard into your ice cream maker and churn according to the manufacturer’s instructions. This usually takes about 20–25 minutes, depending on your machine.
Without an Ice Cream Maker (No-Churn Method):
- Pour the mixture into a shallow, freezer-safe container.
- Freeze for 30 minutes, then stir the mixture vigorously with a fork or hand mixer. Repeat this process every 30 minutes for 2–3 hours to break up ice crystals and keep the ice cream creamy.
Step 4: Final Freeze and Serve
- Transfer the ice cream to an airtight container, pressing a piece of parchment paper on top to prevent ice crystals.
- Freeze for at least 2–4 hours, or until it reaches your desired consistency.
- Before serving, let the ice cream sit at room temperature for 5–10 minutes for easier scooping.
Now, scoop out a generous serving, enjoy, and indulge in this creamy, keto-friendly vanilla ice cream—without any guilt! 🍨 😍
Tips for the Creamiest Keto Vanilla Ice Cream
Making homemade keto ice cream is easy, but ensuring a smooth, creamy texture requires a few tricks.
Here’s how to avoid iciness and get that perfect scoopable consistency every time!
1. Use Allulose Instead of Erythritol
Not all keto sweeteners behave the same way! Allulose is the best choice because it keeps the ice cream soft and creamy, unlike erythritol, which can cause a gritty texture.
If using erythritol or monk fruit, consider blending in a small amount of allulose for better results.
2. Don’t Skip the Egg Yolks
Egg yolks act as a natural emulsifier, giving the ice cream a luxurious, custard-like texture.
If you prefer an egg-free version, use a little xanthan gum or gelatin to mimic the thickening effect.
3. Add a Splash of Vodka or MCT Oil
Alcohol and MCT oil help prevent the ice cream from freezing rock-solid.
Adding 1 tablespoon of vodka won’t affect the taste but will keep your ice cream softer straight from the freezer.
4. Chill the Custard Completely Before Churning
For the best results, refrigerate your ice cream base for at least 2–4 hours (or overnight).
A well-chilled base churns faster and prevents ice crystals from forming.
5. Use an Ice Cream Maker for the Best Texture
While the no-churn method works, an ice cream maker incorporates air, resulting in a lighter, fluffier consistency.
If you don’t have one, be sure to stir the ice cream every 30 minutes during freezing.
6. Let It Soften Before Scooping
Keto ice cream can harden more than traditional ice cream due to the lack of sugar.
Let it sit at room temperature for 5–10 minutes before scooping for the best texture.
Storage and Freezing Tips
To keep your keto vanilla ice cream fresh and creamy, proper storage is key.
Follow these tips to maintain its flavor and consistency:
1. Store in an Airtight Container
Air exposure leads to ice crystals. Use a freezer-safe, airtight container to keep your ice cream creamy.
If possible, choose a shallow, wide container for even freezing.
2. Press Parchment Paper on Top
Before sealing the container, press a piece of parchment paper directly onto the surface of the ice cream.
This prevents freezer burn and unwanted ice buildup.
3. Keep at the Back of the Freezer
Store your ice cream in the coldest part of the freezer, away from the door, to avoid temperature fluctuations that can cause melting and refreezing (which leads to icy texture).
4. Best Enjoyed Within 1–2 Weeks
While homemade keto ice cream can last up to a month, it’s best enjoyed within the first 1–2 weeks for optimal texture and flavor.
Over time, it may become harder and slightly icy.
5. Thaw Properly Before Serving
When ready to enjoy, let your ice cream sit at room temperature for a few minutes or microwave it for 5–10 seconds to soften it slightly.
Avoid letting it melt completely, as refreezing can change its texture.
By following these storage tips, your homemade keto vanilla ice cream will stay deliciously creamy and fresh every time you crave a scoop! 🍨 😍
Variations & Flavor Ideas
While classic keto vanilla ice cream is always a winner, you can easily customize it with different flavors and mix-ins to keep things exciting!
Here are some fun variations to try:
1. Keto Chocolate Chip Vanilla Ice Cream
- Stir in sugar-free chocolate chips or chopped keto-friendly dark chocolate during the last few minutes of churning.
- For a softer chocolate chip texture, melt the chocolate and drizzle it in while churning to create chocolate flakes.
2. Keto Vanilla Bean Ice Cream
- Use vanilla bean paste or scrape the seeds from a whole vanilla bean for a more intense, gourmet flavor.
- Pair it with a touch of butter extract for an extra creamy depth.
3. Keto Salted Caramel Vanilla Ice Cream
- Swirl in homemade keto caramel sauce and a pinch of sea salt for a sweet-and-salty combo.
- For extra indulgence, add toasted pecans for a praline-style treat.
4. Dairy-Free Keto Vanilla Ice Cream
- Replace heavy cream with full-fat coconut milk or coconut cream for a dairy-free version.
- The flavor will have a slight coconut hint, which pairs beautifully with vanilla.
5. Keto Strawberry Vanilla Ice Cream
- Blend in fresh or freeze-dried strawberries for a fruity twist.
- For a ripple effect, fold in a sugar-free strawberry sauce after churning.
No matter which variation you choose, you’re guaranteed a deliciously low-carb, sugar-free treat that satisfies any ice cream craving! 🍦✨
Final Thoughts
Making your own keto vanilla ice cream is a game-changer for anyone on a low-carb, sugar-free diet. Not only is it easy to make, but it’s also incredibly creamy, rich, and customizable.
With just a handful of ingredients, you can enjoy a guilt-free, homemade treat that tastes just as good—if not better—than traditional ice cream.
So why settle for store-bought options filled with preservatives and hidden carbs?
Try this keto vanilla ice cream recipe, experiment with different flavors, and indulge in a scoop (or two!) without the guilt.
Frequently Asked Questions (FAQs)
1. Can I make this ice cream without eggs?
Yes! Instead of egg yolks, you can use 1 teaspoon of xanthan gum or 1 tablespoon of gelatin to help thicken the ice cream while keeping it creamy.
2. What’s the best keto sweetener to use?
Allulose is the best option because it prevents ice crystals and keeps the ice cream soft.
Monk fruit and erythritol work, but they can make the texture a bit more icy.
3. How can I make this ice cream without an ice cream maker?
Use the no-churn method: Pour the mixture into a shallow dish, freeze, and stir every 30 minutes for about 2–3 hours to break up ice crystals.
Alternatively, blend the mixture with a hand mixer every hour to maintain creaminess.
4. How many carbs are in each serving?
This will vary depending on the ingredients used, but typically, a serving of keto vanilla ice cream has 2–4g net carbs.
Always check the nutrition label of your ingredients for accurate macros.
5. Why is my keto ice cream too hard after freezing?
Since there’s no sugar, keto ice cream tends to freeze harder. To fix this:
- Let it sit at room temperature for 5–10 minutes before scooping.
- Use allulose instead of erythritol to keep it soft.
- Add 1 tablespoon of vodka or MCT oil to prevent excessive hardening.
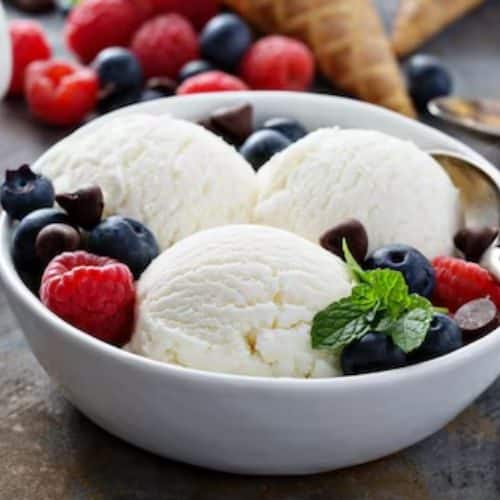
Keto Vanilla Ice Cream
Equipment
- Medium saucepan – For heating the cream and making the custard base.
- Whisk – To mix the egg yolks and sweetener, and to stir the custard.
- Mixing bowl – For tempering the eggs and combining ingredients.
- Fine-mesh sieve – To strain the mixture and remove any cooked egg bits.
- Ice cream maker (optional) – For the creamiest texture, though a no-churn method is available.
- Airtight container – To store the ice cream in the freezer and prevent ice crystals.
- Silicone spatula – For stirring and scraping down the sides of the saucepan.
- Thermometer (optional) – To ensure the custard reaches 170°F – 175°F without overcooking.
Ingredients
Base Ingredients
- 2 cups heavy cream – Creates a rich and creamy texture.
- ½ cup unsweetened almond milk – Lightens the mixture while keeping it low-carb.
- 4 large egg yolks – Adds creaminess and helps thicken the ice cream.
- ⅓ cup keto sweetener preferably allulose – Keeps the ice cream soft and scoopable.
Flavor Enhancers
- 2 teaspoons pure vanilla extract – For that classic vanilla flavor.
- ¼ teaspoon salt – Balances the sweetness and enhances flavor.
Optional Additions for Better Texture
- ¼ teaspoon xanthan gum – Helps prevent iciness optional.
- 1 tablespoon vodka or MCT oil – Keeps the ice cream from freezing too hard optional.
Instructions
Step 1: Prepare the Ice Cream Base
- In a medium saucepan, heat the heavy cream and almond milk over medium heat until warm (but not boiling).
- In a separate mixing bowl, whisk together the egg yolks and sweetener until smooth and slightly pale.
- Gradually add ½ cup of the warm cream mixture into the egg yolks, whisking continuously to temper the eggs.
- Slowly pour the tempered egg mixture back into the saucepan while stirring.
Step 2: Cook the Custard
- Cook the mixture over low heat, stirring constantly, until it thickens slightly (about 170°F – 175°F if using a thermometer).
- Remove from heat and stir in the vanilla extract and salt. If using xanthan gum, whisk it in now.
- Strain the custard through a fine-mesh sieve into a clean bowl to remove any cooked egg bits.
- Let the mixture cool to room temperature, then refrigerate for 2–4 hours until fully chilled.
Step 3: Churn or Freeze the Ice Cream
- With an Ice Cream Maker:
- Pour the chilled mixture into an ice cream maker and churn according to the manufacturer’s instructions (usually 20–25 minutes).
- Without an Ice Cream Maker (No-Churn Method):
- Pour the mixture into a shallow, freezer-safe container.
- Freeze for 30 minutes, then stir vigorously with a fork or hand mixer. Repeat every 30 minutes for 2–3 hours to break up ice crystals.
Step 4: Freeze & Serve
- Transfer the ice cream to an airtight container, pressing parchment paper on top to prevent ice crystals.
- Freeze for at least 2–4 hours until firm.
- Let sit at room temperature for 5–10 minutes before scooping. Enjoy! 🍨
Notes
- Best Sweetener: Allulose keeps the ice cream soft, while erythritol or monk fruit may make it more icy.
- Dairy-Free Option: Substitute heavy cream with full-fat coconut milk for a dairy-free version.
- Storage: Store in an airtight container in the freezer for up to 1 month.
- Softer Ice Cream Tip: Add 1 tbsp of vodka or MCT oil to keep the ice cream from freezing too hard.
