All products are selected by our editorial team for quality. If you buy through our links, we may earn a small commission at no extra cost to you.
If you’ve ever found yourself torn between the creamy richness of cheesecake and the refreshing coolness of ice cream, then you’re in for a treat!
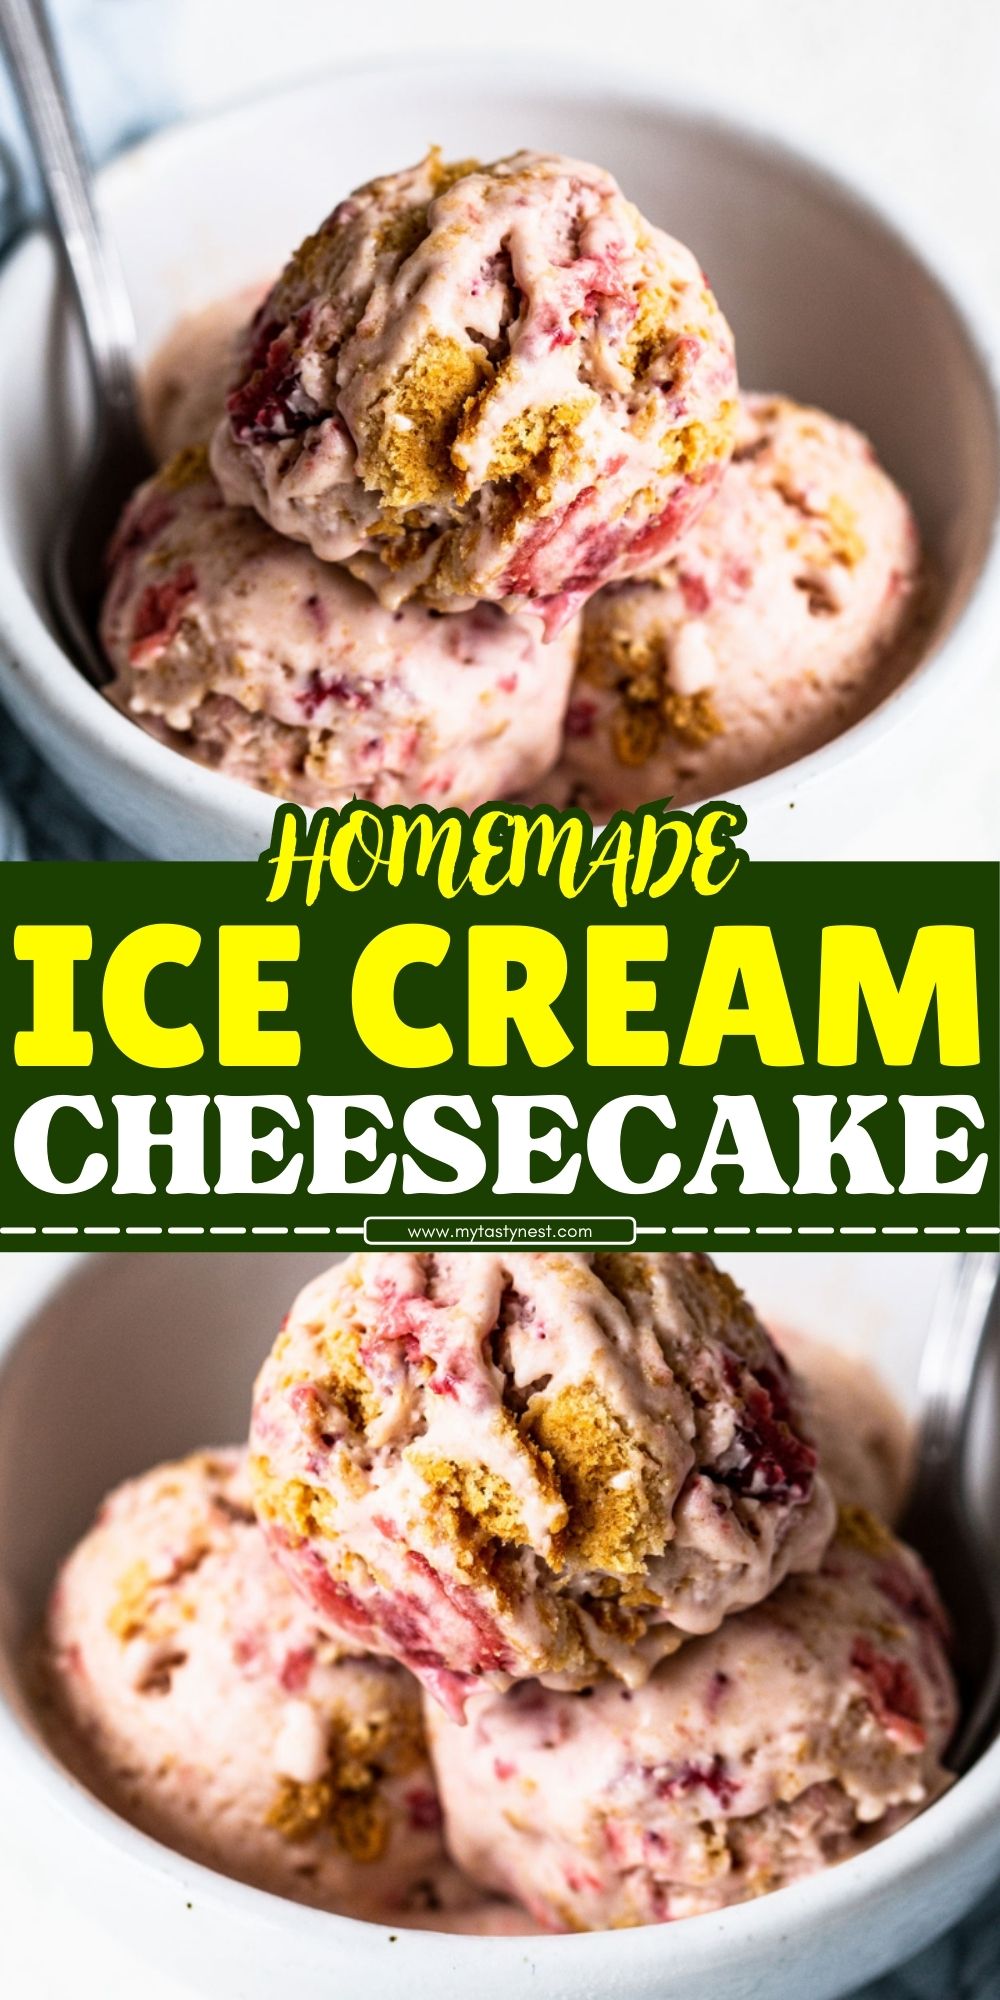
This Ice Cream Cheesecake Recipe is the best of both worlds—imagine a decadent cheesecake base, topped with a layer of velvety ice cream, all chilled to perfection.
Whether you’re celebrating a special occasion or just craving a delicious dessert, this recipe is sure to impress.
The beauty of this dessert lies in its versatility. You can customize the flavor combinations, creating an indulgent experience tailored to your tastes.
From fruity to chocolaty, the possibilities are endless, making it a go-to dessert for all occasions.
No baking required, just some chilling time, and you’ll have a stunning dessert ready to wow your guests or enjoy yourself.

Health Benefits of Ice Cream Cheesecake
While ice cream cheesecake is an indulgent dessert, enjoying it in moderation can still provide some benefits thanks to the nutrient-rich ingredients used:
- Good Source of Calcium: Thanks to the cream cheese and ice cream, this dessert offers a decent amount of calcium, which supports bone health and muscle function.
- Protein Content: Cream cheese and eggs contribute protein, which aids in muscle repair and supports a healthy metabolism.
- Mood Booster: Sweet, rich desserts like this can elevate mood by triggering the release of feel-good chemicals such as serotonin—especially when shared socially.
- Customizable for Nutrition: Using lighter versions of cream cheese, lower-sugar ice cream, or incorporating fruit can boost fiber and lower overall calorie content while still delivering flavor.
- Antioxidants (Optional Add-ins): If berries or dark chocolate are included in the ice cream layer or as toppings, they add antioxidants which support heart and brain health.
Ingredients You’ll Need for Ice Cream Cheesecake
To make this ice cream cheesecake a success, you’ll need a handful of key ingredients.
Let’s break it down into three main components: the crust, the cheesecake filling, and the ice cream layer.
For the Crust:
The crust of this cheesecake is simple but essential for that perfect crunch against the creamy layers.
Here’s what you’ll need:
- Graham crackers: These are the classic choice for cheesecake crusts. You’ll crush them to form a base that will hold everything together.
- Butter: Melted butter helps bind the crumbs and ensures the crust holds its shape once set.
- Sugar: A small amount of sugar adds a touch of sweetness to the crust, complementing the richness of the filling.
For the Cheesecake Filling:
The cheesecake filling is the star of this dessert.
Smooth, rich, and creamy, it creates the perfect contrast to the ice cream layer.
These are the ingredients that bring the filling to life:
- Cream cheese: The heart of the cheesecake filling. Be sure to use full-fat cream cheese for the creamiest texture.
- Sugar: Sweetens the filling, balancing the tanginess of the cream cheese.
- Vanilla extract: Adds depth and a touch of aromatic sweetness.
- Eggs: Essential for setting the cheesecake, they contribute to its smooth and firm texture.
- Sour cream (optional): Adds extra creaminess and tang to the filling.
For the Ice Cream Layer:
The ice cream layer is what truly sets this cheesecake apart from traditional ones.
Choose your favorite flavor, or mix a couple for a more dynamic twist. Here’s what you’ll need:
- Ice cream: Select a rich, full-fat ice cream for a creamy texture that pairs perfectly with the cheesecake base. Flavors like vanilla, chocolate, strawberry, or even cookies and cream are popular choices, but feel free to get creative.
- Optional mix-ins: Depending on the ice cream flavor you choose, you might want to add a few extras like chocolate chips, crushed cookies, or fruit swirls for added texture and flavor.
These are the core ingredients that will bring your ice cream cheesecake to life.
The process is easy and enjoyable, so gather these items and prepare to indulge in one of the most delicious desserts you’ll ever make!
Step-by-Step Instructions for Making Ice Cream Cheesecake

Making an ice cream cheesecake is simple and fun—there’s no baking involved, just a little patience as the layers set.
Follow these easy steps to create a dessert that will leave everyone asking for the recipe!
Step 1: Prepare the Crust
Start by making the graham cracker crust, which serves as the perfect foundation for your cheesecake.
- Crush the graham crackers: Use a food processor to pulse the graham crackers into fine crumbs, or place them in a zip-top bag and crush them with a rolling pin.
- Combine with butter and sugar: In a bowl, mix the graham cracker crumbs with melted butter and sugar until the mixture has a sand-like texture.
- Press into the pan: Lightly grease a 9-inch springform pan and press the graham cracker mixture evenly into the bottom. Use the back of a spoon or the bottom of a glass to compact the crumbs.
- Chill the crust: Place the crust in the freezer for about 10-15 minutes to firm up before adding the cheesecake filling.
Step 2: Make the Cheesecake Filling
While the crust chills, prepare the cheesecake filling. This part is all about achieving a smooth, creamy texture.
- Blend the cream cheese and sugar: Beat the cream cheese with an electric mixer on medium speed until it becomes soft and smooth. Add the sugar and continue mixing until fully combined.
- Add the eggs and vanilla: Mix in the eggs, one at a time, making sure each egg is fully incorporated before adding the next. Add the vanilla extract and mix until combined.
- Optional step – add sour cream: If you want extra richness and tang, mix in sour cream at this stage for a smoother texture.
- Pour over the crust: Once the filling is smooth, pour it onto the chilled graham cracker crust. Smooth the top with a spatula, ensuring it’s evenly spread.
Step 3: Add the Ice Cream Layer
Now it’s time to layer on the ice cream for that indulgent treat!
- Soften the ice cream: Let the ice cream sit at room temperature for about 10 minutes to soften slightly. This makes it easier to spread over the cheesecake filling.
- Spread the ice cream: Spoon the softened ice cream on top of the cheesecake filling. Use a spatula to gently spread it into an even layer. You can choose one flavor or swirl a couple of flavors together for a marbled effect.
- Optional mix-ins: If you’re feeling creative, fold in crushed cookies, chocolate chips, or fruit to give the ice cream layer some added texture and flavor.
Step 4: Freeze and Set the Cheesecake
The cheesecake now needs time to chill and set, so be patient—it’s worth the wait!
- Cover and freeze: Once the layers are set, cover the pan tightly with plastic wrap or aluminum foil. Freeze the cheesecake for at least 4-6 hours, or preferably overnight, until it’s firm and fully set.
- Serve: Once the cheesecake has frozen and set, it’s ready to serve. Remove it from the springform pan and slice with a sharp knife. For the cleanest slices, dip your knife in warm water before cutting.
Tips for Making the Best Ice Cream Cheesecake
To ensure your ice cream cheesecake turns out perfectly every time, here are a few handy tips:
Use Full-Fat Ingredients
For a creamy, rich cheesecake, always go for full-fat cream cheese and ice cream.
These ingredients create a smooth, velvety texture that’s hard to beat.
Be Patient with the Freezing Process
Patience is key when making an ice cream cheesecake.
Allow enough time for the layers to freeze properly—rushing this step may result in a mushy texture.
Ideally, you want to give it at least 6 hours, but overnight is even better.
Don’t Overmix the Filling
When making the cheesecake filling, avoid overmixing the cream cheese and eggs, as this can cause the cheesecake to crack or become too airy.
Mix just until the ingredients are fully combined.
Get Creative with Flavors
The great thing about this dessert is its versatility. Don’t hesitate to experiment with different ice cream flavors, such as caramel, coffee, or mint chocolate chip. You can also layer in fresh fruit or crushed candies for extra flavor and texture.
Ensure the Crust Is Firm
A well-set crust is essential for holding everything together.
If you find that the crust isn’t as firm as you’d like, try pressing it more firmly into the pan before chilling.
A properly chilled crust will provide a nice contrast to the creamy filling and ice cream.
Let the Cheesecake Soften Before Serving
While it’s tempting to dive right in, letting your cheesecake sit out for a few minutes before serving makes it easier to slice and enjoy.
The ice cream layer softens slightly, giving you that perfect melt-in-your-mouth experience.
By following these simple tips, you’ll be able to make the most indulgent, perfect ice cream cheesecake every time!
Storage Instructions
Freezing: Store the ice cream cheesecake in the freezer, tightly wrapped in plastic wrap or aluminum foil, or in an airtight container to prevent freezer burn.
It will keep well for up to 2 weeks.
Individual Slices: For convenience, slice the cheesecake after it’s fully set, then wrap each slice individually in plastic wrap and place them in a freezer-safe bag or container.
This makes it easy to enjoy single portions without thawing the whole cake.
Serving from Frozen: Before serving, remove the cheesecake or individual slices from the freezer and let them sit at room temperature for 5–10 minutes to slightly soften for easier slicing and better texture.
Avoid Refreezing Melted Portions: Once the cheesecake or a slice has been out too long and starts to melt, avoid refreezing it, as this can compromise the texture.
Recipe Variations
- Chocolate Lover’s Version:
- Add cocoa powder or melted chocolate to the cheesecake filling.
- Use chocolate ice cream as the top layer.
- Mix chocolate chips into the crust or ice cream for extra indulgence.
- Fruity Delight:
- Swirl fresh fruit puree (like raspberry or mango) into the cheesecake layer.
- Use fruit-flavored ice cream like strawberry or peach.
- Top with fresh berries before serving.
- Oreo Explosion:
- Replace graham crackers with crushed Oreos for the crust.
- Fold crushed Oreos into both the cheesecake and ice cream layers.
- Garnish with mini Oreos or cookies ‘n’ cream ice cream.
- Tropical Twist:
- Add shredded coconut and a splash of lime juice to the cheesecake filling.
- Use pineapple or coconut-flavored ice cream.
- Top with toasted coconut flakes for texture and aroma.
- Coffee Caramel Crunch:
- Add instant espresso powder to the cheesecake filling.
- Use coffee or caramel swirl ice cream for the top layer.
- Drizzle with caramel sauce and sprinkle with toffee bits or crushed biscotti.
- Mini Ice Cream Cheesecakes:
- Prepare the crust and layers in muffin tins lined with paper cups.
- Perfect for parties or portion control—just pop out and serve individual minis!
How to Serve Your Ice Cream Cheesecake
Once your ice cream cheesecake is ready, it’s time to make the most of this delicious creation by serving it just right.
Here’s how to ensure that it looks as amazing as it tastes:
- Allow Slight Softening: Before serving, let the cheesecake sit out at room temperature for about 5-10 minutes. This slight softening will make slicing easier and will give the ice cream layer a smoother, creamier texture.
- Slice with Warm Water: For perfectly clean slices, dip your knife in hot water, wipe it dry, and then cut into the cheesecake. Reheat the knife between slices to maintain neat cuts and avoid any mess.
- Add Garnishes: While the cheesecake is impressive on its own, a few simple garnishes can elevate its presentation. Consider topping your slices with fresh fruit, whipped cream, or a drizzle of chocolate or caramel sauce. For a crunchy contrast, you could even sprinkle crushed cookies or chopped nuts.
- Serve on a Chilled Plate: To keep the dessert cool longer, serve each slice on a chilled plate. This helps maintain the perfect texture and keeps your guests enjoying it at the optimal temperature.
- Pair with Drinks: Pair your ice cream cheesecake with a refreshing beverage like iced coffee, a cold glass of milk, or a fruity mocktail to complement the dessert’s flavors.
Final Thoughts
This Ice Cream Cheesecake is a showstopper of a dessert that combines the best elements of two beloved treats—cheesecake and ice cream.
Whether you’re hosting a special celebration or indulging in a weekend dessert, this recipe will certainly leave everyone satisfied.
The versatility of this dessert allows you to customize it to your liking, playing with different ice cream flavors and mix-ins, so feel free to get creative!
Take your time with the process, and don’t rush the freezing step—it’s worth the wait.
The end result will be a gorgeous, creamy cheesecake with the perfect balance of smooth cheesecake and creamy ice cream.
So go ahead, indulge in a slice (or two!) of this irresistible dessert, and enjoy!
Frequently Asked Questions
1. Can I make this ice cream cheesecake dairy-free or gluten-free?
Yes! For a dairy-free version, use dairy-free cream cheese and ice cream options.
For a gluten-free version, simply use gluten-free graham crackers or even gluten-free cookie crumbs for the crust.
2. How long can I store the ice cream cheesecake in the freezer?
You can store your ice cream cheesecake in the freezer for up to 1-2 weeks.
Just make sure to cover it tightly with plastic wrap or aluminum foil to prevent freezer burn.
3. Can I use homemade ice cream for this recipe?
Absolutely! Homemade ice cream works wonderfully in this recipe.
Just ensure it’s not too hard when you’re ready to spread it over the cheesecake filling, as homemade ice cream can sometimes be firmer than store-bought.
4. What’s the best way to cut the cheesecake into perfect slices?
To get clean, smooth slices, dip your knife in warm water before cutting and wipe it between each slice.
This method ensures that the ice cream and cheesecake layers remain intact.
5. Can I make this ice cream cheesecake ahead of time?
Yes, this recipe is perfect for making ahead.
Prepare it a day or two before you plan to serve, and allow it to freeze overnight for the best results.
Just be sure to give it a few minutes to soften before serving for the perfect texture.

Ice Cream Cheesecake
Equipment
- 1 (9-inch) Springform Pan
- 1 Mixing Bowl (for cheesecake filling)
- 1 Food Processor (for crushing graham crackers)
- 1 Electric Mixer (or Handheld Beater)
- 1 Spatula (for spreading cheesecake and ice cream)
- 1 Knife (for slicing cheesecake)
Ingredients
For the Crust:
- 1 ½ cups 150g Graham cracker crumbs
- ¼ cup 60g Butter, melted
- 2 tbsp 25g Sugar
For the Cheesecake Filling:
- 2 8oz packages (450g) Cream cheese, softened
- ½ cup 100g Sugar
- 2 tsp Vanilla extract
- 2 large Eggs
- ½ cup 120g Sour cream (optional for extra creaminess)
For the Ice Cream Layer:
- 3 cups 720g Ice cream (flavor of choice; vanilla, chocolate, or a combination works best)
Instructions
Prepare the crust:
- In a food processor, crush the graham crackers into fine crumbs. Mix with melted butter and sugar until combined. Press the mixture evenly into the bottom of a 9-inch springform pan. Chill the crust in the freezer for 10-15 minutes.
Make the cheesecake filling:
- Using an electric mixer, beat the softened cream cheese and sugar until smooth. Add the vanilla extract and eggs, one at a time, mixing after each addition. If using sour cream, mix it in for extra richness. Once the mixture is smooth, pour it over the chilled crust, smoothing it evenly with a spatula.
Prepare the ice cream layer:
- Let the ice cream soften at room temperature for 10 minutes, then spoon it onto the cheesecake layer. Spread evenly over the cheesecake with a spatula. You can swirl two ice cream flavors together for a fun, marbled effect.
Freeze:
- Cover the cheesecake with plastic wrap or aluminum foil and freeze for at least 4-6 hours, or overnight for best results.
Serve:
- Once the cheesecake is fully set, remove it from the springform pan. Slice with a warm knife, wiping it clean between cuts. Serve and enjoy!
Notes
- Flavors: You can customize this recipe with your favorite ice cream flavors. Consider adding mix-ins like crushed cookies, fruit swirls, or chocolate chips.
- Make ahead: This dessert is perfect for making ahead. You can freeze it for up to 1-2 weeks. Just make sure it’s tightly wrapped to prevent freezer burn.
- Dairy-free/Gluten-free options: To make the dessert dairy-free, use plant-based cream cheese and ice cream. For a gluten-free version, substitute the graham cracker crumbs with gluten-free options or other cookies like gluten-free Oreos.


