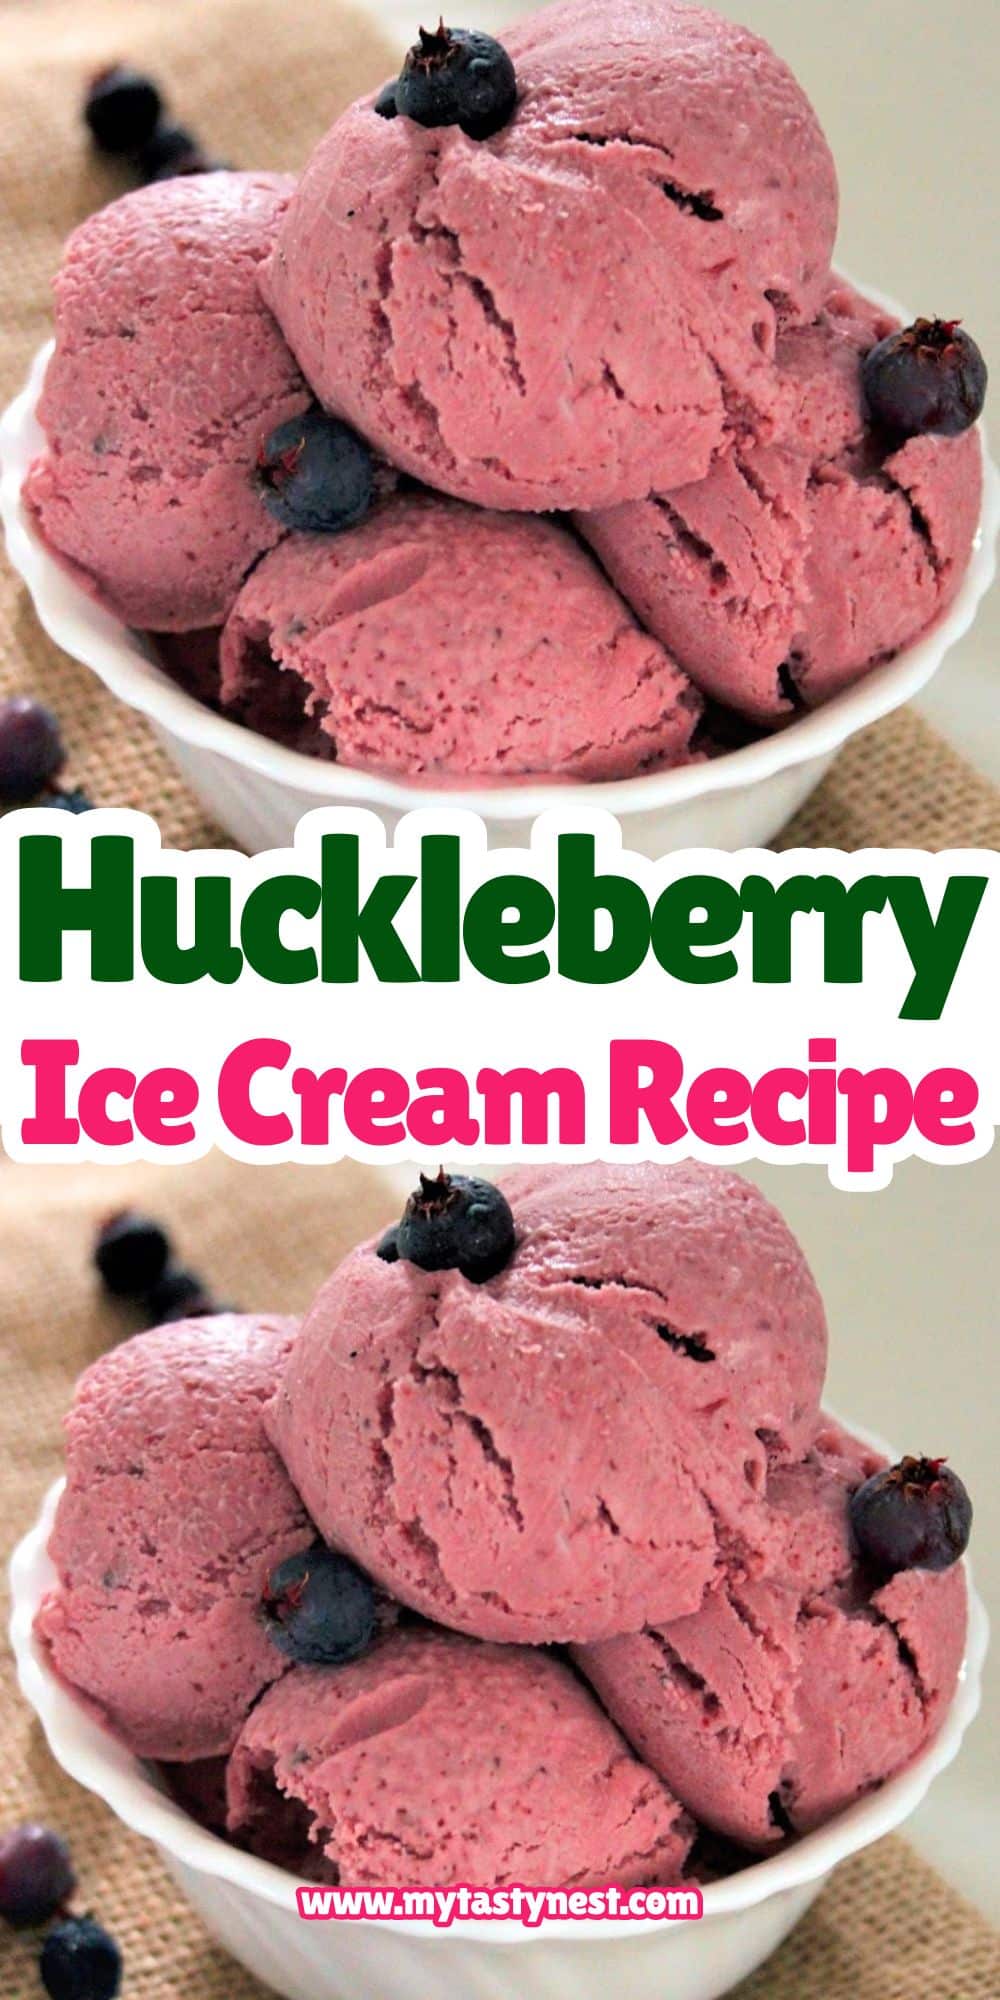
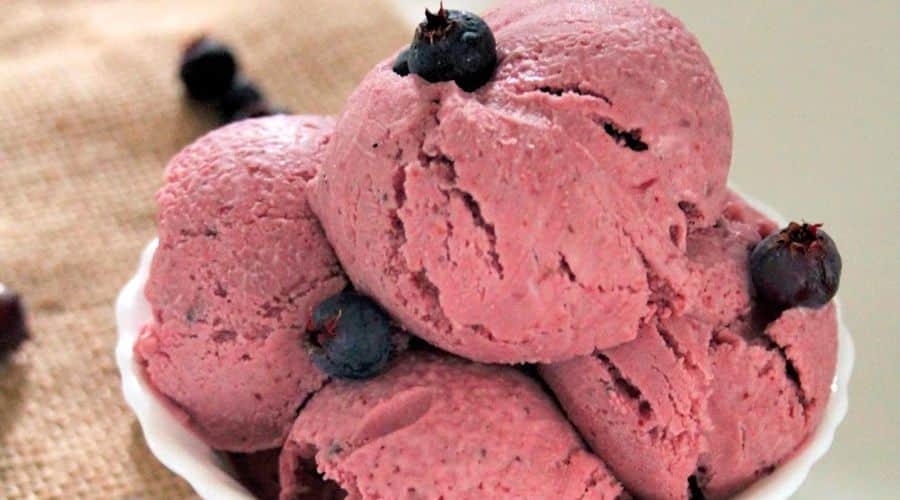
There’s nothing quite like a scoop of homemade huckleberry ice cream on a warm summer day.
With its perfect balance of sweet and tart flavors, this rich and creamy dessert showcases the natural beauty of huckleberries in every bite.
Unlike store-bought ice cream, making it from scratch allows you to enjoy the freshest ingredients and customize it to your taste.
Huckleberries, often compared to blueberries, have a deeper, more complex flavor that makes them ideal for desserts.
Whether you’ve picked them fresh from the wild or found a frozen batch at the store, this recipe will transform them into a smooth, luscious ice cream that’s both refreshing and indulgent.
If you love berry-flavored treats, this homemade huckleberry ice cream will quickly become a favorite in your kitchen.

What Are Huckleberries?
Huckleberries are small, round berries that grow in the wild, primarily in the mountainous regions of North America.
They resemble blueberries in appearance but have a more intense, tangy flavor that ranges from sweet to slightly tart, depending on their ripeness.
Huckleberries vs. Blueberries: What’s the Difference?
While they may look similar, huckleberries and blueberries have a few key differences:
- Flavor – Huckleberries have a more robust and slightly tart taste, whereas blueberries tend to be milder and sweeter.
- Seeds – Huckleberries contain tiny seeds, giving them a slightly crunchier texture compared to the smoothness of blueberries.
- Growing Conditions – Unlike cultivated blueberries, huckleberries grow wild and are not commercially farmed on a large scale, making them a prized seasonal treat.
Where to Find Huckleberries
Fresh huckleberries are typically found in forests, meadows, and mountainous areas in the Pacific Northwest, Montana, and Idaho.
If foraging isn’t an option, you can sometimes find them at farmers’ markets or specialty stores.
Frozen huckleberries are also available online and in select grocery stores, making them accessible year-round.
Why Huckleberries Are Perfect for Ice Cream
Thanks to their natural acidity and deep berry flavor, huckleberries make an excellent base for ice cream.
When combined with a rich and creamy custard, their tartness balances beautifully with the sweetness, creating a dessert that is both refreshing and indulgent.
Whether you’re a seasoned huckleberry lover or trying them for the first time, this ice cream recipe is the perfect way to enjoy their unique taste.
Ingredients You’ll Need
To make this homemade huckleberry ice cream, you’ll need a handful of simple ingredients that come together to create a creamy, flavorful treat.
Using fresh or frozen huckleberries ensures a bold berry taste, while a rich dairy base gives the ice cream its signature smoothness.
Main Ingredients:
- Huckleberries (2 cups, fresh or frozen) – These berries provide a sweet-tart flavor and a beautiful purple color.
- Granulated sugar (¾ cup) – Sweetens the ice cream and helps extract juice from the berries.
- Lemon juice (1 tablespoon) – Enhances the tartness and brings out the fruit’s natural flavor.
- Heavy cream (2 cups) – Essential for a creamy, rich texture.
- Whole milk (1 cup) – Balances the creaminess while keeping the ice cream smooth.
- Egg yolks (4 large) – Helps create a custard base, making the ice cream extra rich and silky.
- Vanilla extract (1 teaspoon) – Adds warmth and depth to the flavor.
Optional Additions:
- Honey or maple syrup – Can be used as a natural sweetener instead of sugar.
- Cornstarch (1 teaspoon, optional) – Helps thicken the base if you prefer not to use egg yolks.
- Dark chocolate shavings or crushed graham crackers – Great mix-ins for added texture and flavor.
Now that you have your ingredients ready, let’s dive into the step-by-step process of making homemade huckleberry ice cream!
Step-by-Step Instructions

Making huckleberry ice cream from scratch is easier than you might think!
Follow these steps to create a luscious, flavorful dessert.
Step 1: Prepare the Huckleberry Compote
- In a saucepan over medium heat, combine huckleberries, sugar, and lemon juice.
- Stir occasionally, letting the berries break down and release their juices (about 5-7 minutes).
- Once the mixture thickens slightly, mash the berries with a fork or blend for a smoother consistency.
- Remove from heat and let the compote cool completely before adding it to the ice cream base.
Step 2: Make the Ice Cream Base
- In a medium saucepan, heat the milk and heavy cream over low heat until it’s warm but not boiling.
- In a separate bowl, whisk the egg yolks and remaining sugar until the mixture turns pale and creamy.
- Temper the eggs by slowly adding a small amount of the warm milk mixture while whisking continuously. This prevents the eggs from scrambling.
- Pour the tempered egg mixture back into the saucepan and cook over low heat, stirring constantly, until the mixture thickens enough to coat the back of a spoon (about 5 minutes).
- Remove from heat and stir in vanilla extract.
Step 3: Combine and Chill
- Strain the custard through a fine-mesh sieve to remove any lumps.
- Stir in the cooled huckleberry compote, creating a vibrant purple ice cream base.
- Cover and refrigerate for at least 4 hours (or overnight) to let the flavors meld and the mixture fully chill.
Step 4: Churn the Ice Cream
- Pour the chilled mixture into an ice cream maker and churn according to the manufacturer’s instructions (usually 20-25 minutes).
- If you don’t have an ice cream maker, pour the mixture into a shallow dish and freeze, stirring every 30 minutes to break up ice crystals.
Step 5: Freeze and Serve
- Transfer the churned ice cream to an airtight container and freeze for at least 2-4 hours until firm.
- Scoop and serve in bowls or cones, garnishing with fresh huckleberries or a drizzle of chocolate if desired.
Enjoy your homemade huckleberry ice cream—a perfect blend of fruity tartness and creamy goodness!
Pro Tips for the Best Huckleberry Ice Cream
Want to take your homemade huckleberry ice cream to the next level?
Here are some expert tips to ensure a smooth, creamy texture and a rich berry flavor in every scoop.
1. Use Fresh or High-Quality Frozen Huckleberries
If you have access to fresh huckleberries, they’ll provide the most vibrant flavor.
However, frozen huckleberries work just as well—just make sure to thaw and drain them before use to avoid excess water in your ice cream.
2. Enhance the Berry Flavor
Huckleberries have a naturally tangy taste, which pairs well with a splash of lemon juice or a touch of honey.
This helps to enhance the fruitiness and create a more balanced flavor.
3. Prevent Ice Crystals for a Smoother Texture
- Make sure your ice cream base is fully chilled before churning.
- If using the no-churn method, stir the mixture every 30 minutes while freezing to break up ice crystals.
- Adding a tablespoon of vodka to the mixture can help keep the ice cream soft, as alcohol lowers the freezing point.
4. Adjust Sweetness to Your Preference
Huckleberries can be quite tart, so adjust the sugar level based on their ripeness.
If you prefer a natural sweetener, try using maple syrup or agave nectar instead of granulated sugar.
5. Experiment with Mix-Ins and Toppings
For a fun twist, try adding:
- Dark chocolate chunks for a rich contrast.
- Graham cracker crumbs for a huckleberry pie-inspired flavor.
- Toasted coconut flakes for a tropical variation.
More Delicious Homemade Ice Cream Recipes to Try
If you loved making this huckleberry ice cream, here are a few more homemade ice cream recipes to explore:
1. Blueberry Cheesecake Ice Cream
A creamy, tangy ice cream with swirls of blueberry compote and chunks of graham cracker crust, perfect for cheesecake lovers.
2. Blackberry Swirl Ice Cream
Similar to huckleberry ice cream but with a deeper berry flavor and a striking marbled effect, thanks to a blackberry sauce swirl.
3. Strawberry Shortcake Ice Cream
A classic summer treat featuring fresh strawberries, vanilla ice cream, and crumbled shortbread cookies for a deliciously nostalgic flavor.
4. Raspberry White Chocolate Ice Cream
A perfect combination of tart raspberries and sweet, creamy white chocolate, making for an elegant and refreshing dessert.
5. No-Churn Mango Coconut Ice Cream
A dairy-free option that’s rich and tropical, made with creamy coconut milk and fresh mango purée—no ice cream maker needed!
Conclusion
Homemade huckleberry ice cream is the perfect way to enjoy the unique, tangy-sweet flavor of this wild berry.
With a smooth, creamy texture and a vibrant purple hue, this ice cream is as beautiful as it is delicious.
Whether you’re making it for a summer treat, a special occasion, or just because you love homemade ice cream, this recipe is sure to impress.
Now that you’ve mastered the art of huckleberry ice cream, don’t hesitate to experiment with variations, try new mix-ins, or pair it with other desserts like waffles, pies, or crumbles.
If you try this recipe, let me know in the comments how it turned out—I’d love to hear from you!
Frequently Asked Questions
1. Can I Use Frozen Huckleberries Instead of Fresh?
Yes! Frozen huckleberries work just as well in this recipe.
Just be sure to thaw and drain them first to prevent excess water from altering the texture of the ice cream.
2. What If I Don’t Have an Ice Cream Maker?
No worries! You can still make no-churn huckleberry ice cream by freezing the mixture in a shallow container and stirring it every 30 minutes for the first few hours.
This helps prevent large ice crystals from forming and keeps the texture smooth.
3. How Long Does Homemade Huckleberry Ice Cream Last?
If stored in an airtight container in the freezer, this ice cream will stay fresh for up to 2 weeks.
However, for the best flavor and texture, try to enjoy it within the first few days.
4. Can I Make This Recipe Dairy-Free?
Yes! Swap out the heavy cream and whole milk for full-fat coconut milk or almond milk.
You may need to add a bit more sweetener to balance the tartness of the huckleberries.
5. What Are Some Good Toppings for Huckleberry Ice Cream?
Huckleberry ice cream pairs beautifully with whipped cream, dark chocolate shavings, crushed graham crackers, or a drizzle of honey.
You can also serve it in a waffle cone for a classic touch.

Huckleberry Ice Cream
Equipment
- 1 medium saucepan
- (1) Whisk
- 1 Fine-Mesh Strainer
- 1 mixing bowl
- 1 Ice Cream Maker (optional, for churning)
- 1 Freezer-safe container with lid
- (1) Rubber spatula
Ingredients
For the Huckleberry Compote:
- 2 cups fresh or frozen huckleberries
- ½ cup granulated sugar
- 1 tbsp lemon juice
For the Ice Cream Base:
- 2 cups heavy cream
- 1 cup whole milk
- ¼ cup granulated sugar
- 4 large egg yolks
- 1 tsp vanilla extract
Instructions
Step 1: Make the Huckleberry Compote
- In a medium saucepan, combine the huckleberries, sugar, and lemon juice.
- Cook over medium heat, stirring occasionally, until the berries soften and release their juices (about 5-7 minutes).
- Mash the berries slightly for a chunkier texture, or blend for a smoother consistency.
- Remove from heat and let the mixture cool completely.
Step 2: Prepare the Ice Cream Base
- In another saucepan, heat the milk, heavy cream, and sugar over medium-low heat until warm but not boiling.
- In a separate bowl, whisk the egg yolks until smooth.
- Slowly pour a small amount of the warm milk mixture into the egg yolks, whisking constantly to prevent curdling.
- Pour the tempered yolk mixture back into the saucepan and cook over low heat, stirring continuously, until thickened (about 5 minutes). The mixture should coat the back of a spoon.
- Remove from heat and stir in the vanilla extract.
- Strain the mixture through a fine-mesh sieve to remove any lumps.
Step 3: Chill and Churn
- Stir in the cooled huckleberry compote, mixing well.
- Cover the mixture and refrigerate for at least 4 hours, or overnight for the best flavor.
- Once chilled, pour the mixture into an ice cream maker and churn according to the manufacturer’s instructions (typically 20-25 minutes).
Step 4: Freeze and Serve
- Transfer the churned ice cream to a freezer-safe container and freeze for at least 2-4 hours until firm.
- Scoop and serve with fresh huckleberries, chocolate drizzle, or crushed graham crackers for extra flavor!
Notes
- No-Churn Version: If you don’t have an ice cream maker, pour the mixture into a shallow dish and freeze, stirring every 30 minutes for the first 3 hours to break up ice crystals.
- Storage: Keep in an airtight container in the freezer for up to 2 weeks.
- Dairy-Free Option: Substitute coconut milk for heavy cream and almond milk for whole milk for a vegan-friendly version.
- Sweeter Ice Cream? If you prefer a sweeter flavor, increase sugar to 1 cup total.
- Serving Ideas: Try serving with waffle cones, shortbread cookies, or drizzled with honey for an extra treat!


