All products are selected by our editorial team for quality. If you buy through our links, we may earn a small commission at no extra cost to you.
Why You’ll Love This Hot Chocolate Ice Cream Recipe
When the chill of winter sets in, there’s nothing quite like a warm cup of hot chocolate to comfort your soul.
But what if you could enjoy that same cozy feeling in the form of a cold, creamy ice cream?
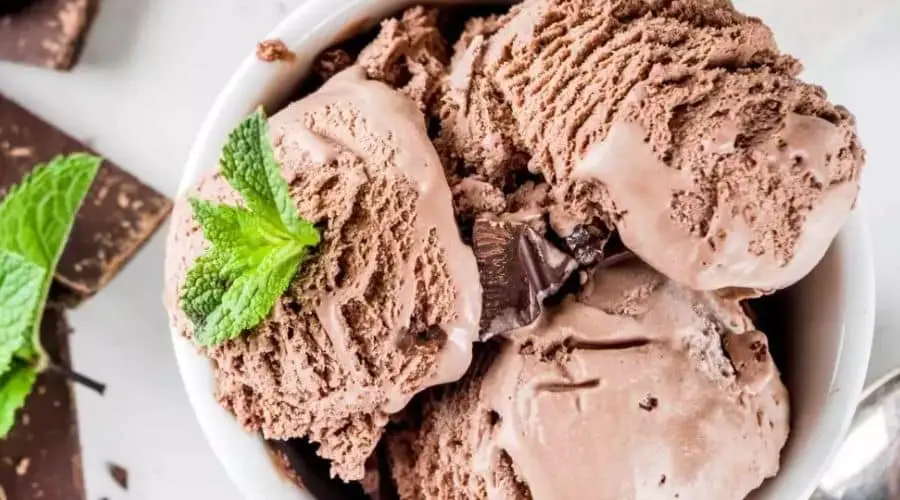
That’s exactly what this Hot Chocolate Ice Cream Recipe delivers—everything you love about the rich, velvety warmth of hot chocolate, but with the smooth, decadent texture of ice cream.
It’s the perfect dessert for when you crave the indulgence of chocolatey goodness but want something a little cooler and more refreshing.
This recipe brings together the richness of cocoa powder, the creaminess of milk and heavy cream, and a touch of vanilla to mimic the flavors of classic hot chocolate, while adding the delight of ice cream’s frozen texture.
Whether you’re a hot chocolate enthusiast or simply love experimenting with new dessert ideas, this hot chocolate ice cream will quickly become your go-to treat.
A Perfect Dessert for All Seasons
Though hot chocolate is often reserved for cold, snowy months, this Hot Chocolate Ice Cream transcends seasons.
Its rich chocolatey flavor makes it a comforting winter treat, but the cool, refreshing texture makes it an ideal dessert for summer as well.
Enjoy it on its own or as part of a fun sundae, paired with marshmallows, whipped cream, or even a warm brownie on the side.
No matter when you make it, this indulgent ice cream will make you feel like you’re curled up by the fire with a mug of cocoa.
Ingredients
To create this dreamy Hot Chocolate Ice Cream, you’ll need a handful of simple ingredients that come together to create the perfect balance of flavor and texture.
Essential Ingredients
- Heavy Cream
Heavy cream is the key to achieving the smooth, creamy texture that makes this ice cream a true indulgence.
It contributes richness and helps form the luxurious mouthfeel you’d expect from a quality ice cream. - Whole Milk
Whole milk adds to the creaminess of the base while keeping the ice cream from becoming too dense.
It helps achieve the right consistency that makes each scoop melt effortlessly. - Cocoa Powder
This is where the magic happens. Use unsweetened cocoa powder to give the ice cream its deep, chocolatey flavor that mimics your favorite cup of hot cocoa.
The quality of cocoa powder plays a major role in the taste, so opting for a high-quality brand will really elevate the overall flavor. - Sugar
Sugar adds the perfect amount of sweetness to balance the richness of the cocoa and cream.
You can adjust the amount of sugar to your taste if you prefer a sweeter or less sweet dessert. - Vanilla Extract
A splash of vanilla extract enhances the flavor of the chocolate, giving the ice cream a subtle warmth and depth that makes it even more irresistible. - Salt
A small pinch of salt enhances the other flavors and helps cut through the sweetness, providing a more balanced flavor profile.
Optional Ingredients for Extra Flavor
- Egg Yolks
If you’re going for a custard-style ice cream, egg yolks will help thicken the base and add an extra level of creaminess.
The yolks contribute to a smooth, velvety texture that’s rich and luxurious. - Chocolate Chips or Chunks
For extra chocolatey goodness, you can add chocolate chips or chunks to the mixture as it churns.
These add little bursts of melted chocolate throughout the ice cream. - Mini Marshmallows
If you love the classic combination of hot chocolate and marshmallows, consider folding in mini marshmallows during the final churning stage.
They’ll add both texture and a nostalgic element to your ice cream.
With these ingredients, you’ll be able to create a rich, indulgent Hot Chocolate Ice Cream that’s sure to satisfy any chocolate lover’s cravings.
Equipment Needed
Before you begin creating this delicious Hot Chocolate Ice Cream, it’s important to gather the right tools and equipment to ensure the process goes smoothly and your ice cream turns out perfect.
Ice Cream Maker
An ice cream maker is a key piece of equipment in this recipe.
It helps churn the ice cream base while it freezes, ensuring a smooth and creamy texture without the formation of ice crystals.
While some recipes suggest hand-churning, an ice cream maker is the most efficient and reliable method for achieving the desired consistency.
If you don’t already have one, there are plenty of affordable ice cream makers available on the market, ranging from manual to electric models.
A freezer bowl type works best for convenience, but any model with a reliable motor and freezing bowl will work well.
Mixing Bowls, Whisks, and Saucepan
You’ll need a few mixing bowls to prepare your hot chocolate base and, if using, your custard base.
A large saucepan is also necessary for heating the milk and making the cocoa mixture.
A whisk will be your best friend throughout this process—use it for stirring the cocoa and sugar into the milk and for whisking the egg yolks if you’re making a custard-style ice cream.
Storage Containers
Once your ice cream is ready, you’ll need some freezer-safe containers to store it.
A shallow, wide container works best, as it allows the ice cream to freeze evenly.
You can also use a traditional ice cream tub with a lid.
Make sure to cover the ice cream tightly to prevent freezer burn and ensure it stays fresh.
Step-by-Step Instructions

Step 1: Preparing the Hot Chocolate Base
Start by creating the hot chocolate base for your ice cream. In a medium saucepan, combine the cocoa powder and sugar.
Whisk them together to ensure they’re evenly mixed.
Gradually pour in the milk while stirring to avoid lumps. Heat the mixture over medium heat, stirring constantly, until it becomes warm and smooth.
Once the cocoa and sugar have dissolved completely, bring the mixture to a simmer.
Allow it to cook for 2-3 minutes, stirring occasionally, to fully combine the flavors. Remove from heat and set aside.
Step 2: Creating the Custard Base (Optional)
If you’re making a custard-style ice cream, you’ll need to temper the egg yolks.
In a separate bowl, whisk together the egg yolks until they become slightly lighter in color.
Slowly pour about a cup of the hot chocolate mixture into the egg yolks while whisking constantly to gently heat the eggs without scrambling them.
Once the egg yolks are warmed up, pour them back into the saucepan with the remaining hot chocolate mixture.
Place the saucepan back on the stove over low heat. Stir constantly with a wooden spoon or spatula.
Allow the custard to cook for 5-7 minutes, until it thickens and coats the back of the spoon.
Be careful not to let it boil. Once thickened, remove the custard from the heat.
Step 3: Chilling the Mixture
Now that the hot chocolate mixture (and optional custard base) is ready, it’s time to chill it.
Pour the mixture into a clean bowl and let it cool for about 10 minutes at room temperature.
After that, place the bowl in the refrigerator for at least 4 hours, or preferably overnight.
Chilling the mixture will help ensure that it freezes properly during the churning process, resulting in a smoother texture.
Step 4: Churning the Ice Cream
Once the mixture is chilled, it’s time to churn it in your ice cream maker. Follow the manufacturer’s instructions for your specific model.
Typically, you’ll pour the chilled mixture into the machine and let it churn for about 20-30 minutes, depending on your machine.
During this time, the mixture will gradually thicken and take on the creamy, frozen texture that we associate with ice cream.
If you want to add chocolate chips, marshmallows, or other mix-ins, do so in the last 5 minutes of churning.
This will ensure the ingredients are evenly distributed without overmixing.
Step 5: Freezing the Ice Cream to Firm Up
Once the ice cream has reached a soft-serve consistency, it’s time to transfer it to your storage container.
Use a spatula to scrape the ice cream into the container, smoothing the top as you go.
Cover the container with a tight-fitting lid or plastic wrap to prevent freezer burn.
Place the container in the freezer and allow the ice cream to firm up for at least 4 hours, or overnight.
The ice cream will continue to harden as it freezes, becoming scoopable and ready to serve.
Tips for the Best Hot Chocolate Ice Cream
Use High-Quality Cocoa Powder
The cocoa powder is the star ingredient in this ice cream, so choosing a high-quality, unsweetened cocoa powder will make a big difference in flavor.
Opt for a rich, dark cocoa with a deep chocolatey taste, as this will ensure your ice cream has the full-bodied, decadent flavor you desire.
Avoid Over-Churning
While it’s tempting to let your ice cream maker churn forever, be careful not to overdo it.
Over-churning can result in a dense texture rather than the smooth and creamy consistency you want.
Once your mixture thickens and reaches a soft-serve consistency, stop the churning and move it to the freezer to firm up.
Chill the Mixture Thoroughly
Chilling your ice cream base for at least 4 hours (or overnight) before churning is essential.
This ensures the mixture freezes evenly and creates a smoother texture once churned.
A colder base will freeze faster in the ice cream maker, giving you a creamier consistency.
Add Mix-Ins at the Right Time
If you’re planning to add chocolate chips, marshmallows, or any other mix-ins, be sure to add them in the last few minutes of churning.
Adding them too early can lead to uneven distribution, or they may break apart and lose their texture.
Just fold them in gently during the final stages for the perfect ice cream.
Be Patient While Freezing
After churning, don’t rush the freezing process.
The ice cream needs several hours in the freezer to firm up and become scoopable.
Make sure you allow enough time for it to set before serving, as this ensures the best texture and taste.
Serving Suggestions
Hot Chocolate Ice Cream is delicious on its own, but there are plenty of ways to elevate the experience even further.
Here are a few creative serving suggestions:
Top with Whipped Cream
A dollop of freshly whipped cream on top of your scoop of hot chocolate ice cream is a classic pairing.
For extra flair, you can add a dusting of cocoa powder or sprinkle some cinnamon for a cozy, warming touch.
Marshmallows Galore
For that authentic hot chocolate vibe, scatter some mini marshmallows over the ice cream.
You can even toast them lightly under the broiler for a fun, campfire-inspired twist.
These gooey marshmallows add sweetness and texture to each bite.
Serve with Warm Brownies or Cake
Why not combine two dessert favorites? A scoop of hot chocolate ice cream pairs wonderfully with a warm, fudgy brownie or a slice of rich chocolate cake.
The contrast of warm and cold makes for a decadent treat that’s sure to impress.
Chocolate Syrup Drizzle
For ultimate chocolate indulgence, drizzle some warm chocolate syrup over the top of your ice cream.
It adds a glossy finish and an extra layer of chocolaty goodness that takes this dessert to the next level.
Conclusion
Why This Hot Chocolate Ice Cream Will Be Your New Favorite
This Hot Chocolate Ice Cream recipe offers the perfect balance of indulgence and comfort.
Combining the rich, velvety taste of hot chocolate with the creamy texture of ice cream creates a dessert that’s impossible to resist.
Whether you’re enjoying it on a cold winter’s night or as a cool treat in the summer, this ice cream is sure to please any chocolate lover.
Encouraging Experimentation
Feel free to get creative with your Hot Chocolate Ice Cream.
Add your favorite mix-ins, toppings, or even a swirl of caramel or peanut butter to make this treat your own. With a recipe this versatile, it’s easy to adapt and create new variations to suit your personal taste.
So, the next time you’re in the mood for something sweet, skip the mug of hot cocoa and indulge in a scoop (or two) of this deliciously creamy, chocolate-packed ice cream.
It’s the perfect treat for any occasion!
Frequently Asked Questions (FAQ)
1. Can I Make Hot Chocolate Ice Cream Without an Ice Cream Maker?
Yes! If you don’t have an ice cream maker, you can still make this recipe.
After chilling your mixture, pour it into a freezer-safe container and place it in the freezer.
Stir it every 30 minutes for the first few hours to help break up any ice crystals.
This method may take a bit longer, but it will still result in a creamy, delicious ice cream.
2. How Long Will This Ice Cream Last in the Freezer?
Homemade ice cream can last up to 2-3 weeks in the freezer if stored properly in an airtight container.
Be sure to keep the ice cream covered tightly to avoid freezer burn, and always scoop with a clean spoon to maintain its freshness.
3. Can I Use Low-Fat Milk Instead of Whole Milk?
While you can use lower-fat milk, such as 2% or skim, the texture and creaminess of the ice cream may not be as rich.
Whole milk provides a fuller flavor and creamier texture, so if possible, stick with the whole milk for the best results.
4. How Can I Make This Ice Cream Dairy-Free?
To make this ice cream dairy-free, you can substitute the whole milk and heavy cream with coconut milk or almond milk.
Just be aware that the texture and flavor may differ slightly, but it’s a great alternative for those with dietary restrictions.
5. Can I Add Other Flavors to the Hot Chocolate Ice Cream?
Absolutely! If you’d like to experiment with different flavors, try adding a swirl of caramel, peanut butter, or even a splash of espresso to your ice cream mixture.
Just be sure to add these flavorings during the last few minutes of churning or fold them in before freezing.
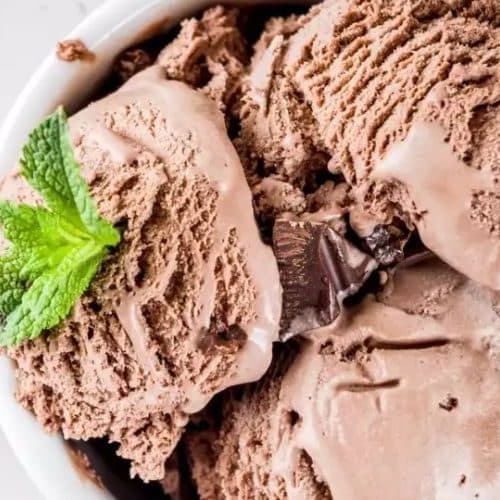
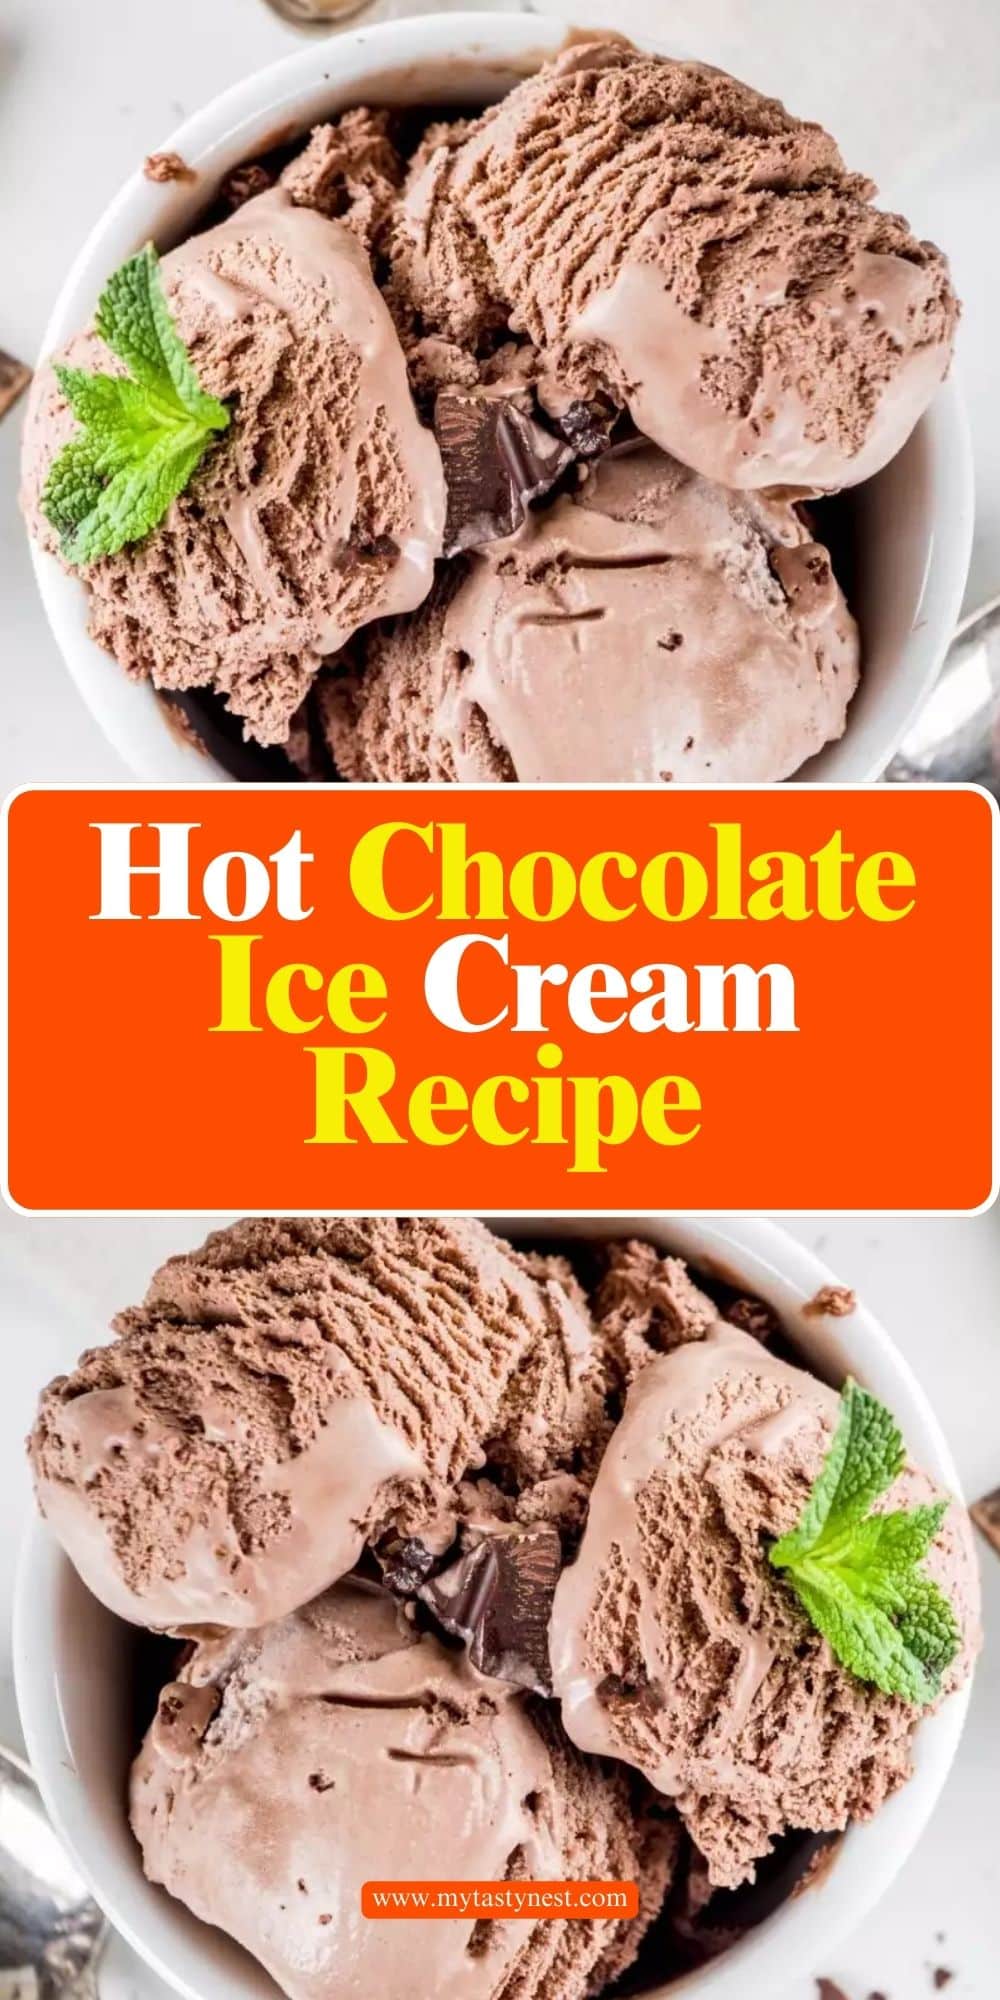
Hot Chocolate Ice Cream
Equipment
- Ice Cream Maker – 1 unit
- Medium Saucepan: 1 unit
- Whisk: 1 unit
- Mixing Bowls – 2 units
- Spatula: 1 unit
- Freezer-Safe Storage Container (1 unit)
Ingredients
- 2 cups – Heavy Cream
- 1 cup – Whole Milk
- ½ cup – Unsweetened Cocoa Powder
- ¾ cup – Granulated Sugar
- 1 teaspoon – Vanilla Extract
- A pinch – Salt
- 4 – Egg Yolks Optional for custard-style ice cream
Instructions
Step 1: Prepare the Hot Chocolate Base
- In a medium saucepan, whisk together the cocoa powder and sugar. Slowly add the whole milk, stirring continuously to combine. Heat over medium heat, bringing the mixture to a simmer. Stir occasionally until smooth and all the cocoa and sugar have dissolved.
Step 2: Make the Custard (Optional)
- In a separate bowl, whisk the egg yolks. Gradually pour about 1 cup of the hot cocoa mixture into the egg yolks while whisking constantly to temper them. Slowly pour the egg yolk mixture back into the saucepan. Stir constantly over low heat until the mixture thickens and coats the back of a spoon. Be careful not to let it boil.
Step 3: Cool the Mixture
- Remove the saucepan from the heat and stir in the heavy cream, vanilla extract, and a pinch of salt. Let the mixture cool for 10 minutes at room temperature. Once cooled, cover and refrigerate for at least 4 hours, or preferably overnight.
Step 4: Churn the Ice Cream
- Once the mixture is chilled, pour it into an ice cream maker. Follow the manufacturer’s instructions to churn the mixture for 20-30 minutes, or until it thickens to a soft-serve consistency.
Step 5: Freeze to Firm Up
- Transfer the ice cream to a freezer-safe container. Cover and freeze for at least 4 hours, or until the ice cream is firm and scoopable.
Notes
- Chilling the Mixture: For best results, make sure the hot chocolate base is fully chilled before churning. The colder the mixture, the smoother and creamier the final ice cream will be.
- Optional Add-Ins: Feel free to mix in chocolate chips, mini marshmallows, or swirl in some caramel or peanut butter during the final few minutes of churning.
- No Ice Cream Maker? If you don’t have an ice cream maker, you can pour the chilled mixture into a shallow container and freeze it. Stir the mixture every 30 minutes for the first few hours to prevent ice crystals from forming.
- Storage: Store the ice cream in an airtight container in the freezer for up to 2-3 weeks.
