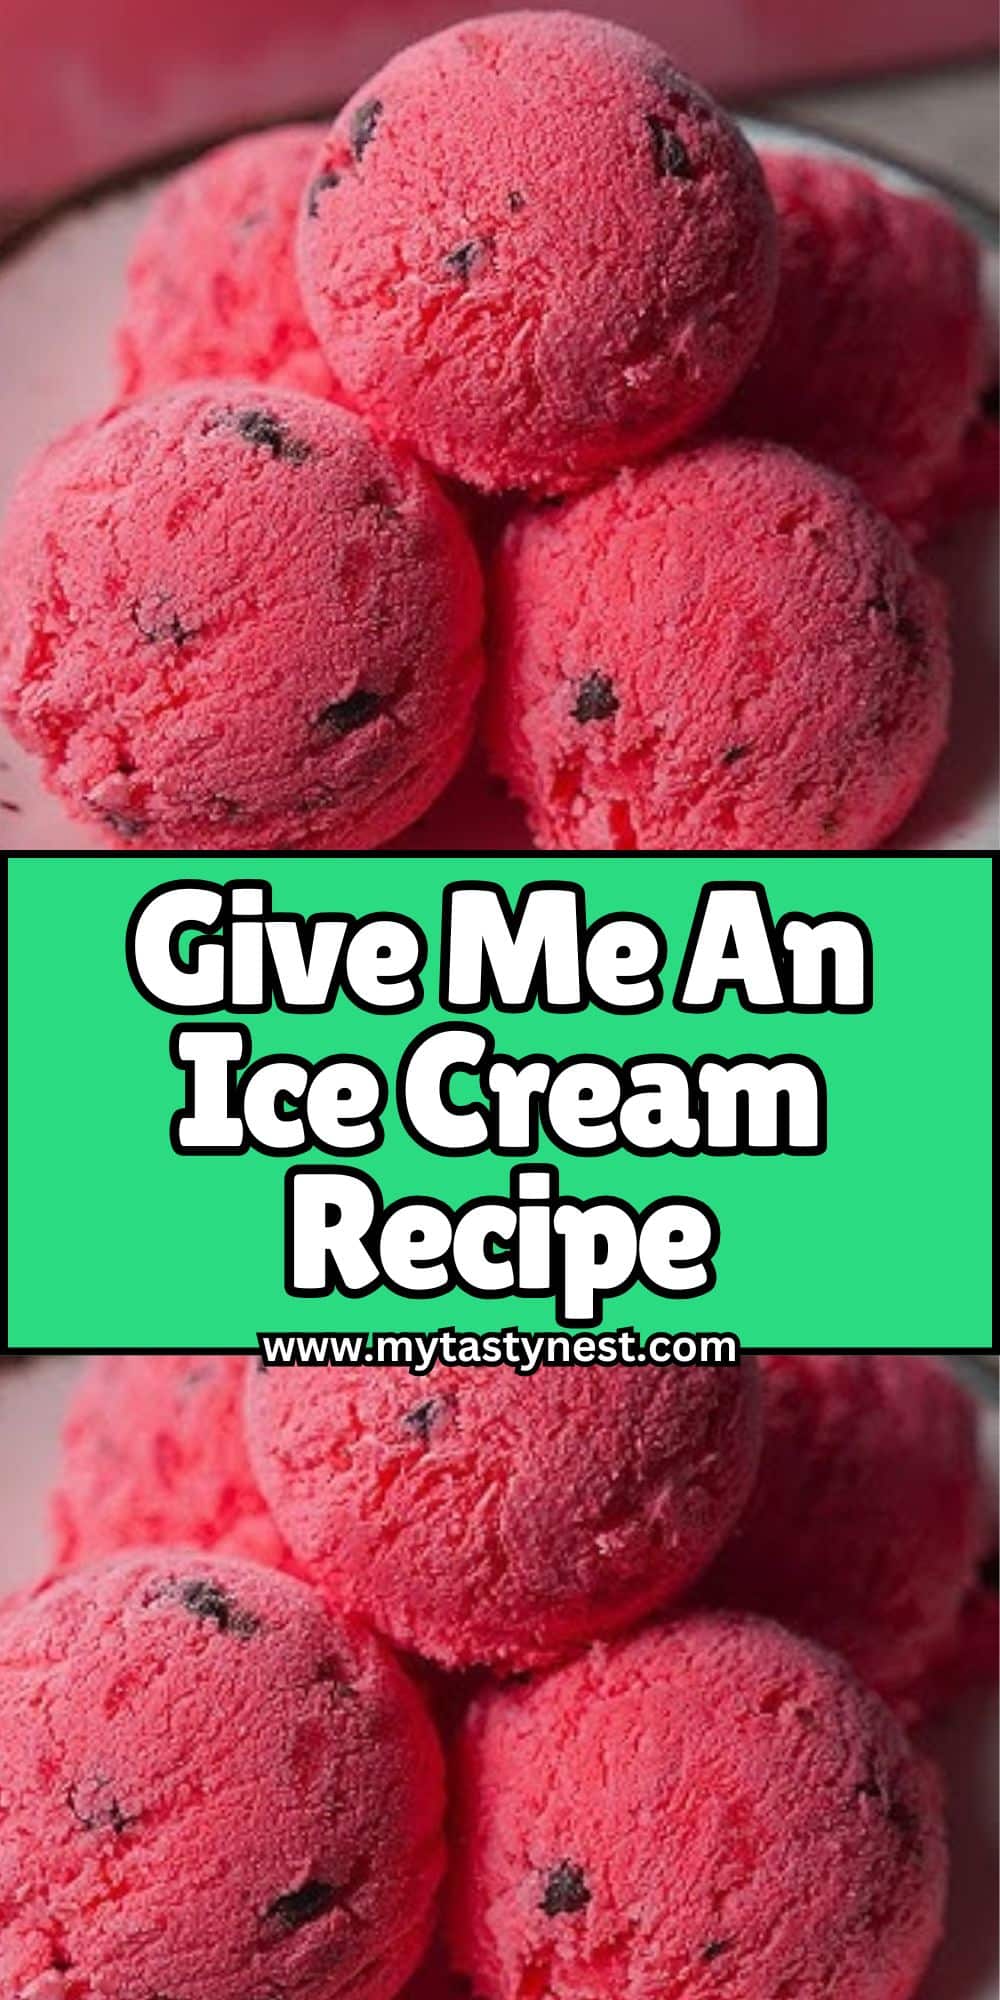
There’s something truly magical about making ice cream from scratch.
It’s a fun, rewarding experience that allows you to indulge in the creamiest, most flavorful frozen treat possible.
Whether you’re a seasoned baker or a beginner in the kitchen, homemade ice cream offers countless opportunities for creativity and personalization.
Plus, it’s the perfect way to enjoy a sweet, refreshing treat without worrying about artificial additives or preservatives.
Making ice cream at home gives you full control over the ingredients, meaning you can create the perfect combination of flavors, textures, and sweetness.
Whether you love classic vanilla, want to experiment with rich chocolate, or feel adventurous with fruit-infused varieties, homemade ice cream allows you to customize the recipe to suit your tastes and dietary needs.
So, if you’ve ever wondered why people rave about homemade ice cream, it’s because it tastes better, it’s made with love, and the possibilities are endless!

Essential Ingredients for Homemade Ice Cream
To make homemade ice cream, you’ll need just a few basic ingredients that come together to create a rich and creamy base.
Here’s what you’ll need to get started:
1. Heavy Cream
Heavy cream is the key to achieving a smooth, velvety texture in your ice cream.
It’s rich in fat, which gives ice cream its creamy, indulgent mouthfeel.
You’ll want to use full-fat heavy cream to ensure your ice cream is silky and not too icy.
2. Whole Milk
Whole milk balances the richness of the heavy cream.
While it doesn’t add the same level of creaminess, it helps create a smooth consistency without making the ice cream too dense.
Using full-fat milk is recommended for the best results, as it will provide a more luxurious texture compared to lower-fat options.
3. Granulated Sugar
Sugar is not only responsible for adding sweetness to your ice cream but also for contributing to its smooth texture.
Sugar prevents ice crystals from forming, which is crucial for that creamy, melt-in-your-mouth experience.
You’ll need to adjust the amount based on your personal sweetness preferences, but a typical ratio is around one cup of sugar for every 2 cups of dairy.
4. Eggs (Optional but Recommended)
While eggs are technically optional, they are commonly used in custard-based ice cream recipes.
The egg yolks help create a rich, creamy custard base that improves the texture and flavor of the ice cream.
Eggs also help emulsify the cream and milk, ensuring that they blend together perfectly without separating.
5. Vanilla Extract (or Your Preferred Flavoring)
Vanilla extract is the classic flavoring for most ice cream recipes.
It adds a fragrant, aromatic undertone that enhances the overall flavor of the ice cream.
If you want to get creative, you can substitute vanilla with other flavorings like almond extract, coffee, or citrus zest to give your ice cream a unique twist.
6. Optional Add-ins and Flavor Variations
The beauty of homemade ice cream lies in the freedom to experiment.
Once you’ve made the basic ice cream base, you can fold in various add-ins to enhance your creation.
Some popular options include chocolate chips, crushed cookies, fresh fruit, caramel swirls, or even spices like cinnamon or nutmeg.
Don’t be afraid to try bold combinations and discover your own signature flavor!
With these ingredients in hand, you’re ready to embark on your homemade ice cream adventure.
The best part? You can always modify this foundation to suit your dietary preferences, whether you’re looking to make a vegan version or a dairy-free treat.
Step-by-Step Instructions for Making Ice Cream at Home

Making ice cream at home is a process that’s as rewarding as it is simple.
Follow these steps, and you’ll be savoring homemade ice cream in no time.
Step 1: Prepare the Ice Cream Base
Start by combining your heavy cream, whole milk, and granulated sugar in a medium saucepan.
Heat the mixture over medium heat, stirring occasionally, until the sugar dissolves completely.
You don’t need to bring it to a boil—just make sure it’s warm enough to dissolve the sugar and get the cream and milk nicely blended together.
Step 2: Temper the Eggs
In a separate bowl, whisk the egg yolks. To prevent scrambling the eggs when added to the hot milk mixture, you’ll need to temper them.
Slowly pour a small amount of the warm milk mixture into the eggs, whisking constantly to gradually warm them up.
This step ensures that the eggs don’t cook too quickly when you add them back to the saucepan.
Step 3: Cook the Custard
Once the eggs are tempered, slowly pour them into the saucepan with the remaining warm milk mixture.
Continue to cook over medium heat, stirring constantly with a wooden spoon or heatproof spatula.
The custard is ready when it thickens enough to coat the back of the spoon.
To test, run your finger along the back of the spoon—if the line stays, it’s the right consistency.
Step 4: Chill the Mixture
Once your custard has thickened, remove it from the heat.
Stir in your vanilla extract (or any other flavorings you’re using) and allow the mixture to cool at room temperature for about 30 minutes.
Afterward, place the custard in the fridge to chill for at least 4 hours or overnight.
This step is crucial for ensuring that the ice cream churns smoothly and freezes properly.
Step 5: Churn the Ice Cream
Once your custard is thoroughly chilled, it’s time to churn it.
Pour the chilled custard into your ice cream maker, following the manufacturer’s instructions.
Depending on the machine, it should take around 20 to 30 minutes for the ice cream to thicken and take on a soft-serve consistency.
Make sure not to over-churn, as this could lead to an icy texture rather than a creamy one.
Step 6: Freeze and Serve
Once your ice cream has reached a soft-serve texture, transfer it to a lidded container and place it in the freezer for at least 2 hours to firm up.
If you prefer a scoopable texture, this is when the ice cream will solidify into its final form.
When it’s ready to serve, dish it up and enjoy!
Tips for Perfect Homemade Ice Cream
Making homemade ice cream is an art, and even small adjustments can make a big difference in the outcome.
Here are some tips to help you get it just right.
Avoid Ice Crystals for a Smooth Texture
The key to silky, smooth ice cream is preventing ice crystals from forming.
One way to do this is by making sure your custard base is properly cooked to the right consistency—thick enough to coat the spoon but not too thick to turn into pudding.
Additionally, be sure to chill your mixture thoroughly before churning, as a cold base churns better and helps achieve a smoother texture.
Use Full-Fat Dairy
For the creamiest ice cream, opt for full-fat heavy cream and whole milk.
These will provide the necessary fat content to achieve a rich, velvety texture.
Low-fat or skim milk won’t give you the same luxurious results, and your ice cream might turn out too icy.
Don’t Skip the Chilling Time
Patience is key! Chilling your ice cream base for at least 4 hours (or overnight) ensures it’s cold enough for the ice cream machine to do its job.
If you try to churn the mixture too soon, you risk creating a grainy texture or uneven freezing.
Adjust Sweetness to Taste
While the recipe gives a standard amount of sugar, don’t hesitate to adjust it based on your preferences.
Keep in mind that freezing can dull the sweetness, so err on the side of a slightly sweeter base, especially if you’re adding a lot of mix-ins like chocolate chips or fruit, which can alter the flavor.
Incorporate Flavorings and Add-ins Gently
When adding flavorings like vanilla extract or mix-ins like chocolate chips or crushed cookies, do so gently.
After the ice cream has finished churning, fold in your add-ins using a spatula to prevent breaking up the texture.
Avoid adding mix-ins too early in the churning process, as they may become too incorporated or dissolve into the base.
Don’t Overchurn Your Ice Cream
It’s easy to get carried away with the ice cream maker, but overchurning can lead to a grainy, icy texture.
Keep an eye on the ice cream as it churns, and stop when it reaches a thick, soft-serve consistency.
It will firm up further in the freezer.
Storage Tips for Homemade Ice Cream
Homemade ice cream is best enjoyed fresh, but if you have leftovers, store them in an airtight container in the freezer.
To avoid freezer burn, press a piece of plastic wrap directly onto the surface of the ice cream before sealing the container.
This will help maintain its creamy texture and prevent any ice crystals from forming.
Vegan or Dairy-Free Alternatives for Ice Cream
Making delicious homemade ice cream doesn’t have to mean using dairy products.
Whether you’re following a vegan diet, have a dairy intolerance, or simply want to try something new, you can still enjoy the rich, creamy texture of ice cream without any animal-derived ingredients.
Here’s how you can make dairy-free and vegan ice cream.
1. Coconut Milk
Coconut milk is one of the most popular substitutes for dairy in vegan ice cream recipes.
It has a naturally rich and creamy consistency that mimics the texture of heavy cream perfectly.
You can use full-fat coconut milk for a luscious, velvety finish.
Just be aware that coconut milk does have a distinct coconut flavor, which works wonderfully in tropical or chocolate-based ice cream but might not be ideal for every flavor.
2. Almond Milk
Almond milk is a lighter alternative to coconut milk and can be used in many ice cream recipes.
Though it’s not as rich as coconut milk, using full-fat almond milk or adding a bit of almond cream can give your ice cream a thicker texture.
Almond milk pairs well with fruit-based ice creams, vanilla, and even nut-flavored creations like pistachio.
3. Cashew Milk
Cashew milk is another excellent dairy-free option, especially if you’re looking for a creamier texture.
It’s rich and has a neutral flavor, so it can be used in almost any ice cream recipe without overpowering other flavors.
Cashew cream, which is made by blending soaked cashews with water, can also be used to give your ice cream a very smooth, indulgent texture.
4. Oat Milk
Oat milk has a naturally thick, creamy texture, making it a great choice for ice cream.
Its flavor is neutral with a hint of sweetness, which complements many traditional ice cream flavors like vanilla, chocolate, and coffee.
Oat milk-based ice cream is also ideal for those with nut allergies, as it’s made from oats rather than nuts.
5. Non-Dairy Creams
You can also experiment with plant-based cream alternatives, such as coconut cream, soy cream, or oat cream.
These can be combined with non-dairy milk to help achieve a rich, creamy ice cream texture without using dairy.
Making the Custard Base
For a vegan custard, you can replace the eggs with cornstarch or a commercial egg replacer.
The cornstarch will help thicken the mixture and provide the smooth texture you want in your ice cream.
Another option is using silken tofu, which can lend a creamy texture and protein to the mix.
With these dairy-free alternatives, the sky’s the limit when it comes to flavor combinations—whether you’re into fruit-based ice creams, chocolate, or even savory varieties, you’ll find the perfect dairy-free base to create a delicious frozen treat.
Conclusion
Making homemade ice cream is a rewarding experience that’s perfect for satisfying your sweet tooth.
From the rich, custard-based texture to the endless possibilities for customization, homemade ice cream is a treat you can feel good about making and enjoying.
Whether you’re creating classic flavors or experimenting with new combinations, the beauty of homemade ice cream lies in the freedom it offers.
By following simple steps and tips, you can enjoy creamy, indulgent ice cream anytime—whether you prefer traditional dairy or need to explore vegan alternatives.
The process is not only fun, but it’s a great way to share joy with family and friends as you indulge in your own handmade creations.
So, gather your ingredients, break out the ice cream maker, and start experimenting with flavors.
The perfect scoop of homemade ice cream is just a few steps away!
Frequently Asked Questions About Making Ice Cream
1. Can I make ice cream without an ice cream maker?
Yes! If you don’t have an ice cream maker, you can still make ice cream at home.
Simply pour the chilled ice cream base into a shallow pan, place it in the freezer, and stir it every 30 minutes to break up ice crystals.
Repeat this process for about 2-3 hours until it reaches the desired consistency.
2. How long does homemade ice cream last in the freezer?
Homemade ice cream typically lasts for 1-2 weeks in the freezer, although it’s best enjoyed within the first week for optimal texture.
Over time, the ice cream may become harder and more difficult to scoop.
To keep it at its best, make sure it’s stored in an airtight container.
3. Can I make ice cream without eggs?
Yes! Many ice cream recipes are egg-free.
You can make a delicious, eggless ice cream by simply following a custard-free recipe, or by replacing eggs with cornstarch or silken tofu in your base.
The texture will still be smooth and creamy!
4. Can I use low-fat milk for ice cream?
While you can use low-fat or skim milk, it’s best to stick with whole milk for a richer, creamier texture.
Low-fat milk may result in a less indulgent and more icy texture, so for the best results, full-fat dairy (or plant-based alternatives) is preferred.
5. How can I avoid making my ice cream icy?
To prevent icy ice cream, make sure your mixture is well-chilled before churning and avoid over-churning in the ice cream maker.
Additionally, using full-fat dairy or coconut milk in your base helps prevent ice crystals.
If you want to add fruit, puree it and fold it in after churning to avoid excess water from diluting the texture.

Give Me An Ice Cream
Equipment
- 1 Medium saucepan – for heating the cream and milk mixture.
- 1 Whisk – to beat the egg yolks and combine the custard.
- 1 Heatproof spatula or wooden spoon – for stirring the custard.
- 1 Ice cream maker – for churning the ice cream (optional if no machine, see method below).
- 1 Large bowl – for chilling the custard.
- 1 Container with lid – to store the finished ice cream in the freezer.
Ingredients
- 2 cups – Heavy cream
- 1 cup – Whole milk
- 1 cup – Granulated sugar
- 5 large – Egg yolks
- 1 tablespoon – Vanilla extract or flavor of your choice
- Pinch of salt – Optional to balance sweetness
Instructions
Prepare the ice cream base:
- In a medium saucepan, combine the heavy cream, whole milk, and sugar. Heat over medium heat until the sugar is dissolved and the mixture is warm but not boiling.
Temper the eggs:
- In a separate bowl, whisk the egg yolks. Slowly pour a small amount of the warm cream mixture into the egg yolks while whisking constantly. This process helps warm the yolks without cooking them.
Make the custard:
- Gradually pour the egg mixture back into the saucepan with the remaining cream mixture. Stir constantly over medium heat with a wooden spoon or heatproof spatula. Cook until the custard thickens and coats the back of the spoon (about 5-7 minutes). Do not let it boil.
Cool the custard:
- Remove from heat and stir in the vanilla extract. Allow the custard to cool at room temperature for about 30 minutes, then transfer to the fridge and chill for at least 4 hours or overnight.
Churn the ice cream:
- Once the custard is fully chilled, pour it into your ice cream maker and churn according to the manufacturer’s instructions (usually about 20-30 minutes until it reaches a soft-serve consistency).
Freeze and serve:
- Transfer the ice cream to an airtight container and place it in the freezer for at least 2 hours to firm up. Scoop and serve when ready.
Notes
- Vegan/Dairy-Free Option: Substitute coconut milk or almond milk for the dairy milk and heavy cream, and use a non-dairy egg replacer such as cornstarch or silken tofu.
- Flavor Variations: Feel free to get creative by adding mix-ins such as chocolate chips, crushed cookies, caramel swirls, or fresh fruit after churning the ice cream.
- Storage: Homemade ice cream is best enjoyed within the first 1-2 weeks. Store it in an airtight container to prevent ice crystals from forming.
- No Ice Cream Maker? If you don’t have an ice cream maker, pour the chilled custard into a shallow pan and freeze it. Stir the mixture every 30 minutes to break up any ice crystals until it reaches the desired consistency.


