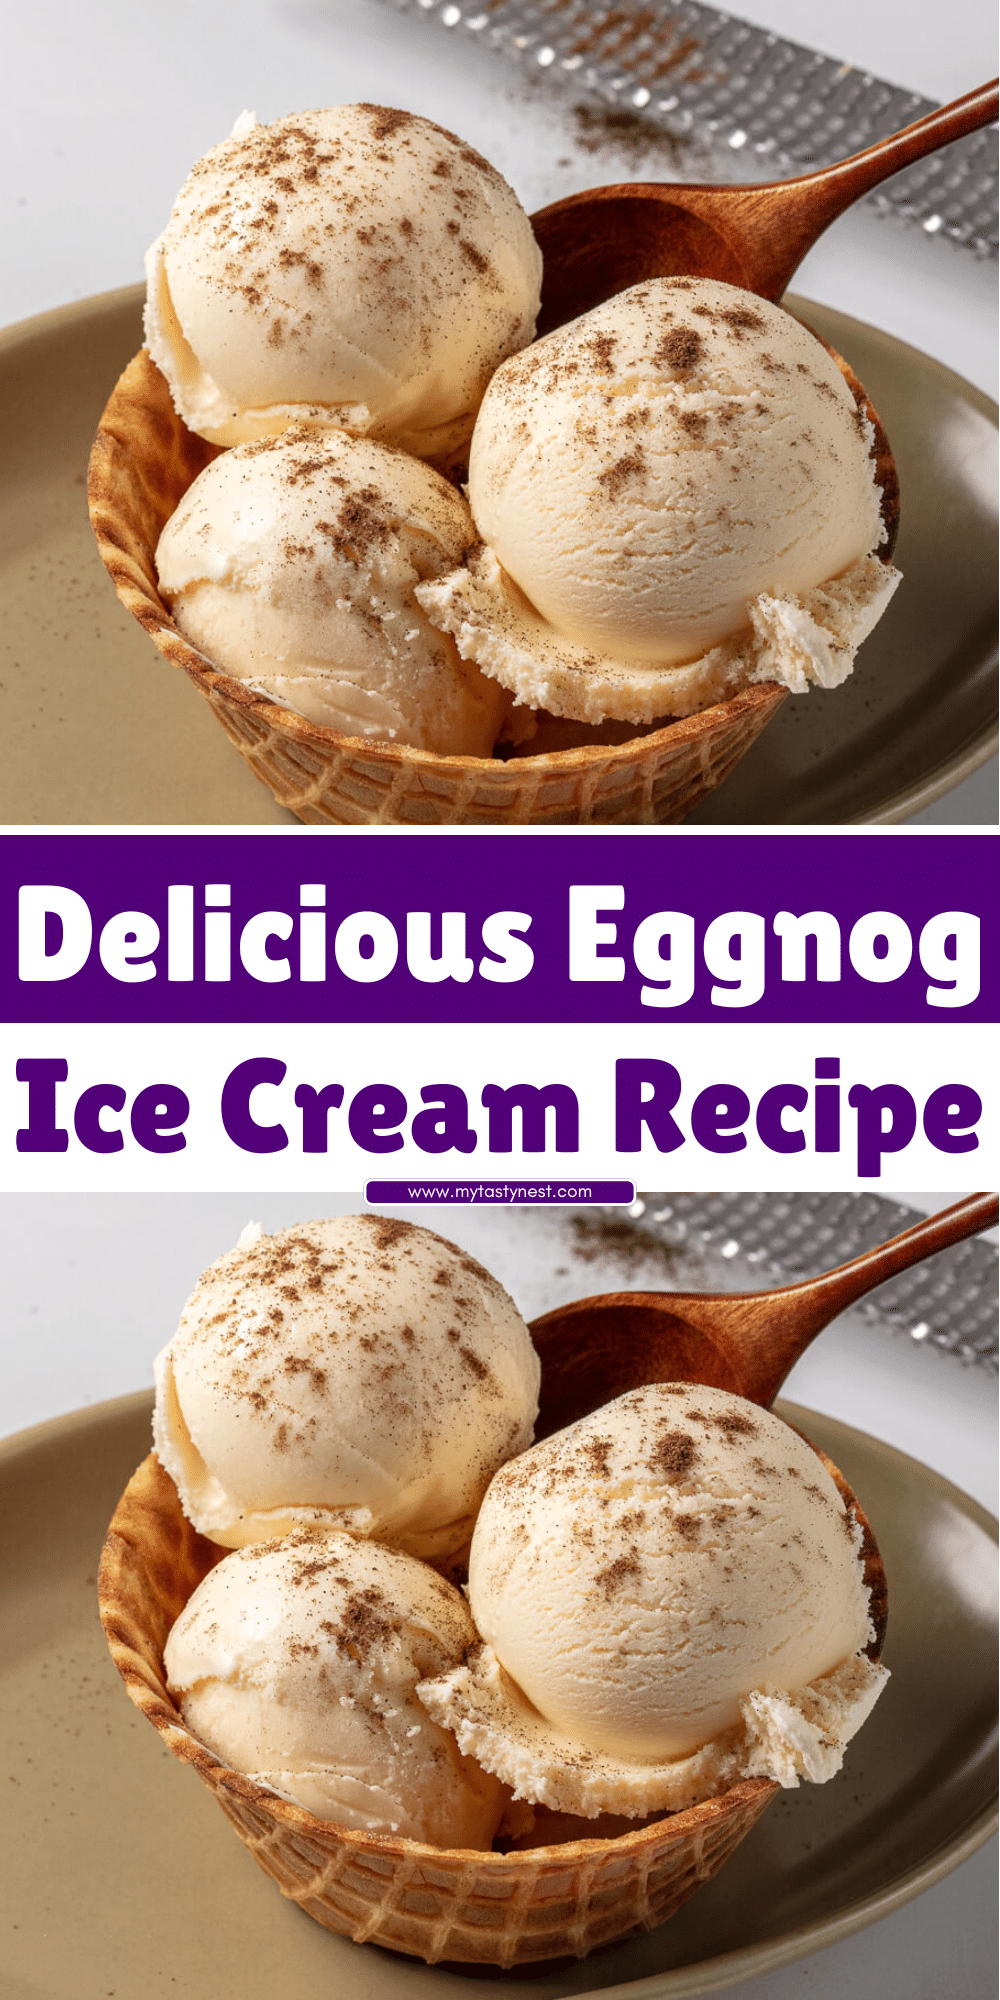
The holiday season is synonymous with indulgent treats that bring warmth, comfort, and joy to our homes.
One such festive delight that perfectly captures the essence of the season is eggnog ice cream.
Imagine the creamy, velvety texture of ice cream, enhanced by the rich, spiced flavor of traditional eggnog.
Whether you enjoy it as a dessert after a holiday meal or as a sweet snack by the fire, this eggnog ice cream recipe will quickly become a seasonal favorite.
Eggnog itself has been a holiday tradition for centuries, and turning it into a frozen dessert creates a refreshing twist on the classic.
With hints of cinnamon, nutmeg, and a dash of vanilla, this ice cream is more than just a treat—it’s an experience.
The best part? You can make it at home, tailoring it to your exact taste and creating a personalized indulgence that’ll impress your guests.
Whether you prefer a classic custard-based version or a no-churn alternative, this recipe is sure to bring holiday cheer to your kitchen.

Why You’ll Love This Eggnog Ice Cream Recipe
Eggnog ice cream is a unique and festive dessert that stands out for several reasons.
First and foremost, it combines the creamy richness of eggnog with the luxurious texture of ice cream, resulting in a decadent treat that’s as comforting as it is refreshing.
What makes this recipe particularly special is its versatility.
It can be made with or without an ice cream maker, allowing even those without specialized equipment to enjoy a homemade frozen dessert.
The spiced, aromatic flavors of nutmeg and cinnamon add a holiday flair that enhances the overall experience.
Additionally, the option to add a splash of rum or bourbon brings a fun, adult twist to the recipe.
Not only is eggnog ice cream delicious, but it also makes an impressive homemade gift or dessert for gatherings.
When you serve it, you’ll evoke nostalgic holiday memories, whether it’s for a cozy family dinner or a festive party with friends.
This is more than just a dessert; it’s a celebration in a bowl, a sweet way to enjoy the magic of the season with each and every bite.
Ingredients You’ll Need
To create the ultimate eggnog ice cream, you’ll need just a handful of simple yet essential ingredients.
Below is the list of what you’ll need for this recipe:
- Eggnog: The star ingredient! Whether you use store-bought or homemade, eggnog provides the signature spiced, creamy flavor that makes this ice cream so special.
- Heavy Cream: Adds richness and smoothness to the ice cream, making it velvety and indulgent.
- Whole Milk: Balances the creaminess, ensuring a light but rich texture.
- Granulated Sugar: Sweetens the ice cream and enhances the eggnog’s natural flavor.
- Egg Yolks: If you’re making a custard-based ice cream, egg yolks are essential for creating a smooth, creamy texture and rich consistency.
- Vanilla Extract: Adds a subtle depth of flavor that complements the eggnog spices.
- Ground Nutmeg: A traditional spice in eggnog that gives the ice cream its warm, aromatic flavor.
- Ground Cinnamon: Another classic spice that adds warmth and a bit of sweetness.
- Salt: A pinch of salt enhances the sweetness and brings all the flavors together.
Optional Ingredients:
- Bourbon or Rum: For an adult twist, you can add a splash of rum or bourbon to the ice cream for a deeper, more complex flavor.
- Vanilla Bean: For extra vanilla flavor, you can replace the vanilla extract with a scraped vanilla bean.
How to Make Eggnog Ice Cream: Step-by-Step Instructions

Step 1: Prepare the Eggnog Base
If you’re using a custard base (for a richer, creamier texture), start by heating the milk and cream in a saucepan over medium heat.
Stir frequently to avoid burning. Once the mixture is warm but not boiling, it’s time to temper the egg yolks.
In a separate bowl, whisk together the egg yolks and sugar until the mixture becomes pale and slightly thickened.
Gradually add a small amount of the warm milk mixture to the egg yolk mixture while constantly whisking.
This process, called tempering, prevents the eggs from curdling.
Once the egg yolk mixture is warmed up, slowly pour it back into the saucepan with the remaining milk and cream.
Return the saucepan to the heat and cook the custard over medium-low heat, stirring constantly.
The mixture is ready when it thickens enough to coat the back of a spoon. Be careful not to overcook it.
Once thickened, remove from heat and stir in the vanilla extract, nutmeg, cinnamon, and salt.
Allow the custard to cool to room temperature.
Step 2: Chill the Mixture
After the base is cooled to room temperature, place it in the refrigerator and chill for at least 4 hours, or overnight if possible.
This chilling step helps to create a smoother, creamier texture when churning the ice cream.
Step 3: Churn the Ice Cream
Once the mixture has chilled, it’s time to churn the ice cream.
If you’re using an ice cream maker, pour the chilled base into the machine according to the manufacturer’s instructions.
Churn the mixture for about 20-25 minutes, or until it reaches the consistency of soft-serve ice cream.
For those without an ice cream maker, don’t worry! You can still make eggnog ice cream.
Simply pour the chilled mixture into a shallow pan and place it in the freezer.
Every 30 minutes, use a fork to scrape and stir the mixture, breaking up any ice crystals.
Repeat this process until the ice cream reaches a soft, creamy consistency, which should take about 3-4 hours.
Step 4: Freeze the Ice Cream to Firm Up
Once the ice cream has been churned or mixed, transfer it to an airtight container.
Smooth the top with a spatula and cover the surface with plastic wrap or parchment paper to prevent freezer burn.
Freeze the ice cream for at least 4 hours, or overnight, to allow it to firm up to its ideal texture.
Tips for the Best Eggnog Ice Cream
To ensure that your eggnog ice cream turns out perfectly every time, here are some helpful tips and tricks:
1. Use Fresh Eggnog
For the best flavor, opt for fresh eggnog rather than older cartons that may have been sitting on store shelves for too long.
Fresh eggnog offers a richer, more vibrant flavor that’s essential for the ultimate ice cream experience.
2. Chill the Mixture Thoroughly
Chilling the eggnog base for at least 4 hours (preferably overnight) is essential.
This not only ensures the ice cream churns more smoothly but also allows the flavors to meld together, creating a more intense and well-rounded taste.
3. Avoid Over-Churning
If you’re using an ice cream maker, make sure not to over-churn the mixture.
Over-churning can result in a grainy texture, so keep an eye on the ice cream and stop the machine when it reaches a soft-serve consistency.
4. Consider a Splash of Alcohol
Adding a small amount of rum, bourbon, or brandy can elevate the flavor of your eggnog ice cream.
The alcohol adds depth and complexity, balancing the sweetness of the cream and eggnog.
Just be sure not to overdo it—1-2 tablespoons is usually enough.
5. Use High-Quality Cream
For the creamiest texture, opt for heavy cream with a high fat content (at least 36%).
This will give your ice cream its rich, velvety mouthfeel and prevent it from becoming icy or too firm.
6. Make It Ahead
Eggnog ice cream tastes even better after it has been allowed to set in the freezer for at least 4 hours (or longer).
Making the ice cream in advance ensures it has time to firm up and develop its full flavor.
7. Customize the Spices
Feel free to adjust the amount of cinnamon, nutmeg, and other spices according to your taste.
Some people prefer a little extra nutmeg, while others might like it more subtly spiced.
Experiment to find your perfect balance.
Eggnog Ice Cream Variations to Try
If you’re in the mood for a twist on the classic eggnog ice cream, there are several variations you can try.
Here are some creative ways to elevate or customize your homemade ice cream:
1. Vegan or Dairy-Free Eggnog Ice Cream
For a plant-based version, substitute the heavy cream and whole milk with coconut milk, almond milk, or cashew cream.
Be sure to use a non-dairy eggnog (or make your own!) and follow the same steps as the traditional recipe.
The coconut milk, in particular, adds a lovely tropical flavor that pairs beautifully with the spices.
2. Rum-Infused Eggnog Ice Cream
Add a little extra holiday cheer by spiking your eggnog ice cream with a splash of rum.
Whether you use dark rum for a deeper flavor or spiced rum for a hint of warmth, it adds an adult twist to your dessert.
Just be sure not to add too much—about 1-2 tablespoons is plenty for the right kick without overpowering the flavor.
3. No-Churn Eggnog Ice Cream
If you don’t have an ice cream maker, don’t worry!
You can still enjoy this festive treat by using a no-churn method.
Whip heavy cream with sweetened condensed milk and fold in eggnog, spices, and vanilla.
Pour the mixture into a pan, freeze, and stir every 30 minutes for the first few hours to prevent large ice crystals from forming.
This method is simple and doesn’t compromise on flavor!
4. Eggnog Ice Cream with Mix-ins
For some added texture, consider folding in fun mix-ins like crushed gingerbread cookies, toffee bits, or chocolate chips.
You could also add candied pecans or walnuts for a festive crunch.
Be sure to add mix-ins after churning, just before you freeze the ice cream.
5. Eggnog Ice Cream with a Caramel Swirl
For an extra indulgent twist, make a homemade caramel sauce and swirl it into your eggnog ice cream.
The rich, buttery caramel pairs wonderfully with the eggnog’s spices, creating a perfect blend of sweet and savory.
Drizzle a little extra caramel on top when serving for an added touch.
6. Cinnamon Roll Eggnog Ice Cream
Take your eggnog ice cream to the next level by incorporating bits of soft cinnamon rolls into the ice cream base.
The cinnamon and doughy texture complement the spiced eggnog flavor, making for an irresistible dessert that’s perfect for breakfast or as a treat at your next holiday gathering.
7. Eggnog Ice Cream Sandwiches
For a fun and portable version, scoop your eggnog ice cream between two cookies, like gingerbread or snickerdoodle.
These ice cream sandwiches make an adorable and delicious holiday treat that’s sure to impress guests of all ages.
With these variations, you can customize your eggnog ice cream to suit your taste or dietary preferences, ensuring that every scoop is a special holiday indulgence.
Serving Suggestions and Pairings
Eggnog ice cream is already a treat on its own, but it can also be elevated with some creative serving ideas and perfect pairings.
Here are some ways to enjoy it:
1. Serve with Holiday Desserts
Eggnog ice cream pairs wonderfully with traditional holiday desserts like pumpkin pie, pecan pie, apple crumble, or gingerbread.
The creamy richness of the ice cream balances the spiciness and sweetness of these baked goods, creating a festive and satisfying dessert spread.
2. Top It with Cinnamon and Nutmeg
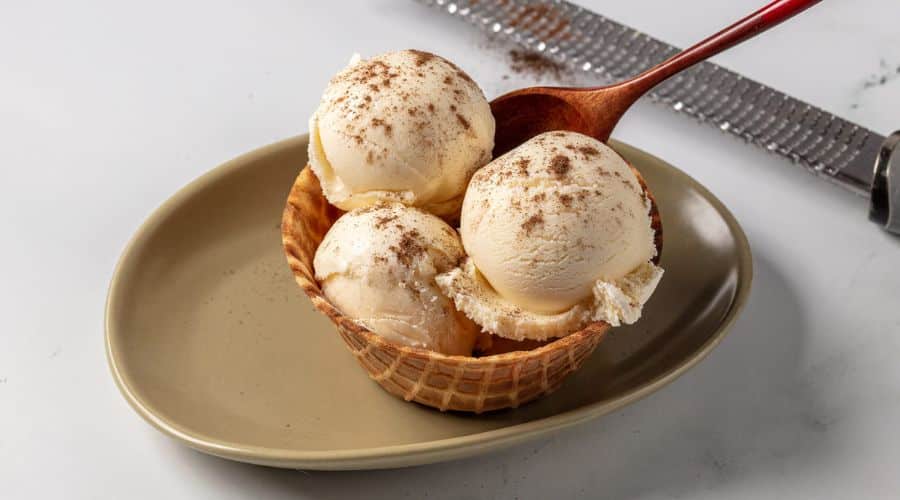
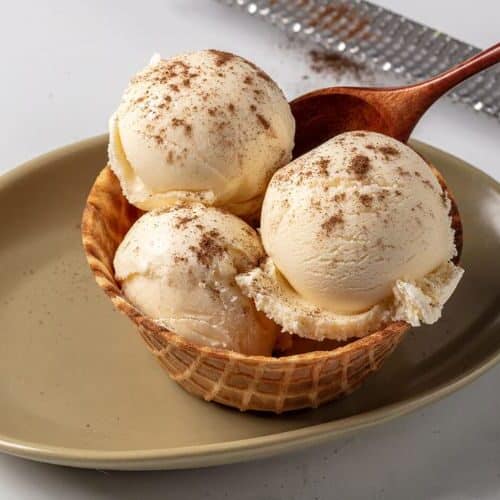
For an extra touch of holiday flair, sprinkle freshly grated nutmeg and cinnamon on top of your eggnog ice cream.
This adds an aromatic burst of flavor and enhances the spiced notes of the ice cream.
You can also garnish with a small cinnamon stick or a star anise for an elegant presentation.
3. Make Ice Cream Sundaes
Transform your eggnog ice cream into a delightful sundae by topping it with holiday-themed toppings like candied pecans, crushed gingerbread cookies, or a drizzle of caramel sauce.
For a festive twist, add a few maraschino cherries or whipped cream to complete the sundae.
4. Pair with Warm Drinks
Serve your eggnog ice cream alongside a warm cup of hot chocolate, mulled wine, or even a classic eggnog latte.
The combination of hot and cold is perfect for cozy winter nights, providing a contrast that’s both satisfying and comforting.
5. Create Ice Cream Floats
For a fun twist, make a holiday ice cream float by adding eggnog ice cream to a glass of spiced cider or ginger ale.
The fizzy beverage combined with the creamy ice cream creates a refreshing and unique drink-desser combo perfect for holiday celebrations.
Conclusion
Making homemade eggnog ice cream is a wonderful way to celebrate the holiday season.
With its smooth, creamy texture and the nostalgic flavors of nutmeg, cinnamon, and vanilla, it’s a dessert that captures the spirit of the season.
Whether you stick with the traditional recipe or experiment with some fun variations, eggnog ice cream is sure to become a favorite holiday treat for friends and family alike.
By following these tips, you can easily craft the perfect batch of eggnog ice cream to serve at your next festive gathering.
Don’t forget to pair it with your favorite holiday desserts and drinks to enhance the experience.
Most importantly, have fun with the process and enjoy the delicious results!
Frequently Asked Questions
1. How long does eggnog ice cream last in the freezer?
Eggnog ice cream can last up to 2-3 weeks in the freezer if stored in an airtight container.
Be sure to wrap the surface with plastic wrap or wax paper before sealing the container to prevent freezer burn.
2. Can I make eggnog ice cream without an ice cream maker?
Yes! You can make eggnog ice cream without an ice cream maker by using a no-churn method.
Simply mix the eggnog base with whipped cream or sweetened condensed milk, and freeze it, stirring every 30 minutes for the first few hours to break up ice crystals.
3. Can I use store-bought eggnog for this recipe?
Yes, you can use store-bought eggnog to save time, especially during the busy holiday season.
Just choose a high-quality eggnog with good flavor and the right amount of spice to ensure the best results.
4. Can I add alcohol to my eggnog ice cream?
Absolutely! Adding a splash of rum, bourbon, or brandy can enhance the flavors of your eggnog ice cream.
Just be cautious not to add too much—1-2 tablespoons is usually sufficient for flavor without compromising the ice cream’s texture.
5. How can I make eggnog ice cream dairy-free?
To make dairy-free eggnog ice cream, substitute the heavy cream and milk with non-dairy options such as coconut milk, almond milk, or cashew cream.
You can also use a plant-based eggnog, or make your own with coconut milk or another dairy-free base.

Eggnog Ice Cream
Equipment
- Ice cream maker (optional, 1)
- Saucepan (1)
- Mixing bowls (2)
- Whisk (1)
- Measuring Cups & Spoons (1 set)
- Spatula (1)
- Airtight Freezer Container – 1
Ingredients
- Eggnog – 3 cups 750 ml
- Heavy Cream – 1 cup 240 ml
- Whole Milk – 1 cup 240 ml
- Granulated Sugar – 3/4 cup 150 g
- Egg Yolks – 4 large
- Vanilla Extract – 1 tsp 5 ml
- Ground Nutmeg – 1/2 tsp 2.5 g
- Ground Cinnamon – 1/2 tsp 2.5 g
- Salt – 1/4 tsp 1.25 g
- Rum/Bourbon optional – 1-2 tbsp (15-30 ml)
Instructions
Prepare the Eggnog Base:
- In a saucepan, heat the milk and heavy cream over medium heat until warm, but not boiling. In a separate mixing bowl, whisk together the egg yolks and sugar until pale and smooth. Gradually add a small amount of the warm milk mixture into the egg yolks to temper the eggs, whisking constantly. Slowly pour the egg yolk mixture back into the saucepan, stirring constantly.
Cook the Custard:
- Return the saucepan to medium-low heat and cook, stirring constantly, until the custard thickens and coats the back of a spoon (about 5-7 minutes). Be careful not to overcook or allow it to boil.
Add Flavoring:
- Remove the saucepan from the heat. Stir in vanilla extract, ground nutmeg, ground cinnamon, and salt. Let the custard cool to room temperature.
Chill the Mixture:
- Once cooled, transfer the mixture to the refrigerator to chill for at least 4 hours, or overnight for best results.
Churn the Ice Cream:
- Pour the chilled mixture into your ice cream maker and churn according to the manufacturer’s instructions (about 20-25 minutes). If you prefer, you can add rum or bourbon during the last few minutes of churning for a festive twist.
Freeze the Ice Cream:
- Transfer the churned ice cream to an airtight container and smooth the top with a spatula. Cover with plastic wrap or parchment paper and freeze for at least 4 hours, or until firm.
Serve:
- Once frozen, scoop the eggnog ice cream into bowls or cones. Garnish with a sprinkle of cinnamon or nutmeg, if desired, and enjoy!
Notes
-
No Ice Cream Maker? No Problem!
If you don’t have an ice cream maker, you can still make this eggnog ice cream by using the no-churn method. Just follow the same steps for making the eggnog base, then mix in whipped cream or sweetened condensed milk. Transfer to a shallow dish and stir every 30 minutes during the first few hours of freezing to break up ice crystals. -
Dairy-Free Option:
For a dairy-free version, substitute the heavy cream and whole milk with coconut milk or almond milk, and use a dairy-free eggnog. -
Alcohol-Free:
If you prefer not to use alcohol, you can simply skip the rum or bourbon. The ice cream will still be delicious without it!


