Every product is independently reviewed and selected by our editors. If you buy something through our links, we may earn an affiliate commission at no extra cost to you.
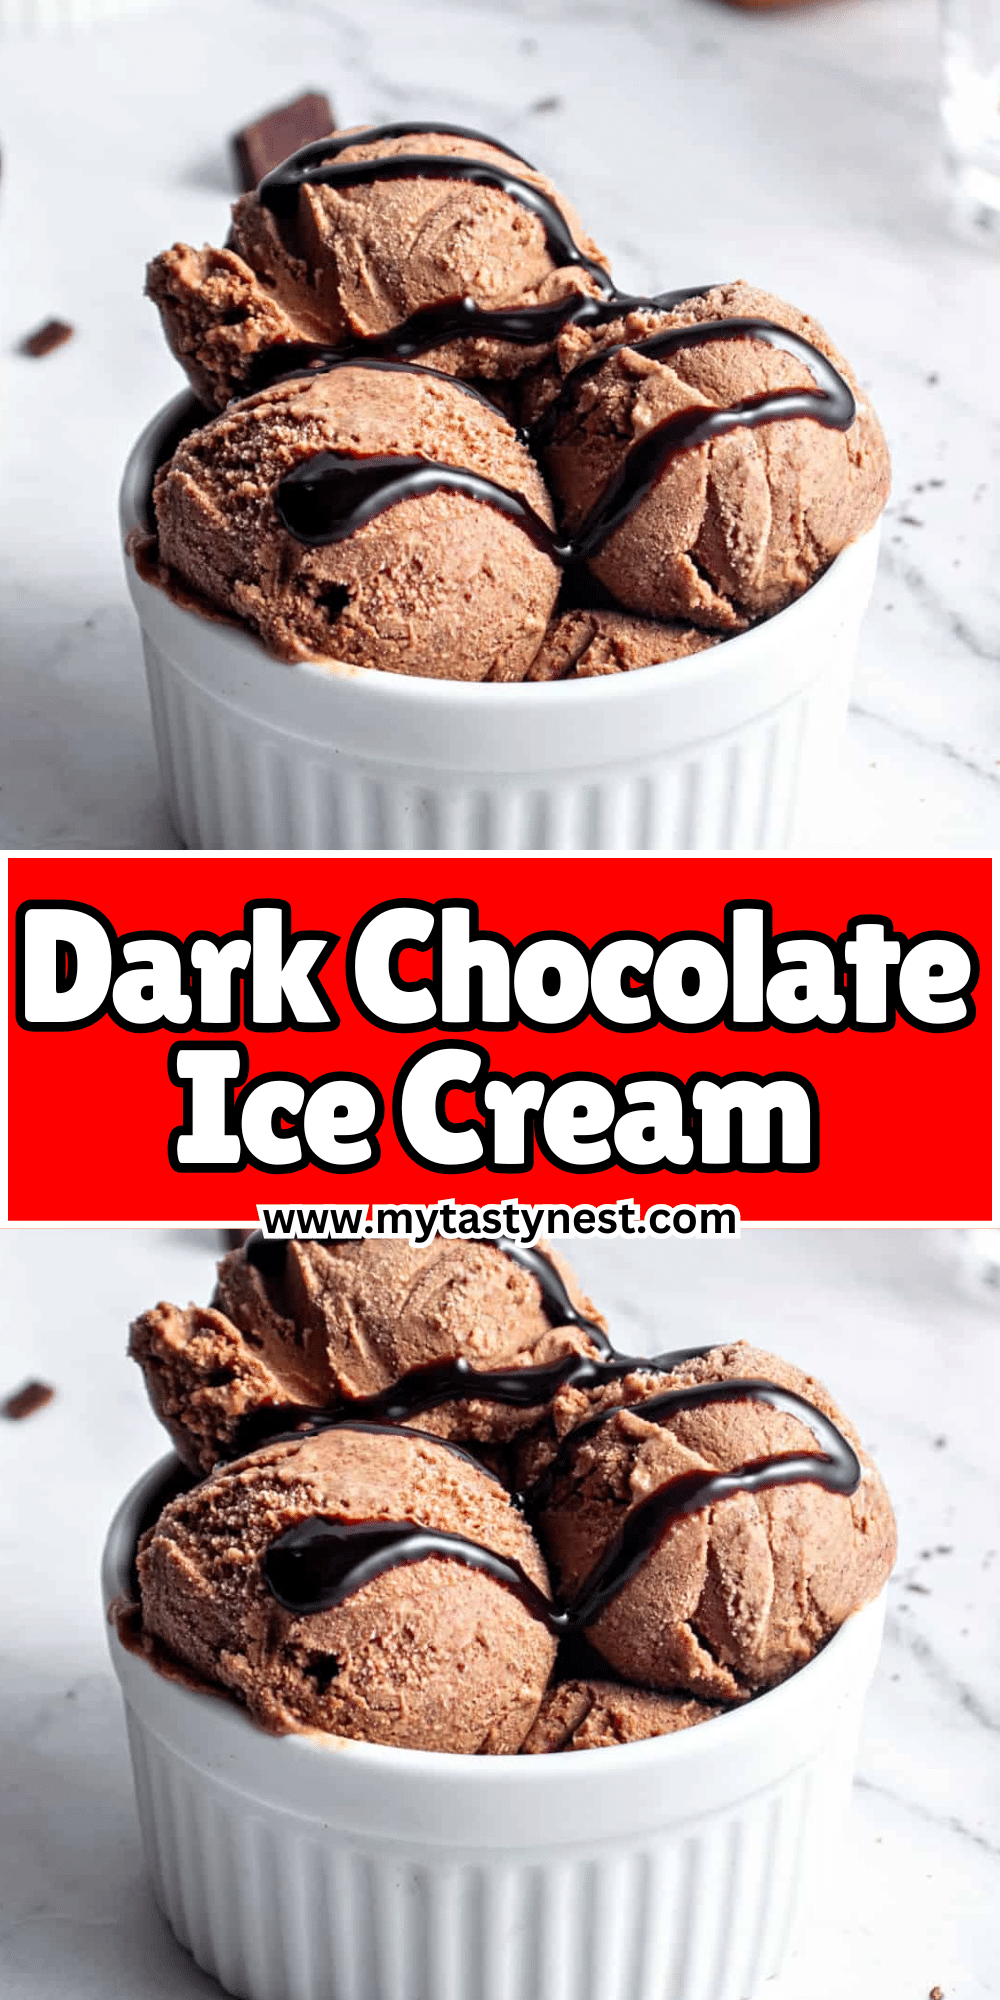
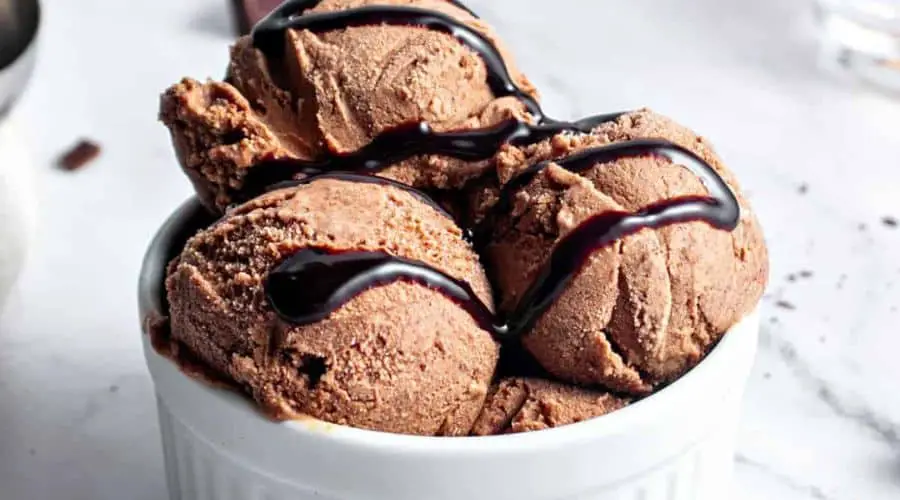
There’s nothing quite as indulgent as a bowl of rich, velvety dark chocolate ice cream.
With its deep cocoa flavor and creamy texture, this homemade version is a game-changer for any chocolate lover.
Unlike store-bought ice creams that often contain artificial flavors and excessive sugar, this dark chocolate ice cream recipe is made with real ingredients, ensuring a luxurious and intense chocolate experience in every bite.
Whether you’re looking for the perfect summer treat, a decadent dessert for a dinner party, or simply craving something chocolatey, this recipe delivers.
Plus, making ice cream at home allows you to control the ingredients, customize the flavors, and enjoy a fresher, more natural taste.
If you’re ready to create a silky, ultra-chocolaty frozen dessert, let’s dive into what makes this recipe truly special!

Why You’ll Love This Recipe
1. Intensely Chocolatey
This ice cream is made with real dark chocolate and cocoa powder, giving it a bold, deep chocolate flavor that’s far superior to standard chocolate ice cream.
2. Luxuriously Creamy Texture
The perfect balance of heavy cream, whole milk, and egg yolks creates an incredibly smooth, creamy texture that melts beautifully in your mouth.
3. Better Than Store-Bought
Homemade ice cream is free from preservatives, artificial flavors, and unnecessary additives.
You get to enjoy pure, high-quality ingredients without any compromises.
4. Easy to Customize
Want to add a hint of espresso? A touch of sea salt? Maybe swirl in some caramel or mix in chocolate chunks?
This base recipe is versatile, allowing you to get creative with flavors and mix-ins.
5. Perfect for Any Occasion
Whether you’re serving it at a dinner party, making a special treat for yourself, or pairing it with a warm brownie, this dark chocolate ice cream is a crowd-pleaser.
Health Benefits of Dark Chocolate Ice Cream
While this indulgent treat is rich and creamy, it also offers some surprising health perks—especially when made with high-quality ingredients.
Rich in Antioxidants
Dark chocolate (especially 70% or higher) is packed with flavonoids, powerful antioxidants that help combat oxidative stress and support overall cellular health.
Mood-Boosting Properties
Chocolate stimulates the production of serotonin and endorphins in the brain, promoting a sense of well-being and happiness.
Heart Health Support
Flavonoids in dark chocolate can improve blood flow, reduce inflammation, and potentially lower the risk of heart disease when consumed in moderation.
Source of Essential Minerals
Dark chocolate contains iron, magnesium, copper, and manganese—important minerals for energy, nerve function, and bone health.
- Customizable for Dietary Needs
- By making this ice cream at home, you can reduce added sugars, opt for organic dairy, or substitute ingredients to fit dietary preferences or restrictions.
Ingredients You’ll Need
To make the best dark chocolate ice cream, you’ll need a handful of high-quality ingredients that come together to create a rich, velvety dessert.
Main Ingredients:
- Dark Chocolate (70% or higher) – The star of the recipe, providing deep, intense chocolate flavor.
- Unsweetened Cocoa Powder – Enhances the chocolate richness and adds a smooth, slightly bitter edge.
- Heavy Cream – Creates a creamy, luxurious texture.
- Whole Milk – Balances the creaminess and keeps the ice cream from becoming too heavy.
- Egg Yolks – Essential for a custard base, they add richness and help achieve a smooth, scoopable texture.
- Granulated Sugar – Sweetens the ice cream without overpowering the dark chocolate flavor.
- Vanilla Extract – Enhances the depth of the chocolate.
- Pinch of Salt – A small amount brings out the chocolate’s natural flavors.
Optional Add-Ins for Extra Flavor:
- Espresso Powder – Intensifies the chocolate flavor.
- Chili Powder or Cayenne – Adds a hint of spice for a Mexican chocolate twist.
- Chopped Dark Chocolate or Cocoa Nibs – For extra texture and crunch.
- Sea Salt Flakes – A touch of salt on top can enhance the richness of the chocolate.
Equipment Needed
You don’t need fancy equipment to make homemade ice cream, but having the right tools will make the process much easier.
Essential Tools:
- Ice Cream Maker – The best way to achieve a smooth, creamy texture. If you don’t have one, don’t worry—there’s a no-churn method too!
- Medium Saucepan – For heating the milk, cream, and chocolate.
- Mixing Bowls – For whisking eggs and combining ingredients.
- Whisk & Spatula – Helps mix and stir the custard evenly.
- Fine Mesh Strainer – Ensures a silky-smooth ice cream base by removing any lumps.
- Airtight Container – Ideal for storing ice cream in the freezer to prevent ice crystals.
Optional but Helpful:
- Ice Bath Setup – A large bowl filled with ice water to cool the custard quickly before churning.
- Thermometer – Helps monitor the custard temperature for the perfect consistency.
Once you have your ingredients and tools ready, it’s time to start making this decadent dark chocolate ice cream!
Step-by-Step Instructions

Making homemade dark chocolate ice cream may seem intimidating, but it’s actually a straightforward process.
Follow these steps for a perfectly smooth and creamy result.
Step 1: Prepare the Chocolate Mixture
- Chop the dark chocolate into small pieces and place it in a heatproof bowl.
- In a medium saucepan, whisk together cocoa powder and half of the heavy cream over low heat until smooth.
- Pour the hot cream mixture over the chopped chocolate and stir until completely melted and silky. Set aside.
Step 2: Make the Custard Base
- In another bowl, whisk together the egg yolks and sugar until pale and slightly thickened.
- In the same saucepan, heat the milk, remaining heavy cream, and a pinch of salt over medium heat until it’s warm but not boiling.
- Temper the eggs: Slowly pour a small amount of the warm milk mixture into the egg yolks while whisking constantly. This prevents the eggs from scrambling.
- Gradually add the tempered egg mixture back into the saucepan with the remaining warm milk, stirring continuously.
Step 3: Cook Until Thickened
- Cook the custard over low heat, stirring constantly with a spatula. It’s ready when it coats the back of a spoon (about 170–175°F or 77–80°C).
- Remove from heat and pour the custard through a fine-mesh strainer to remove any lumps.
Step 4: Combine & Chill the Mixture
- Stir the chocolate mixture into the strained custard until fully incorporated.
- Add vanilla extract and mix well.
- Cover and refrigerate for at least 4 hours (preferably overnight) to allow the flavors to develop.
Step 5: Churn the Ice Cream
- Once chilled, pour the mixture into your ice cream maker and churn according to the manufacturer’s instructions.
- The ice cream should reach a soft-serve consistency after churning.
Step 6: Freeze Until Firm
- Transfer the churned ice cream to an airtight container.
- Press a piece of parchment paper or plastic wrap directly onto the surface to prevent ice crystals.
- Freeze for at least 4 hours until firm.
Now, scoop, serve, and enjoy your homemade dark chocolate ice cream!
Expert Tips for the Best Dark Chocolate Ice Cream
1. Use High-Quality Dark Chocolate
The chocolate you choose makes a huge difference! Opt for at least 70% cocoa for an intense, rich flavor.
Lower-quality chocolate can result in a less decadent taste.
2. Chill the Mixture Overnight
For the best texture and flavor, let the custard chill in the fridge overnight before churning.
This helps develop deeper chocolate notes and improves the creaminess.
3. Don’t Skip the Straining Step
Straining the custard ensures a silky-smooth ice cream by removing any tiny bits of cooked egg.
This step is crucial for a perfect texture.
4. Enhance the Flavor with Espresso Powder
A teaspoon of espresso powder intensifies the chocolate flavor without making it taste like coffee.
It’s a secret trick many chocolatiers use!
5. Use an Ice Bath for Faster Cooling
If you’re short on time, place your custard bowl over an ice bath to speed up the chilling process before refrigerating.
6. Freeze in an Airtight Container
To prevent ice crystals, store your ice cream in a shallow, airtight container and press plastic wrap directly onto the surface before sealing the lid.
With these tips, you’ll get the creamiest, most indulgent dark chocolate ice cream every time!
Delicious Variations to Try
Once you’ve mastered the classic dark chocolate ice cream, why not take it up a notch?
Here are some creative variations to try, each adding a unique twist to this indulgent dessert.
1. Spicy Dark Chocolate Ice Cream
For a Mexican chocolate-inspired treat, add:
- ½ teaspoon cinnamon
- A pinch of cayenne pepper or chili powder
This variation adds a subtle warmth that enhances the deep chocolate flavors beautifully.
2. Mint Dark Chocolate Ice Cream
For a refreshing twist, mix in:
- ½ teaspoon peppermint extract
- Chopped dark chocolate or chocolate chips
This is perfect if you love the combination of cool mint and rich chocolate.
3. Dark Chocolate & Almond Crunch
For extra texture and nuttiness, fold in:
- ½ cup toasted chopped almonds
- ¼ teaspoon sea salt flakes
The contrast between crunchy almonds and smooth ice cream makes for an irresistible bite.
4. Mocha Dark Chocolate Ice Cream
For a coffee-chocolate blend, add:
- 1 teaspoon espresso powder
- Swirl in a shot of espresso before churning
This is perfect for coffee lovers who want a bold, slightly bitter kick with their sweet treat.
5. Salted Caramel Swirl Dark Chocolate Ice Cream
For a sweet-salty contrast, swirl in:
- ½ cup homemade or store-bought caramel sauce
- A pinch of flaky sea salt
Drizzling caramel into the ice cream before freezing creates a luxurious, gooey swirl in every bite.
Serving Suggestions
This dark chocolate ice cream is already decadent on its own, but pairing it with the right accompaniments can make it even better!
1. Pair It with Baked Desserts
- Serve alongside warm brownies for the ultimate chocolate experience.
- Scoop over a molten lava cake to create a gooey, indulgent treat.
- Enjoy with chocolate chip cookies for a homemade ice cream sandwich.
2. Add Toppings for Extra Flavor
- Fresh berries (raspberries, strawberries, or cherries) for a fruity contrast.
- Whipped cream for a light and airy touch.
- Chopped nuts (hazelnuts, almonds, or pecans) for crunch.
- Chocolate shavings for an extra dose of chocolatey goodness.
3. Serve It in a Creative Way
- Classic waffle cone or sugar cone for a crispy bite.
- Chocolate-dipped cones for a more decadent experience.
- Ice cream sandwiches using chocolate cookies or shortbread.
- Milkshakes—blend with milk for a rich, creamy chocolate shake.
No matter how you serve it, this homemade dark chocolate ice cream is sure to impress!
Storage Instructions
To keep your homemade dark chocolate ice cream fresh, creamy, and full of flavor, follow these storage tips:
- Use an Airtight Container
Store the ice cream in a shallow, airtight container to minimize air exposure and prevent ice crystals from forming. - Press Plastic Wrap or Parchment Paper on the Surface
Before sealing the container, press a piece of plastic wrap or parchment paper directly onto the surface of the ice cream. This creates a barrier against freezer burn and helps maintain a smooth texture. - Keep It in the Coldest Part of the Freezer
Place your container at the back of the freezer, where the temperature is most consistent.
Avoid storing it in the freezer door. - Freeze for Up to 2 Weeks
For the best taste and texture, enjoy your dark chocolate ice cream within 1–2 weeks.
While it can last longer, extended freezing may impact the flavor and creaminess. - Let It Soften Before Scooping
Homemade ice cream can freeze quite hard.
Let it sit at room temperature for 5–10 minutes before scooping for easier serving.
Conclusion
Homemade dark chocolate ice cream is the ultimate treat for any chocolate lover.
With its deep, intense cocoa flavor and ultra-creamy texture, it far surpasses anything you can find in stores.
Plus, making it yourself allows you to use high-quality ingredients and customize the flavors to your liking.
Whether you enjoy it plain, with toppings, or paired with a warm dessert, this recipe is sure to satisfy your sweet cravings.
Now that you’ve mastered the art of homemade chocolate ice cream, don’t be afraid to experiment with different variations and make it your own!
If you tried this recipe, I’d love to hear your thoughts! Leave a comment below and let me know how it turned out.
Frequently Asked Questions
1. Can I make this recipe without an ice cream maker?
Yes! If you don’t have an ice cream maker, simply pour the ice cream mixture into a shallow dish and freeze it.
Every 30 minutes, stir vigorously with a fork or whisk to break up ice crystals.
Repeat this for about 3–4 hours until the ice cream reaches a creamy consistency.
2. Why is my ice cream grainy instead of smooth?
Grainy ice cream can happen if the custard base is overcooked or not properly strained. To avoid this:
- Cook the custard low and slow until it thickens but doesn’t boil.
- Strain the mixture before chilling to remove any lumps.
- Let the mixture chill completely before churning.
3. How long does homemade dark chocolate ice cream last in the freezer?
For the best texture and flavor, homemade ice cream is best enjoyed within 2 weeks.
Store it in an airtight container and press plastic wrap directly onto the surface to prevent ice crystals from forming.
4. Can I use milk chocolate instead of dark chocolate?
Yes, but keep in mind that milk chocolate contains more sugar and less cocoa, so the ice cream will be sweeter and less intense.
You may need to adjust the sugar amount to balance the flavors.
5. How can I make this ice cream dairy-free?
To make a dairy-free version, substitute:
- Full-fat coconut milk for the heavy cream and milk.
- Coconut or almond milk for a lighter alternative.
- Use a dairy-free chocolate brand to keep it completely vegan.

Dark Chocolate Ice Cream
Equipment
- Ice Cream Maker – 1 (optional but recommended)
- Medium Saucepan – 1
- Mixing bowls (2)
- Whisk (1)
- Spatula (1)
- Fine Mesh Strainer (1)
- Airtight Container – 1
- Measuring Cups & Spoons (1 set)
Ingredients
- 4 oz 115g Dark Chocolate (70% cocoa or higher)
- ¼ cup 25g Unsweetened Cocoa Powder
- 2 cups 480ml Heavy Cream
- 1 cup 240ml Whole Milk
- 5 large Egg Yolks
- ¾ cup 150g Granulated Sugar
- 1 teaspoon Vanilla Extract
- Pinch of Salt
Instructions
Prepare the Chocolate Mixture:
- Chop the dark chocolate into small pieces and place in a heatproof bowl.
- In a medium saucepan, combine the unsweetened cocoa powder and 1 cup heavy cream. Whisk over low heat until smooth.
- Pour the hot cream mixture over the chopped chocolate and stir until the chocolate melts completely. Set aside to cool.
Make the Custard:
- In a separate bowl, whisk together the egg yolks and granulated sugar until pale and slightly thickened.
- In the same saucepan, combine the whole milk and remaining heavy cream. Heat over medium heat until the mixture is warm but not boiling.
- Slowly pour the warm milk mixture into the egg yolks while whisking constantly (this is to temper the eggs).
- Pour the tempered egg mixture back into the saucepan. Cook over low heat, stirring constantly until the custard thickens and reaches 170–175°F (77–80°C).
Combine & Chill:
- Pour the cooked custard through a fine mesh strainer into the chocolate mixture to remove any lumps.
- Add vanilla extract and a pinch of salt. Stir to combine.
- Let the mixture cool at room temperature for 10 minutes, then cover and refrigerate for at least 4 hours or overnight.
Churn the Ice Cream:
- Once chilled, pour the mixture into your ice cream maker and churn according to the manufacturer’s instructions.
- Churn until the ice cream reaches a soft-serve consistency.
Freeze:
- Transfer the ice cream to an airtight container and smooth the top. Press a piece of parchment paper directly on the surface to prevent ice crystals.
- Freeze for 4 hours or until firm.
Serve:
- Scoop and serve with your favorite toppings or as a standalone dessert. Enjoy!
Notes
- Storage: Store leftover ice cream in an airtight container in the freezer for up to 2 weeks for the best texture.
- No Ice Cream Maker?: Pour the mixture into a shallow dish and freeze, stirring every 30 minutes until firm.
- Customize: Add mix-ins like toasted almonds, chocolate chips, or a caramel swirl to elevate your ice cream.
- Chilling the Mixture: The longer you chill the custard base, the more intense the chocolate flavor will become. Overnight chilling is recommended.


