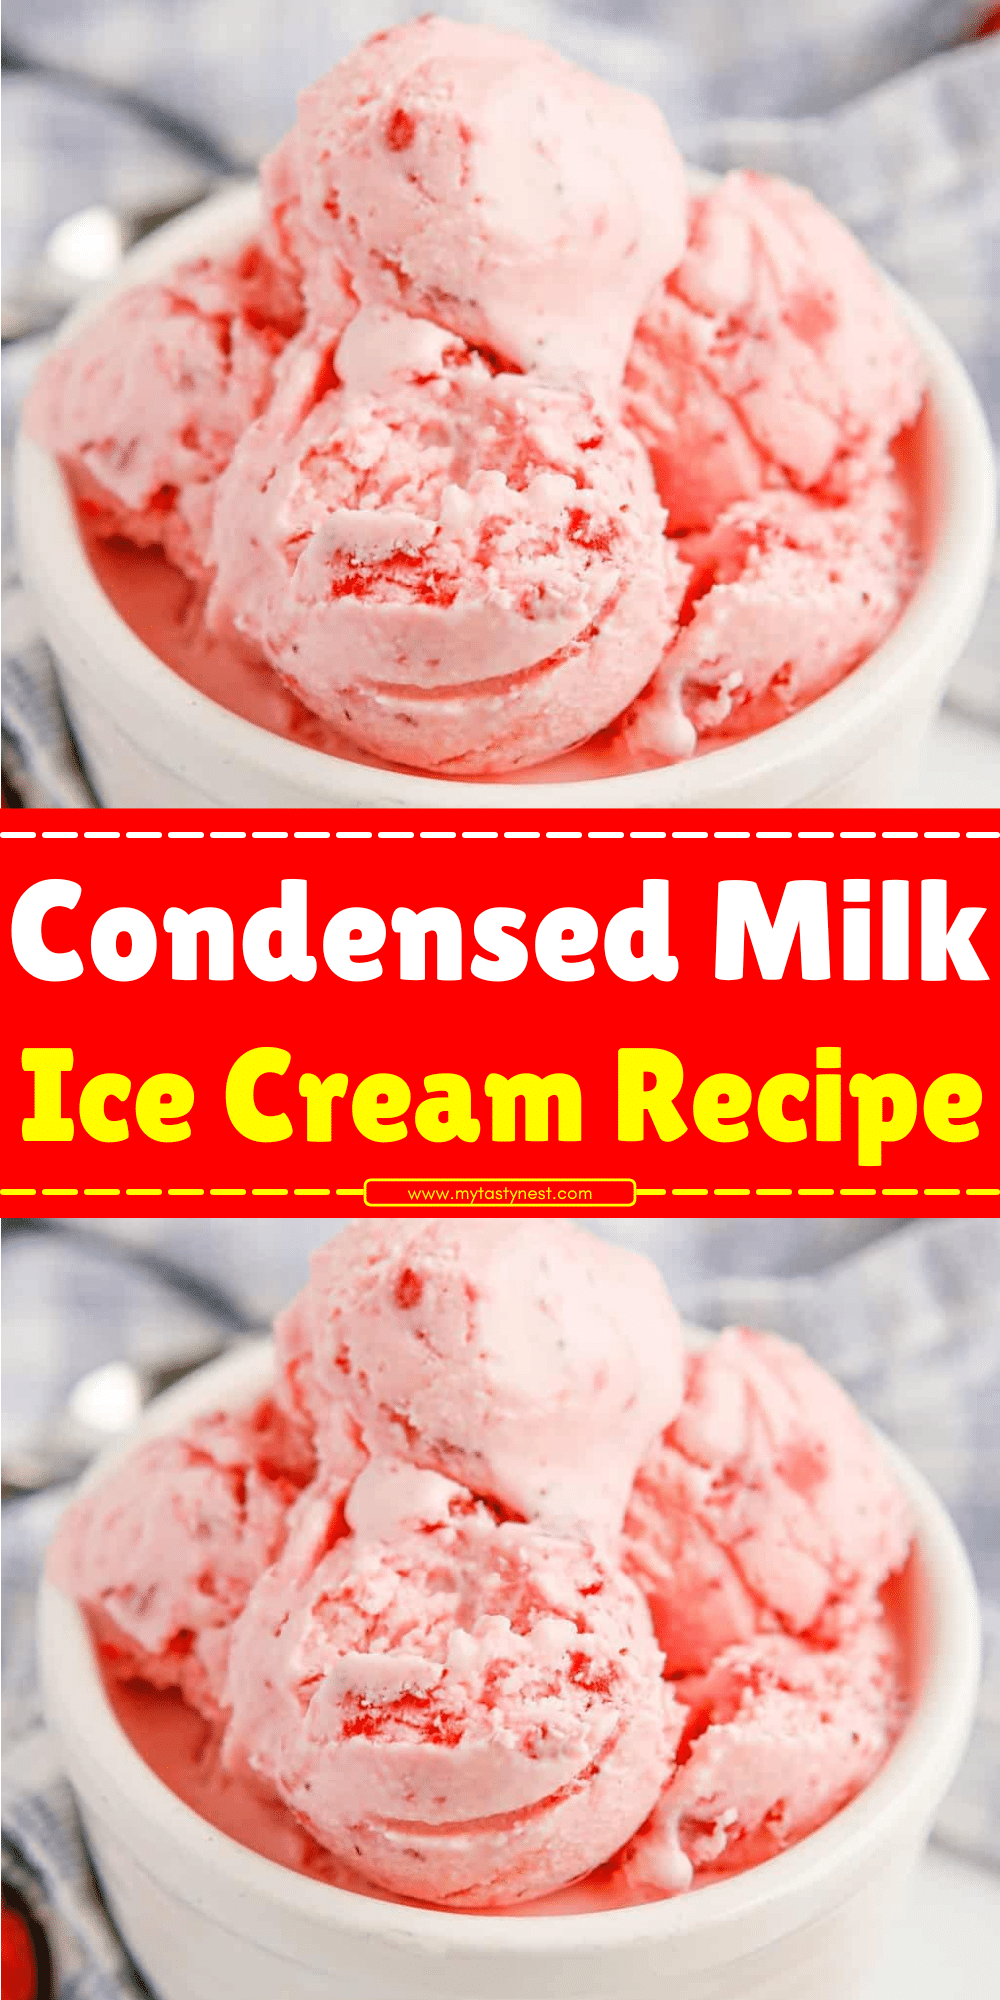
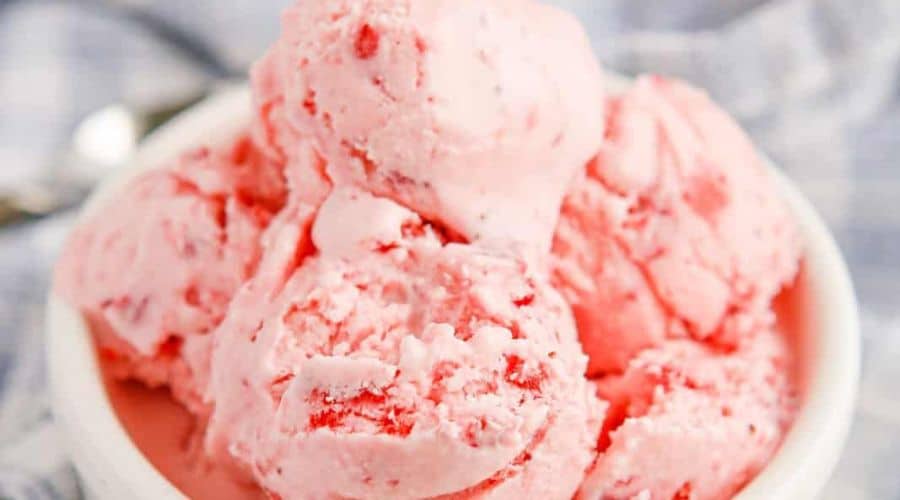
If you’ve ever craved a rich, creamy ice cream but didn’t want to go through the hassle of churning or worrying about complicated ingredients, this condensed milk ice cream recipe is your solution!
Not only is it incredibly easy to make, but it also produces a decadent, velvety ice cream that rivals anything you’d find in a store.
What makes this recipe truly special is the use of sweetened condensed milk, which acts as both the sweetener and the creamy base.
The result is an ice cream with a perfectly smooth texture, no ice crystals, and a flavor that is absolutely irresistible.
Plus, there’s no need for an ice cream maker, which makes it a foolproof option for beginners and seasoned home cooks alike.
Whether you’re making it for a special occasion or just because you’re craving something sweet, this condensed milk ice cream will surely hit the spot!

Ingredients: What You’ll Need to Make Condensed Milk Ice Cream
Making condensed milk ice cream is as easy as gathering just a few simple ingredients that you likely already have in your pantry.
Here’s everything you’ll need:
Essential Ingredients
- Sweetened Condensed Milk: This is the star of the recipe, providing sweetness and creaminess without needing any extra sugar. It’s also what gives this ice cream its rich, luscious texture.
- Heavy Cream: The key to achieving that smooth, creamy consistency that’s characteristic of homemade ice cream. Heavy cream has a high-fat content, which helps the ice cream freeze without becoming too icy.
Optional Flavoring Agents
- Vanilla Extract: This classic flavoring enhances the richness of the ice cream and complements the condensed milk perfectly.
- Cocoa Powder or Melted Chocolate: If you’re craving chocolate ice cream, these are great options to give your base that rich, indulgent chocolate flavor.
- Fruit Purees: For a fruity twist, you can add pureed mango, strawberry, or other fresh fruits to infuse natural flavors into the ice cream.
Mix-ins (Optional)
- Chocolate Chips, Crushed Cookies, or Nuts: Adding these mix-ins allows you to customize your ice cream further. Whether you prefer a little crunch or a swirl of extra flavor, you can fold these in right before freezing.
This recipe is so flexible, allowing you to create a variety of ice cream flavors based on what ingredients you have on hand or what you’re in the mood for.
The best part? You don’t need any special equipment—just a mixing bowl and a freezer!
Step-by-Step Instructions: How to Make Condensed Milk Ice Cream

Making condensed milk ice cream is as simple as following a few easy steps.
Here’s how to do it:
Step 1: Prepare the Cream Mixture
Start by pouring heavy cream into a large mixing bowl.
Using an electric mixer or a whisk, beat the cream on medium-high speed until stiff peaks form.
This should take about 3-5 minutes.
The whipped cream provides the airy texture that makes your ice cream soft and creamy.
Step 2: Combine Condensed Milk and Whipped Cream
Once the cream is whipped, it’s time to add the sweetened condensed milk.
Gently pour the condensed milk into the whipped cream and fold the two together using a spatula or spoon.
Do this carefully so you don’t deflate the whipped cream.
The result should be a smooth, creamy mixture.
Step 3: Add Flavorings and Mix-ins
Now’s the time to get creative! If you want to add vanilla extract or chocolate flavor, fold it into the mixture until evenly combined.
If you’re adding mix-ins like chocolate chips, crushed cookies, or fruit purees, gently stir them in at this point.
Keep in mind that the more you stir, the more you might lose the airy texture, so be gentle.
Step 4: Freeze the Ice Cream
Transfer the mixture into a freezer-safe container. Smooth the top with a spatula for an even layer.
Cover the container with plastic wrap or a lid, then place it in the freezer. Let the ice cream freeze for at least 4-6 hours, or preferably overnight.
This will allow the ice cream to fully set and reach its creamy consistency.
Tips for Making the Best Condensed Milk Ice Cream
While this recipe is straightforward, a few simple tips can elevate your homemade ice cream and help you avoid common mistakes:
Whip the Cream to Perfection
The key to getting that velvety texture is ensuring your heavy cream is whipped to stiff peaks.
If it’s under-whipped, the ice cream will be too runny; if it’s over-whipped, you might end up with butter.
The right consistency is light and airy, so pay close attention during this step.
Keep It Smooth and Creamy
Be gentle when folding the condensed milk into the whipped cream.
Stir too hard or too much, and you might lose the airiness that gives your ice cream its creamy texture.
The goal is to combine everything without deflating the whipped cream.
Customize the Flavors
One of the best parts of making ice cream at home is the ability to personalize it.
You can add various flavorings like vanilla, chocolate, or even a swirl of caramel.
Just remember that some flavorings, like fruit purees, may introduce moisture that could affect the final texture.
If you’re adding a fruit puree, try straining it to remove excess liquid before mixing it into the base.
Allow Enough Freezing Time
While it can be tempting to dig into your ice cream as soon as it’s mixed, be patient.
It’s essential that you let the ice cream freeze for several hours to achieve the right consistency.
If you’re in a rush, consider making the ice cream the day before you want to serve it.
Use a Freezer-Safe Container
To prevent freezer burn or ice crystals from forming on top, transfer your ice cream into an airtight, freezer-safe container.
This will keep the ice cream fresh and ensure it freezes evenly.
For an extra layer of protection, cover the surface with plastic wrap before sealing the lid.
By following these tips, you’ll ensure that your condensed milk ice cream turns out creamy, smooth, and absolutely delicious every time!
Flavor Variations: Get Creative with Condensed Milk Ice Cream
One of the best parts about making condensed milk ice cream at home is the ability to experiment with different flavors.
Whether you prefer something classic, fruity, or indulgent, the options are endless.
Here are some flavor variations to get you started:
Classic Vanilla
For a smooth and simple dessert, go with the timeless vanilla flavor.
Add a teaspoon of vanilla extract to your condensed milk mixture for a rich, aromatic taste.
Vanilla ice cream pairs beautifully with any topping, from fresh fruit to chocolate sauce.
Chocolate Swirl
Chocolate lovers, rejoice! To make a creamy chocolate ice cream, mix in unsweetened cocoa powder or melted chocolate along with the condensed milk.
You can also create a chocolate swirl by drizzling melted chocolate into the mixture before freezing, then gently stirring to achieve that signature marbled effect.
Tropical Fruit (Mango, Coconut, or Pineapple)
For a refreshing and tropical twist, try adding fruit flavors like mango, coconut, or pineapple.
Simply puree the fruit of your choice and fold it into the base before freezing.
A coconut-infused ice cream pairs perfectly with chunks of real coconut or a sprinkle of shredded coconut on top.
Coffee or Espresso
For coffee lovers, adding espresso powder or strong brewed coffee to the base creates a rich and bold flavor that’s perfect for warm-weather cravings.
This variation makes a fantastic treat on a hot day, paired with chocolate or caramel sauce.
Nutty Delight
If you enjoy a little crunch in your ice cream, consider adding crushed nuts like pistachios, almonds, or hazelnuts.
These can be stirred into the base before freezing, or toasted lightly for a deeper, richer flavor.
A nutty ice cream is also great when paired with a drizzle of honey or maple syrup.
Cookies & Cream
For a fun and indulgent treat, fold in crushed chocolate sandwich cookies into the mixture.
This variation creates a creamy ice cream with sweet, crunchy bits of cookie throughout.
You can use classic Oreos or experiment with other types of cookies for a fun twist!
With these flavor variations, you can take your condensed milk ice cream to the next level.
The possibilities are endless, and each variation brings a new, delicious experience.
Don’t be afraid to experiment with your own favorite flavors and mix-ins!
Common Mistakes to Avoid When Making Condensed Milk Ice Cream
While the process for making condensed milk ice cream is relatively simple, there are a few common mistakes that can prevent your ice cream from turning out perfectly.
Here’s what to watch out for:
1. Over-Whipping or Under-Whipping the Cream
One of the most crucial steps is whipping the heavy cream to stiff peaks.
If you over-whip it, the cream can turn into butter, ruining the texture.
On the other hand, if you under-whip it, the ice cream will lack the airy texture that makes it creamy and smooth.
Be sure to watch closely and stop once the cream forms stiff peaks but isn’t grainy.
2. Over-Mixing the Ingredients
When you add the condensed milk to the whipped cream, it’s important to fold them together gently.
Over-mixing can deflate the whipped cream, causing the ice cream to lose its light and fluffy texture.
Fold until everything is just combined, and try not to stir too vigorously.
3. Not Freezing Long Enough
Patience is key when it comes to freezing homemade ice cream.
If you don’t allow it to freeze for the full 4-6 hours (or overnight), it may remain too soft or runny.
Be sure to give your ice cream enough time to set, and avoid opening the freezer door too often, as this can cause uneven freezing.
4. Using the Wrong Container
A non-airtight container can cause your ice cream to develop ice crystals or freezer burn.
Always use a freezer-safe, airtight container to store your ice cream.
For extra protection, you can cover the surface with plastic wrap to ensure a smooth, creamy texture.
5. Adding Too Much Liquid Flavoring
While flavoring your ice cream with fruit purees, chocolate, or coffee is delicious, adding too much liquid can throw off the balance of your base.
If your flavoring is too watery, it may cause the ice cream to freeze improperly, leading to a less creamy texture.
To avoid this, try to strain any excess liquid from fruit purees before adding them to the mixture.
6. Skipping the Mix-Ins Step
If you add mix-ins like chocolate chips or crushed cookies too early, they may sink to the bottom of the container while freezing, creating an uneven texture.
Instead, stir them into the mixture just before transferring it to the freezer.
This ensures that the mix-ins are evenly distributed throughout the ice cream.
By avoiding these mistakes and following the simple tips provided, you’ll be able to create perfectly smooth, creamy condensed milk ice cream every time!
How to Serve and Enjoy Your Condensed Milk Ice Cream
Once your condensed milk ice cream has frozen to perfection, it’s time to dig in!
There are countless ways to serve and enjoy this indulgent treat, depending on your mood and the occasion.
Classic Ice Cream Cone
The simplest and most fun way to enjoy homemade ice cream is in a classic waffle cone or sugar cone.
Scoop a generous portion of the creamy ice cream into the cone, and consider topping it with your favorite sprinkles, chocolate chips, or a drizzle of syrup.
Ice Cream Sundae
For an extra-special treat, make an ice cream sundae by serving scoops of your condensed milk ice cream in a bowl and topping it with an assortment of goodies.
Consider adding hot fudge, caramel sauce, fresh fruit, whipped cream, or crushed nuts.
Don’t forget the cherry on top for a finishing touch!
As a Topping for Other Desserts
This ice cream also makes a wonderful topping for other desserts.
It’s perfect atop warm apple pie, brownies, or even a slice of chocolate cake.
The contrast between the cold, creamy ice cream and warm dessert creates an irresistible combination.
In a Milkshake
For a fun twist, blend your ice cream with a bit of milk to create a delicious milkshake.
You can even add in some extra flavoring or mix-ins, such as a shot of espresso for a coffee-flavored shake or crushed cookies for a cookies-and-cream milkshake.
On Its Own!
Of course, you can always enjoy this ice cream as-is.
The richness and smooth texture of homemade condensed milk ice cream are satisfying enough on their own, so scoop out a bowl and savor every bite!
Conclusion
There’s no denying the joy that comes with a bowl of homemade condensed milk ice cream.
With just a few simple ingredients, you can create a creamy, decadent dessert that will leave everyone coming back for seconds.
Whether you keep it classic with vanilla or get adventurous with chocolate, fruit, or nuts, this ice cream recipe is completely customizable to fit your taste preferences.
Making your own ice cream is a rewarding experience that doesn’t require fancy equipment or complicated techniques.
Plus, it’s a great way to impress family and friends with a homemade treat that tastes better than store-bought!
So go ahead, dive into the world of condensed milk ice cream, and enjoy all the flavors you can create.
Frequently Asked Questions (FAQs)
1. Can I make condensed milk ice cream dairy-free or vegan?
Yes, it’s possible to make a dairy-free or vegan version of condensed milk ice cream!
You can substitute the heavy cream with coconut cream or a plant-based heavy cream alternative.
For the condensed milk, look for vegan sweetened condensed milk, which is available at many specialty grocery stores or online.
2. How long will the ice cream last in the freezer?
Homemade condensed milk ice cream can last in the freezer for up to 2-3 weeks when stored in an airtight container.
However, it’s best enjoyed within the first week for the best texture and flavor.
3. Can I use evaporated milk instead of condensed milk?
Evaporated milk isn’t a suitable substitute for sweetened condensed milk, as it lacks the sweetness and thickness that condensed milk provides.
For the best results, stick with sweetened condensed milk to achieve the creamy and sweet base for your ice cream.
4. Can I make this recipe without an ice cream maker?
Yes, one of the best parts of this recipe is that you don’t need an ice cream maker!
The no-churn method is incredibly easy and doesn’t require any special equipment, making it perfect for beginners or anyone who doesn’t have an ice cream maker.
5. Can I add alcohol to my ice cream to make it softer?
Yes, a small amount of alcohol (like rum or liqueur) can be added to your ice cream mixture to keep it from becoming too hard when frozen.
Alcohol has a lower freezing point, so it prevents ice crystals from forming and helps keep the ice cream softer.
Add no more than a tablespoon to avoid altering the flavor too much.

Condensed Milk Ice Cream
Equipment
- Electric Mixer (1) – for whipping the heavy cream
- Large Mixing Bowl (1) – to combine all ingredients
- Freezer-Safe Container (1) – for freezing the ice cream
- Spatula (1) – to fold ingredients gently
Ingredients
- 2 cups 480 mL Heavy Cream
- 1 can 14 oz/396 g Sweetened Condensed Milk
- 1 tsp 5 mL Vanilla Extract (optional, for vanilla flavor)
- Flavoring or Mix-ins optional: cocoa powder, fruit puree, chocolate chips, crushed cookies, etc.
Instructions
Whip the Cream:
- Pour the heavy cream into a large mixing bowl and use an electric mixer to whip it on medium-high speed until stiff peaks form. This should take about 3-5 minutes.
Combine with Condensed Milk:
- Gently pour in the sweetened condensed milk. Use a spatula to fold the two together until fully combined, being careful not to deflate the whipped cream.
Add Flavorings and Mix-ins:
- If you’re using flavoring like vanilla extract, cocoa powder, or fruit puree, fold them into the mixture now. Add mix-ins such as chocolate chips, crushed cookies, or nuts, and gently stir to distribute them evenly.
Freeze the Mixture:
- Transfer the ice cream mixture into a freezer-safe container. Smooth the top with a spatula and cover the container with a lid or plastic wrap. Place in the freezer and allow it to freeze for 4-6 hours or overnight.
Serve and Enjoy:
- Once the ice cream is frozen and firm, scoop it into bowls or cones and enjoy! You can top it with sprinkles, fresh fruit, or chocolate syrup for extra flair.
Notes
- Flavor Variations: This recipe is highly customizable. You can add flavorings like chocolate, coffee, or fruit purees. Just remember that some fruits may introduce excess moisture, so strain them before adding to avoid a watery texture.
- Storage: Store the ice cream in an airtight container in the freezer for up to 2-3 weeks. To prevent ice crystals from forming, you can cover the surface with plastic wrap before sealing the container.
- Consistency Tips: If the ice cream becomes too hard after freezing, let it sit at room temperature for a few minutes before scooping. The richness of the cream and condensed milk should keep it creamy, but freezing too long can sometimes make it firm.
- Add-ins: Mix-ins should be added gently just before freezing, or they may sink to the bottom.


