Every product is independently reviewed and selected by our editors. If you buy something through our links, we may earn an affiliate commission at no extra cost to you.
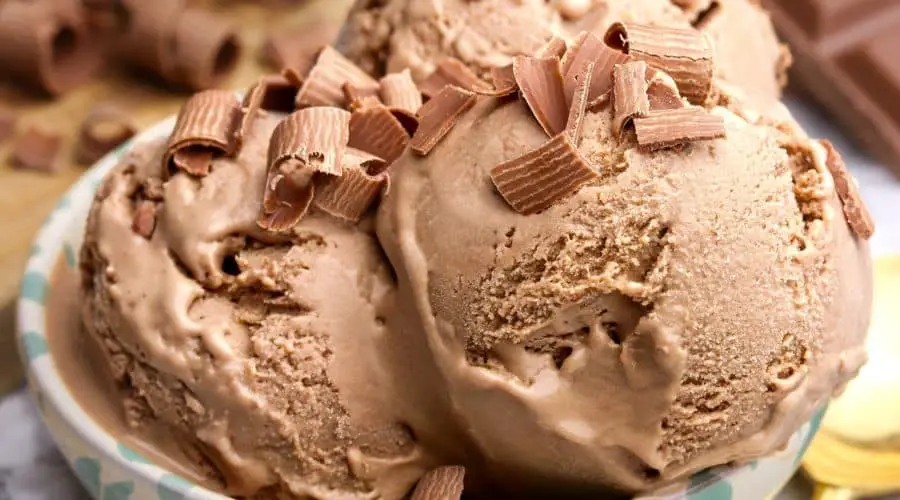
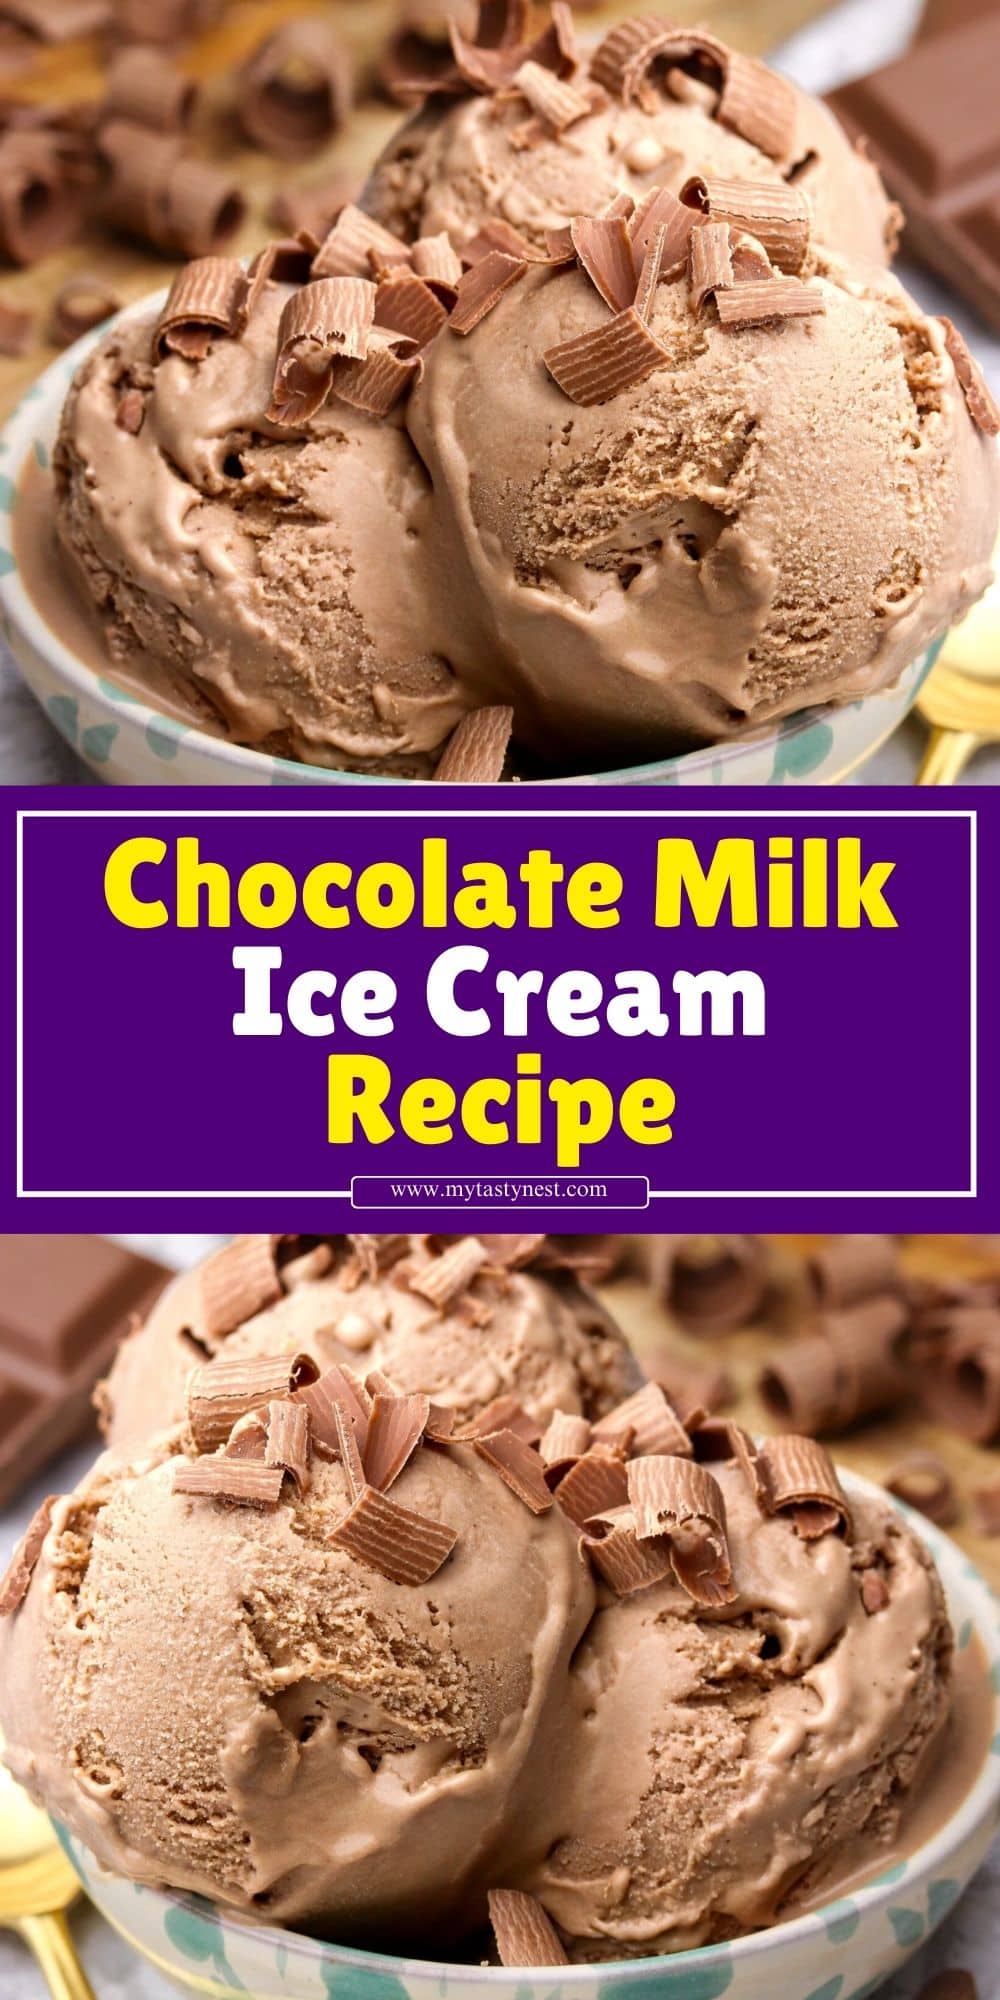
There’s nothing quite like the rich, creamy texture of homemade ice cream, and when chocolate milk is the base, it takes the flavor to a whole new level.
Chocolate milk ice cream is a decadent, indulgent treat that combines the nostalgic taste of your favorite childhood drink with the smooth, luxurious texture of ice cream.
This simple yet delicious recipe is perfect for those who love chocolate in all its forms and want a cool, refreshing dessert to enjoy.
Making ice cream at home is surprisingly easy, and with this chocolate milk ice cream recipe, you’ll find that it’s an effortless way to create a delightful frozen dessert.
Whether you’re serving it at a family gathering, a summer party, or simply as a sweet treat after dinner, this ice cream will leave everyone craving more.
Plus, the ingredients are straightforward, and you likely have most of them in your kitchen already, making it an accessible and fun project.
Ingredients for Chocolate Milk Ice Cream
To make this creamy chocolate milk ice cream, you only need a handful of simple ingredients that come together beautifully.
Here’s what you’ll need:
Key Ingredients:
- Chocolate Milk: The star ingredient of the recipe, giving this ice cream its rich and creamy chocolate flavor.
You can use store-bought chocolate milk or make your own by mixing chocolate syrup with milk. - Heavy Cream: Adds richness and creaminess to the ice cream, ensuring it has that perfect smooth texture.
- Whole Milk: A balance between creaminess and a lighter texture. Whole milk provides a nice consistency without being too heavy.
- Granulated Sugar: Sweetens the mixture to perfection. It dissolves into the milk and cream, giving the ice cream that classic, indulgent sweetness.
- Vanilla Extract: Adds depth of flavor and enhances the overall taste, helping to round out the richness of the chocolate milk.
- Salt: Just a pinch to balance the sweetness and elevate the flavors.
Optional Additions:
- Chocolate Chunks or Chips: For extra chocolatey goodness and texture, you can mix in some chopped chocolate or chocolate chips.
- Marshmallows: For a fun twist, consider adding mini marshmallows for a s’mores-inspired version of the ice cream.
- Swirls of Fudge or Caramel: If you love a bit of indulgence, swirl in some fudge or caramel sauce right before freezing.
These ingredients combine to create a luscious ice cream that captures the essence of chocolate milk, but with a creamy, frozen twist.
The best part? You can customize it with your favorite mix-ins or toppings to make it uniquely yours.
Equipment You’ll Need
Before you begin making your delicious chocolate milk ice cream, it’s important to have the right equipment on hand.
Here’s what you’ll need:
1. Ice Cream Maker
An ice cream maker is essential for creating smooth, creamy homemade ice cream.
Whether you have a manual or electric model, this tool will help churn your mixture, ensuring the ice cream achieves the perfect texture.
If you don’t have an ice cream maker, don’t worry—there are still methods you can use to make ice cream without one (which we’ll cover later).
2. Mixing Bowls
You’ll need a few mixing bowls to combine the ingredients.
A medium-sized bowl will work perfectly for mixing the chocolate milk, cream, milk, sugar, and vanilla.
A larger bowl will be helpful for placing the smaller one in an ice bath if you’re looking to chill your mixture faster.
3. Whisk and Spatula
A whisk is necessary for thoroughly combining the ingredients, especially to ensure the sugar dissolves completely.
A spatula will come in handy for scraping down the sides of the bowl and transferring the mixture into your ice cream maker or storage container.
4. Measuring Cups and Spoons
Precision matters when making ice cream, so make sure you have accurate measuring cups and spoons to measure out your milk, cream, sugar, and other ingredients.
This ensures your ice cream has the perfect balance of sweetness and creaminess.
5. Freezer-Safe Container
Once the ice cream is churned to perfection, you’ll need a freezer-safe container to store it.
Opt for a shallow, airtight container that allows the ice cream to freeze evenly and prevents freezer burn.
Step-by-Step Instructions for Making Chocolate Milk Ice Cream

Now that you have your ingredients and equipment ready, let’s dive into the simple steps for making your very own chocolate milk ice cream.
Follow this guide for a smooth and creamy frozen treat:
Step 1: Prepare the Ice Cream Base
Start by combining the chocolate milk, whole milk, and heavy cream in a mixing bowl.
Whisk the mixture together until fully combined. Next, add the granulated sugar and a pinch of salt.
Continue whisking until the sugar dissolves completely, and you have a smooth, sweet mixture.
If you’d like, you can add the vanilla extract at this point for an extra layer of flavor.
Ensure everything is well-mixed before proceeding.
Step 2: Churn the Mixture
Pour the prepared mixture into your ice cream maker.
Follow the manufacturer’s instructions on how to use your specific model.
Typically, you’ll need to churn the ice cream for about 20-30 minutes, or until it thickens to a soft-serve consistency.
The churning process incorporates air into the mixture, which creates that smooth, creamy texture that you love in ice cream.
Be patient and don’t rush this step!
Step 3: Freeze the Ice Cream
Once the mixture reaches the right consistency in the ice cream maker, transfer it into your prepared freezer-safe container.
Smooth the top with a spatula, making sure it’s even.
Seal the container with a lid or plastic wrap, and place it in the freezer to firm up for at least 4-6 hours or overnight.
This step ensures the ice cream sets and reaches the ideal scoopable consistency.
Step 4: Serve and Enjoy!
Once the ice cream has fully frozen, it’s time to indulge! Use an ice cream scoop to serve up generous portions.
You can enjoy it as-is or top it with chocolate chips, sprinkles, whipped cream, or your favorite dessert toppings.
Pair it with a slice of cake, pie, or enjoy it by itself—either way, you’re in for a treat!
This easy chocolate milk ice cream recipe is bound to be a hit with family and friends.
The process is straightforward, and the result is a rich, creamy, and chocolatey ice cream that everyone will love.
Tips and Tricks for Perfect Chocolate Milk Ice Cream
Making chocolate milk ice cream is straightforward, but there are a few tips and tricks you can follow to ensure your homemade treat turns out perfect every time.
These suggestions will help you avoid common pitfalls and elevate your ice cream to the next level.
1. Use High-Quality Chocolate Milk
Since chocolate milk is the main ingredient in this recipe, the quality of the chocolate milk you choose will have a significant impact on the final flavor.
Opt for a rich, well-flavored chocolate milk, or make your own by mixing milk with high-quality chocolate syrup or cocoa powder.
The better the chocolate milk, the better the ice cream will taste!
2. Don’t Overmix the Ingredients
When mixing your ingredients, be careful not to overmix.
You just need to combine them thoroughly until the sugar is dissolved.
Overmixing can introduce too much air into the base, which may cause the ice cream to freeze too quickly or develop a less smooth texture.
3. Chill the Mixture Before Churning
For an even creamier texture, chill your ice cream mixture in the refrigerator for at least 30 minutes before adding it to the ice cream maker.
This step helps the mixture freeze faster during the churning process, which leads to a smoother, silkier result.
4. Keep the Ice Cream Maker Bowl Frozen
If you’re using an ice cream maker with a pre-frozen bowl, make sure it’s completely frozen before starting the churning process.
If it’s not cold enough, the ice cream won’t firm up properly, and you may end up with a slushy mixture rather than a creamy ice cream.
5. Churn the Ice Cream Until Soft-Serve Consistency
Don’t rush the churning process.
The ice cream maker’s motor should run for at least 20-30 minutes, or until the mixture has thickened to a soft-serve texture.
Stopping too soon will leave you with a runny consistency that won’t freeze well in the next step.
6. Add Mix-ins at the End
If you’re planning to add any mix-ins like chocolate chunks, marshmallows, or candy, wait until the last few minutes of churning to incorporate them.
This ensures they don’t get over-mixed and allows them to be evenly distributed without melting into the base.
7. Avoid Ice Crystals
To prevent the formation of ice crystals and achieve a smooth, creamy texture, make sure to churn your ice cream thoroughly.
If you’re freezing it by hand (without an ice cream maker), stir the mixture every 30 minutes to break up any ice crystals that may form.
How to Store Leftover Chocolate Milk Ice Cream
If you find yourself with leftovers (or simply want to store extra batches for later), proper storage is key to keeping your chocolate milk ice cream fresh and delicious.
1. Choose the Right Storage Container
When storing your ice cream, use an airtight, freezer-safe container.
A shallow container is ideal, as it allows the ice cream to freeze more evenly.
Avoid using glass containers, as they may crack or break in extreme freezer temperatures.
A plastic container with a tight-fitting lid is your best bet.
2. Cover the Ice Cream with Plastic Wrap
To prevent freezer burn and maintain the ice cream’s creamy texture, cover the surface of the ice cream with a layer of plastic wrap before sealing the container with its lid.
This extra layer helps protect the ice cream from air exposure, which can lead to ice crystals.
3. Label and Date the Container
Since homemade ice cream doesn’t contain preservatives, it’s important to keep track of when you made it.
Label the container with the date you made the ice cream so you know how long it’s been stored.
4. Store in the Back of the Freezer
The temperature in your freezer can fluctuate, so it’s best to store the ice cream in the back, where it’s most consistent and cold.
The front of the freezer tends to have warmer spots, which may cause the ice cream to soften and freeze again, leading to changes in texture.
5. Use Within 2 Weeks
While your chocolate milk ice cream can last up to a month in the freezer, for the best taste and texture, it’s recommended to eat it within 2 weeks.
Over time, the quality may degrade, and the ice cream may become harder and lose its smooth, creamy texture.
6. Refreeze Properly
If your ice cream has softened and melted slightly, avoid refreezing it repeatedly, as this can alter the texture and cause ice crystals to form.
Only refreeze ice cream if it’s been partially softened during serving, and consume it as soon as possible to enjoy its best flavor and texture.
By following these tips and storing your ice cream properly, you’ll be able to enjoy your homemade chocolate milk ice cream for days or even weeks after making it!
Conclusion
Making homemade chocolate milk ice cream is a fun and rewarding process that brings together the nostalgic flavors of chocolate milk with the rich, creamy texture of freshly churned ice cream.
This recipe is not only easy to follow but also allows for endless customization—whether you prefer adding mix-ins like chocolate chunks or keeping it simple and pure, the result will always be a delicious treat.
By using quality ingredients, following the tips for achieving the perfect texture, and storing your ice cream correctly, you’ll have a batch of irresistible ice cream ready to enjoy whenever you crave something sweet.
Whether it’s a hot summer day or a cozy winter evening, this chocolate milk ice cream is sure to hit the spot every time.
So grab your ice cream maker and get churning—you won’t regret it!
Frequently Asked Questions About Chocolate Milk Ice Cream
1. Can I make chocolate milk ice cream without an ice cream maker?
Yes, it is possible to make chocolate milk ice cream without an ice cream maker!
You can pour the mixture into a shallow container, freeze it, and every 30 minutes, stir it with a fork to break up ice crystals until it reaches a creamy texture (this can take a few hours).
It won’t be as smooth as ice cream made with an ice cream maker, but it will still be delicious.
2. Can I use low-fat milk instead of whole milk?
Yes, you can use low-fat milk instead of whole milk.
However, using whole milk gives the ice cream a creamier, richer texture.
If you substitute low-fat milk, the ice cream may be slightly less creamy, but it will still taste great.
3. How long does homemade chocolate milk ice cream last in the freezer?
Homemade chocolate milk ice cream can last up to a month in the freezer, but for the best taste and texture, try to consume it within 2 weeks.
Over time, the ice cream may become harder and develop ice crystals.
4. Can I add other flavors to this chocolate milk ice cream?
Absolutely! This recipe is highly versatile, and you can add various flavors or mix-ins like vanilla extract, mint, caramel, or fruit swirls to create your own flavor variations.
Chocolate chips, crushed cookies, or marshmallows also make great additions.
5. Why does my ice cream turn out icy instead of creamy?
If your ice cream turns out icy instead of creamy, it could be due to several factors: not churning long enough, not chilling the mixture before churning, or freezing it too quickly.
Be sure to churn the ice cream long enough, let it chill before using the ice cream maker, and avoid overfreezing it too quickly.

Chocolate Milk Ice Cream
Equipment
- 1 Ice Cream Maker (electric or manual)
- 1 Mixing Bowl (medium-sized)
- (1) Whisk
- 1 spatula
- 1 Measuring Cups & Spoons
- 1 Freezer-Safe Container (shallow)
Ingredients
- 2 cups 480 ml Chocolate Milk
- 1 cup 240 ml Whole Milk
- 1 cup 240 ml Heavy Cream
- 3/4 cup 150 g Granulated Sugar
- 1 tsp Vanilla Extract
- 1/4 tsp Salt
Instructions
Step 1: Prepare the Ice Cream Base
- In a mixing bowl, combine the chocolate milk, whole milk, and heavy cream. Whisk the mixture until well combined. Add the granulated sugar, vanilla extract, and salt. Continue whisking until the sugar is fully dissolved and the mixture is smooth.
Step 2: Churn the Mixture
- Pour the prepared ice cream mixture into your ice cream maker. Follow the manufacturer’s instructions, usually churning for about 20–30 minutes, or until the mixture thickens to a soft-serve consistency.
Step 3: Freeze the Ice Cream
- Transfer the churned ice cream to a freezer-safe container. Smooth the top with a spatula, cover with plastic wrap (optional), and seal with the lid. Place the container in the freezer and let it freeze for 4–6 hours, or overnight, until firm.
Step 4: Serve and Enjoy
- Once the ice cream has frozen completely, scoop it into bowls or cones and enjoy! You can add toppings like chocolate chips, whipped cream, or sprinkles if desired.
Notes
- Make Ahead: This ice cream can be prepared in advance and stored in the freezer for up to a month.
- No Ice Cream Maker? If you don’t have an ice cream maker, pour the mixture into a shallow container, freeze it, and stir every 30 minutes to break up any ice crystals until it reaches a creamy consistency.
- Customizations: Feel free to mix in chocolate chips, crushed cookies, or even swirl in fudge or caramel to make your ice cream extra indulgent.
