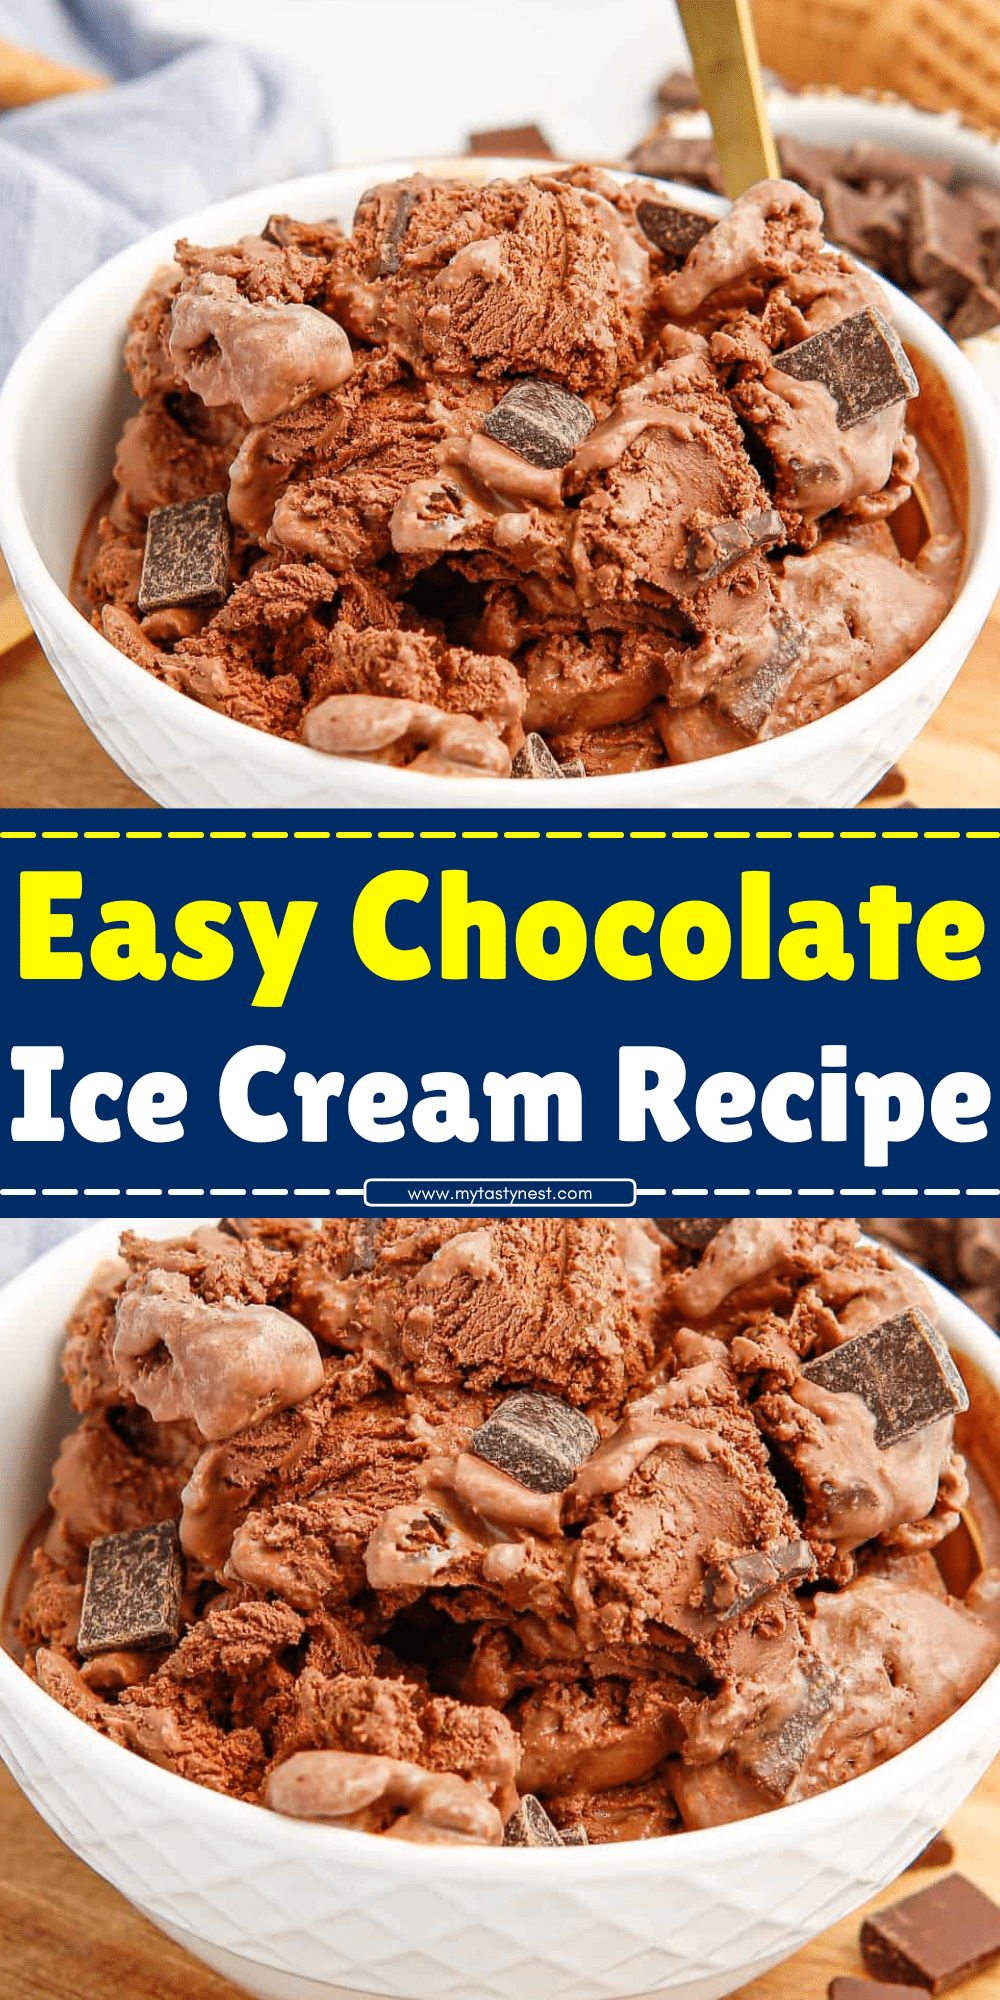
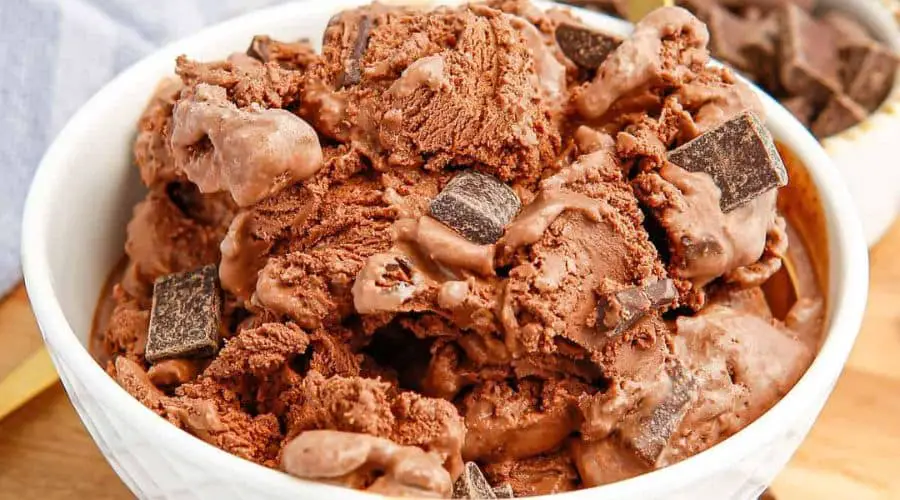
There’s something undeniably special about homemade chocolate ice cream.
Whether you’re indulging after a long day or serving it as a delightful dessert for friends and family, homemade ice cream brings an unmatched richness and creaminess to the table.
Unlike store-bought versions, which can sometimes lack depth of flavor or have an artificial taste, making chocolate ice cream from scratch ensures every scoop is packed with real, indulgent chocolate goodness.
Not only does it offer the luxury of knowing exactly what ingredients are in your ice cream, but the process itself can be deeply rewarding.
The satisfying process of transforming simple ingredients into a smooth, velvety dessert is a treat in itself.
Plus, you have complete control over the chocolate intensity, sweetness, and texture – whether you like it dark and rich or light and creamy.
In this recipe, we’ll guide you through creating the perfect chocolate ice cream that will leave you coming back for more.
Whether you’re using an ice cream maker or the no-churn method, you’ll learn how to craft this decadent dessert with ease.
So, grab your apron and get ready to enjoy the homemade ice cream experience that will rival any scoop from the store!

Needed for Making Chocolate Ice Cream
To make the best homemade chocolate ice cream, having the right equipment is essential.
Fortunately, the process is straightforward and doesn’t require too many specialized tools. Here’s what you’ll need to get started:
Ice Cream Maker (Optional but Recommended)
While you can make chocolate ice cream without an ice cream maker, using one greatly improves the texture, resulting in a creamier, smoother consistency.
An ice cream maker helps churn the mixture as it freezes, preventing large ice crystals from forming and ensuring that your ice cream is perfectly smooth.
If you’re serious about making ice cream at home, investing in a good-quality ice cream maker can make a world of difference.
There are two main types of ice cream makers: manual and electric. Electric machines are quicker and require less effort, making them a great choice for beginners.
On the other hand, a manual ice cream maker can give you a more hands-on experience and might be a fun option for those who enjoy the process of making everything from scratch.
No-Churn Method (If You Don’t Have an Ice Cream Maker)
No worries if you don’t have an ice cream maker!
You can still create a rich and creamy ice cream by using the no-churn method.
For this, you’ll just need a high-quality hand mixer or stand mixer to whip the cream and blend the chocolate mixture until smooth.
Mixing Bowls
A couple of large mixing bowls are crucial for combining ingredients and preparing your ice cream base.
One bowl will be used for mixing the cream, sugar, and eggs (if using), while the other can be for melting the chocolate.
Make sure to have at least one bowl that can comfortably hold all of the ingredients for easy stirring and whisking.
Whisk or Hand Mixer
A whisk is essential for blending the ingredients smoothly and ensuring that everything is evenly combined.
If you’re making a custard-style ice cream that requires heating, you’ll need a whisk to stir the mixture constantly to prevent it from curdling.
Alternatively, a hand mixer can help you whip the cream to soft peaks when you’re preparing the base for a no-churn recipe.
Saucepan and Thermometer (for Custard Base)
If you’re making a traditional custard-style chocolate ice cream, a saucepan is necessary for heating the milk and cream.
Using a thermometer will help you monitor the temperature of the mixture, ensuring it reaches the perfect point without over-heating or scrambling the eggs.
A candy or instant-read thermometer is a useful tool for this step.
Freezer-Safe Container
For storing the ice cream, you’ll need a shallow, freezer-safe container.
A loaf pan or glass dish works well for even freezing and easy scooping.
Once the ice cream has been churned (or mixed), transfer it to your container and let it freeze until firm.
Optional: Spatula and Scoop
A spatula will come in handy for scraping down the sides of your ice cream maker or for mixing in additional ingredients like chocolate chips or swirls of fudge.
Additionally, having a scoop makes serving the ice cream much easier and more uniform.
With these simple tools, you’re all set to start making your own homemade chocolate ice cream.
Whether you’re using an ice cream maker or opting for the no-churn version, the right equipment will help you create a smooth, rich dessert every time.
Step-by-Step Instructions for Making Chocolate Ice Cream

Making chocolate ice cream at home is a fun and rewarding process. Follow these easy steps to create a rich and creamy treat that will impress everyone.
1. Prepare the Chocolate Base
Begin by melting the chocolate or cocoa powder with a portion of the milk.
If you’re using chocolate bars or chips, break them into smaller pieces to help them melt faster.
In a saucepan over low heat, combine the chocolate and 1/2 cup of the milk, stirring constantly until smooth.
If you’re using cocoa powder, mix it with a little warm milk to form a smooth paste before adding it to the remaining milk.
This step creates the rich chocolate flavor foundation for your ice cream.
2. Make the Creamy Ice Cream Base
In a separate bowl, whisk together the remaining milk, heavy cream, and sugar until well combined.
If you’re using eggs for a custard base, add the eggs to the mixture and whisk until smooth.
Then, heat this mixture in a saucepan over medium-low heat.
Stir constantly with a spatula or whisk to prevent the eggs from scrambling.
Continue heating until the mixture thickens slightly, around 170°F (77°C). Be sure not to let it boil.
3. Mix the Chocolate into the Base
Once the cream mixture has thickened, pour the melted chocolate (or cocoa paste) into the saucepan and stir until fully incorporated.
The chocolate should blend seamlessly with the cream base, creating a smooth, luscious chocolate mixture.
If desired, you can also add a pinch of salt or vanilla extract at this stage to enhance the flavor.
4. Chill the Mixture
Remove the saucepan from the heat and allow the mixture to cool for a few minutes.
Then, transfer it to a large mixing bowl and place it in the refrigerator to chill for at least 2 hours, or preferably overnight.
Chilling the mixture ensures that it reaches the right temperature before churning, which is crucial for the best texture.
5. Churn the Ice Cream
Once the mixture is thoroughly chilled, it’s time to churn it.
If you’re using an ice cream maker, pour the chilled base into the machine and follow the manufacturer’s instructions.
The mixture will thicken as it churns and become a smooth, creamy consistency. This usually takes about 20-25 minutes in an ice cream maker.
If you don’t have an ice cream maker, no worries! Pour the chilled mixture into a shallow dish and place it in the freezer.
Every 30 minutes, stir the mixture with a fork to break up any ice crystals until the ice cream reaches your desired consistency, usually about 3-4 hours.
6. Freeze to Set the Ice Cream
After churning, transfer the ice cream to a freezer-safe container and smooth the top with a spatula.
Cover the container with plastic wrap or a tight-fitting lid and place it in the freezer to harden for at least 4 hours.
This will give your chocolate ice cream the perfect firm yet scoopable texture.
Tips for the Best Chocolate Ice Cream
To ensure your homemade chocolate ice cream turns out as rich, creamy, and delicious as possible, consider these expert tips:
1. Use High-Quality Chocolate
The quality of the chocolate you use will directly affect the flavor of your ice cream.
Opt for high-quality dark chocolate with at least 60% cocoa content for a deep, rich flavor.
If you prefer a milk chocolate base, choose a smooth, creamy milk chocolate bar or chips.
2. Don’t Skip the Chilling Step
Chilling the base before churning is key to achieving the smoothest texture possible.
This step helps the mixture set properly and ensures it freezes evenly. If you skip it, your ice cream may turn out icy and less creamy.
3. Incorporate a Pinch of Salt
Adding a small pinch of salt enhances the flavors and helps balance the sweetness of the chocolate.
It’s a subtle but important addition that can make a noticeable difference in the final taste.
4. Use Heavy Cream for Creaminess
For the creamiest, most luxurious texture, use full-fat heavy cream. Avoid using lower-fat options, as they may result in a less creamy, more icy consistency.
5. Experiment with Add-Ins
Once your chocolate ice cream is almost ready, feel free to mix in your favorite add-ins.
Try adding chocolate chips, chopped nuts, or even swirls of caramel or fudge.
Be sure to fold in the add-ins gently to maintain the smooth texture of the ice cream.
6. Serve Immediately or Let It Set
Freshly churned chocolate ice cream is deliciously soft and scoopable. If you prefer a firmer texture, let it freeze for an additional 4-6 hours to fully set.
With these tips in mind, you’ll be able to create a rich and creamy chocolate ice cream that’s sure to become a new favorite!
Common Mistakes to Avoid When Making Chocolate Ice Cream
Making chocolate ice cream at home can be an enjoyable and rewarding experience, but there are a few common mistakes that can affect the final result.
Here’s what to watch out for:
1. Overheating the Cream Mixture
If you’re making a custard-style base with eggs, be careful not to overheat the cream mixture.
If the mixture gets too hot, it can cause the eggs to scramble, leaving you with an unpleasant texture.
Use a thermometer to monitor the temperature, and aim for around 170°F (77°C) to ensure it thickens without curdling.
2. Skipping the Chilling Step
Chilling the base before churning is essential for achieving the smoothest texture.
If you skip this step, the ice cream mixture might not freeze evenly, leading to a grainy or icy texture.
Always allow the base to chill for at least a couple of hours, or ideally overnight, before churning.
3. Not Using Enough Fat
The fat content in your cream and milk plays a crucial role in the texture and richness of the ice cream.
Using lower-fat milk or substituting too much of the heavy cream can result in a less creamy, more icy product. Stick to full-fat heavy cream and whole milk for the best results.
4. Over-Churning the Ice Cream
While churning is necessary to create a smooth, creamy consistency, over-churning can lead to an undesirable texture.
Once the ice cream has reached the consistency of soft serve, stop the churning process.
Churning for too long can cause the ice cream to become overly thick and difficult to scoop.
5. Storing Ice Cream in the Freezer Too Long
Homemade ice cream can become too hard if stored in the freezer for too long without being eaten.
If your ice cream has frozen too solid, let it sit at room temperature for 5-10 minutes before scooping for a softer, more scoopable consistency.
Conclusion
Homemade chocolate ice cream is a decadent treat that’s well worth the effort.
By following the steps carefully and avoiding common mistakes, you can create a rich, smooth, and creamy dessert that beats any store-bought version.
Whether you opt for a traditional custard-style recipe or a no-churn method, the satisfaction of making your own chocolate ice cream is unmatched.
With endless opportunities to customize your recipe—whether by adding mix-ins like chocolate chips, nuts, or swirls of caramel—you can create a personalized dessert that’s perfect for any occasion.
So, grab your ingredients, get your ice cream maker ready, and treat yourself to the best homemade chocolate ice cream you’ve ever tasted!
Frequently Asked Questions (FAQs)
1. Can I use milk chocolate instead of dark chocolate?
Yes, you can use milk chocolate instead of dark chocolate for a creamier and sweeter flavor.
Just keep in mind that milk chocolate is typically sweeter than dark chocolate, so you may want to adjust the amount of sugar in the recipe to suit your taste.
2. How can I make this recipe dairy-free?
To make a dairy-free version, substitute the heavy cream and milk with coconut milk, almond milk, or another non-dairy milk of your choice.
Use a dairy-free chocolate and make sure to check the ingredients to avoid any hidden dairy products.
3. How long will the homemade chocolate ice cream last in the freezer?
Homemade chocolate ice cream will stay fresh for about 1-2 weeks in the freezer if stored in an airtight container.
However, it’s best to eat it sooner rather than later for optimal freshness and texture.
4. Can I make chocolate ice cream without an ice cream maker?
Yes, you can make chocolate ice cream without an ice cream maker.
Simply follow the same steps to prepare the ice cream base, then pour the mixture into a shallow dish and place it in the freezer.
Stir it every 30 minutes for the first few hours to break up any ice crystals and achieve a smooth texture.
5. How can I add mix-ins like chocolate chips or nuts to my ice cream?
To add mix-ins, wait until the ice cream is almost done churning (or after the first few hours of freezing if you’re using the no-churn method).
Gently fold in your chosen mix-ins, such as chocolate chips, chopped nuts, or candy pieces, and then finish freezing the ice cream.
This ensures they stay evenly distributed without affecting the smooth texture.

Chocolate Ice Cream
Equipment
- 1 Ice Cream Maker (if using)
- (1) Mixing bowl (large)
- 1 Whisk or Hand Mixer
- 1 Saucepan
- 1 Thermometer (optional)
- 1 Freezer-Safe Container
Ingredients
- 1 1/2 cups 360 ml Heavy Cream
- 1 1/2 cups 360 ml Whole Milk
- 3/4 cup 150 g Granulated Sugar
- 4 oz 115 g Dark Chocolate (or Milk Chocolate)
- 1/4 tsp Salt
- 1 tsp Vanilla Extract
- 3 Large Eggs if using custard base
Instructions
Melt the Chocolate:
- In a saucepan over low heat, melt the chocolate with 1/2 cup of milk, stirring frequently until smooth. Set aside to cool slightly.
Make the Cream Base:
- In a separate mixing bowl, whisk together the remaining milk, heavy cream, sugar, and eggs (if using). Heat the mixture over medium-low heat in a saucepan, stirring constantly, until it thickens slightly (about 170°F/77°C). Be careful not to let it boil.
Combine Chocolate and Cream Base:
- Pour the melted chocolate into the cream base and stir until fully incorporated. Add salt and vanilla extract and mix well. Remove from heat.
Chill the Mixture:
- Let the mixture cool at room temperature for a few minutes, then transfer it to the fridge to chill for at least 2 hours, or overnight for best results.
Churn the Ice Cream:
- Once the mixture is chilled, pour it into your ice cream maker and churn according to the manufacturer’s instructions (about 20-25 minutes).
Freeze:
- Transfer the churned ice cream into a freezer-safe container and smooth the top. Cover and freeze for at least 4 hours, or until firm.
Serve:
- Scoop and enjoy your homemade chocolate ice cream!
Notes
- Customizing Flavor: Feel free to add mix-ins like chocolate chips, nuts, or swirls of caramel during the last few minutes of churning.
- No Ice Cream Maker? If you don’t have an ice cream maker, you can use the no-churn method: simply stir the mixture every 30 minutes for the first 3-4 hours in the freezer until it reaches the desired consistency.
- Chocolate Type: The type of chocolate you use will impact the flavor and sweetness. Dark chocolate gives a more intense chocolate flavor, while milk chocolate results in a sweeter, creamier ice cream.


