All products are selected by our editorial team for quality. If you buy through our links, we may earn a small commission at no extra cost to you.
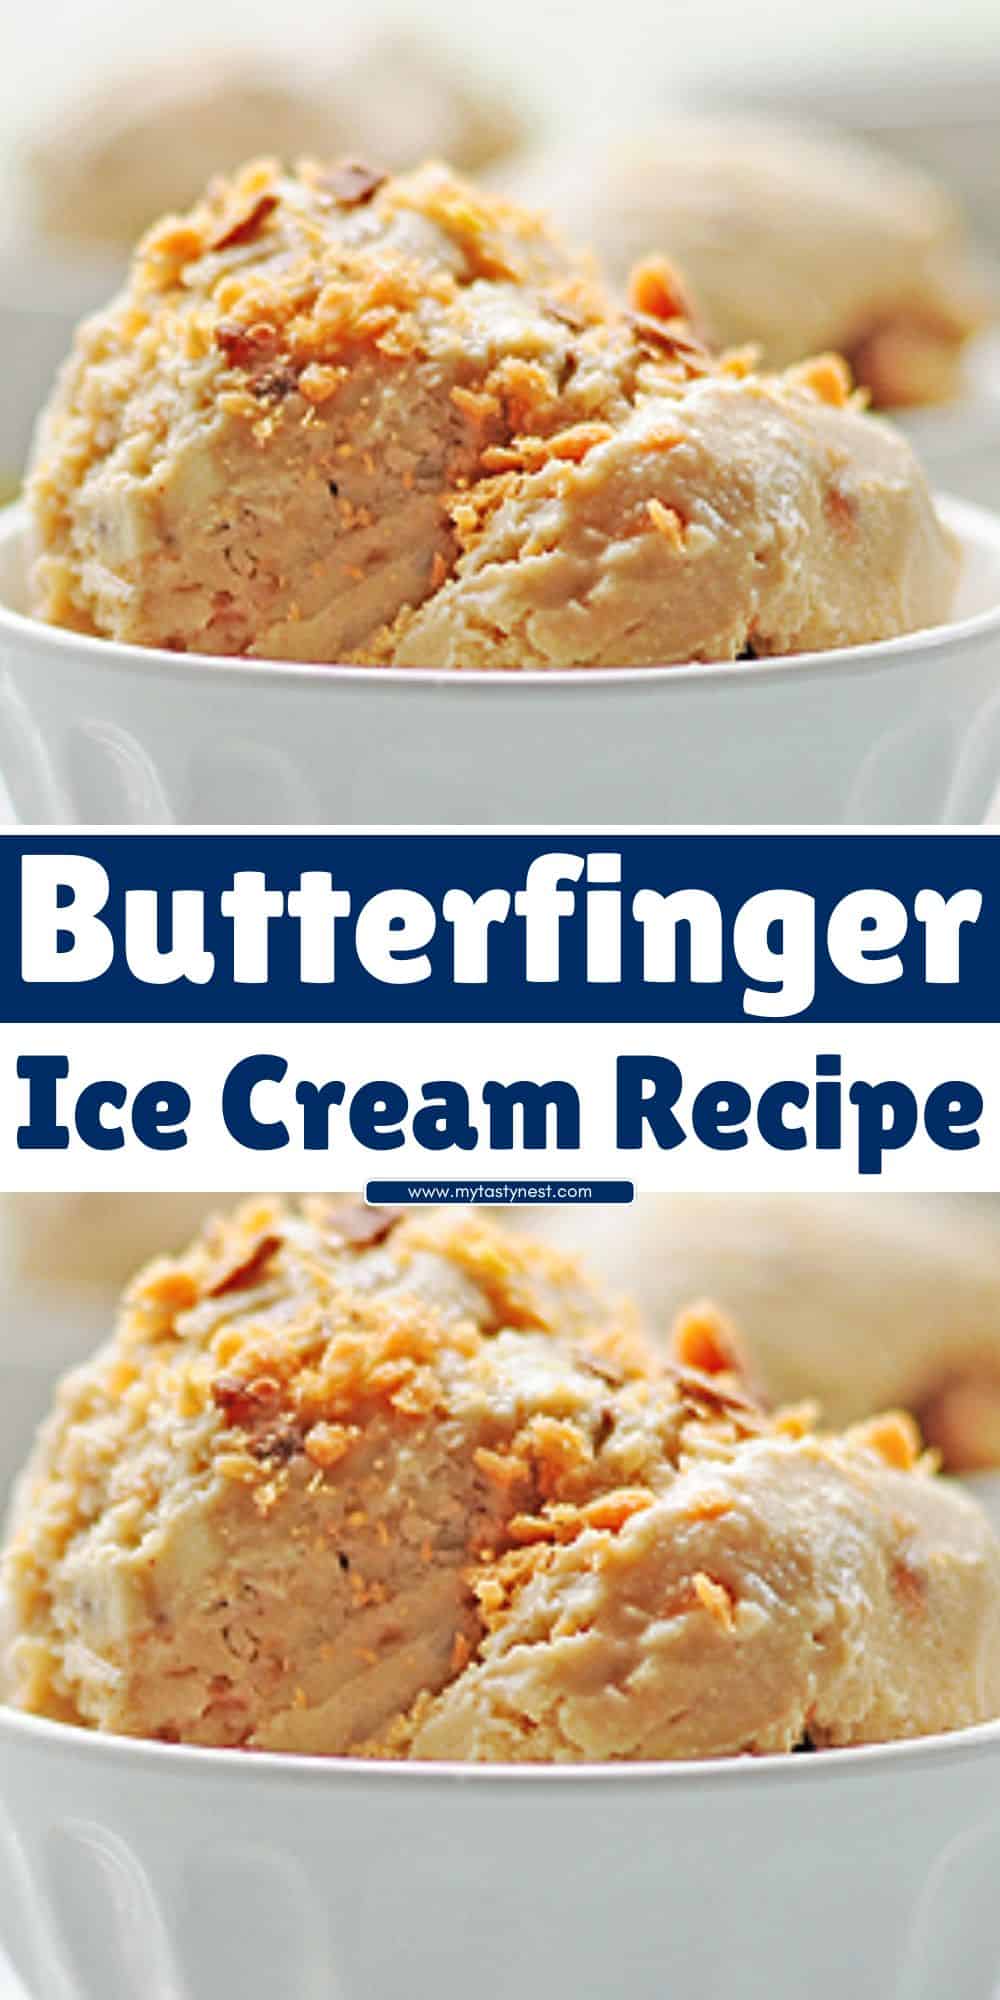
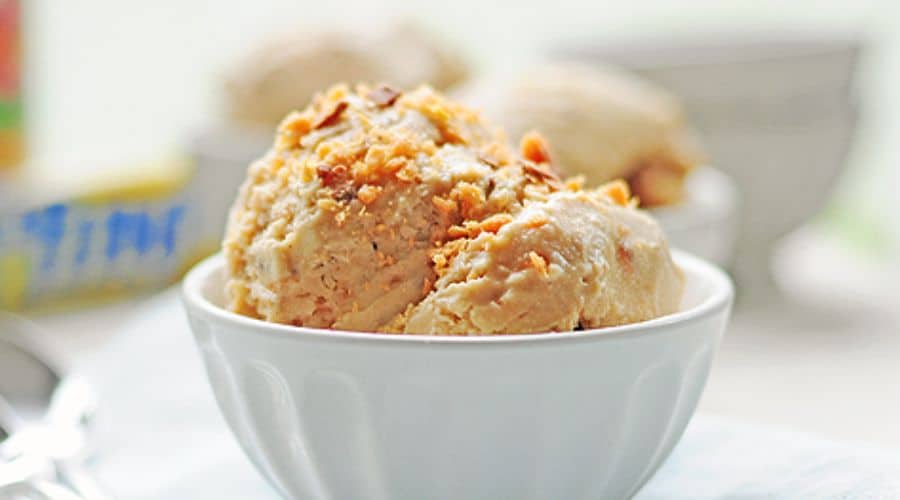
Imagine a scoop of rich, creamy ice cream swirled with crunchy, peanut-buttery Butterfinger pieces—each bite a perfect balance of smooth and crispy textures.
If you’re a fan of Butterfinger candy bars and homemade ice cream, you’re in for a real treat with this Butterfinger Ice Cream Recipe!
Making ice cream at home might sound intimidating, but this recipe is surprisingly simple and yields far better results than store-bought versions.
Whether you’re using an ice cream maker or trying the no-churn method, you’ll end up with a luscious, melt-in-your-mouth dessert that tastes like a dream.
With just a handful of ingredients and a little patience, you can create a frozen masterpiece that will have your family and friends asking for more.
So, let’s dive in and make the ultimate Butterfinger ice cream from scratch!

Why You’ll Love This Butterfinger Ice Cream Recipe
1. Perfectly Creamy with a Crunchy Twist
This recipe combines the smooth, rich base of homemade ice cream with the irresistible crunch of Butterfinger candy bars.
The chocolate and peanut butter flavors meld seamlessly into the creamy mixture, creating a dessert that’s both indulgent and satisfying.
2. Easy to Make—With or Without an Ice Cream Maker
No fancy equipment? No problem! While an ice cream maker helps achieve an ultra-creamy texture, you can also make this using a simple no-churn method.
Both options guarantee a delicious outcome, so anyone can whip up this treat at home.
3. Better Than Store-Bought
Unlike commercial ice cream, this homemade version contains no artificial flavors or preservatives.
You get full control over the ingredients, ensuring a fresher, richer taste with real Butterfinger pieces in every bite.
4. Customizable to Your Taste
Want a little extra chocolate? Prefer a peanut butter swirl? This recipe is super versatile!
You can easily tweak it by adding mix-ins like chocolate chips, caramel drizzle, or even more crushed Butterfinger bars for an extra crunch.
5. A Guaranteed Crowd-Pleaser
Whether you’re making it for a summer gathering, a birthday celebration, or just because you’re craving something sweet, Butterfinger ice cream is always a hit.
It’s a nostalgic, fun dessert that both kids and adults will love!
Ingredients You’ll Need
Before we dive into making this delicious Butterfinger ice cream, let’s gather all the ingredients.
Using high-quality dairy and real Butterfinger pieces will make all the difference in flavor and texture!
For the Ice Cream Base:
- 2 cups heavy cream – Provides a rich, creamy texture.
- 1 cup whole milk – Balances the creaminess and makes the base smooth.
- ¾ cup granulated sugar – Sweetens the ice cream just right.
- 1 teaspoon vanilla extract – Enhances the flavor with a warm, sweet aroma.
- 4 large egg yolks – If making a custard-based ice cream, these add richness and smoothness.
- ¼ teaspoon salt – A pinch to enhance all the flavors.
For the Butterfinger Mix-In:
- 6 full-sized Butterfinger bars, crushed – Adds that signature crispy, peanut-buttery crunch.
- Optional: ½ cup peanut butter – Swirled in for extra peanut butter goodness.
- Optional: ½ cup chocolate chips – For a chocolatey twist.
Now that you have everything ready, let’s start making this incredible ice cream!
Step-by-Step Instructions: How to Make Butterfinger Ice Cream

Step 1: Prepare the Ice Cream Base
If you’re using an ice cream maker, follow these steps for a custard-style base:
- In a medium saucepan over low heat, combine the milk, sugar, and salt. Stir until the sugar dissolves and the mixture is warm (do not boil).
- In a separate bowl, whisk the egg yolks until smooth. Slowly pour a small amount of the warm milk mixture into the yolks while whisking constantly (this tempers the eggs, preventing them from scrambling).
- Gradually pour the yolk mixture back into the saucepan and cook over low heat, stirring constantly, until it thickens slightly and coats the back of a spoon (about 5 minutes).
- Remove from heat and stir in the vanilla extract.
- Pour the mixture through a fine-mesh sieve into a clean bowl to remove any lumps.
- Cover and refrigerate for at least 4 hours or until completely chilled.
If you’re making a no-churn version, simply:
- Whip the heavy cream in a large bowl until stiff peaks form.
- Fold in the sweetened condensed milk and vanilla extract, mixing gently to keep it airy.
Step 2: Churn the Ice Cream (or Use the No-Churn Method)
If Using an Ice Cream Maker:
- Pour the chilled custard mixture into your ice cream maker.
- Churn according to the manufacturer’s instructions until thick and creamy (usually 20–25 minutes).
If Using the No-Churn Method:
- Transfer the whipped cream mixture into a freezer-safe container.
Step 3: Add the Butterfinger Pieces
- Once the ice cream reaches a soft-serve consistency, gently fold in the crushed Butterfinger bars.
- If using, swirl in peanut butter or chocolate chips for extra flavor.
Step 4: Freeze Until Firm
- Transfer the ice cream to an airtight container.
- Press a layer of plastic wrap directly onto the surface to prevent ice crystals from forming.
- Freeze for at least 4–6 hours, or until firm enough to scoop.
Pro Tips for the Best Butterfinger Ice Cream
Making homemade ice cream is easy, but a few expert tricks can take it from good to absolutely amazing.
Follow these tips to ensure your Butterfinger ice cream is perfectly creamy, flavorful, and packed with the right amount of crunch!
1. Use Full-Fat Dairy for a Creamier Texture
Ice cream gets its rich, smooth consistency from fat.
Using heavy cream and whole milk (instead of low-fat alternatives) will give you that indulgent, melt-in-your-mouth texture.
If you substitute lower-fat options, your ice cream may turn out icy rather than creamy.
2. Crush Butterfinger Bars into Different-Sized Pieces
For the best balance of flavor and texture, crush some Butterfinger bars into fine crumbs while leaving others in larger chunks.
This way, you’ll get a mix of buttery peanut flavor throughout while still enjoying crispy bites of candy.
3. Chill the Ice Cream Base Completely Before Churning
If you’re using an ice cream maker, make sure the custard base is fully chilled before churning.
A colder mixture freezes faster, resulting in smaller ice crystals and a creamier texture.
Ideally, let it sit in the fridge for at least 4 hours (or overnight) before churning.
4. Fold in the Butterfinger Pieces at the Right Time
Adding Butterfinger pieces too early can cause them to sink to the bottom or lose their crunch.
The best time to mix them in is when the ice cream reaches a soft-serve consistency—this ensures they stay evenly distributed.
5. Let It Sit Before Scooping
Homemade ice cream tends to freeze harder than store-bought versions.
For the best scooping consistency, let it sit at room temperature for 5–10 minutes before serving.
This will soften it just enough to get perfect, creamy scoops.
Variations and Customizations
One of the best things about this Butterfinger ice cream recipe is that you can easily tweak it to fit your taste.
Whether you want to add more chocolate, extra peanut butter, or even make it dairy-free, here are some delicious variations to try!
1. Chocolate Butterfinger Ice Cream
Love the combination of peanut butter and chocolate? Try making a chocolate ice cream base instead! Simply:
- Add ½ cup of cocoa powder to the milk mixture while heating it.
- Use ¾ cup of sugar instead of ½ cup, as cocoa powder adds some bitterness.
2. Peanut Butter Swirl Butterfinger Ice Cream
Take the peanut butter flavor to the next level by swirling in creamy peanut butter before freezing. Here’s how:
- Microwave ½ cup of peanut butter for about 15 seconds until slightly runny.
- Drizzle it into the churned ice cream and swirl with a knife before freezing.
3. Extra Crunchy Butterfinger Ice Cream
If you love texture in your ice cream, mix in other crunchy add-ins along with the Butterfinger pieces. Some great options include:
- Chopped peanuts for an extra nutty crunch.
- Toffee bits for more caramelized sweetness.
- Crushed pretzels for a salty-sweet contrast.
4. Dairy-Free Butterfinger Ice Cream
Want a non-dairy version? Try these swaps:
- Replace heavy cream and milk with full-fat coconut milk.
- Use ½ cup maple syrup or agave instead of sugar for sweetness.
- Make sure your Butterfinger bars are dairy-free (some versions contain milk).
5. Butterfinger Ice Cream Sandwiches
Turn your homemade ice cream into fun ice cream sandwiches by scooping it between two cookies! Some great cookie pairings include:
- Chocolate chip cookies for a classic combo.
- Peanut butter cookies for an extra peanut butter hit.
- Brownie cookies for a fudgy, indulgent twist.
Serving Suggestions
Your homemade Butterfinger ice cream is ready—now, let’s make it extra special with the perfect presentation!
Whether you want to keep it simple or go all out with toppings and pairings, here are some delicious ways to serve it.
1. Classic Scoops in a Cone or Bowl
The easiest and most satisfying way to enjoy this ice cream is in a crisp waffle cone, sugar cone, or a simple bowl.
Let the ice cream sit for 5 minutes before scooping for the perfect creamy texture.
2. Drizzle It with Toppings
Take your Butterfinger ice cream to the next level with some fun toppings! Here are a few ideas:
- Chocolate syrup or hot fudge – For a rich, chocolatey contrast.
- Caramel sauce – Brings out the buttery, peanut-flavored notes.
- Whipped cream – A light, fluffy topping to balance the crunch.
- Extra crushed Butterfinger pieces – Because you can never have too much!
3. Make a Butterfinger Ice Cream Sundae
Build an over-the-top sundae by layering ice cream, toppings, and mix-ins in a tall glass. Try adding:
- Warm brownie chunks at the bottom.
- Chopped peanuts for more crunch.
- A cherry on top for the perfect finishing touch!
4. Butterfinger Ice Cream Milkshake
Want a thick, creamy milkshake? Blend together:
- 2–3 scoops of Butterfinger ice cream
- ½ cup of milk (adjust for thickness)
- A drizzle of chocolate or caramel sauce
Top with whipped cream and extra crushed Butterfinger for a restaurant-style shake!
5. Ice Cream Sandwiches
Take two cookies and sandwich a scoop of Butterfinger ice cream between them. Some great cookie choices include:
- Peanut butter cookies for a double peanut butter treat.
- Chocolate chip cookies for a classic combo.
- Oreo cookies for a cookies-and-cream twist.
Final Thoughts
Homemade Butterfinger ice cream is everything a dessert should be—creamy, crunchy, and packed with flavor.
Whether you’re making it for a summer treat, a special occasion, or just to satisfy a late-night craving, this recipe guarantees a delicious result every time.
Plus, the best part of making ice cream at home is that you control the ingredients and flavors.
Want more Butterfinger pieces?
Add them in! Prefer a chocolate base?
Try it! With this recipe as your guide, you can create your perfect scoop every time.
Frequently Asked Questions
1. Can I make Butterfinger ice cream without an ice cream maker?
Yes! You can make a no-churn version by whipping 2 cups of heavy cream until stiff peaks form, then folding in 1 can (14 oz) of sweetened condensed milk and 1 teaspoon of vanilla extract.
Once combined, mix in the Butterfinger pieces and freeze for at least 6 hours.
2. How do I keep Butterfinger pieces from getting too hard in the ice cream?
To keep the Butterfinger pieces from becoming too crunchy, chop them into smaller pieces and mix them in just before freezing.
You can also coat them in a bit of caramel or peanut butter to help maintain a softer texture.
3. Why is my homemade ice cream too hard after freezing?
Homemade ice cream often freezes harder than store-bought versions because it doesn’t contain stabilizers. To make it softer:
- Let it sit at room temperature for 5–10 minutes before scooping.
- Add 1–2 tablespoons of alcohol (like vodka or bourbon) to the base to prevent over-hardening.
4. Can I use different candy bars instead of Butterfinger?
Absolutely! If you want to switch things up, try using:
- Reese’s Cups for a peanut butter and chocolate twist.
- Snickers for a caramel-nut combo.
- Heath bars for a toffee-flavored crunch.
5. How long does homemade Butterfinger ice cream last in the freezer?
For the best flavor and texture, eat within 2–3 weeks.
Store it in an airtight container, and press a layer of plastic wrap directly onto the ice cream to prevent freezer burn.

Butterfinger Ice Cream
Equipment
- 1 medium saucepan (to heat the custard)
- 1 mixing bowl (for tempering egg yolks)
- 1 whisk (to mix the custard)
- 1 fine-mesh strainer (to remove lumps)
- 1 airtight container (for freezing)
- 1 ice cream maker (to churn the mixture)
Ingredients
For the Ice Cream Base:
- 2 cups heavy cream
- 1 cup whole milk
- ¾ cup granulated sugar
- 1 teaspoon vanilla extract
- 4 large egg yolks for custard base
- ¼ teaspoon salt
For the Butterfinger Mix-In:
- 6 full-size Butterfinger bars crushed
- Optional: ½ cup peanut butter for extra flavor
- Optional: ½ cup chocolate chips for added texture
Instructions
Heat the Milk Mixture:
- In a saucepan over medium-low heat, combine the milk, sugar, and salt. Stir until the sugar dissolves (do not boil).
Temper the Egg Yolks:
- In a separate bowl, whisk the egg yolks. Slowly pour a small amount of warm milk into the yolks while whisking constantly.
Cook the Custard:
- Pour the yolk mixture back into the saucepan and cook over low heat, stirring, until it thickens slightly (about 5 minutes). The mixture should coat the back of a spoon.
Chill the Mixture:
- Remove from heat, stir in vanilla extract, and strain through a mesh sieve. Refrigerate for at least 4 hours until completely chilled.
Churn the Ice Cream:
- Pour the chilled mixture into an ice cream maker and churn according to the manufacturer’s instructions (about 20–25 minutes).
Fold in the Butterfinger Pieces:
- Once the ice cream reaches a soft-serve consistency, gently mix in the crushed Butterfinger bars (and peanut butter, if using).
Freeze Until Firm:
- Transfer to an airtight container, press plastic wrap against the surface, and freeze for 4–6 hours.
Notes
- For Extra Creaminess: Add 1 tablespoon of corn syrup to the base to prevent iciness.
- If You Love More Crunch: Reserve some Butterfinger pieces to sprinkle on top before serving.
- For a Softer Scoop: Let the ice cream sit at room temperature for 5 minutes before serving.
- Make It Nut-Free: Use nut-free chocolate bars instead of Butterfinger.


