All products are selected by our editorial team for quality. If you buy through our links, we may earn a small commission at no extra cost to you.
If you’re looking for a fun, colorful, and delicious treat, look no further than Bubblegum Ice Cream.
This playful ice cream combines the nostalgic flavor of bubblegum with a creamy, indulgent ice cream base.
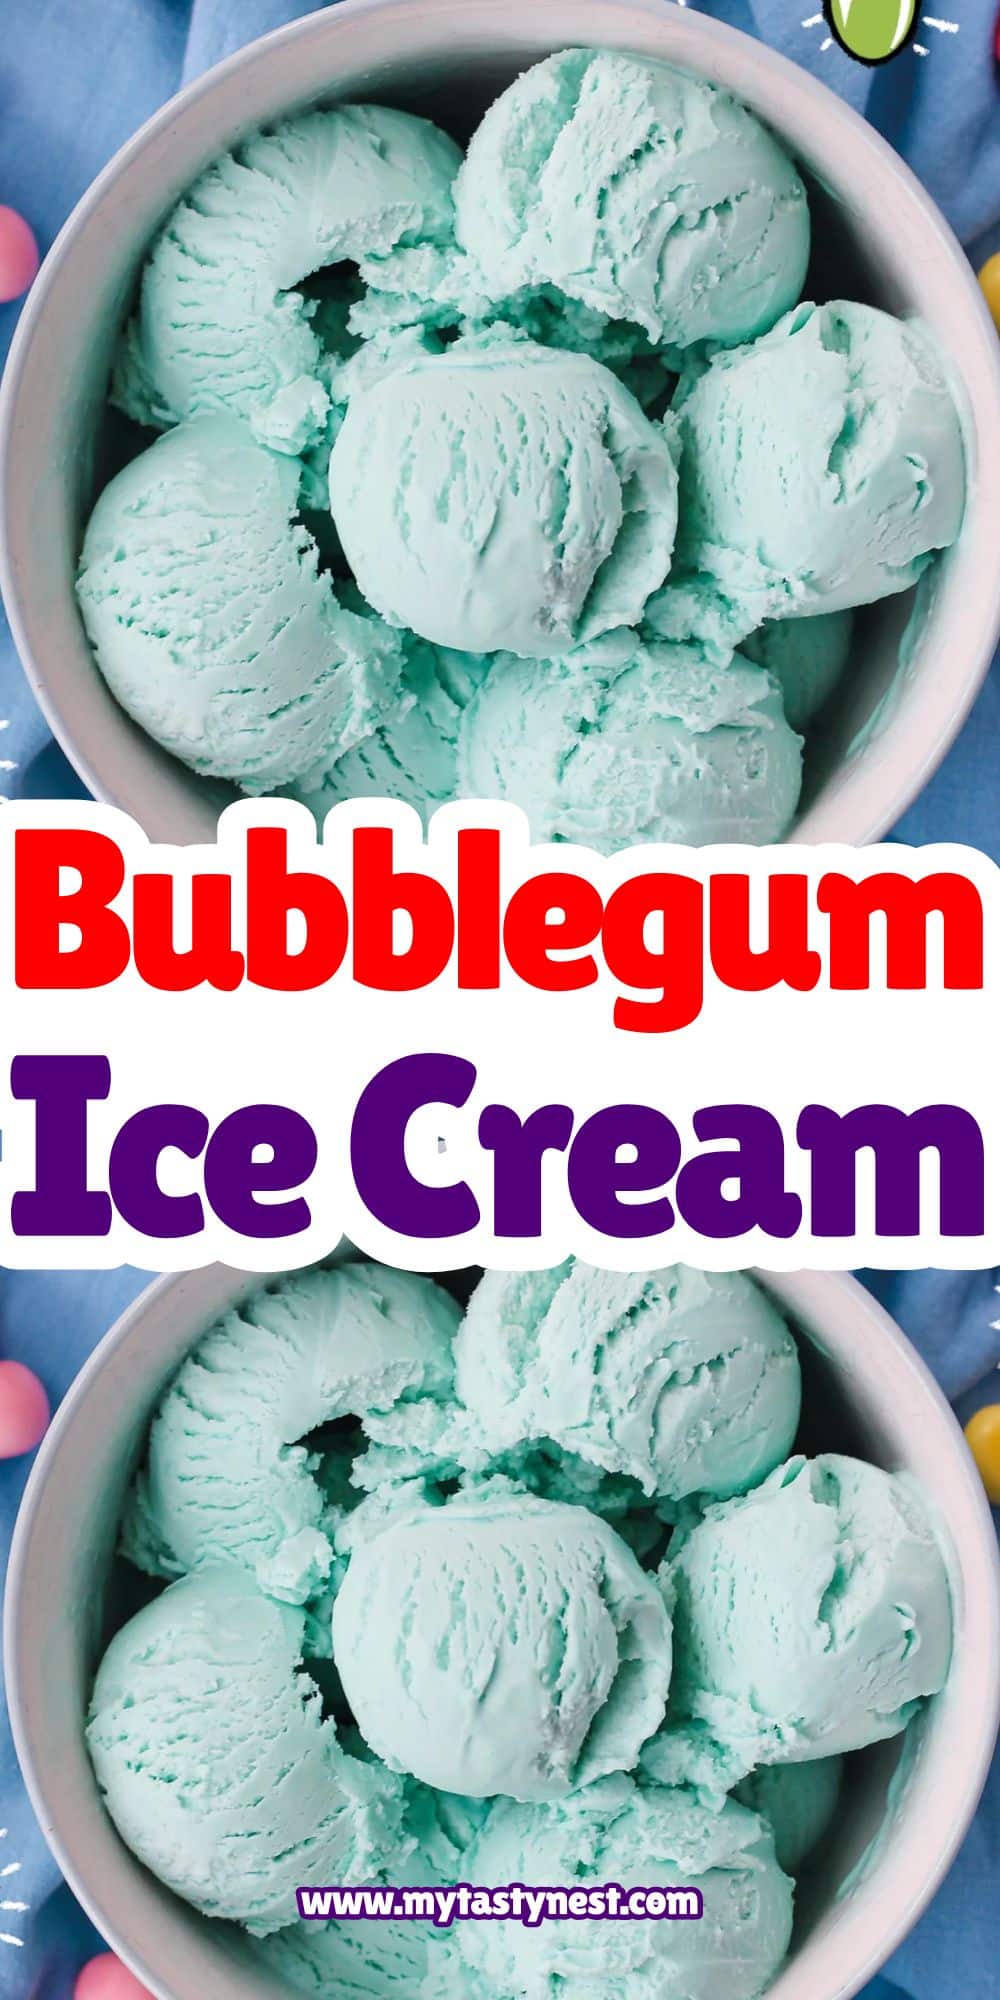
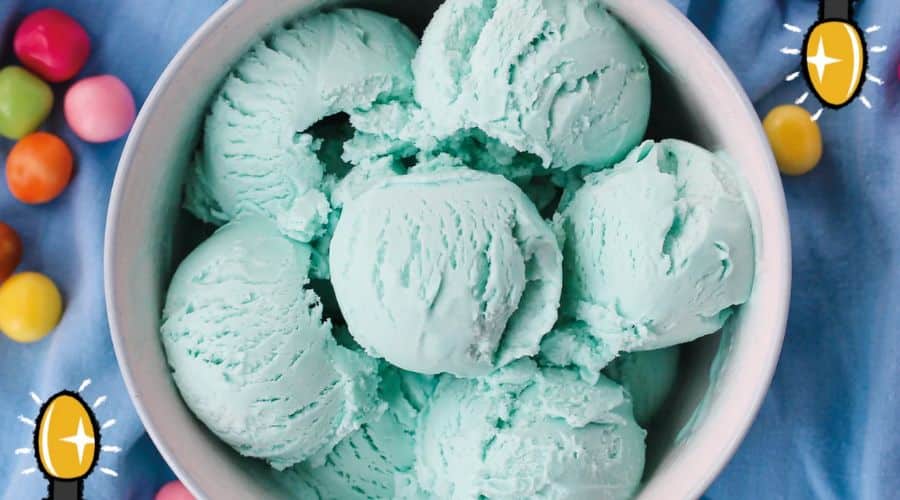
Its striking pink color and sweet bubblegum taste make it a favorite for both kids and adults alike.
Bubblegum ice cream is the perfect addition to summer parties, kids’ birthday celebrations, or even just a sweet treat to enjoy after dinner.
Whether you’re serving it in a cone, bowl, or topped with sprinkles and whipped cream, it’s sure to bring a smile to anyone’s face.
With this simple, easy-to-follow recipe, you’ll learn how to make this delightful dessert right at home, and with just a few ingredients, you’ll be savoring the taste of childhood memories in no time!

Why You’ll Love This Bubblegum Ice Cream Recipe
A Fun and Nostalgic Flavor
Bubblegum ice cream brings back fond memories of summer days spent with a popsicle in hand or enjoying a bubblegum-flavored treat at a local ice cream parlor.
It’s a playful and nostalgic flavor that appeals to both children and adults, making it the perfect dessert for family gatherings, parties, or a casual afternoon treat.
Simple and Easy to Make
This recipe is straightforward and requires only a few ingredients that you probably already have in your kitchen, including heavy cream, sweetened condensed milk, and bubblegum extract.
Whether you’re a seasoned ice cream maker or a beginner, you’ll be able to prepare this delightful dessert with ease.
Plus, we’ve included a no-churn option for those without an ice cream maker, making this recipe accessible to everyone.
Customizable to Your Taste
One of the best things about this bubblegum ice cream recipe is that it can be easily customized.
You can adjust the amount of bubblegum extract to make the flavor as strong or subtle as you like, or even add in small pieces of bubblegum for extra texture.
The fun part is getting creative with the flavors and toppings, making it the perfect dessert for experimenting with different combinations.
Bright and Colorful
There’s something special about the vibrant pink hue of bubblegum ice cream that makes it so appealing.
Its cheerful color is sure to brighten up any occasion, whether it’s a birthday party, a family dinner, or simply a fun dessert after a long day.
The visual appeal of the bright ice cream adds to the excitement of enjoying this sweet treat.
Ingredients You’ll Need for Bubblegum Ice Cream
To make your own batch of Bubblegum Ice Cream, you’ll need just a handful of ingredients that come together to create a sweet, creamy, and nostalgic treat.
Here’s what you’ll need:
Core Ingredients:
- Heavy Cream (2 cups): This will form the creamy base of your ice cream and provide that rich, smooth texture we all love.
- Sweetened Condensed Milk (1 can/14 oz): This adds the perfect amount of sweetness and helps achieve that smooth, creamy consistency.
- Whole Milk (1 cup): Whole milk ensures the ice cream isn’t too heavy, giving it a light and smooth texture while balancing out the richness of the cream.
Flavoring:
- Bubblegum Extract (1-2 teaspoons): This is the key ingredient to get that signature bubblegum flavor.
You can adjust the quantity to your personal preference if you like it stronger or milder. - Pink Food Coloring (optional, 1-2 drops): For that classic bubblegum look! You don’t have to add it if you prefer a more subtle, natural color, but it does make the ice cream look more fun and appealing.
Optional Add-Ins:
- Chopped Bubblegum (1/4 cup, optional): For an extra touch of bubblegum texture, you can add small, soft pieces of bubblegum.
These will add little chewy surprises throughout the ice cream, but be sure to use a bubblegum that won’t freeze too hard. - Vanilla Extract (1 teaspoon, optional): If you’d like a slightly more rounded flavor, adding vanilla can enhance the creaminess and complement the bubblegum taste.
Step-by-Step Instructions for Making Bubblegum Ice Cream

Now that you have all the ingredients ready, let’s dive into the process of making your own delicious bubblegum ice cream!
Whether you have an ice cream maker or need a no-churn method, we’ve got you covered.
Step 1: Preparing the Ice Cream Base
In a large mixing bowl, whisk together heavy cream, whole milk, and sweetened condensed milk.
Whisk until the mixture is smooth and fully combined.
This creamy base is what gives the ice cream its rich, indulgent texture.
Step 2: Adding Bubblegum Flavor
Once the base is well-mixed, add bubblegum extract.
Start with about 1 teaspoon and taste as you go; if you prefer a stronger bubblegum flavor, you can add a little more.
Stir the extract into the base until it’s evenly incorporated.
For a vibrant pink color, add a drop or two of pink food coloring and stir well until the ice cream mixture is the desired shade of pink.
Step 3: Churning the Ice Cream
- With an Ice Cream Maker: Pour the prepared mixture into your ice cream maker and churn according to the manufacturer’s instructions.
Usually, this takes about 20-25 minutes, and you’ll see the mixture thicken into a soft-serve consistency. - Without an Ice Cream Maker (No-Churn Method): If you don’t have an ice cream maker, don’t worry! Pour the mixture into an airtight container.
Cover the container with a lid or plastic wrap, and freeze for 4-6 hours, or until the ice cream is firm.
During the first 2 hours of freezing, stir the mixture every 30 minutes to prevent ice crystals from forming and to ensure a smooth texture.
Step 4: Adding the Bubblegum Pieces (Optional)
If you’re using chopped bubblegum pieces, fold them into the ice cream mixture once it reaches a soft-serve consistency (or after churning if using an ice cream maker).
This adds a fun texture to the ice cream, giving you chewy bursts of bubblegum flavor.
Step 5: Freezing the Ice Cream
Transfer the ice cream to an airtight container if you haven’t already, and let it freeze for at least 4-6 hours or until it becomes firm and scoopable.
This ensures the ice cream reaches the perfect texture to serve.
Tips for Making the Best Bubblegum Ice Cream
Making bubblegum ice cream is simple, but there are a few tips that can elevate your recipe and ensure you get the best results possible.
Follow these to perfect your homemade treat!
1. Choose the Right Bubblegum Extract
The flavor of your ice cream relies heavily on the quality of the bubblegum extract.
Opt for a high-quality, concentrated extract to get that true, nostalgic bubblegum flavor.
If you can’t find bubblegum extract, you can substitute with a combination of vanilla and a tiny splash of cotton candy flavoring for a similar sweetness, though it won’t be quite the same.
2. Use Full-Fat Dairy for Creaminess
For a rich, smooth ice cream, always use full-fat heavy cream and whole milk.
These ingredients create a luxurious, creamy texture and prevent the ice cream from being too icy or thin.
If you use lower-fat milk or substitutes, the consistency may not be as indulgent.
3. Don’t Overdo the Food Coloring
While a pink hue adds to the fun, it’s easy to go overboard with the food coloring.
Start with one or two drops and stir thoroughly, checking if you need more.
You can always add a little more if you want a deeper pink, but it’s best to err on the side of subtlety for a more natural look.
4. Freeze in Stages (For No-Churn Method)
If you’re making the no-churn version of this ice cream, try freezing the base in stages.
After pouring the mixture into the container, place it in the freezer for the first 2 hours.
Every 30 minutes, remove it and stir to break up ice crystals and ensure a smoother, creamier texture.
This extra effort will pay off in the final result.
5. Use Soft Bubblegum for Texture
If you’re adding chopped bubblegum pieces to the mix, choose a soft, chewy bubblegum that won’t freeze too hard.
Hard gum can be difficult to chew when frozen, so a gum that stays chewy even after freezing will provide the best texture.
6. Allow Ice Cream to Soften Before Scooping
Once your bubblegum ice cream is fully frozen, give it a few minutes at room temperature before scooping.
Ice cream that’s too frozen can be hard to scoop, so letting it soften slightly will make serving much easier and smoother.
How to Serve Bubblegum Ice Cream
Bubblegum ice cream isn’t just a treat to eat; it’s an experience! Its vibrant color and fun flavor open the door for lots of creative serving ideas.
Here are some fun and tasty ways to serve your bubblegum ice cream:
1. In a Classic Ice Cream Cone
Nothing beats the simplicity of a cone! Serve your bubblegum ice cream in a classic sugar cone, waffle cone, or even a fun, colorful cone to complement the bright pink hue of the ice cream.
Add a drizzle of chocolate or caramel syrup for an extra indulgence.
2. Bubblegum Ice Cream Sundae
Transform your bubblegum ice cream into a show-stopping sundae.
Scoop a generous portion into a bowl and top it with whipped cream, sprinkles, and maybe a cherry on top.
You can also add colorful candies, mini marshmallows, or a drizzle of syrup to make it even more exciting.
3. Milkshake Madness
Blend bubblegum ice cream with milk and a little extra syrup to create a delicious bubblegum milkshake.
Top with whipped cream and colorful sprinkles for an extra treat.
This is a fantastic way to enjoy your ice cream in a drinkable form, especially if you’re serving kids or guests at a party.
4. Add Fun Toppings
For an added visual and textural pop, you can add toppings like rainbow sprinkles, mini marshmallows, or even pieces of crushed cookies.
The mix of chewy, crunchy, and creamy elements will enhance the bubblegum flavor and make each bite more exciting.
5. In Ice Cream Sandwiches
For a fun twist, serve the bubblegum ice cream between two cookies, making a playful ice cream sandwich.
Soft chocolate chip cookies, sugar cookies, or even graham crackers make great bases for your homemade bubblegum ice cream.
6. As a Layered Dessert
Layer bubblegum ice cream with other flavors in a glass for a layered parfait effect.
For example, alternating layers of vanilla, chocolate, and bubblegum ice cream create a colorful and fun presentation, perfect for family gatherings or parties.
Storage and Freezing Tips
Once you’ve made your delicious batch of bubblegum ice cream, proper storage will ensure it stays fresh and creamy.
Here’s how to keep your homemade treat in the best condition:
1. Store in an Airtight Container
After you’ve finished churning or making the ice cream, transfer it into an airtight container to prevent ice crystals from forming.
A sealed container will help preserve its creamy texture and flavor for longer.
2. Keep It in the Back of the Freezer
Store your ice cream towards the back of the freezer where the temperature is most consistent.
Avoid placing it in the freezer door, as that area is prone to temperature fluctuations and can cause the ice cream to melt slightly and refreeze, which could result in a grainy texture.
3. Cover with Plastic Wrap
To avoid freezer burn, place a layer of plastic wrap directly on the surface of the ice cream before sealing the container with its lid.
This helps to protect the ice cream from air exposure and keeps it creamy and fresh.
4. Let It Soften Before Scooping
If the ice cream has been stored for a while and becomes too hard, let it sit at room temperature for about 5-10 minutes before scooping.
This will make it easier to serve without ruining its texture.
5. Use Within 2-3 Weeks
While homemade ice cream can last longer in the freezer, it’s best enjoyed within 2-3 weeks.
After that, the texture and flavor may begin to degrade, and it may become icy or lose its original taste.
Conclusion
Making your own bubblegum ice cream at home is a fun and rewarding experience, offering you the opportunity to enjoy a nostalgic, sweet treat with a playful twist.
With just a few ingredients and easy-to-follow steps, you can create a creamy, flavorful ice cream that brings joy to any occasion.
Whether you’re making it for a birthday party, a summer treat, or simply indulging in a sweet dessert, this bubblegum ice cream will not disappoint.
Remember, you can get creative with toppings, add-ins, and even the ice cream presentation to make it your own.
So why not grab your mixing bowl, churn that delicious ice cream, and enjoy this colorful, fun dessert with friends and family today!
Frequently Asked Questions (FAQs)
1. Can I make bubblegum ice cream without an ice cream maker?
Yes! You can easily make bubblegum ice cream without an ice cream maker.
Simply follow the no-churn method by mixing the ingredients and placing the mixture in an airtight container.
Freeze for 4-6 hours, stirring every 30 minutes for the first 2 hours to achieve a smooth texture.
2. Can I use regular bubblegum instead of bubblegum extract?
While you can technically chop up bubblegum and add it to the ice cream, using bubblegum extract is the best way to get a consistent and flavorful bubblegum taste.
Regular gum might not provide the same smooth flavor and could be too chewy once frozen.
3. How can I make the ice cream more bubblegum-flavored?
To intensify the bubblegum flavor, simply add a little more bubblegum extract.
Start with small increments—about 1/4 teaspoon at a time—and taste the mixture before adding more.
Keep in mind that the flavor may seem stronger once the ice cream is frozen.
4. Can I make this recipe dairy-free?
Yes, you can make a dairy-free version of bubblegum ice cream by substituting the heavy cream, whole milk, and sweetened condensed milk with dairy-free alternatives, such as coconut milk or almond milk.
You can also use a dairy-free sweetened condensed milk to keep it both creamy and flavorful.
5. How long will the bubblegum ice cream stay fresh in the freezer?
For the best quality, store your bubblegum ice cream in an airtight container in the freezer for up to 2-3 weeks.
After this time, the ice cream may begin to lose its creamy texture and flavor.
Be sure to cover the surface with plastic wrap before sealing the container to prevent freezer burn.

Bubblegum Ice Cream
Equipment
- 1 Large Mixing Bowl (for combining ingredients)
- 1 Ice Cream Maker (optional, for churning)
- 1 airtight container (for freezing)
- 1 Whisk (for mixing)
- 1 Measuring spoons (for ingredients)
- 1 Spatula (for folding in bubblegum pieces, optional)
Ingredients
- 2 cups 480 ml Heavy Cream
- 1 cup 240 ml Whole Milk
- 1 can 14 oz (396 g) Sweetened Condensed Milk
- 1-2 tsp 5–10 ml Bubblegum Extract (adjust for flavor intensity)
- 1-2 drops optional Pink Food Coloring (for visual appeal)
- 1/4 cup 60 ml, optional Chopped Soft Bubblegum (for texture)
- 1 tsp 5 ml, optional Vanilla Extract (for flavor enhancement)
Instructions
Prepare the Ice Cream Base
- In a large mixing bowl, whisk together heavy cream, whole milk, and sweetened condensed milk until smooth and fully combined. This will form the creamy base of your ice cream.
Add Flavoring and Coloring
- Stir in bubblegum extract and pink food coloring (if using). Adjust the amount of bubblegum extract to taste, adding more if you prefer a stronger bubblegum flavor. Mix until everything is fully incorporated.
Churn the Ice Cream
With Ice Cream Maker:
- Pour the mixture into your ice cream maker and churn according to the manufacturer’s instructions (usually about 20-25 minutes). The mixture will turn into a soft-serve consistency.
Without Ice Cream Maker:
- Pour the mixture into an airtight container. Freeze for 4-6 hours, stirring every 30 minutes during the first 2 hours to ensure a smooth texture.
Add Chopped Bubblegum (Optional)
- Once the ice cream reaches a soft-serve texture, gently fold in the chopped bubblegum pieces if you want extra texture. This step is optional but adds a fun chewy element to your ice cream.
Freeze Until Firm
- Transfer the ice cream to an airtight container and freeze for at least 4-6 hours or until firm.
Serve and Enjoy
- Once frozen, scoop the ice cream into bowls, cones, or sundaes and serve with your favorite toppings. Enjoy!
Notes
- Flavor Adjustment: If you prefer a stronger bubblegum flavor, feel free to add more bubblegum extract. Start with 1 teaspoon and adjust as needed.
- Food Coloring: The food coloring is optional but helps achieve that classic pink bubblegum look. You can also skip it for a more natural appearance.
- Chopped Bubblegum: Make sure to use soft bubblegum to avoid having pieces that are too hard to chew when frozen.
- Storage: Store your bubblegum ice cream in an airtight container in the freezer for up to 2–3 weeks for the best texture and flavor.


