Every product is independently reviewed and selected by our editors. If you buy something through our links, we may earn an affiliate commission at no extra cost to you.
Ice cream lovers are always on the lookout for new and exciting flavors to try. If you’re tired of the usual vanilla or chocolate options, you’re in for a treat.
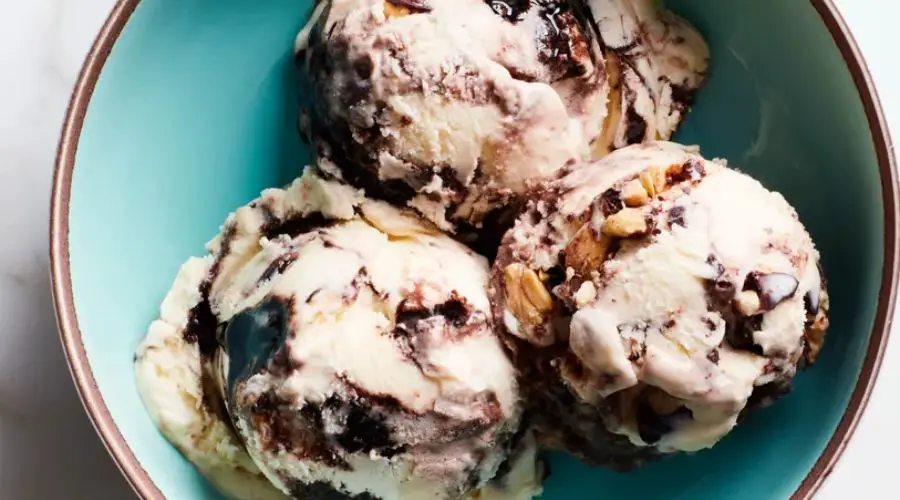
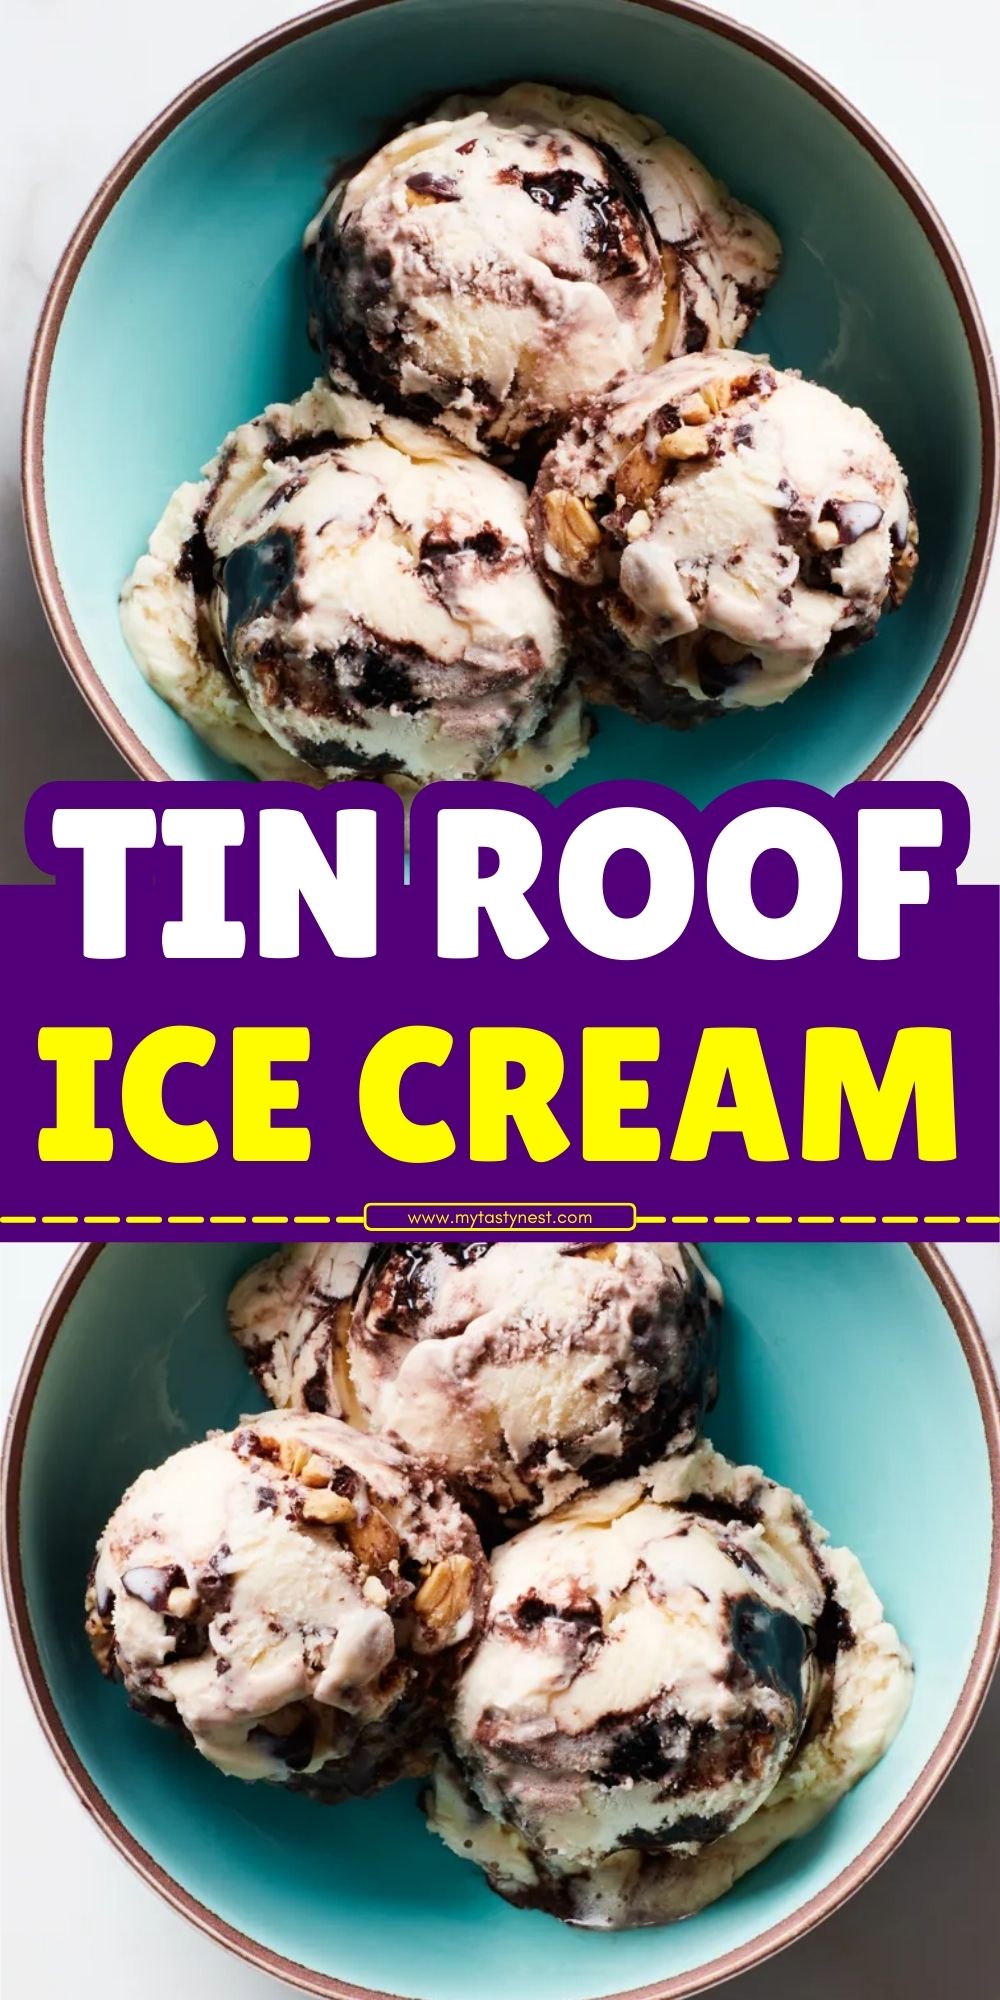
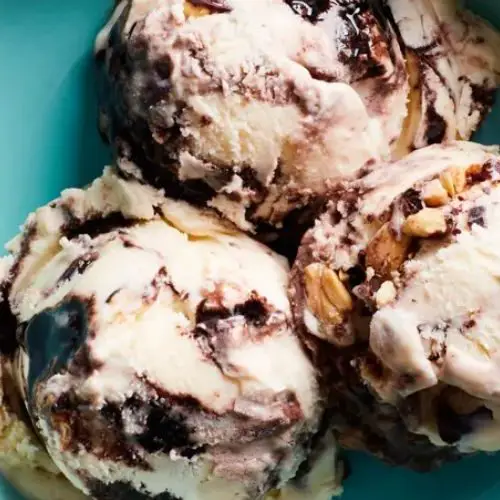
Tin Roof Ice Cream is a perfect balance of creamy vanilla ice cream, swirls of rich chocolate sauce, and crunchy, salty peanut brittle.
It’s a perfect fusion of flavors and textures that makes every scoop a mouthwatering experience.
This indulgent, homemade Tin Roof Ice Cream recipe will allow you to recreate this classic treat in the comfort of your own kitchen.
In this article, we’ll guide you through the entire process, from the base ice cream to the additions that make Tin Roof Ice Cream so special.
Whether you’re a seasoned ice cream maker or a beginner, this recipe is easy to follow and will result in a show-stopping dessert.
What is Tin Roof Ice Cream?
Tin Roof Ice Cream is a unique flavor that combines creamy vanilla ice cream with crunchy, sweet peanut brittle and ribbons of smooth chocolate sauce.
The combination of salty, sweet, and rich flavors creates a satisfying experience with every bite.
The “tin roof” part of the name is often attributed to the crispy, nutty texture of the peanut brittle, which contrasts perfectly with the creamy ice cream and the smooth chocolate streaks.
While Tin Roof Ice Cream might not be as widely known as other classic flavors, it has gained a loyal following thanks to its well-balanced flavors and delightful textures.
It’s an ice cream that has something for everyone — the creamy vanilla base, the rich chocolate, and the delightful crunch of peanut brittle.
If you love peanut butter and chocolate together, this is the perfect ice cream for you.
Why Make Tin Roof Ice Cream at Home?
Making ice cream at home offers a variety of benefits, and Tin Roof Ice Cream is no exception.
Here’s why you should consider making it yourself:
1. Full Control Over Ingredients
When you make ice cream at home, you get to choose the quality of the ingredients.
You can opt for organic, locally sourced, or even non-dairy ingredients if you wish to create a healthier version.
Making the base from scratch means you can avoid any artificial flavors or preservatives often found in store-bought varieties.
2. Customization
You can easily tweak the recipe to suit your taste preferences.
For example, you can experiment with different types of nuts for the brittle or even make a chocolate ganache instead of the traditional chocolate sauce.
Want extra chocolate swirls? You got it!
3. Fresher Flavor
Homemade ice cream is fresher and more flavorful than anything you’ll find in a store.
The process of making the ice cream allows you to capture the creamy consistency and richness that makes Tin Roof Ice Cream so irresistible.
4. A Fun Project
Making homemade ice cream can be a fun family activity, especially if you have an ice cream maker.
Even if you don’t, you can enjoy the satisfaction of creating a delicious treat with your own hands.
Health Benefits of Tin Roof Ice Cream
While Tin Roof Ice Cream is undoubtedly an indulgent treat, it also provides some nutritional benefits when enjoyed in moderation. Here are a few health benefits:
1. Source of Calcium and Vitamin D
The heavy cream and milk in this ice cream provide a modest amount of calcium and vitamin D, both of which are essential for bone health.
Calcium supports bone density, while vitamin D helps your body absorb the calcium more effectively.
2. Protein Boost
The eggs in the custard base and the cream contribute a small but significant amount of protein.
Protein is crucial for muscle repair and growth, and it helps keep you feeling full longer.
3. Antioxidants from Chocolate
The semi-sweet chocolate used in the fudge ripple contains antioxidants, particularly flavonoids, which have been shown to support heart health by improving blood flow and reducing inflammation.
4. Healthy Fats from Peanuts
Peanuts are a great source of healthy fats, especially monounsaturated and polyunsaturated fats.
These healthy fats support heart health by lowering bad cholesterol levels.
Peanuts are also rich in protein, which supports muscle growth and repair.
5. Mood-Boosting Effect
The sugar and fat content in ice cream can trigger the release of endorphins, also known as the “feel-good” hormones.
Enjoying a scoop of Tin Roof Ice Cream can provide a mood boost and a satisfying sense of comfort, particularly in social settings or as a treat after a long day.
Ingredients for Tin Roof Ice Cream
Making Tin Roof Ice Cream requires a few basic ingredients, which are easy to find at most grocery stores.
Here’s what you’ll need:
For the Vanilla Ice Cream Base:
- 2 cups heavy cream – Provides richness and smoothness to the base.
- 1 cup whole milk – Balances out the richness of the cream while still keeping the ice cream creamy.
- ¾ cup granulated sugar – Sweetens the ice cream without overpowering the flavors.
- 1 tablespoon vanilla extract – Adds a rich, aromatic flavor to the base.
- Pinch of salt – Enhances the sweetness of the cream and balances the flavors.
For the Peanut Brittle:
- 1 cup unsalted peanuts – You can also use roasted peanuts for a stronger flavor.
- 1 cup granulated sugar – The sugar will melt and harden into a crunchy brittle.
- 2 tablespoons unsalted butter – Helps give the brittle a smooth texture once it cools.
- ¼ teaspoon baking soda – Helps the brittle to expand and become crisp.
- A pinch of salt – Balances the sweetness of the brittle.
For the Chocolate Swirl:
- ½ cup chocolate chips or chopped chocolate – Dark or milk chocolate works well.
- 2 tablespoons heavy cream – To melt the chocolate into a smooth sauce.
Step-by-Step Guide to Making Tin Roof Ice Cream

Making Tin Roof Ice Cream is a bit of a process, but each step is simple and straightforward.
Whether you use an ice cream maker or go the no-churn route, here’s how you can make this delicious dessert.
Step 1: Prepare the Peanut Brittle
The peanut brittle is the crunchy, nutty element that makes Tin Roof Ice Cream so special.
To make it, follow these instructions:
- Cook the Sugar: In a medium saucepan, heat 1 cup of sugar over medium heat.
Stir constantly as the sugar begins to melt. Keep stirring until the sugar is completely dissolved and turns into a golden amber color. - Add the Peanuts: Stir in the peanuts, followed by 2 tablespoons of butter.
Continue stirring until the butter melts and the peanuts are well-coated. - Add Baking Soda and Salt: Remove the saucepan from heat, and quickly stir in the baking soda and a pinch of salt.
This will cause the mixture to bubble up. - Pour and Cool: Pour the brittle onto a parchment-lined baking sheet and spread it out into an even layer.
Let it cool completely before breaking it into small, bite-sized pieces. Set aside.
Step 2: Make the Vanilla Ice Cream Base
- Mix the Cream and Milk: In a large bowl, whisk together the heavy cream, whole milk, granulated sugar, and a pinch of salt.
Stir until the sugar is completely dissolved. - Add the Vanilla: Stir in the vanilla extract. Taste the mixture and adjust the sweetness if needed.
- Chill the Base: Place the bowl in the refrigerator for about 30 minutes to chill.
This ensures the base will churn properly in the ice cream maker.
Step 3: Churn the Ice Cream
- Set Up Your Ice Cream Maker: Follow the instructions for your ice cream maker.
Pour the chilled base into the machine and churn according to the manufacturer’s directions, usually about 20-30 minutes, until the ice cream reaches soft-serve consistency. - Swirl in the Chocolate Sauce: While the ice cream is churning, make the chocolate swirl.
In a small saucepan, heat the chocolate chips and heavy cream over low heat until melted and smooth. Let it cool slightly. - Add the Peanut Brittle: When the ice cream has reached the right consistency, gently fold in the broken pieces of peanut brittle.
Step 4: Layer the Chocolate Sauce
- Layer the Ice Cream: Once the ice cream is ready, transfer it into a freezer-safe container.
Drizzle a little bit of the chocolate sauce in between layers of ice cream, then swirl it in with a spoon or spatula. - Freeze: Cover the container and freeze the ice cream for at least 4-6 hours, or until it firms up.
Step 5: Serve and Enjoy!
Once the Tin Roof Ice Cream has set in the freezer, it’s ready to be served!
Scoop into bowls or cones, and enjoy the sweet, salty, and creamy combination of flavors.
Tips for Making the Best Tin Roof Ice Cream
1. Use Quality Chocolate
For the best flavor, use high-quality chocolate for the swirl.
Dark chocolate adds a rich, slightly bitter contrast to the sweetness of the ice cream and peanut brittle, but you can also use milk chocolate for a sweeter taste.
2. Customize the Brittle
While peanuts are the classic choice for the brittle, you can experiment with other nuts like almonds, cashews, or even pecans for a unique twist on the traditional flavor.
3. Make the Peanut Brittle Ahead
You can prepare the peanut brittle ahead of time and store it in an airtight container for up to a week.
This will save you time when making the ice cream, allowing you to focus on the creamy base and chocolate swirl.
4. No Ice Cream Maker? No Problem!
If you don’t have an ice cream maker, you can still make this recipe.
Simply pour the chilled ice cream base into a container, freeze it for about 2 hours, and then stir it with a fork to break up the ice crystals.
Repeat the stirring process every 30 minutes for about 4 hours to get a smooth, creamy texture.
How to Serve Tin Roof Ice Cream Like a Pro
Tin Roof Ice Cream shines all on its own, but there are a few simple ways to elevate your scoop and turn it into a memorable dessert experience.
1. In a Waffle Cone or Classic Sugar Cone
There’s something magical about the way creamy ice cream settles into a crunchy cone.
A waffle cone adds a buttery crispness that pairs beautifully with the nutty, chocolatey bits in Tin Roof Ice Cream.
2. Make It a Sundae
Scoop it into a bowl and top with extra fudge sauce, a handful of crushed peanuts, and maybe even a dollop of whipped cream.
Want to go over the top? Add a cherry and a drizzle of warm peanut butter sauce.
3. Sandwich It Between Cookies
Vanilla or chocolate cookies make the perfect base for homemade ice cream sandwiches.
Freeze for 15–30 minutes after assembling so they’re firm enough to bite into without squishing.
4. Serve with Brownies or Cake
A scoop of Tin Roof Ice Cream alongside a warm brownie or a slice of chocolate cake is pure decadence.
The balance of hot and cold, soft and crunchy, will wow your guests (or just you—no judgment).
Whether you go simple or fancy, the creamy, fudgy, crunchy magic of this ice cream is sure to shine through.
Variations and Customizations: Make It Your Own!
While the classic Tin Roof Ice Cream is undeniably delicious, there are plenty of fun ways to personalize the recipe to suit your tastes.
Here are some ideas to give this treat your own spin:
1. Peanut Butter Swirl Version
If you’re a fan of peanut butter, consider adding a rich peanut butter swirl to the ice cream base.
Simply melt some creamy peanut butter with a bit of honey or maple syrup, then swirl it into the vanilla base before churning.
The sweet and savory mix will create an irresistible, creamy texture.
2. Vegan/Dairy-Free Adaptation
For a vegan or dairy-free version, you can easily substitute the dairy components with plant-based alternatives.
Use coconut milk or almond milk for the base and coconut cream for a rich, smooth texture.
The chocolate-covered peanuts can also be made with dark chocolate to keep the recipe vegan-friendly.
3. Salted Caramel Twist
Add a salted caramel ripple to your Tin Roof Ice Cream for a sophisticated twist.
Prepare your own salted caramel sauce by melting sugar and adding butter and sea salt.
Drizzle the caramel into the vanilla ice cream as you churn for a rich, salty-sweet flavor that complements the crunchy peanuts.
4. Chocolate Fudge Peanuts
For an extra chocolatey indulgence, swap the regular chocolate-covered peanuts for chocolate fudge-coated peanuts.
The richer fudge layer will create an even more decadent treat.
You can even sprinkle in some mini chocolate chips for added texture.
5. Other Nutty Alternatives
While the classic recipe uses chocolate-covered peanuts, feel free to get creative with other nuts.
Almonds, pecans, or cashews can be dipped in chocolate for a delicious variation.
Roasted hazelnuts, in particular, pair well with the vanilla base for a more gourmet flavor profile.
Whether you prefer it sweet, salty, or extra creamy, these variations allow you to craft a Tin Roof Ice Cream flavor that’s entirely your own!
Storage and Make-Ahead Tips: Keep It Fresh and Ready to Enjoy
One of the great things about making Tin Roof Ice Cream at home is that you can make it ahead of time and store it for later—perfect for a party or just having a scoop whenever you crave it.
Here are some helpful tips for storage and making the most of your homemade ice cream.
1. Freezer Storage
Once your Tin Roof Ice Cream has been churned and layered in the container, make sure to cover it tightly with plastic wrap or wax paper before sealing the lid.
This will prevent ice crystals from forming and help maintain its smooth texture.
A good-quality, airtight container will keep your ice cream fresh for up to 2–3 weeks in the freezer.
2. Let It Firm Up
After making your Tin Roof Ice Cream, allow it to freeze for at least 4 hours or overnight to let the flavors meld and the texture firm up.
This ensures the fudge ripple and chocolate-covered peanuts remain intact when you scoop.
If you’re in a rush, a 1–2 hour freeze can still give you a good texture, but the flavor benefits from a longer rest.
3. Scoop Tip for Smooth Serving
When you’re ready to serve your Tin Roof Ice Cream, let it sit at room temperature for 5–10 minutes to soften slightly.
This makes scooping much easier and helps you avoid cracks or breaking the ice cream with your scoop.
The perfect scoop should glide smoothly, showcasing those delicious swirls and crunchy bits.
4. Make-Ahead Party Prep
If you’re preparing this ice cream for a party or a special occasion, make it 2–3 days in advance.
This gives it plenty of time to freeze to perfection, and you’ll have one less thing to worry about on the big day.
Just keep it covered tightly and stored in the freezer until you’re ready to serve.
By following these simple storage and make-ahead tips, you’ll be able to enjoy your Tin Roof Ice Cream whenever the craving strikes, without any compromise in flavor or texture.
Conclusion
Tin Roof Ice Cream is a delicious, indulgent treat that combines rich, creamy vanilla ice cream with crunchy peanut brittle and silky chocolate swirls.
With a few simple steps, you can create this decadent dessert in your own kitchen, customizing it to suit your tastes.
Whether you’re serving it at a party, enjoying a casual family dessert, or treating yourself to something special, Tin Roof Ice Cream will surely satisfy your sweet tooth.
Making your own ice cream gives you the satisfaction of enjoying a fresh, homemade dessert that beats anything you can buy at the store.
So grab your ingredients, fire up your ice cream maker, and dive into the delicious world of Tin Roof Ice Cream.
Frequently Asked Questions
1. Can I make Tin Roof Ice Cream without an ice cream maker?
Yes, you can! If you don’t have an ice cream maker, you can still make Tin Roof Ice Cream.
After preparing the base and folding in the fudge ripple and chocolate-covered peanuts, pour the mixture into a shallow container and freeze.
Every 30 minutes or so, take it out and stir with a fork to break up ice crystals and help it freeze evenly.
Continue this process for about 3 hours, until the ice cream is firm and creamy.
2. How long will homemade Tin Roof Ice Cream last in the freezer?
Homemade Tin Roof Ice Cream will stay fresh in the freezer for 2–3 weeks if stored properly in an airtight container.
Be sure to cover it with wax paper or plastic wrap before sealing the container to prevent ice crystals from forming and compromising the texture.
3. Can I use regular peanuts instead of chocolate-covered peanuts?
While the classic Tin Roof Ice Cream recipe uses chocolate-covered peanuts for that perfect balance of sweet and salty, you can absolutely use regular salted peanuts if preferred.
For extra sweetness, you can melt some chocolate and drizzle it over the peanuts before mixing them into the ice cream base.
4. Can I make Tin Roof Ice Cream ahead of time for a party?
Yes! In fact, making this ice cream ahead of time is a great idea.
Prepare it 2–3 days in advance to allow it plenty of time to freeze properly.
Just make sure to store it in an airtight container in the freezer, and let it sit for a few minutes at room temperature before serving for easy scooping.
5. Can I make Tin Roof Ice Cream without dairy?
Absolutely! To make a dairy-free version, substitute the milk and cream with full-fat coconut milk or almond milk, and use a dairy-free cream alternative like coconut cream.
For the chocolate-covered peanuts, you can use dairy-free chocolate.
This way, you can enjoy a delicious, creamy Tin Roof Ice Cream even if you’re following a dairy-free lifestyle.
Tin Roof Ice Cream Recipe
Equipment
- Ice Cream Maker: 1 (Essential for churning)
- Mixing Bowls – 2 medium-sized (for making the ice cream base and mixing the fudge)
- Saucepan – 1 (for making the fudge ripple)
- Freezer-safe Container – 1 (For storing the ice cream)
- Whisk – 1 (for stirring ingredients)
- Measuring Cups and Spoons – 1 set (for accuracy in ingredients)
Ingredients
For the Vanilla Ice Cream Base:
- 2 cups – Heavy cream
- 1 cup – Whole milk
- 3/4 cup – Granulated sugar
- 1 tablespoon – Vanilla extract
- 4 large – Egg yolks
- Pinch – Salt
For the Fudge Ripple:
- 1/2 cup – Heavy cream
- 1/2 cup – Semi-sweet chocolate chips
- 2 tablespoons – Butter
- 1 tablespoon – Light corn syrup optional, for extra smoothness
For the Chocolate-Covered Peanuts:
- 1 cup – Peanuts roasted, unsalted
- 1/2 cup – Semi-sweet chocolate chips
- 1 tablespoon – Coconut oil or vegetable oil
Instructions
Prepare the Vanilla Ice Cream Base:
- In a medium saucepan, heat the heavy cream and milk over medium heat until hot but not boiling.
- In a mixing bowl, whisk the egg yolks, sugar, and salt until the mixture is smooth and pale.
- Gradually pour about 1/2 cup of the hot cream mixture into the egg mixture while whisking constantly to temper the eggs.
- Slowly pour the egg mixture back into the saucepan with the rest of the cream. Stir constantly until the mixture thickens and coats the back of a spoon (about 5–7 minutes).
- Remove from heat and stir in the vanilla extract. Let the custard cool to room temperature, then refrigerate for at least 2 hours or overnight.
Make the Fudge Ripple:
- In a small saucepan, heat the cream, chocolate chips, and butter over low heat, stirring constantly until smooth.
- Once melted, stir in the corn syrup for added smoothness (optional). Remove from heat and let it cool to room temperature.
Prepare the Chocolate-Covered Peanuts:
- Melt the chocolate chips and coconut oil in a microwave-safe bowl in 30-second intervals, stirring until smooth.
- Dip the peanuts into the melted chocolate and place them on a parchment-lined baking sheet. Freeze for 20–30 minutes until the chocolate hardens.
Churn the Ice Cream:
- Pour the cooled ice cream base into an ice cream maker and churn according to the manufacturer’s instructions (usually about 20-25 minutes).
Layer and Freeze:
- In a freezer-safe container, alternate layers of churned ice cream, fudge ripple, and chocolate-covered peanuts. Use a spoon or knife to swirl the fudge into the ice cream.
- Freeze for at least 4 hours or overnight until the ice cream is firm.
Serve and Enjoy:
- Allow the ice cream to sit at room temperature for a few minutes before scooping for smoother servings. Enjoy!
Notes
- Texture Tip: If you find that your ice cream gets too hard in the freezer, allow it to sit out for a few minutes to soften before scooping.
- Chocolate Substitution: You can use dark chocolate instead of semi-sweet chocolate for a slightly richer flavor.
- No Ice Cream Maker? You can make this without an ice cream maker by freezing the mixture in a shallow pan and stirring it every 30 minutes to break up ice crystals.
- Nut Alternatives: You can swap the peanuts for other nuts, such as almonds or pecans, if you prefer.
