Every product is independently reviewed and selected by our editors. If you buy something through our links, we may earn an affiliate commission at no extra cost to you.
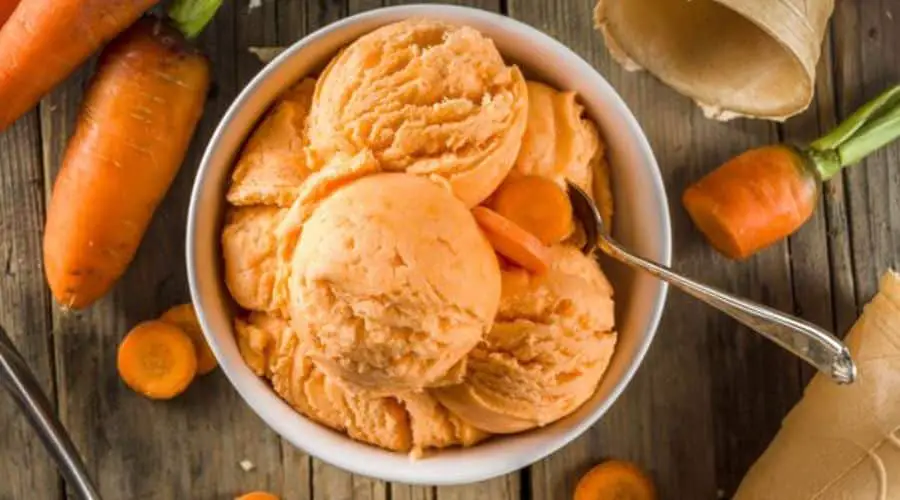
There’s nothing quite as indulgent as a scoop of homemade maple walnut ice cream—rich, creamy, and packed with the deep, caramel-like sweetness of pure maple syrup and the satisfying crunch of toasted walnuts.
This classic ice cream flavor is a favorite for good reason, blending the best of smooth custard with nutty goodness.
Unlike store-bought versions, this homemade recipe uses real ingredients—no artificial flavors or additives—so every bite bursts with authentic maple richness.
Whether you’re making it for a cozy fall dessert or a summer treat, this ice cream is guaranteed to impress.
And the best part? You don’t even need an ice cream maker!
While churning creates the creamiest texture, we’ll also share an easy no-churn method so you can enjoy this decadent treat no matter what kitchen tools you have.
Why You’ll Love This Recipe
1. Perfectly Balanced Flavor
This recipe strikes the ideal balance between sweet and nutty.
The maple syrup infuses the ice cream with a natural depth of flavor, while the toasted walnuts add a subtle crunch in every bite.
2. Made with Real Ingredients
Forget artificial flavorings—this ice cream is made with pure maple syrup, fresh cream, and egg yolks, creating a luscious and velvety texture.
3. No Ice Cream Maker? No Problem!
While churning enhances the creaminess, we’ll also walk you through a simple no-churn method so you can make this delicious ice cream with just a few mixing steps and your freezer.
4. A Crowd-Pleasing Classic
Whether you’re serving this at a family gathering, holiday dinner, or just treating yourself, everyone loves the rich combination of maple and walnuts.
It’s a timeless dessert that never fails to impress!
Want to give it a try? Let’s dive into the ingredients you’ll need! 🍁🍨
Ingredients You’ll Need
To make this maple walnut ice cream, you’ll need a handful of simple ingredients that come together to create a luxurious, rich treat.
Here’s what you’ll need:
1. Heavy Cream & Whole Milk
These two ingredients form the base of the ice cream.
The heavy cream gives it that rich, velvety texture, while the whole milk balances out the creaminess.
Together, they provide the perfect creamy consistency you expect from homemade ice cream.
2. Pure Maple Syrup
The star of this recipe is pure maple syrup, which adds that distinctive, deep sweetness that makes this flavor stand out.
Look for Grade A maple syrup for a smoother taste and a lighter color—perfect for ice cream.
Avoid maple-flavored syrup, which is often artificially sweetened.
3. Egg Yolks
Egg yolks are crucial for creating a smooth, custard-like base.
They help to thicken the mixture and give it that rich, creamy texture that’s a signature of premium ice cream.
This step is what makes homemade ice cream feel so indulgent.
4. Toasted Walnuts
For the nutty crunch that defines this ice cream flavor, toasted walnuts are the perfect addition.
Toasting the walnuts enhances their flavor, making them extra aromatic and crunchy when mixed into the creamy base.
5. Vanilla Extract & Salt
A splash of vanilla extract adds warmth and complexity to the ice cream, while a pinch of salt helps to balance the sweetness and elevate all the flavors.
Step-by-Step Instructions

Creating maple walnut ice cream is a straightforward process, and with the right technique, you’ll be able to make a creamy, dreamy dessert that rivals any store-bought version.
Follow these steps to make the perfect batch:
Step 1: Toast the Walnuts
Start by toasting the walnuts to bring out their flavor.
Preheat your oven to 350°F (175°C), then spread the walnuts evenly on a baking sheet.
Toast them for about 5–8 minutes, or until golden and fragrant.
Be sure to stir them halfway through to avoid burning.
Once done, set them aside to cool before roughly chopping them into smaller pieces.
Step 2: Make the Maple Custard Base
In a medium saucepan, combine heavy cream and whole milk over medium heat.
Stir occasionally and heat until it begins to simmer—don’t let it boil! While the cream and milk are heating, whisk together the egg yolks and maple syrup in a separate bowl until smooth.
Once the cream mixture is simmering, gradually add it to the egg mixture, whisking constantly to prevent the eggs from scrambling.
This process is called tempering the eggs, which ensures a smooth custard base.
Return the combined mixture to the saucepan and cook over low heat, stirring constantly, until it thickens enough to coat the back of a spoon (about 5–7 minutes).
Once thickened, remove the mixture from heat and stir in the vanilla extract and pinch of salt.
Let the custard cool to room temperature, then refrigerate it for at least 2–3 hours or overnight for the best texture.
Step 3: Churn the Ice Cream
Once your custard has chilled, it’s time to churn! If you’re using an ice cream maker, pour the chilled custard into the machine and follow the manufacturer’s instructions.
Typically, it takes about 20–25 minutes to churn to the right consistency. The ice cream should be thick but still soft.
If you don’t have an ice cream maker, no worries! Simply pour the chilled custard into a shallow dish and place it in the freezer.
Every 30 minutes, stir vigorously with a fork to break up ice crystals until it reaches a creamy consistency (this will take about 2–3 hours).
Step 4: Add the Walnuts & Freeze
Once your ice cream has reached the desired consistency, gently fold in the toasted walnuts.
Be careful not to overmix, as you want to preserve that nutty crunch.
Then, transfer the mixture to an airtight container and freeze for at least 4 hours, or until fully set.
Once the ice cream is frozen and ready, scoop and serve, enjoying every bite of this maple walnut bliss!
Tips for the Best Maple Walnut Ice Cream
Making homemade maple walnut ice cream is easy, but there are a few tips and tricks that can elevate your dessert to the next level.
Here’s how to ensure your ice cream turns out perfectly every time:
1. Use Pure Maple Syrup
The quality of the maple syrup you use can make a huge difference.
Always opt for pure maple syrup, preferably Grade A, which has a smooth, mellow flavor.
Grade B maple syrup, while more intense, can also be used if you prefer a stronger maple flavor.
Avoid imitation maple syrup, as it often contains artificial flavors and is much too sweet for this recipe.
2. Don’t Skip the Egg Yolks
Egg yolks create that rich, creamy texture in your ice cream.
While it’s tempting to skip them, they play a key role in making the custard base smooth and custard-like.
If you’re hesitant about using raw eggs, consider using pasteurized eggs to eliminate any safety concerns.
3. Toast the Walnuts
Toasting the walnuts before adding them to the ice cream enhances their flavor and crunch.
Toast them gently in the oven, as this helps release their natural oils, making them more fragrant and delicious.
Don’t skip this step, as it truly brings out the best in the walnuts.
4. Prevent Ice Crystals
To avoid ice crystals and achieve a smooth, creamy texture, churn your ice cream until it reaches a thick, soft-serve consistency before freezing.
If you’re using the no-churn method, stir the ice cream every 30 minutes during the freezing process to break up any ice crystals and ensure a creamy texture.
5. Let the Ice Cream Soften Before Serving
Homemade ice cream can become quite hard in the freezer.
To make scooping easier and to ensure the best texture when serving, let your ice cream sit at room temperature for about 5–10 minutes before serving.
Serving Suggestions
Once your maple walnut ice cream is ready, you’ll want to enjoy it in the best way possible.
Here are a few ideas for serving this indulgent treat:
1. With Warm Desserts
Maple walnut ice cream pairs beautifully with warm desserts, adding a perfect contrast of cold and creamy to rich, comforting flavors.
Try it alongside warm apple pie, cinnamon rolls, or a slice of buttery shortbread.
The combination of the creamy, nutty ice cream and warm dessert is irresistible.
2. Drizzle with Extra Maple Syrup
For an extra touch of maple goodness, drizzle a bit of pure maple syrup over the top of your ice cream.
This adds a little more sweetness and amplifies the maple flavor, making it even more decadent.
3. Add a Sprinkle of Crushed Nuts
If you love walnuts, add a few extra crushed toasted walnuts on top as a garnish.
This gives a bit of extra crunch and enhances the nutty flavor that pairs so perfectly with the smooth ice cream.
4. Serve in a Waffle Cone or Bowl
For a classic ice cream experience, serve your maple walnut ice cream in a crispy waffle cone or a chilled bowl.
A cone adds a delightful crunch, while a bowl allows you to enjoy a bigger serving and add toppings like chocolate sauce or whipped cream.
5. Pair with Coffee or Dessert Wines
Maple walnut ice cream has deep, warm flavors that pair beautifully with beverages.
For an adult twist, try it alongside a glass of dessert wine like a sweet port or ice wine. Alternatively, a rich cup of coffee or espresso complements the flavors of maple and nuts wonderfully.
Storage & Shelf Life
Proper storage is key to keeping your homemade maple walnut ice cream at its best.
Here’s everything you need to know about storing it:
1. Store in an Airtight Container
Once your ice cream is fully set, transfer it to an airtight container.
This will help preserve its flavor and texture while preventing ice crystals from forming.
A plastic container works well, but a metal container can also help maintain a steady temperature if you’re planning to store it for longer.
2. Keep It in the Freezer
Place your container in the coldest part of the freezer, which is usually towards the back.
Homemade ice cream can freeze harder than store-bought varieties, so don’t be alarmed if it becomes quite firm after a few hours.
3. Consume Within 2 Weeks
For the best texture and flavor, try to consume your ice cream within 2 weeks of making it.
After this time, it may start to lose its creamy texture and develop ice crystals.
You can still eat it beyond this time frame, but the quality may decline.
4. Softening Before Serving
If your ice cream becomes too hard to scoop, simply let it sit at room temperature for 5–10 minutes to soften slightly.
This will make it easier to serve and give it a creamier consistency.
Conclusion
There’s nothing quite like the rich, indulgent flavor of maple walnut ice cream made from scratch.
Whether you’re enjoying it as a special dessert or sharing it with friends and family, this homemade treat is sure to impress.
The pure maple syrup provides a natural sweetness, while the toasted walnuts add a delightful crunch, creating a perfect balance of flavors and textures.
With a simple, straightforward recipe that can be made with or without an ice cream maker, this is a dessert everyone can enjoy.
Don’t forget to experiment with serving suggestions like drizzling extra maple syrup or pairing with warm desserts to elevate the experience.
Make this maple walnut ice cream today, and you’ll be rewarded with a refreshing, decadent treat that’s perfect for any occasion. Enjoy!
Frequently Asked Questions (FAQs)
1. Can I use maple extract instead of maple syrup?
While maple extract has a strong maple flavor, it lacks the rich sweetness and depth of pure maple syrup.
For the best taste, it’s recommended to stick with real maple syrup.
If you’re in a pinch, you can use maple extract in combination with a sweetener, but it won’t have the same authentic flavor.
2. What if I don’t have an ice cream maker?
No problem! If you don’t have an ice cream maker, you can still make maple walnut ice cream.
Simply follow the same steps to make the custard, then freeze the mixture in a shallow dish.
Every 30 minutes, stir it vigorously with a fork to break up any ice crystals until it reaches a creamy consistency.
3. Can I make this ice cream dairy-free?
Yes, you can! To make a dairy-free version, replace the heavy cream and whole milk with coconut milk or any other plant-based milk.
Use coconut cream in place of the heavy cream for a rich, creamy texture. Be sure to choose a dairy-free maple syrup if needed.
4. Can I make the ice cream ahead of time?
Absolutely! This ice cream is a great make-ahead dessert.
You can prepare it 1–2 days in advance, and it will store well in the freezer for up to 2 weeks.
Just make sure to properly store it in an airtight container to maintain its texture and flavor.
5. How do I make it less sweet?
If you prefer a less sweet ice cream, you can reduce the amount of maple syrup by about 1/4 cup.
Since maple syrup is the main sweetener in this recipe, reducing it will slightly alter the flavor, but you’ll still get that rich maple base.
Taste the custard before freezing, and if you find it too sweet, feel free to adjust to your liking.
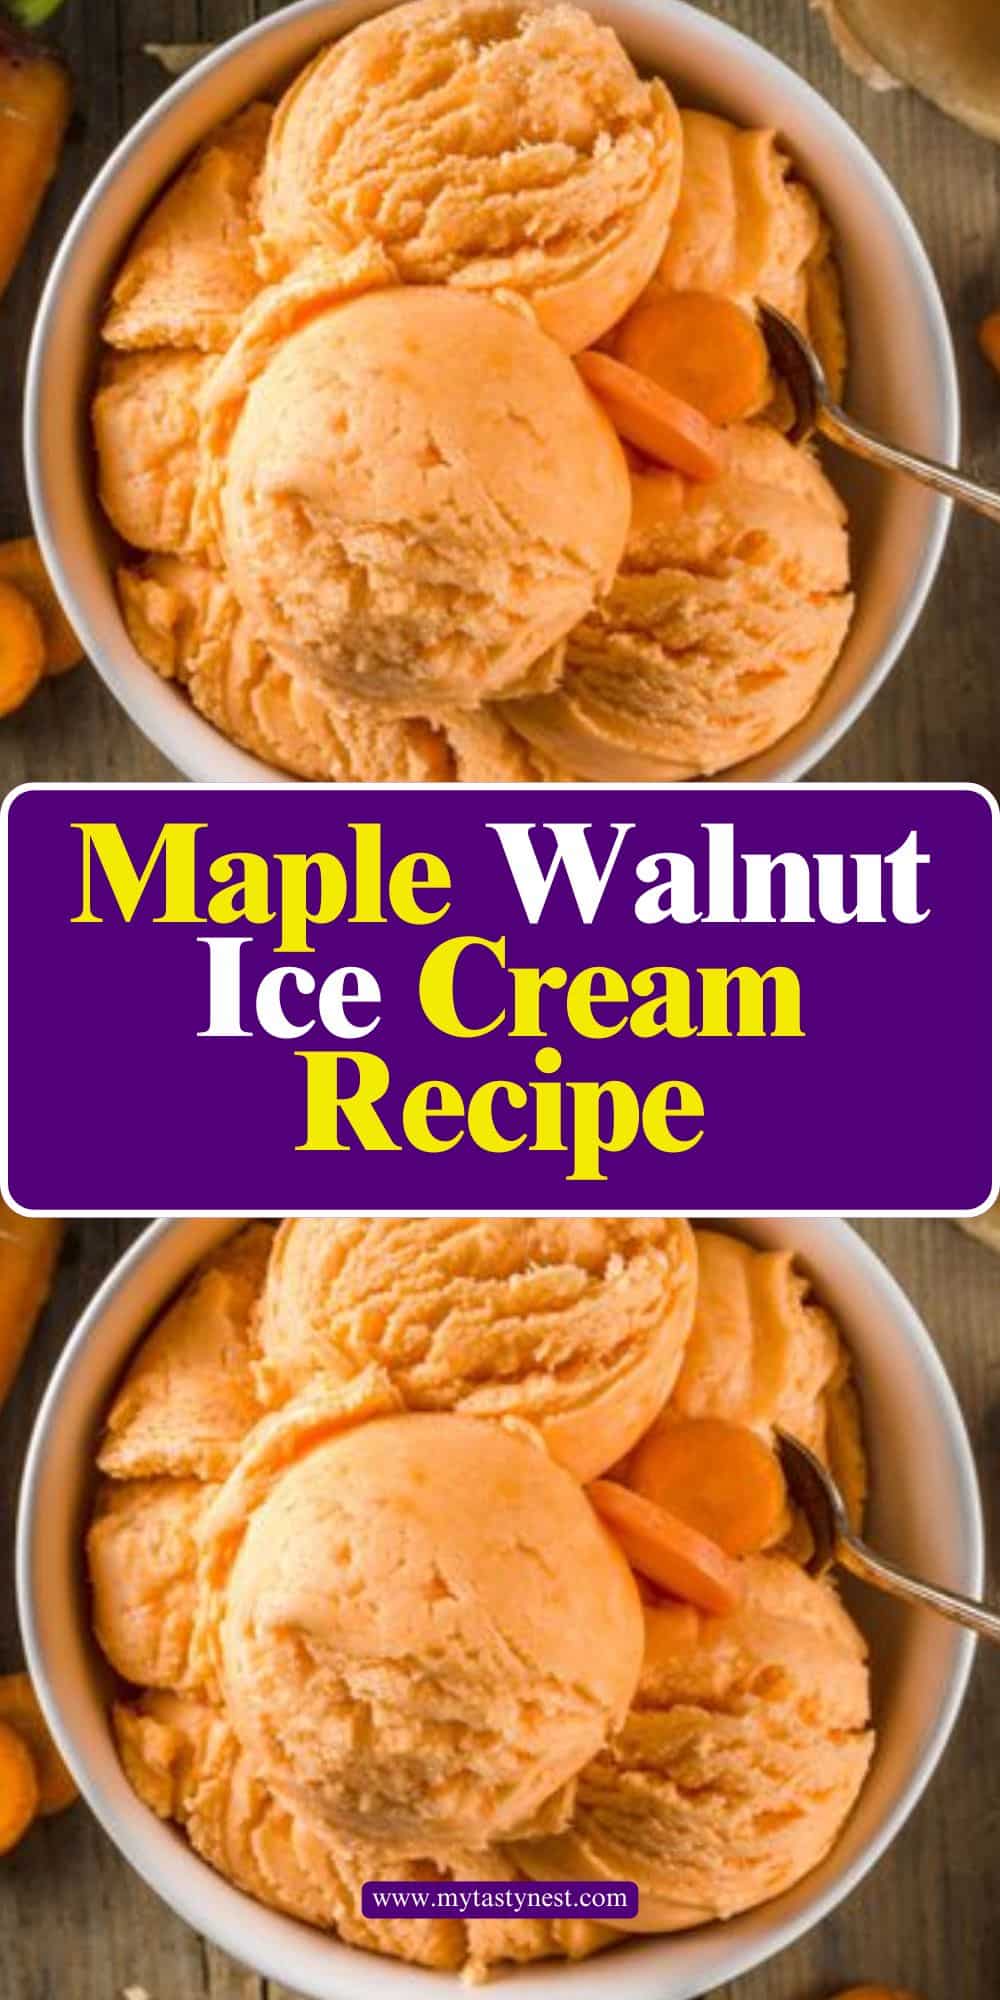
Maple Walnut Ice Cream
Equipment
- 1 medium saucepan
- (1) Whisk
- 1 ice cream maker (optional)
- (1) Baking sheet
- 1 Airtight container
- (1) Wooden spoon
- 1 mixing bowl
- 1 Measuring spoons and cups
Ingredients
- 1 ½ cups 360 ml heavy cream
- 1 ½ cups 360 ml whole milk
- 1 cup 240 ml pure maple syrup
- 5 large egg yolks
- 1 tsp vanilla extract
- 1 pinch of salt
- 1 ½ cups 180 g toasted walnuts, chopped
Instructions
Toast the Walnuts
- Preheat your oven to 350°F (175°C). Spread the walnuts evenly on a baking sheet and toast for 5-8 minutes, or until golden and fragrant. Stir halfway through. Once done, remove from the oven and let them cool before chopping them into smaller pieces.
Make the Custard Base
- In a medium saucepan, combine heavy cream and whole milk over medium heat. Stir occasionally until it begins to simmer (do not boil). Meanwhile, whisk together egg yolks and maple syrup in a separate bowl. Slowly add the hot cream mixture to the egg yolk mixture while whisking constantly (to avoid curdling). Once combined, return the mixture to the saucepan and cook over low heat, stirring constantly, until the custard thickens and coats the back of a spoon (about 5-7 minutes).
Chill the Custard
- Remove from heat and stir in vanilla extract and a pinch of salt. Let the custard cool to room temperature, then refrigerate for at least 2–3 hours or overnight.
Churn the Ice Cream
- If using an ice cream maker, pour the chilled custard into the machine and churn according to the manufacturer’s instructions (about 20-25 minutes). If using the no-churn method, place the chilled custard in a shallow dish and stir it every 30 minutes for 2–3 hours until it reaches a creamy texture.
Add Walnuts & Freeze
- Once the ice cream reaches a soft-serve consistency, fold in the toasted walnuts. Transfer the mixture to an airtight container and freeze for at least 4 hours or until fully set.
Serve
- Let the ice cream sit at room temperature for 5–10 minutes to soften before scooping. Serve in bowls, cones, or with warm desserts!
Notes
- For a dairy-free version: Use coconut cream in place of the heavy cream and almond milk or any other plant-based milk in place of the whole milk.
- Extra sweetness: If you prefer a sweeter ice cream, you can increase the maple syrup by ¼ cup.
- To prevent ice crystals: Stir your ice cream every 30 minutes if you are using the no-churn method. This ensures a creamy texture without ice crystals.
- Make ahead: This ice cream can be made 2–3 days in advance and stored in the freezer for up to 2 weeks.
