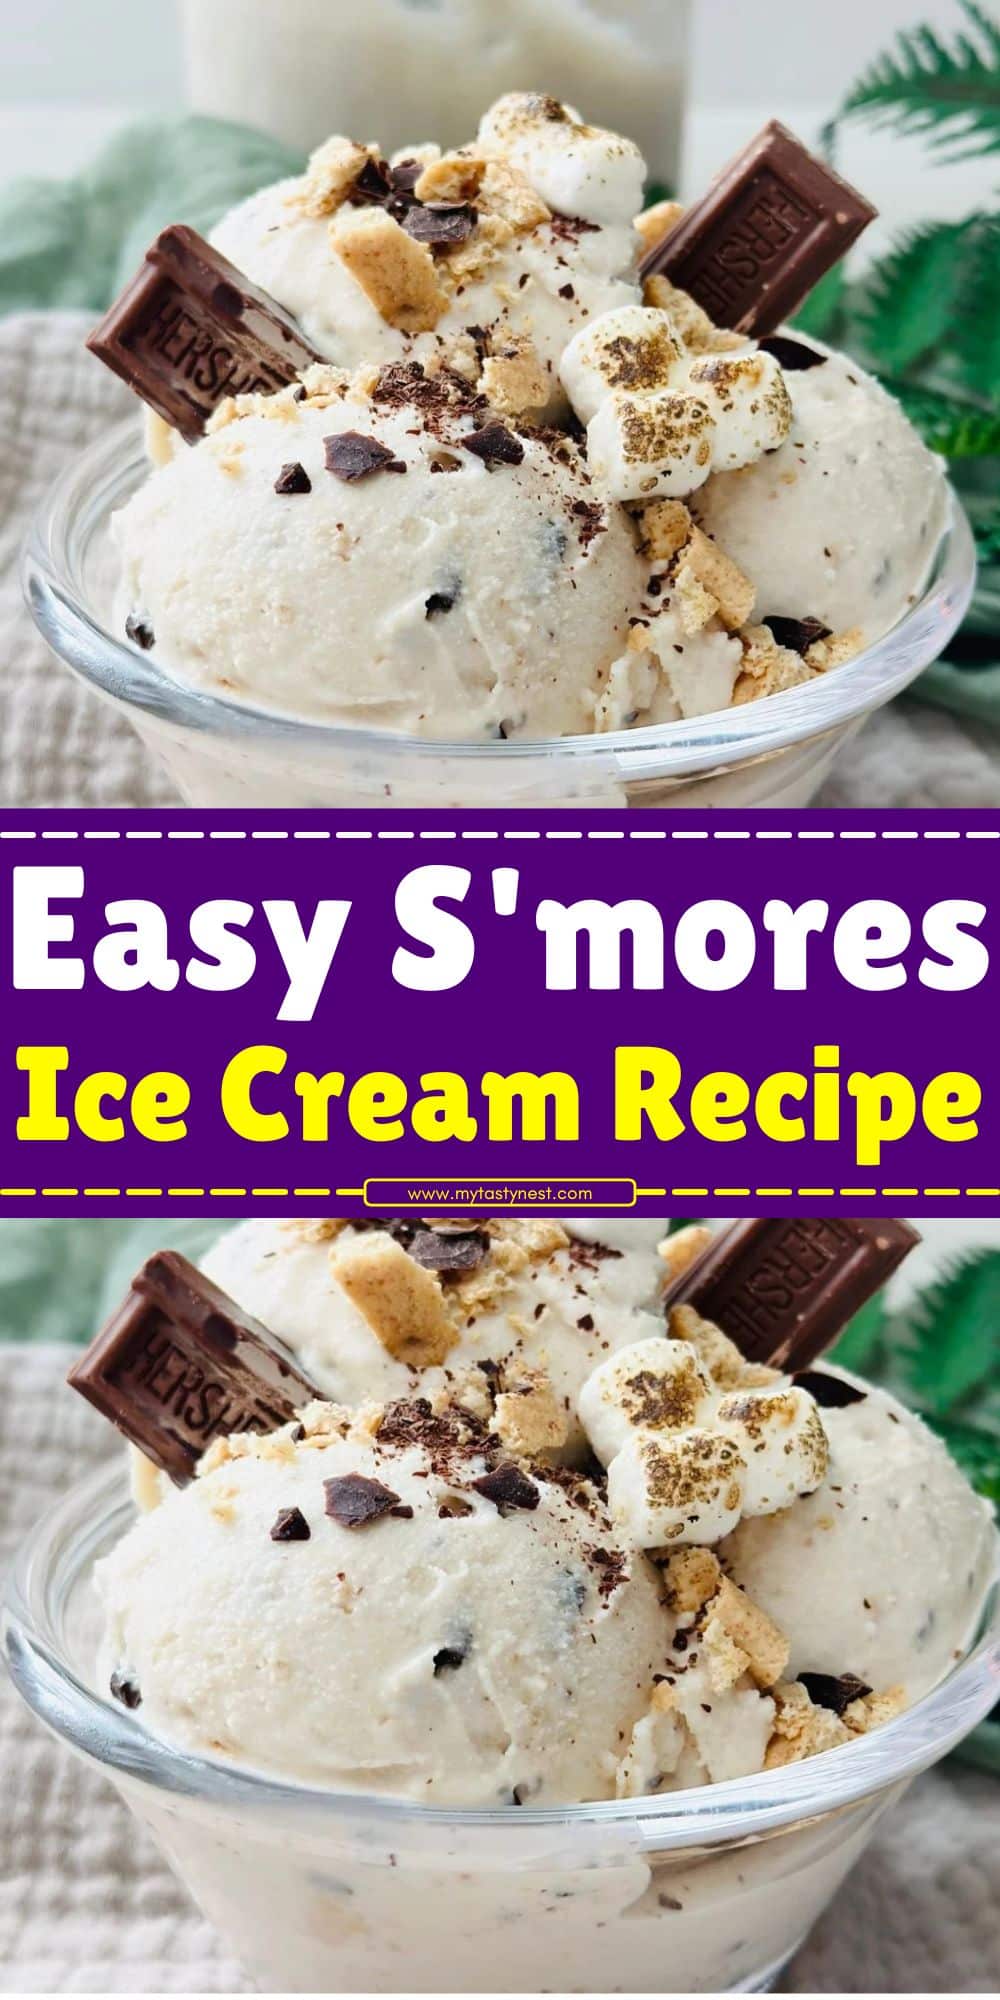
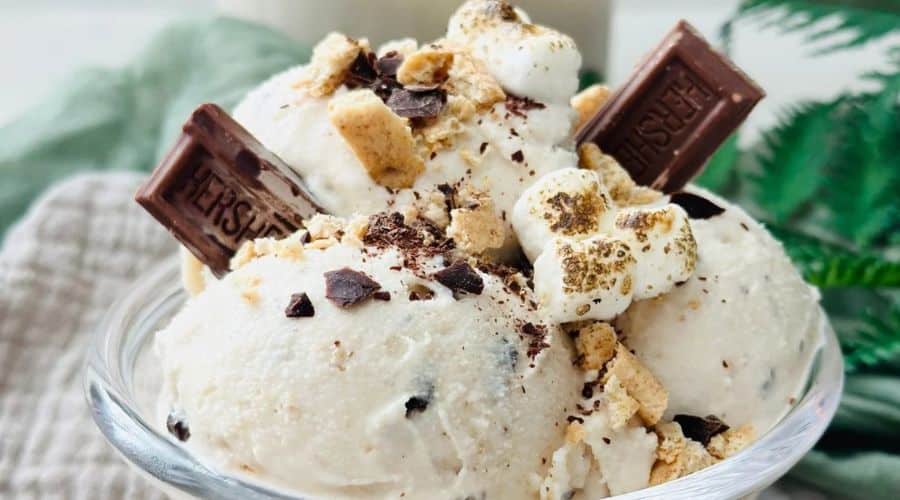
S’mores ice cream is the perfect fusion of two beloved treats: the classic campfire snack and a creamy frozen dessert.
This indulgent ice cream brings together the irresistible flavors of toasted marshmallows, smooth chocolate, and crunchy graham crackers, all wrapped up in a rich and creamy ice cream base.
Whether you’re enjoying it on a hot summer day or craving a nostalgic dessert during the winter, s’mores ice cream will transport you straight to cozy campfire moments.
This recipe takes the beloved s’mores flavor and elevates it into a cool, creamy delight. No need for a campfire to enjoy the iconic taste of toasted marshmallows and gooey chocolate – just scoop this decadent treat straight from the freezer.
Let’s dive into what makes s’mores ice cream a must-try dessert for every occasion.

What Makes S’mores Ice Cream So Special?
S’mores ice cream is a showstopper for many reasons. At its heart, it’s the perfect balance of flavors and textures that makes it unforgettable.
The base of the ice cream is rich and creamy, providing the perfect smooth canvas for the other ingredients to shine.
But it’s the combination of three classic s’mores components—graham crackers, chocolate, and marshmallows—that really makes this dessert special.
The Crunch of Graham Crackers
One of the things that makes s’mores so iconic is the crispy, golden graham cracker crust that balances out the gooey marshmallow and melty chocolate.
In this ice cream, crushed graham crackers add a delightful crunch and a hint of sweetness, making each bite feel like you’re biting into the essence of the s’mores experience.
Toasted Marshmallows, in Ice Cream Form
The marshmallows are the star of the show. In traditional s’mores, they’re toasted to a golden perfection over an open flame. To recreate that unique flavor, the marshmallows in this ice cream are lightly toasted before being swirled into the mixture.
This gives each scoop a subtle smokiness that mimics the warmth of a campfire and adds a layer of depth to the creamy base.
Rich, Melty Chocolate
Of course, no s’mores would be complete without a generous layer of chocolate. Whether you choose chocolate chips or chopped bars, the addition of chocolate in this ice cream creates pockets of melting richness, adding an indulgent sweetness that pairs beautifully with the crunchy graham crackers and toasted marshmallows.
Together, these ingredients make each spoonful of s’mores ice cream a balanced and irresistible treat, providing an enjoyable mix of creamy, crunchy, smooth, and smoky all at once. It’s the perfect dessert for anyone who loves s’mores and wants to enjoy the flavor in a whole new way.
Ingredients for S’mores Ice Cream
Before you get started, gather the following ingredients to make this delightful s’mores ice cream.
These simple ingredients combine to create the perfect ice cream that tastes just like the classic campfire treat:
For the Ice Cream Base:
- 2 cups heavy cream
- 1 cup whole milk
- 3/4 cup granulated sugar
- 1 tablespoon vanilla extract
- Pinch of salt
For the S’mores Mix-ins:
- 1 1/2 cups graham crackers (crushed into crumbs)
- 1 cup chocolate chips (or chopped chocolate)
- 1 cup mini marshmallows (for the swirl)
- 1/2 cup marshmallow fluff (optional, for added sweetness and swirl effect)
For Toasting the Marshmallows:
- 1 cup mini marshmallows (for toasting)
How to Make S’mores Ice Cream: Step-by-Step Instructions

Follow these easy steps to create your own homemade s’mores ice cream! It’s a fun and rewarding process that will fill your kitchen with delicious smells and give you the perfect summer treat.
Step 1: Prepare the Ice Cream Base
- In a medium mixing bowl, whisk together the heavy cream, whole milk, sugar, vanilla extract, and salt until the sugar dissolves completely.
- Once combined, pour the mixture into your ice cream maker according to the manufacturer’s instructions. If you don’t have an ice cream maker, no worries! You can follow the no-churn method outlined later.
Step 2: Toast the Marshmallows
- While your ice cream base is churning, it’s time to toast the marshmallows. Spread the mini marshmallows out evenly on a baking sheet lined with parchment paper.
- Place the marshmallows under a broiler set to high heat for 1-2 minutes, watching carefully to ensure they toast evenly. They should be golden brown and slightly crispy on top.
- Once toasted, remove them from the oven and set them aside to cool. Be sure to keep an eye on them—they can go from perfectly toasted to burned in an instant!
Step 3: Mix in Graham Crackers and Chocolate
- As the ice cream begins to thicken in the ice cream maker, add the crushed graham crackers and chocolate chips (or chopped chocolate). Allow them to mix in thoroughly as the ice cream churns.
- For an extra s’mores experience, you can reserve a little bit of graham cracker and chocolate to fold in later when you’re layering the ingredients.
Step 4: Swirl in the Toasted Marshmallows
- Once your ice cream has reached the soft-serve consistency (usually after about 20-30 minutes in the ice cream maker), gently fold in the toasted marshmallows and marshmallow fluff (if using) to create that perfect swirl of marshmallow goodness.
- Make sure not to overmix, as you want to maintain pockets of marshmallow in the ice cream.
Step 5: Freeze and Layer
- Transfer the ice cream to a lidded container that’s suitable for freezing.
- Layer in some additional graham crackers and chocolate chunks as you go to create a textured and flavorful swirl. Press the ingredients lightly into the ice cream to ensure they stay mixed in as it freezes.
- Cover the container with a lid and freeze for at least 4 hours, or until fully set.
No Ice Cream Maker? No Problem!
If you don’t have an ice cream maker, you can still make this delicious s’mores ice cream! Here’s how:
- Prepare the ice cream base as instructed (Step 1).
- After mixing the ingredients together, pour the base into a large mixing bowl.
- Use an electric hand mixer or stand mixer to beat the mixture on medium speed for about 5-10 minutes, until it thickens slightly.
- Toast the marshmallows as instructed, then mix them into the ice cream base along with the graham crackers and chocolate.
- Transfer the ice cream mixture to a lidded container, add the extra chocolate and graham cracker layers, and freeze for 4-6 hours, or until firm.
With or without an ice cream maker, you’ll still end up with a fantastic treat that will satisfy your s’mores cravings in every bite!
Tips for Perfect S’mores Ice Cream
Making s’mores ice cream at home is a fun and rewarding process, but to truly make your dessert shine, follow these helpful tips for the best results!
1. Use High-Quality Ingredients
- Opt for rich, high-fat heavy cream and whole milk to create a creamy, smooth base. The higher the fat content, the creamier the ice cream will be.
- Choose good-quality chocolate – whether you’re using chocolate chips or chopped chocolate bars, a rich chocolate flavor really enhances the overall taste.
2. Don’t Skip the Toasting Step
- Toasting the marshmallows is key to recreating the iconic s’mores flavor. Whether you use the broiler or a kitchen torch, make sure the marshmallows get a golden-brown, slightly crispy exterior for that authentic toasted taste.
- If you’re using marshmallow fluff, a light swirl in the base can help create that gooey marshmallow effect without overpowering the texture of the ice cream.
3. Control the Texture of the Mix-ins
- Crush the graham crackers finely, but not to a powder. You want pieces that add a bit of crunch to each bite. Too fine, and they may just dissolve into the ice cream during the churning process.
- If using large chocolate chunks, break them into small, but still noticeable, pieces so they create pockets of melting chocolate throughout the ice cream.
4. Avoid Overmixing the Toasted Marshmallows
- When you fold in the toasted marshmallows into the ice cream, do so gently to keep their texture intact. You want some of those marshmallows to stay intact in swirls throughout the ice cream, so don’t stir too much.
5. Make it a Layered Experience
- For an extra layer of texture and flavor, create layers of graham crackers, chocolate, and marshmallow as you freeze the ice cream. This will give every scoop a delightful surprise!
6. Let the Ice Cream Firm Up Completely
- After churning, make sure you give the ice cream enough time to freeze and set. A minimum of 4 hours is recommended, but overnight is even better for the perfect scoop.
No Ice Cream Maker? No Problem!
Even if you don’t have an ice cream maker, you can still enjoy homemade s’mores ice cream with a simple no-churn method. Follow these easy steps to create your frozen treat without the need for special equipment!
Step-by-Step No-Churn S’mores Ice Cream:
- Make the Ice Cream Base
- In a large mixing bowl, whip 2 cups of heavy cream until stiff peaks form (about 3-4 minutes with an electric mixer).
- In a separate bowl, combine 1 can (14 oz) of sweetened condensed milk with 1 teaspoon vanilla extract and a pinch of salt. Gently fold the whipped cream into the condensed milk mixture until fully combined.
- Add the S’mores Mix-ins
- Toast your marshmallows using the broiler or a kitchen torch, then chop them into smaller pieces and set aside.
- Stir in the crushed graham crackers, chocolate chips (or chopped chocolate), and the toasted marshmallows into the whipped cream and condensed milk mixture.
- Layer and Freeze
- Pour the ice cream mixture into a freezer-safe container. As you fill it, layer in extra graham cracker crumbs and chocolate chunks for an added texture surprise.
- Cover the container with a lid or plastic wrap and freeze for at least 4-6 hours, or until fully set.
Pro Tip: To achieve that perfect scoopable texture, let the ice cream sit at room temperature for a few minutes before serving. This will make it easier to scoop while still keeping it frozen and creamy.
Now, you can enjoy the delicious flavors of s’mores in ice cream form without the need for an ice cream maker. It’s just as tasty, with a rich, smooth texture, and perfect for summer fun or cozy nights indoors!
Storing and Storing S’mores Ice Cream
Proper storage is key to ensuring your homemade s’mores ice cream remains delicious and fresh for as long as possible.
- Use an Airtight Container
- After preparing your ice cream, transfer it into a freezer-safe, airtight container. This will prevent ice crystals from forming and help maintain the smooth, creamy texture.
- If you have any leftover graham cracker crumbs, marshmallows, or chocolate pieces that could sink to the bottom, make sure to layer them in as you freeze the ice cream for the perfect balance of texture throughout.
- Freezing Time
- S’mores ice cream needs to freeze for at least 4 hours, but ideally overnight, to achieve the perfect consistency. If you made it using an ice cream maker, this is especially important to allow it to firm up properly.
- If you’ve made the no-churn version, a longer freezing time is recommended for the best results.
- Avoid Freezer Burn
- To prevent freezer burn, press a piece of plastic wrap directly onto the surface of the ice cream before sealing the container. This reduces air exposure and keeps your ice cream tasting fresh.
- Storage Duration
- Homemade ice cream typically lasts about 2-3 weeks in the freezer. After that, the texture may start to deteriorate, so be sure to enjoy it within that timeframe for the best taste and texture.
Conclusion
S’mores ice cream is a nostalgic and indulgent treat that perfectly captures the essence of summer. The combination of toasted marshmallows, gooey chocolate, and crunchy graham crackers in creamy ice cream is irresistible.
Whether you’re making it with an ice cream maker or using the no-churn method, it’s a fun, customizable dessert that can be enjoyed by anyone.
This recipe is perfect for family gatherings, BBQs, or even just a quiet night when you need a sweet treat. The best part? Y
ou can make it ahead of time and keep it in the freezer for whenever a craving hits. So, gather your ingredients, get creative with the mix-ins, and enjoy the ultimate homemade s’mores experience—all without the campfire!
Frequently Asked Questions (FAQs)
1. Can I make s’mores ice cream without an ice cream maker?
Yes! You can make s’mores ice cream without an ice cream maker using the no-churn method. Simply whip heavy cream, mix it with sweetened condensed milk, and stir in the s’mores ingredients before freezing. Check out the full no-churn method earlier in the post.
2. Can I make a dairy-free version of s’mores ice cream?
Absolutely! You can substitute the heavy cream and milk with coconut cream and almond or oat milk for a dairy-free version. Make sure to use dairy-free chocolate and graham crackers to maintain the s’mores flavor.
3. Can I add other toppings or mix-ins to the ice cream?
Definitely! You can get creative by adding things like crushed pretzels, caramel swirls, or even peanut butter. Just remember to keep the balance of graham cracker, marshmallow, and chocolate so the s’mores flavor shines through.
4. How do I keep the marshmallows from melting into the ice cream?
To prevent marshmallows from melting too much into the ice cream, toast them first and fold them in at the end of the churning process. This will keep some marshmallow pieces intact for a fun, chewy texture.
5. How long does homemade s’mores ice cream last in the freezer?
Homemade s’mores ice cream will last about 2-3 weeks in the freezer. Be sure to store it in an airtight container to preserve its freshness and avoid freezer burn.

S’mores Ice Cream
Equipment
- 1 Ice Cream Maker (optional for traditional method)
- 1 Baking Sheet (for toasting marshmallows)
- 1 Mixing Bowl (for ice cream base)
- 1 Whisk (for combining ice cream base ingredients)
- 1 Spatula (for folding in mix-ins)
- 1 freezer-safe container (for storing ice cream)
- 1 Electric Mixer (optional, for no-churn version)
Ingredients
For the Ice Cream Base:
- 2 cups heavy cream
- 1 cup whole milk
- 3/4 cup granulated sugar
- 1 tablespoon vanilla extract
- Pinch of salt
For the S’mores Mix-ins:
- 1 1/2 cups graham crackers crushed
- 1 cup chocolate chips or chopped chocolate
- 1 cup mini marshmallows for the swirl
- 1/2 cup marshmallow fluff optional
For Toasting the Marshmallows:
- 1 cup mini marshmallows for toasting
Instructions
Prepare the Ice Cream Base:
- In a medium mixing bowl, whisk together the heavy cream, whole milk, sugar, vanilla extract, and salt until the sugar dissolves completely.
- Pour the mixture into your ice cream maker and churn according to the manufacturer’s instructions (about 20-30 minutes).
Toast the Marshmallows:
- Spread mini marshmallows on a baking sheet and toast them under the broiler for 1-2 minutes, watching closely to avoid burning. Set them aside to cool.
Add the S’mores Mix-ins:
- When the ice cream reaches soft-serve consistency, gently fold in the crushed graham crackers, chocolate chips, and toasted marshmallows. Optionally, you can add marshmallow fluff to enhance the marshmallow swirl.
Layer and Freeze:
- Transfer the ice cream to a freezer-safe container, adding extra layers of graham cracker crumbs and chocolate chunks as you go.
- Cover with a lid and freeze for at least 4 hours or until firm.
Serve:
- Let the ice cream sit for a few minutes to soften before scooping. Serve in cones, bowls, or as a sundae with your favorite toppings.
Notes
-
No Ice Cream Maker?
Follow the no-churn method: Whip 2 cups of heavy cream until stiff peaks form, then fold in sweetened condensed milk, vanilla extract, and salt. Mix in the s’mores ingredients and freeze for 4-6 hours. -
Dairy-Free Version:
You can make a dairy-free version by using coconut cream and plant-based milk (such as almond or oat milk) in place of dairy products. Make sure to use dairy-free chocolate and graham crackers to complete the s’mores effect. -
Adding Extra Toppings:
Feel free to get creative with your toppings, such as adding extra graham cracker crumbs, a drizzle of chocolate syrup, or even a scoop of whipped cream for the ultimate s’mores sundae.


