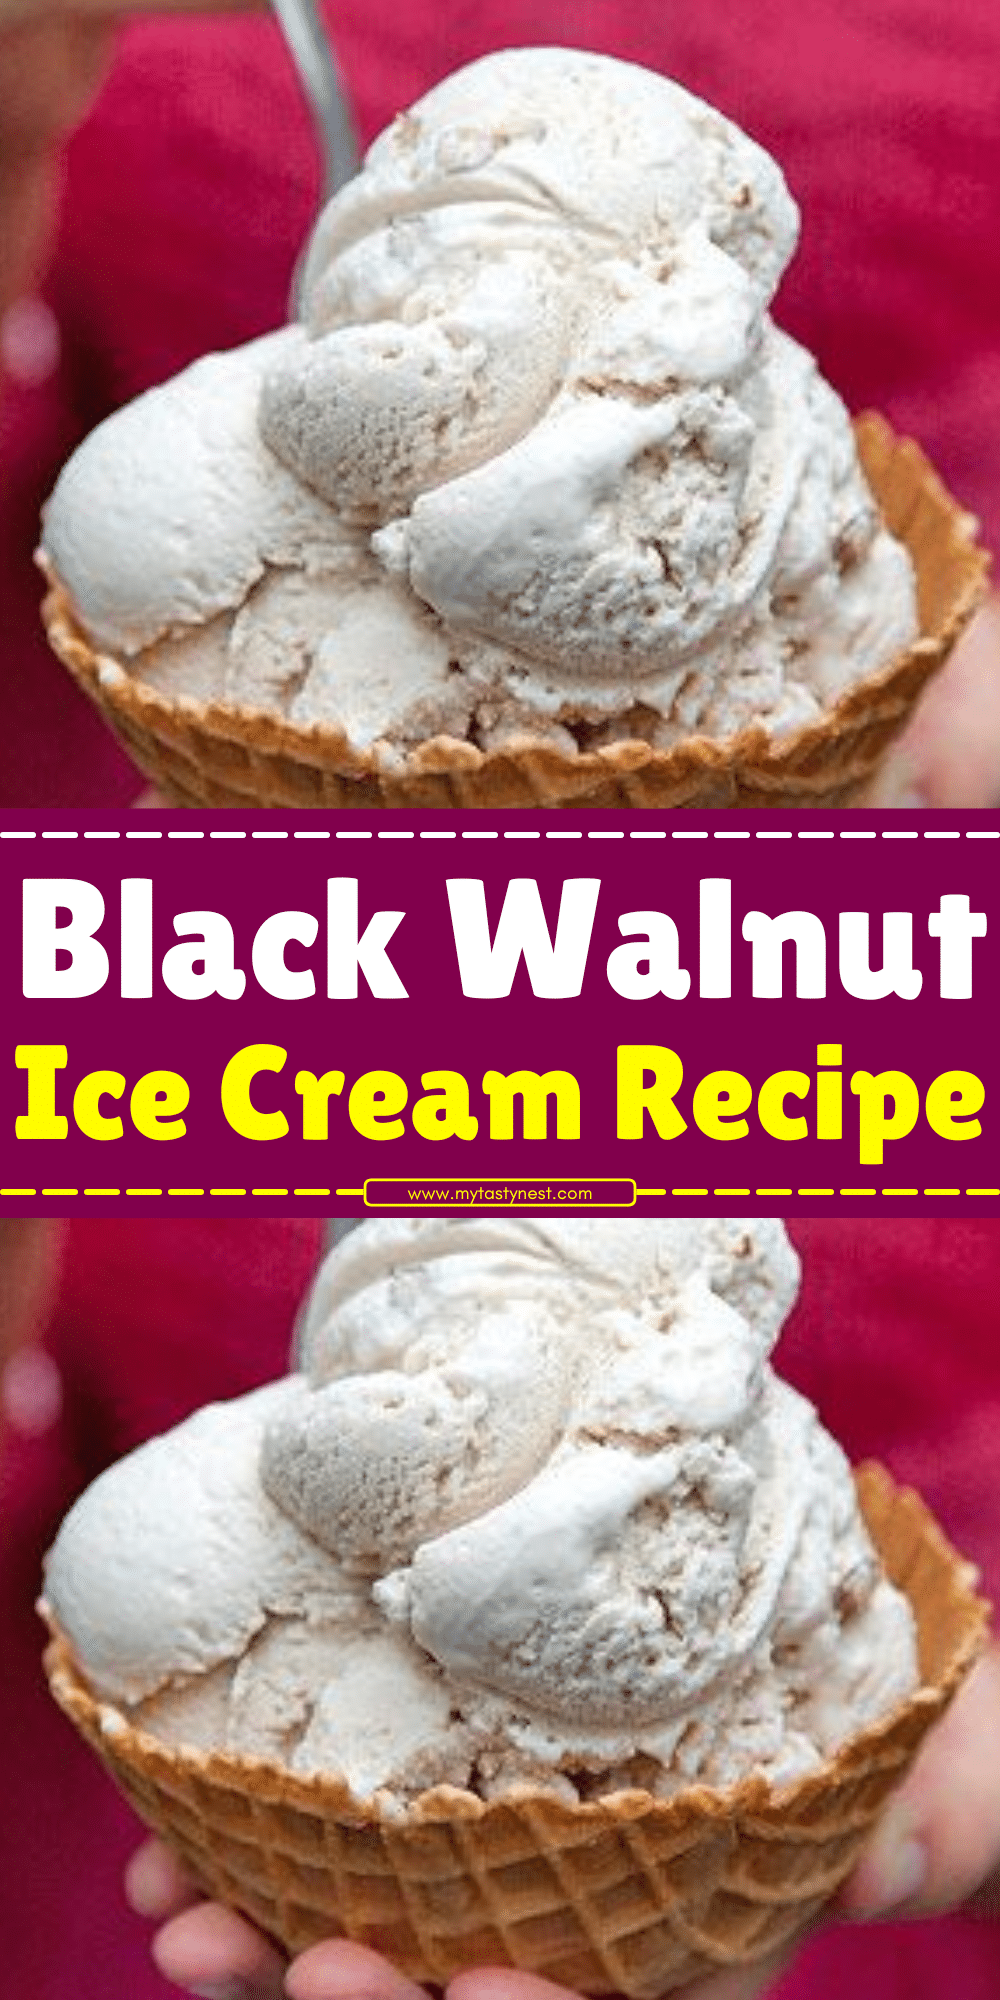
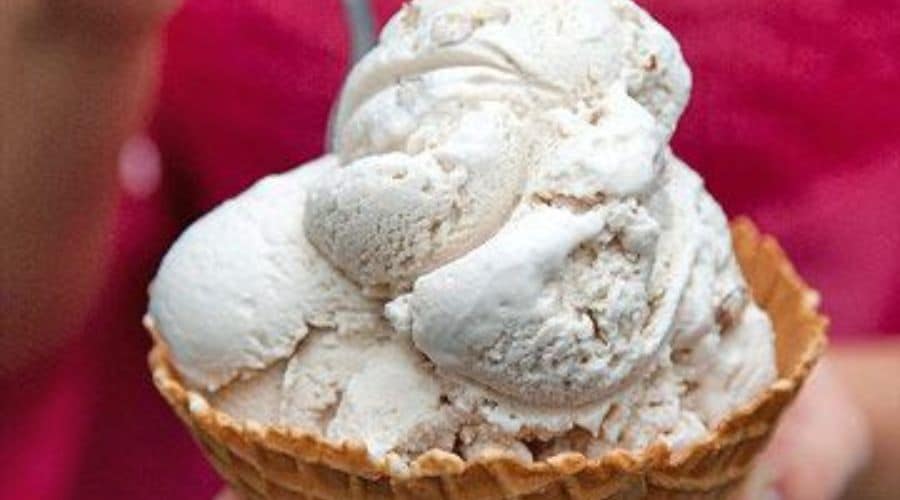
There’s something truly special about homemade ice cream, and when it comes to bold, rich flavors, black walnut ice cream stands in a league of its own. This classic, old-fashioned treat is loved for its deep, nutty taste with a hint of earthiness that sets it apart from traditional walnut ice cream.
Black walnuts have a more intense flavor than their common walnut cousins, making them the perfect star ingredient for a creamy, indulgent dessert.
Whether you grew up enjoying this ice cream or are trying it for the first time, making it from scratch ensures the best texture, freshest ingredients, and a flavor that can’t be beaten.
In this guide, we’ll walk you through everything you need to know about making black walnut ice cream at home—from understanding its unique taste to step-by-step instructions for a smooth and creamy result.

What Makes Black Walnut Ice Cream Special?
A Bold and Distinctive Flavor
Unlike regular walnuts, black walnuts have a much stronger and more complex taste—slightly smoky, earthy, and almost buttery.
Their boldness gives the ice cream an unmistakable richness that’s both indulgent and comforting. If you enjoy nutty flavors, this is a must-try!
A Nostalgic, Old-Fashioned Treat
For many, black walnut ice cream is more than just a dessert—it’s a taste of nostalgia. This flavor has been a staple in American kitchens for generations, often enjoyed at family gatherings, holiday celebrations, or old-fashioned ice cream parlors.
A Perfect Balance of Crunch and Creaminess
The contrast between the smooth, velvety ice cream base and the crunch of toasted black walnuts makes every bite exciting. Toasting the nuts enhances their natural oils and aroma, adding an extra depth of flavor that blends beautifully with the creamy custard.
A Nutrient-Rich Ingredient
Beyond its incredible taste, black walnuts are packed with nutrients. They are rich in:
- Healthy fats that support heart health.
- Antioxidants that help fight inflammation.
- Protein and fiber to keep you feeling full and satisfied.
With its unique taste, creamy texture, and nutritional benefits, black walnut ice cream is a special treat that stands out from the rest. Ready to learn how to make it? Let’s dive in!
You have not enough Humanizer words left. Upgrade your Surfer plan.
Ingredients You’ll Need
Making black walnut ice cream at home requires simple yet high-quality ingredients to achieve a creamy, flavorful result.
Here’s what you’ll need:
Main Ingredients:
- 2 cups heavy cream – Provides a rich, smooth texture.
- 1 cup whole milk – Balances the creaminess and prevents it from becoming too heavy.
- ¾ cup granulated sugar – Sweetens the ice cream and enhances the nutty flavor.
- 4 large egg yolks – Creates a luscious, custard-like base.
- 1 teaspoon vanilla extract – Adds depth and rounds out the flavors.
- ½ teaspoon black walnut extract (optional) – Enhances the bold, earthy taste.
- ¾ cup black walnuts, chopped – The star ingredient! Provides crunch and a rich, nutty flavor.
Optional Ingredients for Extra Flavor:
- Pinch of salt – Balances sweetness and enhances flavor.
- 1 tablespoon maple syrup or honey – Adds a subtle, natural sweetness.
Now that you have your ingredients ready, let’s go step by step to create the perfect black walnut ice cream!
Step-by-Step Instructions: How to Make Black Walnut Ice Cream

Making homemade ice cream is a rewarding process that requires a bit of patience, but the result is well worth it.
Follow these steps for a rich, creamy black walnut ice cream with perfectly balanced flavors.
1. Toasting the Black Walnuts for Extra Flavor
Toasting black walnuts enhances their natural oils, bringing out a deeper, more complex flavor.
- Preheat your oven to 350°F (175°C).
- Spread the chopped black walnuts on a baking sheet in a single layer.
- Toast them for 5–7 minutes, stirring occasionally to prevent burning.
- Once fragrant and golden, remove from the oven and let them cool.
2. Preparing the Ice Cream Base
A custard-style base gives the ice cream a silky texture.
- In a medium saucepan, combine the heavy cream, milk, and half of the sugar over medium heat. Stir occasionally until it just starts to steam (do not boil).
- In a separate bowl, whisk the egg yolks and remaining sugar until the mixture becomes pale and slightly thick.
- Slowly temper the egg yolks by gradually adding a ladleful of the warm cream mixture while whisking continuously. This prevents scrambling the eggs.
- Once tempered, pour the yolk mixture back into the saucepan and cook over low heat, stirring constantly until the mixture thickens enough to coat the back of a spoon (about 170–175°F / 77–80°C).
- Remove from heat and stir in the vanilla extract, black walnut extract (if using), and a pinch of salt.
3. Chilling the Custard Mixture
- Strain the custard through a fine-mesh sieve into a clean bowl to remove any bits of cooked egg.
- Let it cool at room temperature for about 30 minutes, then cover and refrigerate for at least 4 hours (or overnight). Chilling is crucial for a smooth texture.
4. Churning the Ice Cream
- Once chilled, pour the custard into your ice cream maker and churn according to the manufacturer’s instructions (usually 20–25 minutes).
- During the last few minutes, add the toasted black walnuts, ensuring they are evenly distributed.
5. Freezing and Serving
- Transfer the churned ice cream into an airtight container, smoothing the top with a spatula.
- Freeze for at least 4 hours before serving to allow the flavors to develop and firm up.
- Scoop, serve, and enjoy your homemade black walnut ice cream!
Serving Ideas and Pairings
Now that you have a batch of homemade black walnut ice cream, it’s time to serve it in a way that enhances its rich, nutty flavor.
Whether you prefer it simply scooped into a bowl or paired with other treats, here are some delicious ideas:
Classic and Simple
- Serve in a waffle cone or bowl to enjoy its creamy texture without distractions.
- Drizzle with warm caramel or chocolate sauce for an extra layer of sweetness.
- Add a sprinkle of extra toasted black walnuts for added crunch.
Perfect Pairings with Other Desserts
- Brownies or Chocolate Cake – The bittersweet chocolate contrasts beautifully with the earthy black walnuts.
- Pecan or Apple Pie – A scoop of this ice cream melting over a warm slice of pie is pure comfort food.
- Banana Bread – The nutty flavors of black walnut ice cream and banana bread complement each other perfectly.
Creative Twists
- Make an Ice Cream Sandwich – Place a scoop between two oatmeal or shortbread cookies.
- Milkshake Magic – Blend with milk and a splash of coffee for a black walnut milkshake.
- Affogato-Style – Pour a shot of hot espresso over a scoop for a nutty coffee dessert.
No matter how you enjoy it, black walnut ice cream is a treat that shines on its own or paired with other comforting flavors.
Storage Tips: How to Keep Your Ice Cream Fresh
Homemade ice cream doesn’t have preservatives like store-bought versions, so proper storage is key to maintaining its freshness and creamy texture.
Best Practices for Storing Ice Cream
- Use an Airtight Container – A shallow, airtight container prevents air exposure, which can cause freezer burn.
- Press Plastic Wrap Against the Surface – Before sealing the container, press a layer of plastic wrap directly onto the ice cream to minimize ice crystal formation.
- Store in the Coldest Part of the Freezer – Keep it at the back of the freezer where the temperature is most stable.
How Long Does Homemade Ice Cream Last?
- Best Quality: 1–2 weeks – for optimal texture and flavor.
- Still Safe to Eat: Up to 1 month – but it may develop ice crystals over time.
Preventing Ice Crystals and Hard Texture
- Let the ice cream sit at room temperature for 5 minutes before scooping to avoid excessive melting and refreezing.
- Avoid storing it in the freezer door, where temperature fluctuations can cause crystallization.
With these storage tips, you can enjoy your black walnut ice cream at its best for as long as possible! 🍨❄️
Conclusion
Making black walnut ice cream at home is a rewarding experience that brings out the bold, earthy flavors of this unique nut in the creamiest way possible. With its perfect balance of richness, crunch, and nostalgia, this homemade treat is sure to impress.
By toasting the walnuts, carefully crafting the custard base, and following proper churning and freezing techniques, you can achieve a silky-smooth, flavorful ice cream that rivals any store-bought version.
Whether enjoyed on its own, paired with a favorite dessert, or turned into a milkshake, black walnut ice cream is a special indulgence worth making from scratch.
Now that you have the recipe, it’s time to give it a try! Let us know how it turns out, and don’t forget to experiment with different toppings and pairings. Happy ice cream making! 🍨✨
Frequently Asked Questions (FAQ)
1. Can I make black walnut ice cream without an ice cream maker?
Yes! If you don’t have an ice cream maker, you can use the no-churn method:
- Whip 2 cups of heavy cream until soft peaks form.
- In a separate bowl, mix 1 can of sweetened condensed milk, vanilla extract, and black walnuts.
- Gently fold the whipped cream into the mixture.
- Pour into a container, cover, and freeze for at least 6 hours until firm.
2. What can I use if I can’t find black walnuts?
If black walnuts are unavailable, you can substitute them with regular English walnuts or pecans. However, the flavor will be milder. You can enhance the nutty taste by adding a touch of walnut extract.
3. Can I make this ice cream dairy-free?
Absolutely! To make a dairy-free version, use:
- Full-fat coconut milk or almond milk instead of heavy cream and whole milk.
- Maple syrup or a dairy-free sweetener instead of sugar.
- A plant-based egg replacer or cornstarch to help thicken the base.
4. How do I prevent my ice cream from turning icy?
To keep your ice cream smooth and creamy:
- Chill the custard base properly before churning.
- Use an airtight container to store it.
- Press plastic wrap directly onto the surface to reduce ice crystal formation.
5. Can I add chocolate or other mix-ins?
Yes! Black walnut ice cream pairs wonderfully with:
- Dark chocolate chips or cocoa nibs for a nutty-chocolatey contrast.
- Caramel swirls for added sweetness.
- A splash of bourbon to enhance depth and richness.

Black Walnut Ice Cream
Equipment
- 1 baking sheet – For toasting the walnuts
- 1 medium saucepan – To prepare the custard base
- 1 whisk – For mixing the eggs and sugar
- 1 heatproof bowl – To cool the ice cream base
- 1 fine-mesh strainer – To remove any lumps from the custard
- 1 ice cream maker – For churning the ice cream
- 1 airtight container – For storing the finished ice cream
Ingredients
Ice Cream Base
- 2 cups heavy cream
- 1 cup whole milk
- ¾ cup granulated sugar
- 4 large egg yolks
- 1 teaspoon vanilla extract
- ½ teaspoon black walnut extract optional, but enhances flavor
- Pinch of salt
Black Walnuts
- ¾ cup black walnuts chopped
- 1 tablespoon butter for toasting the walnuts
Instructions
Step 1: Toast the Black Walnuts
- Preheat your oven to 350°F (175°C).
- Spread the chopped black walnuts on a baking sheet.
- Toast for 5–7 minutes, stirring occasionally until fragrant.
- Remove from the oven and toss with 1 tablespoon of melted butter for extra richness. Set aside to cool.
Step 2: Prepare the Custard Base
- In a medium saucepan, heat the heavy cream, whole milk, and half of the sugar over medium heat. Stir occasionally until the mixture begins to steam (do not let it boil).
- In a separate bowl, whisk the egg yolks and remaining sugar until pale and slightly thickened.
- Slowly temper the eggs by adding a small amount of the hot cream mixture while whisking constantly.
- Pour the tempered egg mixture back into the saucepan and cook over low heat, stirring continuously until it thickens enough to coat the back of a spoon (170–175°F / 77–80°C).
Step 3: Chill the Custard
- Remove from heat and stir in vanilla extract, black walnut extract (if using), and a pinch of salt.
- Strain the custard through a fine-mesh sieve into a clean bowl to remove any cooked egg bits.
- Let it cool at room temperature for 30 minutes, then cover and refrigerate for at least 4 hours (or overnight).
Step 4: Churn the Ice Cream
- Once chilled, pour the custard into an ice cream maker and churn according to the manufacturer’s instructions (usually 20–25 minutes).
- In the last few minutes of churning, add the toasted black walnuts and allow them to mix evenly.
Step 5: Freeze & Serve
- Transfer the churned ice cream to an airtight container and smooth the top with a spatula.
- Freeze for at least 2 hours to firm up before serving.
- Scoop and enjoy your homemade black walnut ice cream!
Notes
- No Ice Cream Maker? You can make a no-churn version by whipping 2 cups of heavy cream until soft peaks form, then folding it into 1 can of sweetened condensed milk along with the black walnuts. Freeze for 6 hours before serving.
- Nut Allergies? Substitute pecans or regular walnuts for a milder flavor.
- Storage Tip: Store in an airtight container in the freezer for up to 2 weeks to maintain freshness.


