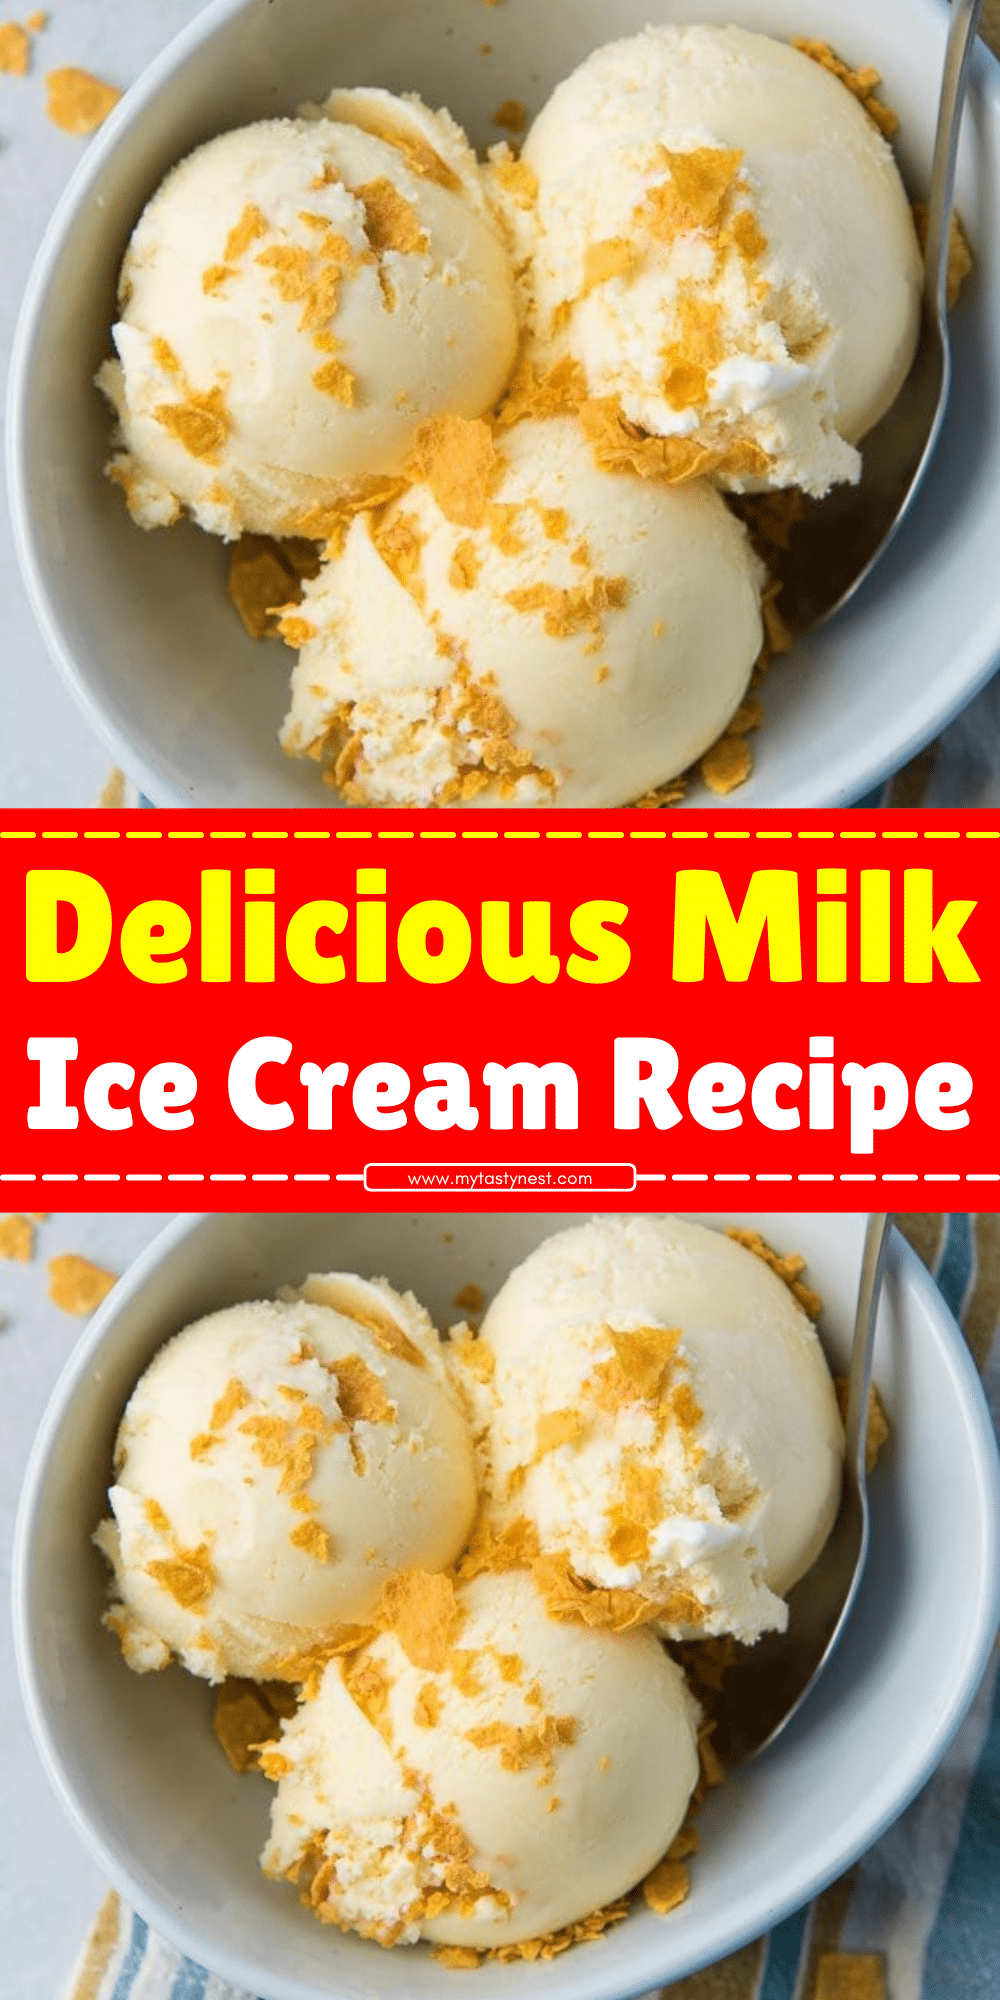
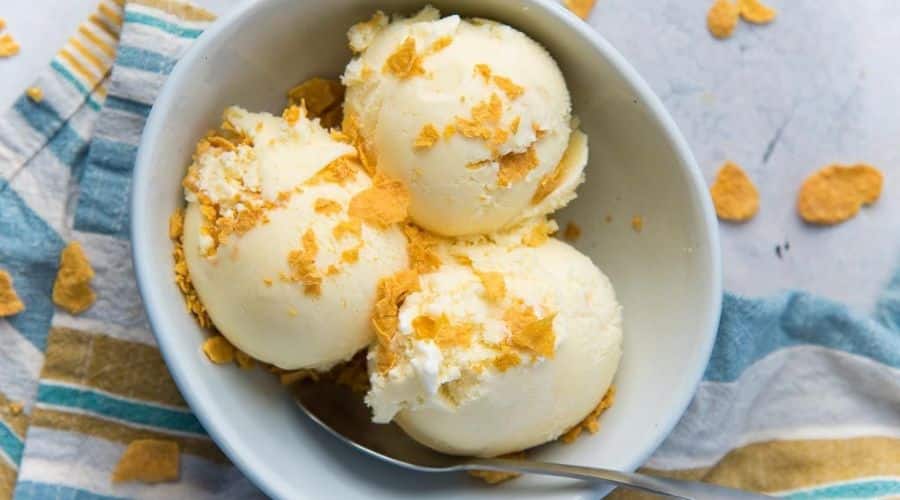
There’s nothing quite like a scoop of smooth, creamy ice cream, especially when it’s homemade. If you’ve ever wanted to make ice cream from scratch but thought you needed fancy ingredients like heavy cream or condensed milk, think again!
This milk ice cream recipe is proof that you can create a delicious frozen treat with just a few basic ingredients—no heavy cream required.
Using only milk as the base, this recipe results in a lighter, refreshing ice cream that still delivers on texture and taste. Whether you’re looking for a budget-friendly alternative, a healthier option, or simply want to experiment with homemade ice cream, this recipe is perfect.
The best part? You don’t need an ice cream maker! Whether you have one or not, I’ll walk you through both methods so you can enjoy a batch of homemade milk ice cream no matter what equipment you have.

Why You’ll Love This Milk Ice Cream Recipe
There are plenty of reasons to fall in love with this simple yet delicious ice cream recipe:
1. Made with Everyday Ingredients
No need for fancy cream or condensed milk—just milk, sugar, and a few optional ingredients are all you need. This makes it an excellent recipe for when you’re craving ice cream but don’t have specialty ingredients on hand.
2. Lighter and Refreshing
Since this recipe uses milk instead of heavy cream, the result is a lighter texture that’s refreshing and not overly rich. It’s perfect for those who prefer a less heavy dessert.
3. Customizable with Endless Flavors
Want to add a twist? This recipe serves as a great base for different flavors. You can mix in cocoa powder for a chocolatey treat, swirl in fruit purees, or add a hint of espresso for a coffee-infused delight.
4. No Ice Cream Maker Needed
While an ice cream maker helps achieve a smoother texture, you can still make this ice cream without one. I’ll guide you through the no-churn method so you can still enjoy homemade ice cream with minimal effort.
5. Budget-Friendly and Accessible
With just a few pantry staples, you can make ice cream at home without spending extra money on store-bought versions. It’s an economical and rewarding way to satisfy your sweet tooth.
Whether you’re making this for yourself, your family, or to impress guests, this milk ice cream recipe is a must-try. Now, let’s get started!
Ingredients You’ll Need
Making homemade milk ice cream requires just a handful of simple ingredients, most of which you probably already have in your kitchen.
Here’s what you’ll need:
Basic Ingredients
- Milk (2 cups) – Whole milk works best for a creamier texture, but you can use low-fat milk for a lighter version.
- Sugar (½ cup) – Granulated sugar is ideal, but you can also use honey, maple syrup, or other sweeteners.
- Vanilla Extract (1 teaspoon) – Adds a classic flavor and enhances the overall taste.
Optional Ingredients for a Creamier Texture
- Cornstarch (1 tablespoon) – Helps thicken the mixture, giving the ice cream a silkier texture.
- Egg yolks (2, beaten) – If you want a richer, custard-like ice cream, egg yolks can be added for extra creaminess.
- Salt (a pinch) – Enhances the flavors and balances the sweetness.
Flavor Additions (Optional)
- Cocoa Powder (2 tablespoons) – For a chocolatey twist.
- Fruit Puree (½ cup) – Strawberry, mango, or banana puree can add natural sweetness and fresh flavors.
- Espresso Powder (1 teaspoon) – A great addition for coffee lovers.
Now that you have your ingredients ready, let’s get started with the step-by-step process!
Step-by-Step Instructions: How to Make Milk Ice Cream

Step 1: Heat the Milk and Sugar
In a medium saucepan, pour the milk and add the sugar. Heat over low to medium heat, stirring occasionally, until the sugar is completely dissolved. Do not let it boil—just warm it enough so the ingredients combine smoothly.
Step 2: Thicken the Mixture (Optional for a Creamier Texture)
If you’re using cornstarch, dissolve it in 2 tablespoons of cold milk, then slowly whisk it into the warm milk mixture. Keep stirring over low heat until the mixture slightly thickens (about 5 minutes). If using egg yolks, temper them by slowly adding a few spoonfuls of the warm milk to the beaten yolks while whisking constantly. Then, pour the tempered yolks back into the saucepan and stir until the mixture thickens.
Step 3: Cool the Mixture
Remove the mixture from heat and stir in the vanilla extract (or any other flavoring). Let it cool to room temperature, then transfer it to the refrigerator and chill for at least 2 hours, or until completely cold.
Step 4: Churn or Freeze the Ice Cream
Method 1: Using an Ice Cream Maker
Pour the chilled mixture into an ice cream maker and churn according to the manufacturer’s instructions (usually 20–30 minutes). The mixture should thicken into a soft-serve consistency. Transfer to an airtight container and freeze for another 2–4 hours for a firmer texture.
Method 2: No-Churn Method (Without an Ice Cream Maker)
Pour the chilled mixture into a shallow container and place it in the freezer. Every 30 minutes, take it out and stir vigorously with a fork or whisk to break up ice crystals. Repeat this process every 30 minutes for about 3 hours, until the ice cream reaches a creamy consistency.
Step 5: Serve and Enjoy!
Once the ice cream is fully frozen, scoop it into bowls or cones, and enjoy! You can top it with fresh fruit, chocolate chips, caramel sauce, or any toppings of your choice.
Now that you know the basics, let’s explore some fun variations and pro tips to take your milk ice cream to the next level!
Flavor Variations and Customizations
One of the best parts about making your own milk ice cream is the ability to customize it to your taste. With a simple base recipe, the possibilities are endless!
Here are some of my favorite flavor variations and customizations to try:
Chocolate Milk Ice Cream
For a rich and indulgent twist, add unsweetened cocoa powder or melted chocolate to your milk mixture. You can also swirl in chocolate chips or fudge ribbons for extra texture. If you’re using cocoa powder, start with 2 tablespoons and adjust to your desired chocolate intensity.
Strawberry Milk Ice Cream
Fresh or frozen strawberries can be blended into a smooth puree and stirred into the milk mixture for a fruity, naturally sweet flavor. You can also add finely chopped strawberries for a more textured ice cream. Add a splash of lemon juice to balance the sweetness and enhance the strawberry taste.
Coffee Milk Ice Cream
For coffee lovers, add instant espresso powder (about 1–2 teaspoons) to the warm milk mixture. This will infuse the ice cream with a rich coffee flavor, making it a perfect dessert for morning cravings or afternoon treats. You could even mix in some chocolate for a mocha version.
Vanilla Bean Milk Ice Cream
While vanilla extract works great, you can elevate the flavor by using real vanilla beans. Split a vanilla bean pod, scrape out the seeds, and add them to the milk mixture for a deeper, more complex vanilla flavor.
Fruit and Nut Mix-ins
Want to get creative with textures? Add chopped fruits like mango, banana, or blueberries, or toss in some toasted almonds, pecans, or even crushed cookies right before freezing. These add a delightful crunch and burst of flavor to your ice cream.
Vegan or Dairy-Free Milk Ice Cream
If you’re looking for a dairy-free option, simply swap out regular milk for plant-based milk such as almond, coconut, or oat milk. Use a plant-based sweetener like maple syrup or agave and ensure you have a dairy-free vanilla extract. The result is a creamy, satisfying vegan ice cream that everyone can enjoy!
Pro Tips for the Best Homemade Milk Ice Cream
Making the perfect milk ice cream is all about balance, patience, and technique.
Here are a few pro tips to ensure your homemade ice cream turns out smooth, creamy, and absolutely delicious:
1. Use Full-Fat Milk for Creamier Ice Cream
While you can use skim or low-fat milk, whole milk provides the best balance of creaminess and flavor. It gives your ice cream a smooth texture without being overly rich, as would be the case with heavy cream.
2. Prevent Ice Crystals
To avoid an icy texture, it’s important to stir the mixture periodically while freezing. If you’re using a no-churn method, try using a hand mixer or whisk to break up the ice crystals every 30 minutes until it thickens. This will result in a smoother consistency.
3. Churn It Right
If you’re using an ice cream maker, make sure your mixture is chilled thoroughly before churning. This helps the ice cream freeze faster, resulting in a creamier texture. Also, be patient during the churning process—it’s essential to allow the ice cream to reach the desired soft-serve consistency.
4. Flavor Infusion
For richer flavors, infuse your milk with spices or herbs before adding the sweetener. For example, steep cinnamon sticks, fresh mint, or a vanilla bean pod in the milk mixture as it heats up. This adds a layer of complexity to your ice cream.
5. Serve at the Right Temperature
When ready to serve, let your ice cream sit at room temperature for a few minutes to soften slightly. This makes scooping easier and gives the ice cream a smoother texture. If you freeze it for too long without letting it thaw a little, it could become too hard to scoop.
Final Thoughts
Making your own milk ice cream is not only incredibly rewarding, but it’s also a fun and creative way to satisfy your sweet tooth. With just a few simple ingredients, you can create a dessert that’s both delicious and customizable.
Whether you stick to the classic vanilla or experiment with fun flavors like chocolate, strawberry, or coffee, this recipe serves as the perfect base to let your creativity shine.
Plus, the process itself is easy to follow, with minimal fuss and no need for specialized equipment. Whether you’re churning it in an ice cream maker or using the no-churn method, you’ll enjoy the satisfaction of knowing exactly what’s in your ice cream and how it’s made.
So, grab your ingredients, gather your family or friends, and get ready to create a batch of homemade milk ice cream that’s bound to become a favorite treat. Enjoy the process, and remember—there’s no wrong way to customize it to your taste!
Frequently Asked Questions
1. Can I use low-fat or skim milk instead of whole milk?
Yes, you can! While whole milk gives the creamiest results, using low-fat or skim milk will still yield a delicious ice cream, although the texture may be slightly less rich and creamy. If you prefer a dairy-free version, you can also substitute with plant-based milks like almond, oat, or coconut milk.
2. How long does homemade milk ice cream last in the freezer?
Homemade ice cream typically lasts about 1–2 weeks when stored in an airtight container in the freezer. Over time, it may become more icy, so it’s best enjoyed within that period for the best texture.
3. Can I make this ice cream without an ice cream maker?
Absolutely! You can make this recipe without an ice cream maker. Simply use the no-churn method by freezing the mixture and stirring it every 30 minutes until it reaches a creamy texture.
4. How can I make my milk ice cream creamier?
To make your ice cream creamier, you can add egg yolks for a custard-like texture or use cornstarch to thicken the base. Churning the mixture in an ice cream maker also helps achieve a smoother, creamier consistency.
5. What are some fun mix-ins I can add to the ice cream?
There are endless options for mix-ins! Some popular choices include chocolate chips, crushed cookies, toasted nuts, fresh fruit, caramel swirls, and even marshmallows. Just add them toward the end of the freezing process or as soon as your ice cream reaches a soft-serve texture.

Milk Ice Cream
Equipment
- Saucepan (1 medium size)
- Whisk (1)
- Ice cream maker (optional, 1)
- Shallow Freezer-safe Container (if not using an ice cream maker, 1)
- Measuring Cups (for accurate portions)
- Measuring Spoons (for spices/extracts)
Ingredients
- 2 cups 480 ml Whole Milk (or alternative milk like almond, oat, or coconut)
- ½ cup 100 g Granulated Sugar
- 1 teaspoon 5 ml Vanilla Extract
- 1 tablespoon 8 g Cornstarch (Optional, for thickening)
- 2 Egg Yolks Optional, for a richer texture
- Pinch of Salt Optional, enhances flavor
- Flavor Add-ins Optional, see variations below
Instructions
Heat the Milk and Sugar:
- In a medium saucepan, add the milk and sugar. Heat over medium heat, stirring occasionally until the sugar dissolves. Do not bring it to a boil—just warm enough to combine.
Thicken the Mixture (Optional):
- If using cornstarch, dissolve it in 2 tablespoons of cold milk. Whisk it into the warm milk and cook for about 5 minutes until it thickens slightly.
- If using egg yolks, slowly add 2–3 tablespoons of the warm milk mixture to the egg yolks to temper them. Gradually whisk the tempered yolks back into the saucepan and cook over low heat until the mixture thickens.
Cool the Mixture:
- Remove from heat, stir in the vanilla extract (and salt if desired). Let it cool at room temperature for 15–20 minutes, then refrigerate for 2 hours or until completely chilled.
Churn or Freeze:
- With an Ice Cream Maker: Pour the chilled mixture into your ice cream maker and churn according to the manufacturer’s instructions (usually 20–30 minutes). Transfer to an airtight container and freeze for 2–4 hours to firm up.
- No-Churn Method: Pour the chilled mixture into a shallow container, and freeze. Stir vigorously every 30 minutes for about 3 hours to break up any ice crystals and achieve a smooth consistency.
Serve:
- Once frozen, scoop the ice cream into bowls or cones. Top with your favorite toppings and enjoy!
Notes
- Flavor Variations: You can easily customize this milk ice cream by adding cocoa powder for chocolate flavor, fruit puree for a fresh twist, or espresso powder for a coffee kick. Mix-ins like chocolate chips, nuts, or cookie crumbles can also be added toward the end of freezing.
- Dairy-Free Option: For a dairy-free version, simply swap the whole milk with your favorite plant-based milk such as coconut or almond milk, and ensure any flavorings and mix-ins are also dairy-free.
- Creaminess Tip: For a richer texture, add egg yolks to the mixture (as explained in the instructions), or use whole milk for the best creamy consistency.


