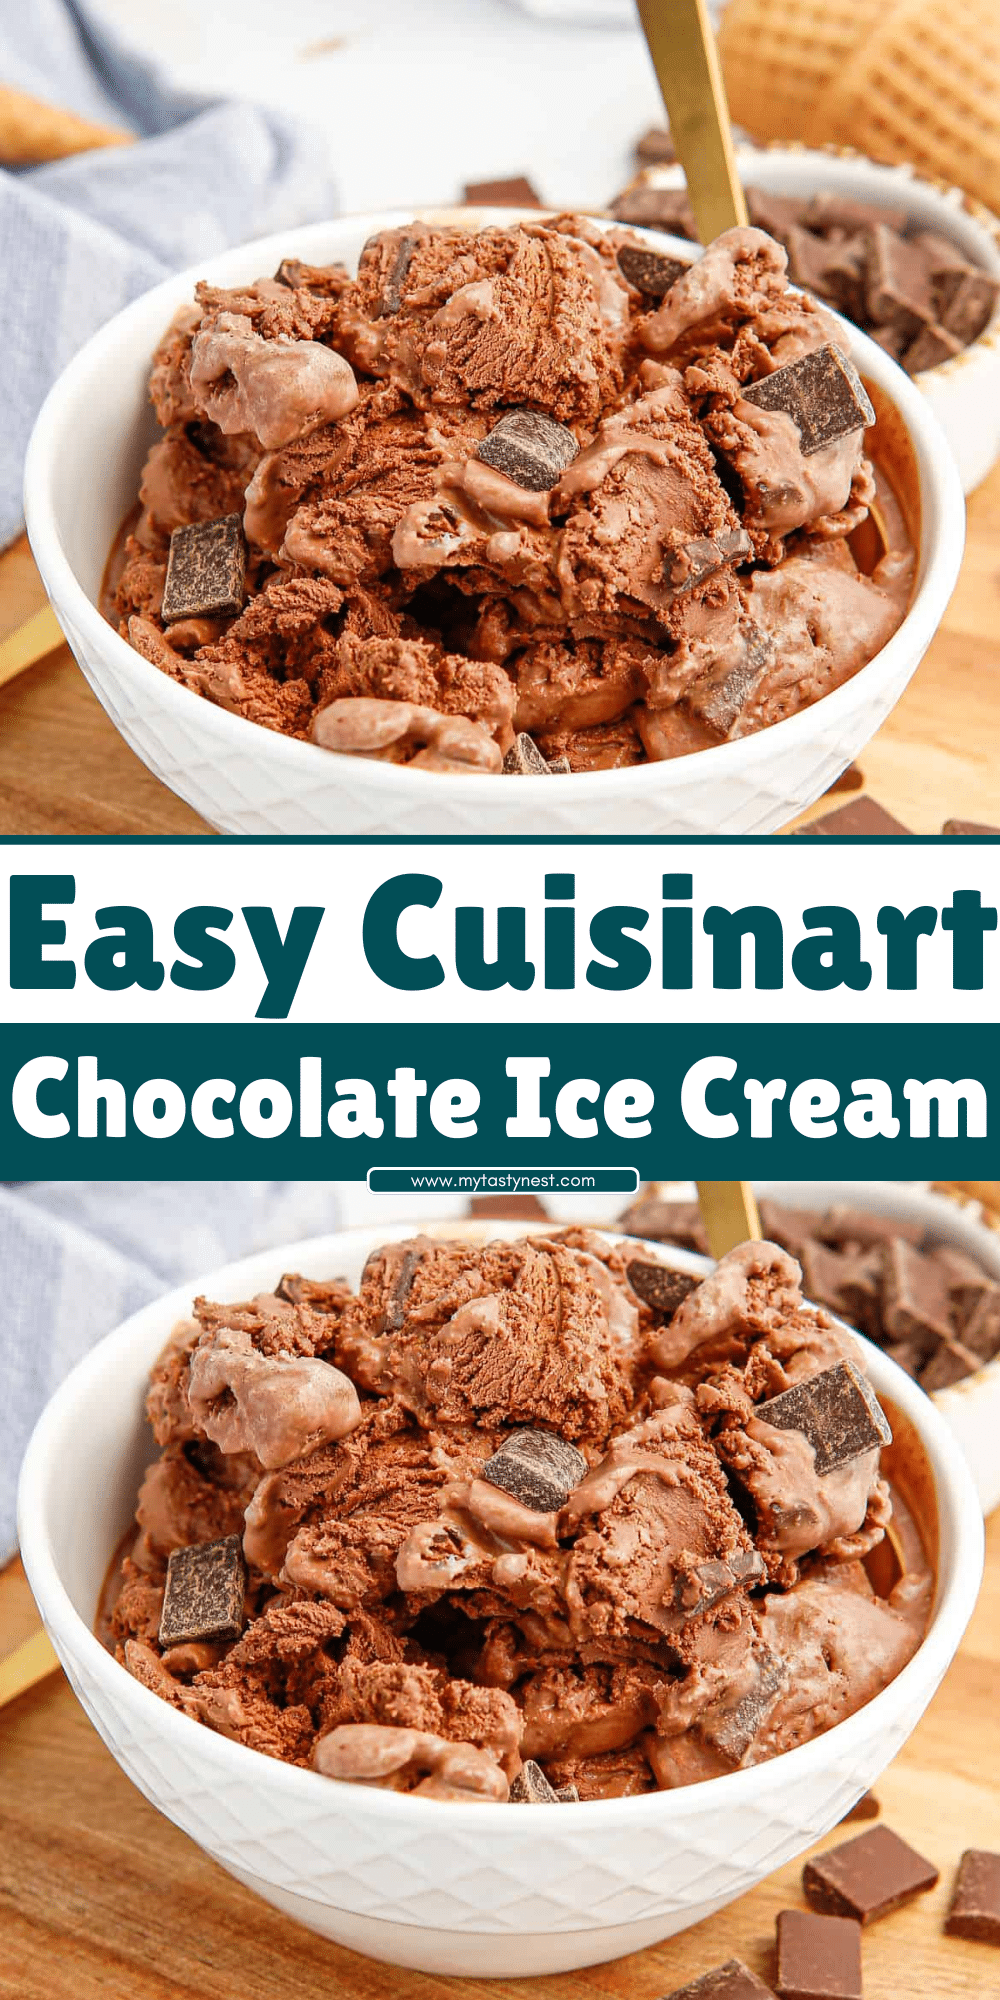
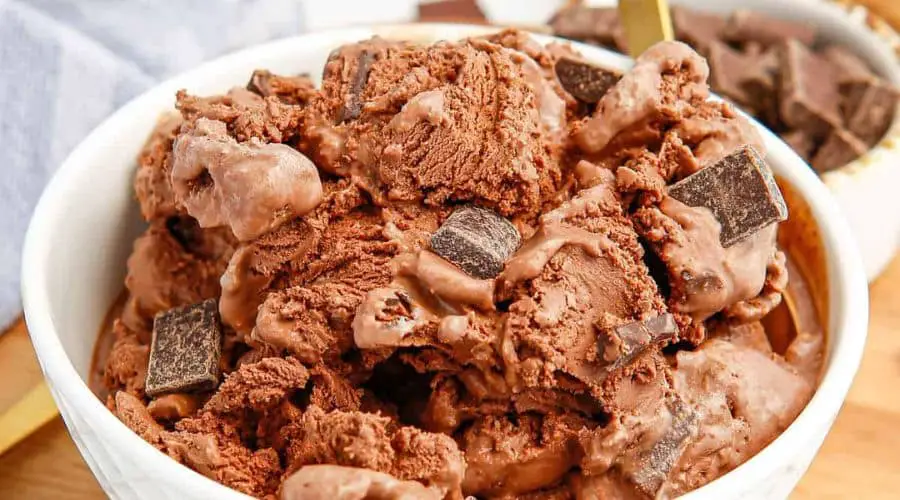
If you’re a chocolate lover, nothing beats the rich, creamy indulgence of homemade chocolate ice cream. It’s a dessert that satisfies on every level—smooth, velvety texture and a deep cocoa flavor that melts in your mouth. But making ice cream at home can sometimes feel intimidating. That’s where the Cuisinart Ice Cream Maker steps in, making the process seamless, fun, and rewarding.
Homemade chocolate ice cream isn’t just about taste; it’s about control. You get to decide how rich, sweet, or chocolatey your dessert is, and you can skip the unnecessary additives and preservatives found in store-bought options. This recipe will guide you step by step to create a decadent dessert that rivals any ice cream parlor.
With just a handful of ingredients and your trusty Cuisinart, you’ll be whipping up creamy chocolate ice cream in no time. Whether you’re hosting a party, treating your family, or indulging in a solo dessert night, this recipe will quickly become a favorite in your repertoire.

Why Use a Cuisinart Ice Cream Maker for Chocolate Ice Cream?
Making ice cream from scratch can seem like a complex science experiment, but the Cuisinart Ice Cream Maker simplifies everything. This compact and user-friendly appliance takes the guesswork out of the process, delivering consistently smooth and creamy results every time.
- Effortless Churning Process:
The Cuisinart Ice Cream Maker automates the churning process, ensuring even freezing and perfect texture without constant monitoring. Its efficient design saves time and effort, letting you focus on enjoying the experience. - Consistent Results:
With its reliable freezing bowl technology, the Cuisinart evenly churns your ice cream mixture, preventing icy patches and guaranteeing that every bite is luxuriously smooth. - Versatility Beyond Chocolate:
While this recipe focuses on chocolate ice cream, the Cuisinart is perfect for exploring other flavors, from fruity sorbets to nutty gelatos. It’s an all-in-one solution for dessert enthusiasts. - Compact Design for Home Use:
Unlike industrial ice cream makers, the Cuisinart is designed with home kitchens in mind. It’s compact, easy to clean, and doesn’t require complex assembly. - Unleashing Creativity in the Kitchen:
One of the best parts of making ice cream with your Cuisinart is the freedom to customize. Whether it’s adding chocolate chunks, swirls of caramel, or experimenting with new flavor combinations, this machine gives you the tools to elevate your dessert game.
Investing in a Cuisinart ice cream maker means you’re not just buying an appliance—you’re opening the door to endless dessert possibilities. For this chocolate ice cream recipe, it’s the perfect partner to create a velvety, restaurant-quality treat from the comfort of your home.
Ingredients for the Perfect Cuisinart Chocolate Ice Cream
Creating the creamiest and most indulgent chocolate ice cream starts with high-quality ingredients. Each component plays a vital role in achieving that rich texture and bold chocolate flavor.
Here’s what you’ll need:
- 2 cups heavy cream
- The foundation for a creamy and luscious texture. Heavy cream adds richness that makes every scoop indulgent.
- 1 cup whole milk
- Balances the cream’s richness, providing a smoother consistency while keeping the ice cream light enough to enjoy more than one serving.
- ¾ cup granulated sugar
- Sweetens the ice cream and balances the bitterness of the cocoa powder.
- ½ cup unsweetened cocoa powder
- The star ingredient that gives the ice cream its deep chocolate flavor. Use high-quality cocoa powder for the best results.
- 4 large egg yolks
- Adds richness and helps create a smooth, custard-like texture. Egg yolks also prevent the ice cream from freezing too hard.
- 1 teaspoon vanilla extract
- Enhances the chocolate flavor and adds a touch of warmth to the recipe.
- Optional Add-ins
- Chocolate chips, fudge swirls, or crushed nuts can be added during the final churning stages for extra texture and flavor.
These simple ingredients come together to create a classic chocolate ice cream that’s decadent and perfectly balanced.
Step-by-Step Instructions for Making Chocolate Ice Cream

This step-by-step guide will walk you through the process of creating homemade chocolate ice cream using your Cuisinart ice cream maker.
From preparing the base to churning, every step is straightforward and foolproof.
Step 1: Prepare the Ice Cream Base
- Warm the Cream and Milk:
- In a medium saucepan, combine 1 cup of heavy cream and the whole milk. Heat the mixture over medium heat until it’s warm but not boiling. Stir occasionally to prevent scorching.
- Combine Cocoa Powder and Sugar:
- In a small bowl, whisk together the cocoa powder and sugar. Slowly add this mixture to the saucepan, whisking until it’s fully dissolved and smooth.
- Temper the Egg Yolks:
- In a separate bowl, whisk the egg yolks until smooth. Slowly pour about ½ cup of the warm chocolate mixture into the egg yolks while whisking continuously. This process prevents the yolks from scrambling.
- Cook the Custard:
- Return the tempered egg mixture to the saucepan. Cook over medium-low heat, stirring constantly, until the mixture thickens and coats the back of a spoon. This should take about 5–7 minutes. Avoid boiling the mixture.
- Add Vanilla Extract:
- Remove the saucepan from heat and stir in the vanilla extract.
Step 2: Chill the Mixture
- Pour the custard through a fine-mesh sieve into a clean bowl to remove any lumps.
- Allow the mixture to cool to room temperature, then cover and refrigerate for at least 2–4 hours or overnight. Chilling ensures the base is cold enough to churn properly.
Step 3: Churn in the Cuisinart Ice Cream Maker
- Prepare the Ice Cream Maker:
- Ensure your Cuisinart freezer bowl has been frozen for at least 24 hours before use. Assemble the machine according to the manufacturer’s instructions.
- Add the Mixture:
- Pour the chilled ice cream base into the Cuisinart. Turn on the machine and allow it to churn for 20–25 minutes or until the mixture thickens to a soft-serve consistency.
- Incorporate Add-Ins (Optional):
- If you’re adding chocolate chips, nuts, or swirls, do so during the last 5 minutes of churning.
Step 4: Freeze and Store
- Transfer the churned ice cream to an airtight container. Smooth the top with a spatula and press a piece of plastic wrap directly onto the surface to prevent ice crystals.
- Freeze the ice cream for at least 2–3 hours to achieve a firmer, scoopable texture.
Step 5: Serve and Enjoy
- Scoop the ice cream into bowls or cones and enjoy your homemade chocolate masterpiece. Garnish with whipped cream, a drizzle of chocolate sauce, or your favorite toppings for an extra-special treat.
With these detailed steps, your Cuisinart will transform a few simple ingredients into the ultimate chocolate ice cream. Would you like tips for customizing the recipe or adding unique flavors next?
Tips and Tricks for Perfect Chocolate Ice Cream
Making chocolate ice cream at home can be incredibly rewarding, but a few pro tips can take it from good to exceptional.
Here’s how to achieve the perfect texture and flavor every time:
1. Chill Everything Thoroughly
- Ensure the ice cream base is completely chilled before churning. A warm base will take longer to freeze, leading to a grainy texture.
- Don’t forget to freeze your Cuisinart’s freezer bowl for at least 24 hours before use to ensure it’s cold enough for proper churning.
2. Use High-Quality Ingredients
- Opt for premium cocoa powder and vanilla extract to maximize the depth of flavor.
- Use fresh, full-fat dairy for a rich, creamy consistency—low-fat substitutes won’t deliver the same results.
3. Avoid Over-Churning
- Watch the ice cream closely during churning. Over-churning can cause the texture to become overly dense or buttery. Stop when it reaches a soft-serve consistency.
4. Prevent Ice Crystals
- Strain your custard through a fine mesh sieve before chilling to remove any cooked egg bits that could cause uneven texture.
- Press a piece of plastic wrap directly onto the surface of the ice cream when storing to minimize air exposure and prevent ice crystals.
5. Experiment with Sweetness and Flavor Balance
- If you prefer a darker, less sweet ice cream, reduce the sugar slightly and use Dutch-process cocoa for a bolder chocolate taste.
- For a sweeter flavor, try adding a drizzle of honey or a splash of chocolate liqueur to the base.
6. Store Properly
- Store your ice cream in a shallow, airtight container for even freezing.
- If the ice cream hardens too much in the freezer, let it sit at room temperature for 5–10 minutes before scooping.
7. Add Mix-Ins Thoughtfully
- Fold in chocolate chips, nuts, or swirls of caramel during the final minutes of churning to prevent them from sinking to the bottom.
- Chop larger add-ins finely to ensure they distribute evenly throughout the ice cream.
Customize Your Chocolate Ice Cream: Fun Variations to Try
While classic chocolate ice cream is undeniably delicious, customizing it with creative flavors and textures can make it even more exciting.
Here are some fun variations to inspire your next batch:
1. Double Chocolate Delight
- Add chocolate chunks, mini chocolate chips, or ribbons of melted dark chocolate to the churned ice cream. The extra chocolate adds a satisfying bite and an intense cocoa flavor.
2. Mint Chocolate Dream
- Mix ½ teaspoon of peppermint extract into the base before churning. Fold in chocolate chips or chunks for a refreshing mint-chocolate combo.
3. Mocha Ice Cream
- Dissolve 1–2 teaspoons of instant espresso powder in the warm milk mixture. This adds a coffee undertone that complements the chocolate beautifully.
4. Chocolate Peanut Butter Bliss
- Swirl in warmed peanut butter during the final minutes of churning. The salty, nutty flavor pairs perfectly with the rich chocolate base.
5. Rocky Road Indulgence
- Fold in mini marshmallows, chopped almonds, and chocolate chunks for a homemade take on this classic flavor.
6. Spicy Mexican Chocolate
- Add a pinch of cinnamon and cayenne pepper to the base for a spicy, warming twist inspired by Mexican hot chocolate.
7. Salted Caramel Chocolate
- Drizzle salted caramel sauce into the churning ice cream during the last few minutes. The salty-sweet combination is irresistible.
8. Fruity Chocolate Swirl
- Add swirls of raspberry or cherry compote to the churned ice cream. The tart fruit balances the richness of the chocolate.
9. Boozy Chocolate Ice Cream
- Mix in a splash of Baileys, Kahlúa, or rum to the base for an adult-only treat. Alcohol also keeps the ice cream slightly softer and easier to scoop.
10. Nutella Heaven
- Substitute a portion of the cocoa powder with Nutella, or swirl it in as a mix-in for a hazelnut-chocolate fusion.
Final Thoughts on Making Chocolate Ice Cream in Your Cuisinart
Making chocolate ice cream at home with your Cuisinart is not just a fun activity; it’s a rewarding experience that lets you enjoy a treat that’s far fresher and more flavorful than anything from the store.
The ability to control the ingredients and customize flavors means you can craft the perfect batch every time, whether you prefer a rich, dark chocolate base or a decadent swirl of mix-ins.
By following the simple steps outlined in this recipe, you’ll have creamy, indulgent ice cream in no time, with minimal effort. Plus, the versatility of the Cuisinart Ice Cream Maker means you can explore endless flavor combinations—there’s no limit to what you can create.
Whether you’re preparing for a family dessert night or impressing guests with your homemade ice cream skills, this recipe will become a staple in your kitchen. So, go ahead—gather your ingredients, break out your Cuisinart, and treat yourself to a scoop (or two) of homemade chocolate ice cream!
Frequently Asked Questions About the Cuisinart Chocolate Ice Cream Recipe
- Can I use non-dairy milk or cream alternatives?
Yes! You can substitute whole milk and heavy cream with non-dairy options such as almond milk, coconut milk, or oat milk. Keep in mind that the texture may differ slightly, but you can still achieve a creamy result with the right alternative. For a richer flavor, opt for coconut cream or a full-fat dairy-free milk. - How long does it take to churn ice cream in a Cuisinart?
Churning time usually takes about 20–25 minutes, depending on the recipe and temperature of the mixture. Once it reaches a soft-serve consistency, it’s ready to transfer to a storage container for freezing. - Can I skip the eggs for a simpler recipe?
Yes, you can! If you prefer to make an eggless ice cream, simply omit the eggs and follow the recipe as usual. The texture may be a little lighter, but it will still be delicious. If you’re looking for extra creaminess without eggs, you can substitute with a bit of cornstarch or arrowroot powder as a thickener. - What’s the best way to clean the Cuisinart ice cream maker?
After each use, remove the freezer bowl, paddle, and lid. Wash them by hand using warm, soapy water. For best results, avoid putting any parts in the dishwasher, as this may affect the machine’s longevity. Be sure to dry all pieces thoroughly before storing them. - Can I store my homemade ice cream for later?
Absolutely! Homemade ice cream can be stored in an airtight container in the freezer for up to two weeks. To maintain the best texture, press a piece of plastic wrap directly onto the surface of the ice cream before sealing the container to minimize freezer burn. Let it sit at room temperature for a few minutes before scooping for the best consistency.

Cuisinart Chocolate Ice Cream
Equipment
- Cuisinart Ice Cream Maker – 1 unit
- Medium Saucepan: 1 unit
- Fine Mesh Strainer – 1 unit
- Whisk: 1 unit
- Mixing Bowls – 2 units
- Spatula: 1 unit
- Storage container (1 unit)
Ingredients
- 2 cups heavy cream
- 1 cup whole milk
- ¾ cup granulated sugar
- ½ cup unsweetened cocoa powder
- 4 large egg yolks
- 1 teaspoon vanilla extract
- Optional add-ins chocolate chips, crushed nuts, fudge swirls
Instructions
Prepare the Ice Cream Base:
- In a medium saucepan, combine the heavy cream and whole milk. Heat over medium heat, stirring occasionally until the mixture is warm (but not boiling).
Mix Cocoa Powder and Sugar:
- In a small bowl, whisk together the cocoa powder and sugar. Gradually add this dry mixture into the warm milk and cream, whisking until smooth and fully dissolved.
Temper the Egg Yolks:
- In a separate bowl, whisk the egg yolks until smooth. Slowly pour about ½ cup of the warm milk mixture into the egg yolks while whisking constantly to temper them. This step prevents the eggs from cooking too quickly.
Make the Custard:
- Add the tempered egg yolk mixture back into the saucepan with the rest of the milk and cream mixture. Cook over medium-low heat, stirring continuously until the custard thickens enough to coat the back of a spoon (about 5–7 minutes). Do not allow the mixture to boil.
Add Vanilla Extract:
- Remove from heat and stir in the vanilla extract. Pour the mixture through a fine mesh strainer into a clean bowl to remove any bits of cooked egg. Let it cool to room temperature, then refrigerate for at least 2–4 hours or overnight.
Churn in the Cuisinart Ice Cream Maker:
- After the base has chilled, pour it into the pre-frozen bowl of your Cuisinart Ice Cream Maker. Churn according to the manufacturer’s instructions for about 20–25 minutes or until the mixture reaches a soft-serve consistency.
Add Optional Mix-ins:
- If desired, fold in chocolate chips, crushed nuts, or any other mix-ins during the final few minutes of churning.
Freeze and Serve:
- Transfer the churned ice cream to an airtight container. Press plastic wrap onto the surface of the ice cream to prevent ice crystals, then freeze for 2–3 hours for a firmer consistency. Serve and enjoy!
Notes
- Chill the Base Thoroughly: For best results, make sure the ice cream base is thoroughly chilled before churning. This will ensure smooth, creamy ice cream.
- Add Mix-ins: To add chocolate chips, fudge swirls, or nuts, do so during the final 5 minutes of churning. This ensures they’re evenly distributed without sinking to the bottom.
- Non-Dairy Options: You can substitute whole milk and cream with non-dairy alternatives such as coconut milk and almond milk. The texture will vary slightly, but the flavor will still be rich and creamy.
- Storage Tips: Store homemade ice cream in an airtight container in the freezer. Let it sit at room temperature for a few minutes before scooping for the best texture.


